Thoughts on the Nikon Z9 by Someone Who Has Used Every Nikon DSLR
In all my years in photography, I don’t think any camera has had as much buzz leading up to its release as the Nikon Z9. There were many reasons for that, both good and bad, but now that the camera’s here, does it live up to the hype? After one week of using it, I think so.
Full disclosureI taught Nikon School for Nikon – as a contractor – from 2002 to 2018, and was paid to moderate one of their Facebook groups for the past three years. At this time, however, I have no connection with them.
I received my Z9 the evening of December 29 and spent that and the next night working my way through the camera’s 900+ page “Reference Guide” PDF, Thankfully, as a life-long Nikon user, most of the controls and menus were familiar to me. So what I was looking for were the new things or improvements to current features. I found plenty of those, some of which I’ll be using right away, some occasionally, and of course, some never (because the camera’s not made just for me).
Don’t Judge Z9 RAW Quality with 3rd-Party Software
Before I get into what I did with the camera, and my favorite features, I’d like to address something many people don’t realize, which can affect their opinion of RAW images from any new camera.
A majority of serious photographers use Adobe software to process their images. Since Adobe (or really, any third-party software company) isn’t a part of any of the major camera companies, they have to wait for each new camera to be released before they can start decoding that production camera’s new RAW format and developing an update to address processing it. The manufacturer will release an update to their own software at the same time they release a new camera (Nikon’s NX Studio, in this case), but it takes time for other companies to do the same.
So when I heard people saying they were using Adobe to open Z9 files, I was surprised (some reviews were even based on those results). I tried it too, and indeed, Adobe could open a Z9 NEF file. However, the result at high ISOs was really poor. And if you checked Adobe’s release notes about Z9 support, there’s an asterisk with the Z9 entry, and this: “Preliminary support means that the image quality and RAW format support for the given camera model is not yet finalized and may be updated in a future release.”
Thus, you shouldn’t use third-party software to judge the quality of Z9 NEF files at this time. If you really want to see what the camera can do, try the free NX Studio, or shoot JPEG.

My Experiences with the Nikon Z9
Okay, now for my experiences with the camera. Last week I used it for an all-day studio shoot, with models, for a local company’s advertising campaign. Then two days ago I was at a nearby wildlife refuge, photographing eagles. I know I still have a lot to learn about the camera, especially with the autofocus options, but here’s what I’ve discovered so far.

Big Stuff in the Nikon Z9
Buttons
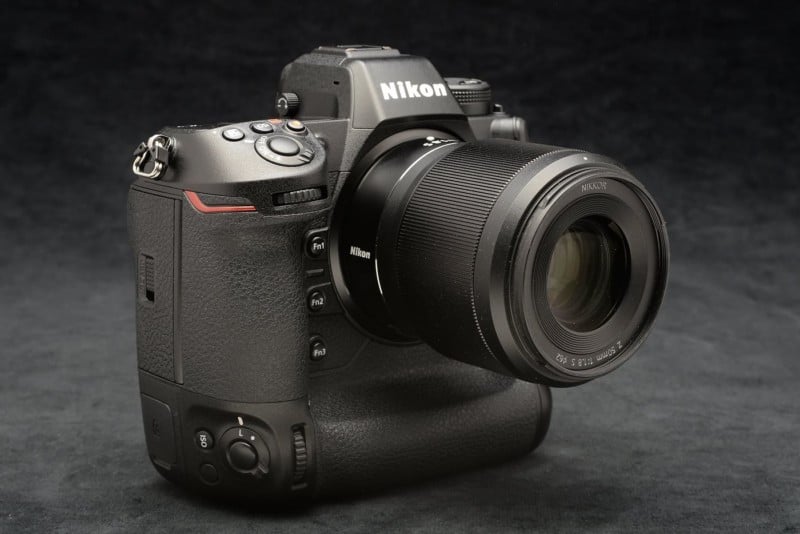
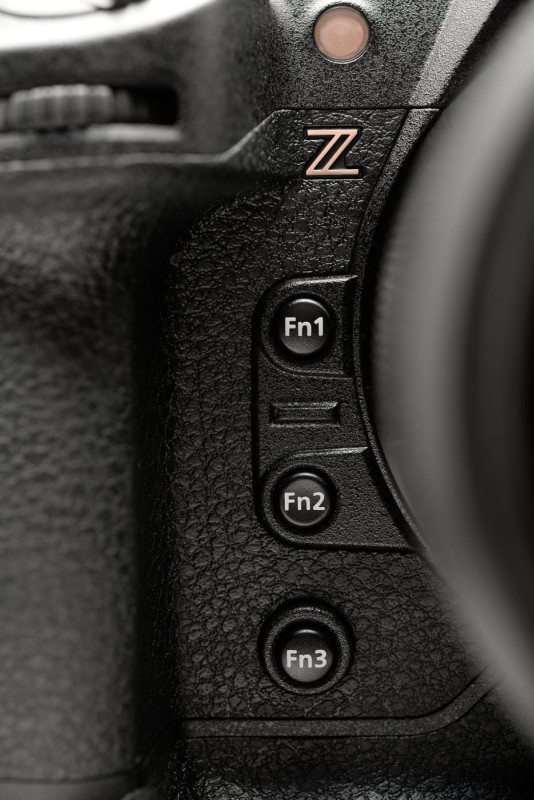
I’m a fan of buttons on camera bodies. Designed and implemented properly, they let an experienced photographer make changes quickly, without diving into menus. With the Z9, there are three function buttons on the front, (one more than the Z 6/7), plus a fourth on the back and more programmable buttons with lots of options.
For now, I’ve set Fn1 to Playback (and a second press zooms the image to 100%). That lets me check what I’ve just shot without taking the camera away from my eye. Fn2 is programmed to open Auto ISO so I can make quick changes to those settings. Fn3 lets me quickly switch from FX and DX (45MP to 21MP), and Fn 4 (the “Protect” button on the back) opens “My Menu” (one of my favorite features of Nikon cameras for many years now).
I also program the red video record button to let me change AF Area modes on the fly and have reversed how the Main and Sub-control dials work with AF so I can switch Area modes with the thumb dial (instead of the default front dial). That gives me a quick and easy way to change those modes without taking the camera down from my eye or using my left hand to press the AF button on the side of the body.
Also, with the built-in grip, Nikon has the usual White Balance and Quality buttons there, like on the D3/4/5/6, so I don’t need to add them to the “i” menu.
High ISO Performance
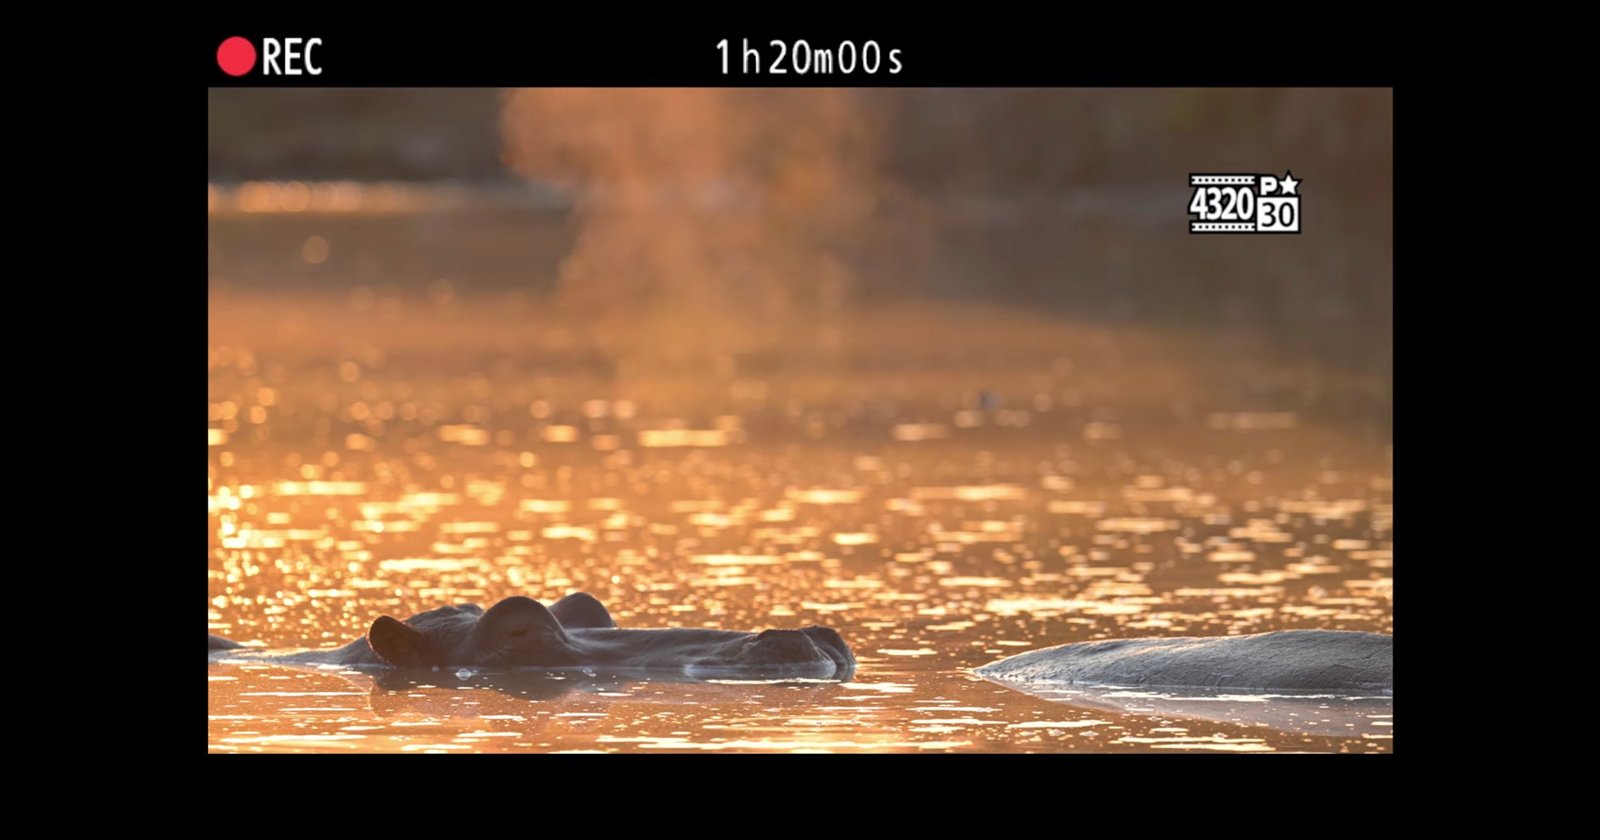
I’ve been very impressed with high ISO performance. The camera’s range is 64 to 25,600 (plus “Hi” and “Lo” options). While I’ve used it at the upper limits, at this time I’m planning to shoot it up to 10,000. At 12,800, noise starts becoming more visible to me (and noise is subjective, so your experience may be different). But still, 10,000 ISO with 45 megapixels? Pretty amazing.
Autofocus Performance

Autofocus performance is probably the biggest upgrade from Nikon’s current crop of Z cameras, and it’s truly impressive. Here’s why:
3D is back! Nikon shooters who’ve been using many of Nikon’s mirrored cameras came to love this mode, but it didn’t appear in earlier Z models. Nikon did add “Subject Tracking” to those, which was really good, but still not 3D. The Z9 finally has 3D, and in my limited use so far, it’s looking great. What is 3D? You acquire focus on your subject, then that focus “sticks” to them as they move around the frame, or you shift framing. Much easier than constantly moving the focus point to your subject as they move, or moving the point for composition.
Speaking of “stickiness” (the ability of autofocus to stay with a subject, even if it’s moving fast or erratically), this camera’s AF system is really good at that in all modes.
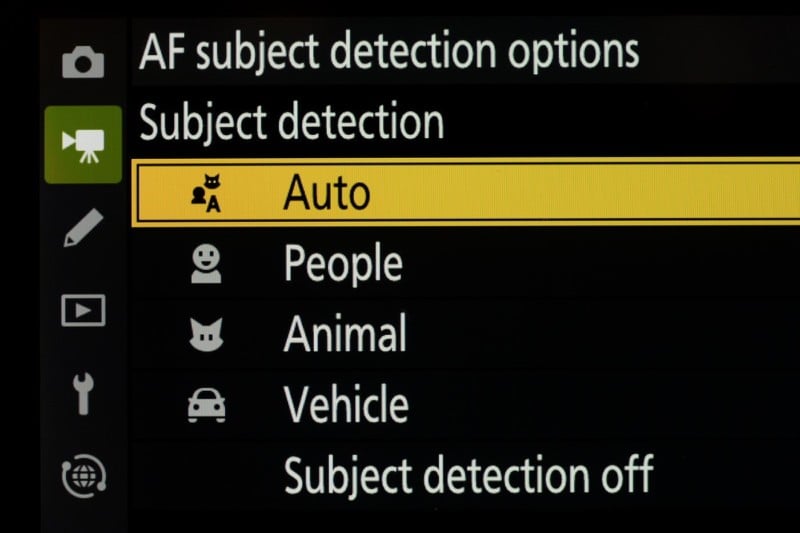
“Subject detection” will automatically look for People first, then Animals, then Vehicles, or you can set it to only look for one of those subjects. But the automatic feature means you don’t have to constantly change settings for the subject you might be shooting at that moment.
All autofocus systems need light and contrast to perform well, so newer, more expensive cameras, paired with fast lenses, generally have faster autofocus performance. The Z9 looks to take this to a whole new level. You can even turn on “Starlight view,” which allows it to focus in light as low as -8.5 EV. This means even the dim light from a less than full moon should be plenty for the camera to acquire focus.
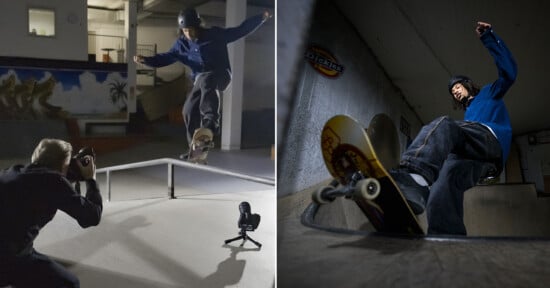
And taking that a step further, one challenge with using teleconverters is that most cameras’ autofocus performance drops, or even stops, when the resulting aperture is f/11 or smaller (sometimes even at f/8). I just shot eagles in flight with a Nikkor 500mm f/5.6 lens and Nikon 2X teleconverter, resulting in f/11, and not only did I get sharp photos, but the autofocus did a good job tracking them. My Nikon D500 can’t do that, even with its powerful autofocus system (same as the D5 and D850).

(To learn more about Z9 autofocus options and abilities, check out this excellent technical guide to the Z9’s autofocus system by Nikon.)
The Viewfinder
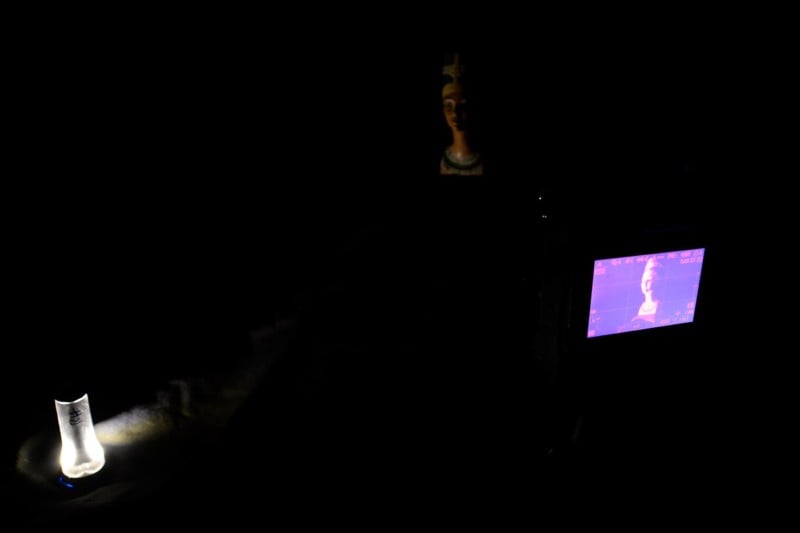
The viewfinder is a joy to use. One person recently said that it’s the first electronic viewfinder camera that didn’t make them miss their optical finder. I completely agree. It’s bright and crisp, and the low light performance has to be experienced to be believed.
In dim (or really, almost non-existent) light, putting my eye to the viewfinder shows the scene much brighter than I can see without the camera. As someone who does a lot of night photography, this will make a huge difference. Now I should be able to see enough through the viewfinder to work more efficiently. That means I’ll save a lot of time normally spent doing test shots for focus and composition, and get home to bed sooner!
Zero Blackout
The Z9 is described as having “zero blackout” while shooting, but I think it’s even better than that. Most mirrorless cameras have some type of flicker, even if it’s minimal. With the Z9 however, nothing changes in the viewfinder as you shoot. Nikon goes into great detail explaining how the “dual-stream technology” does that, but it really has to be seen to be understood.
The camera offers options you can turn on to tell it’s actually taking pictures when in silent mode (flashing lines at the edges of the viewfinder). Most of the time I don’t need silent shooting, so I like turning on the nice quiet shutter sound it can make. But that sound is fake because there is…
No Mechanical Shutter
The mechanical shutter missing from the Z9, and that’s a good thing. It means that finally you don’t have to worry about rolling shutter or banding under artificial lights, and you can use flash sync at 1/200 (or higher if using Auto FP with certain Nikon Speedlights or HSS with suitable third-party flashes – it works with my Flashpoint).
And no mechanical shutter means one less item to fail or wear out over time. The Z9 likely heralds the end of mechanical shutters in mirrorless cameras.
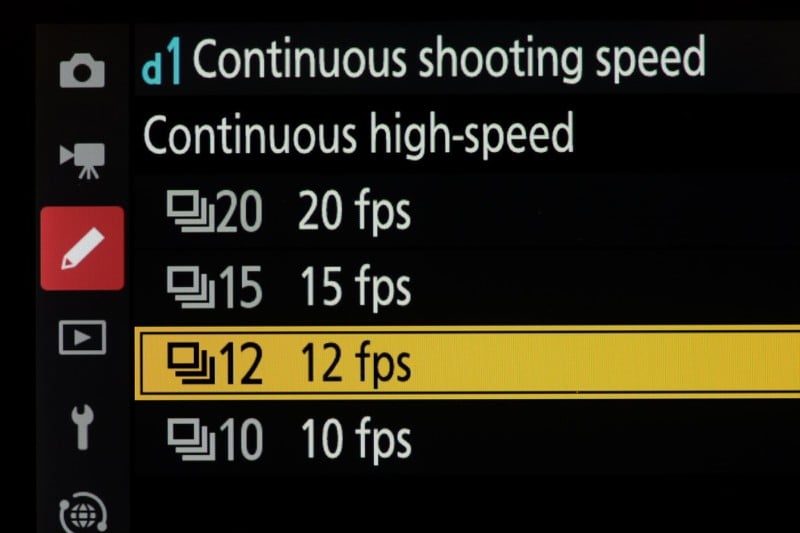
Frame Rates
The camera offers MUCH faster frame rates if you want them, but more importantly to me, plenty of options to dial those speeds down. Sure, I can see times where 120 frames per second (resulting in full-frame 11MP JPEGs) would be useful. Same for 30 fps with 45MP JPEGs, or 20 fps for 45MP RAWs. But honestly, I rarely need (or want) that many frames to download and sort through. Luckily, the camera also lets me choose 10, 12, or 15 fps, which are the three I’ll use the most when photographing fast action.
FYI, if you set the camera to 30 fps, you’ll be limited to shooting at 1/60 second or faster. At 120 fps, 1/125 second is the slowest you can fire the camera.
Batteries
I’ve never been a fan of carrying lots of batteries because that means I constantly have to watch the battery level. I’d rather have a larger battery I don’t have to worry about. The Z9 uses a big battery, along with better battery conservation.
And users with batteries from their Nikon D4, D4S, D5, and D6 cameras to continue to use those batteries in the Z9 (thank you, Nikon!). However, only the newest models (EN-EL 18b, c, and now d) can be charged with the new, much smaller charger. Those batteries can also be charged in-camera via USB-C.
USB-C Charging
And speaking of USB-C, the wall plug that connects to the charger isn’t hard-wired to the charger but uses a USB-C connection to do that. This means you can use that wall charger to power or charge the battery in the Z9 or other USB-C devices (I can even power my MacBook Pro using it). And vice versa – my travel USB-C charger for that MacBook Pro can also work with the Z9 charger itself! I think that’s a nice touch.
High-Efficiency RAW
Most people won’t think of this as a big deal at first, but Nikon has introduced a new high efficiency compressed RAW format with the camera, which means it can create 30-33 megabyte NEF files from 45-megapixel 14-bit RAW captures. Shooting best quality JPEGs at 45MP results in files around 20MB in size. That compares to lossless compressed 14-bit RAW files from the 24MP Z6 at around 28MB and about 60MB from the 45MP Z7.
For someone who has shied away from shooting his 45-megapixel cameras all the time in the past because of file size, this is great news. I can shoot 45MP NEF files at a size not much larger than best quality JPEGs. And so far, this new format looks to give excellent quality and processing latitude despite the much smaller file size.
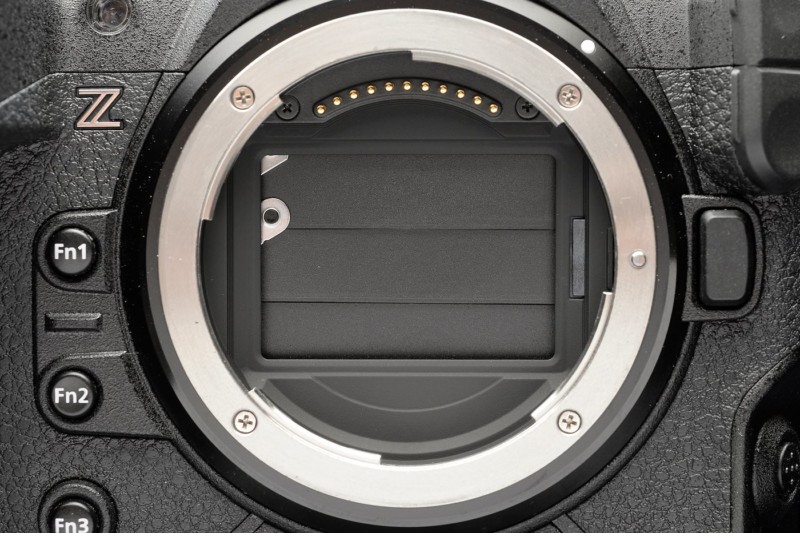
Mechanical Shield
Sensor dust has been a problem from the first days of digital cameras, so anything that can help reduce that is welcome. With most digital cameras, when you remove the lens, the sensor is exposed. With the Z9, Nikon’s added a mechanical shield (not a shutter) that you can set to close anytime you turn off the camera.
Since I usually do that before changing lenses, this means less opportunity for dust to get in there, so less cleaning up photos in software and cleaning the sensor itself.
Price
Nikon’s top-of-the-line cameras usually retail for around $6,500. This camera’s competitors are the Sony a1 (50MP, $6,500 plus $400 for the grip,) and the Canon R3 (24MP, $6,000). So Nikon is obviously being aggressive pricing the 45MP Z9 at $5,500, something all of us buying it appreciate. And for everyone else, hopefully this will drive down the price of the other cameras in its class.
Read more: Is the Z9 the Cheapest Pro Camera Nikon Has Released?
Little Stuff in the Nikon Z9
(I hesitated to call these things “little,” because, to me, they can make a big difference. But they aren’t the types of features you’ll read much about, although still important)
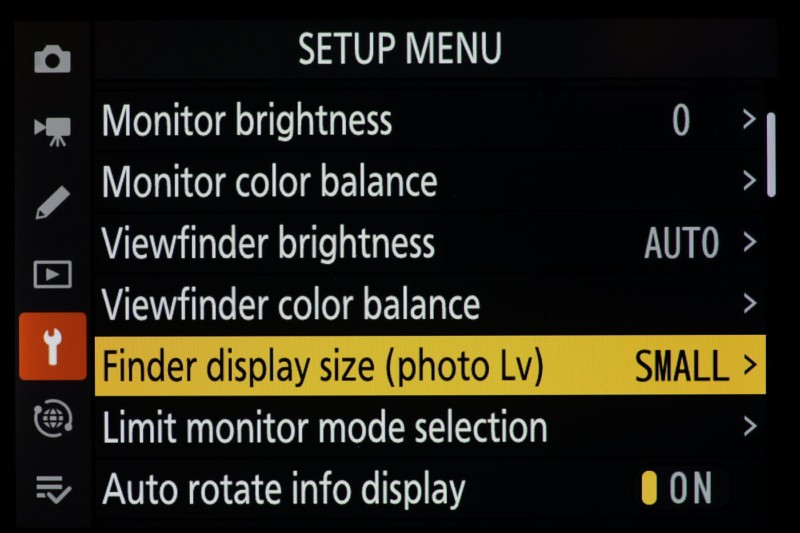
Finder Display Size
There’s a new “Finder display size” option that slightly reduces the size of the image in the viewfinder. As a wearer of glasses, I’ve often struggled to see the entire frame without moving my head around the viewfinder. I must say I LOVE this feature!
Histogram Plus Horizon
Two of my favorite features with most mirrorless cameras are being able to have a live histogram (to check exposure before shooting), and a Virtual Horizon indicator (to help me keep things straight while shooting). Until now, I had to choose which one I wanted to see with Z cameras. The Z9 lets me have both in the same display, and made the horizon indicator less obtrusive. Landscape photographers rejoice!
And taking that a step further, how much or little information you see in those displays is almost infinitely customizable.
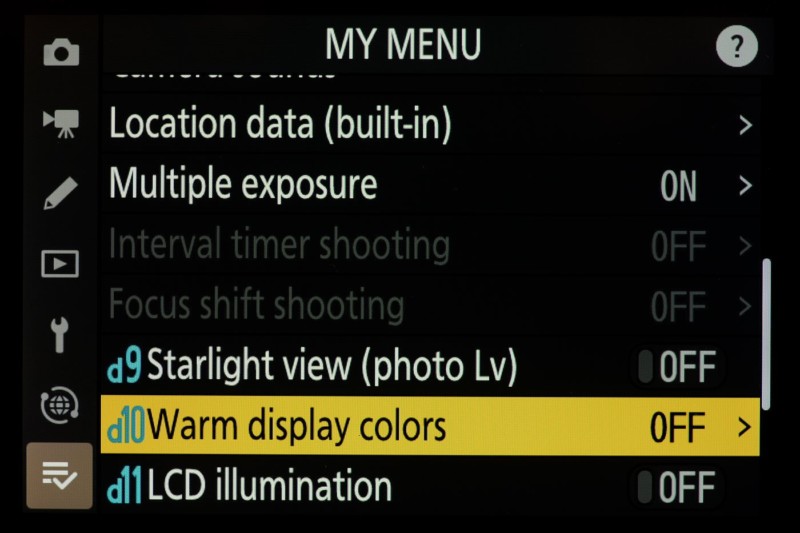
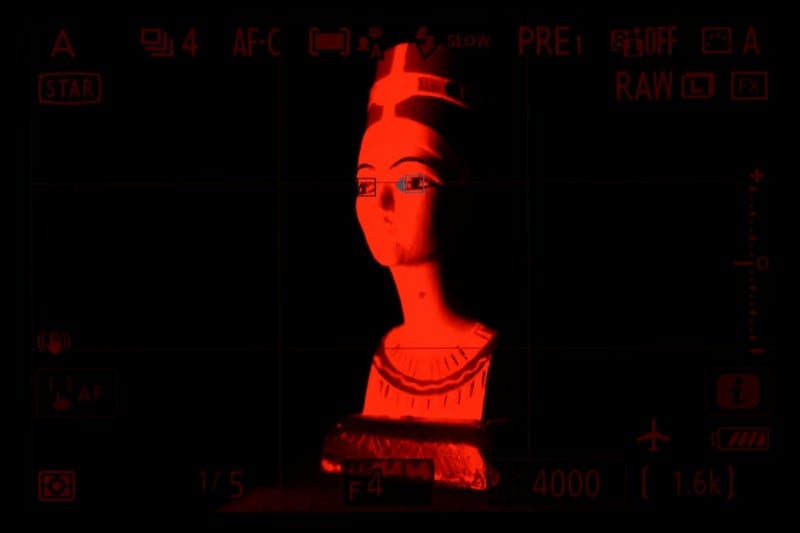
Warm Display Colors
I mentioned earlier how much I enjoy doing night photography. One of the challenges when in truly dark areas is that the brightness of the camera’s displays (both external and internal) can ruin your night vision. Reducing the LCD brightness and dimming the top display were good first steps, but the new “Warm Display colors,” is a game-changer. It turns the displays red (red light protects night vision), and even gives you the option of having the viewfinder display be red. Now, night photographers rejoice!
Lighted Buttons
Oh, and like some Nikon mirrored cameras before it, the Z9 has lighted buttons, which makes working in low light SO much easier.
Photo Transmission
SnapBridge has been in many Nikon cameras for years, which allows you to “pull” photos from the camera to your phone or tablet (using the free app), or even shoot the camera from those devices. The Z9, however, goes well beyond that. Now photographers can transmit directly to a laptop from the camera (paired with Nikon’s free Wireless Transmitter Utility), or even upload directly to an FTP site (using an available network).
This is a feature I hope to use courtside in the next couple of months covering college basketball.
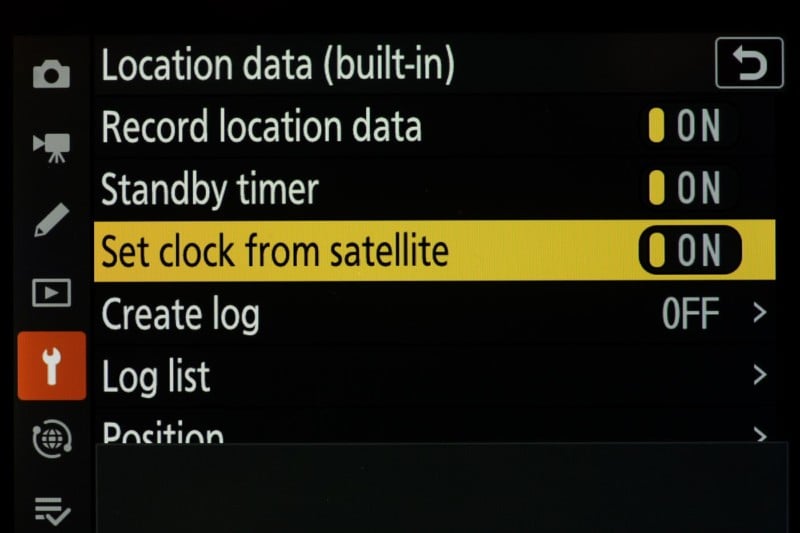
Geodata and Time
The camera has built-in GNS (which means GPS, the Russian GLONASS, system, or Japanese QZSS). There’s an additional battery drain of course, but it also makes it easy to set time correctly when traveling and avoids having to bring along another accessory.
AF Mode/Area Mode
Nikon has returned the dedicated AF Mode/Area Mode button to the body of the Z9 (like its mirrored counterparts), but I now prefer programming the video record button to let me change those (as mentioned above).
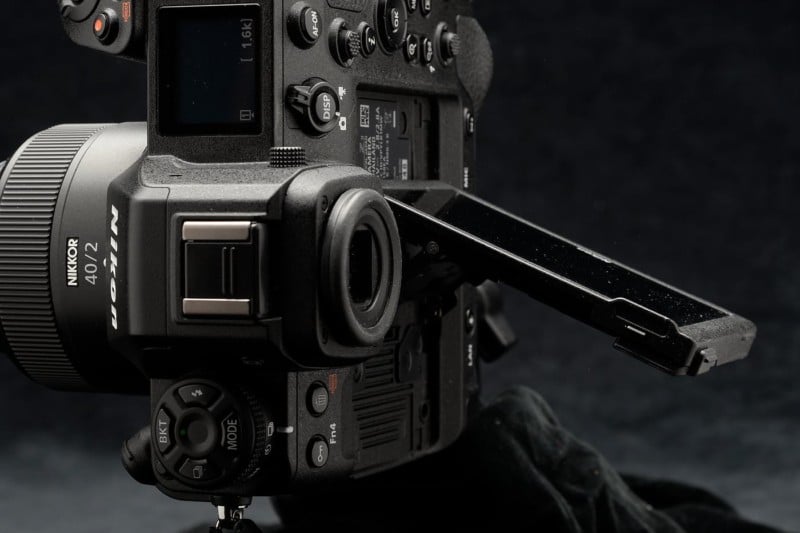
Flexible LCD
While the LCDs on Nikon’s Z cameras have always been adjustable, the design on the Z9 allows greater freedom of movement, and more importantly, can even be tilted out when the camera is in a vertical orientation. I’ll make great use of that.
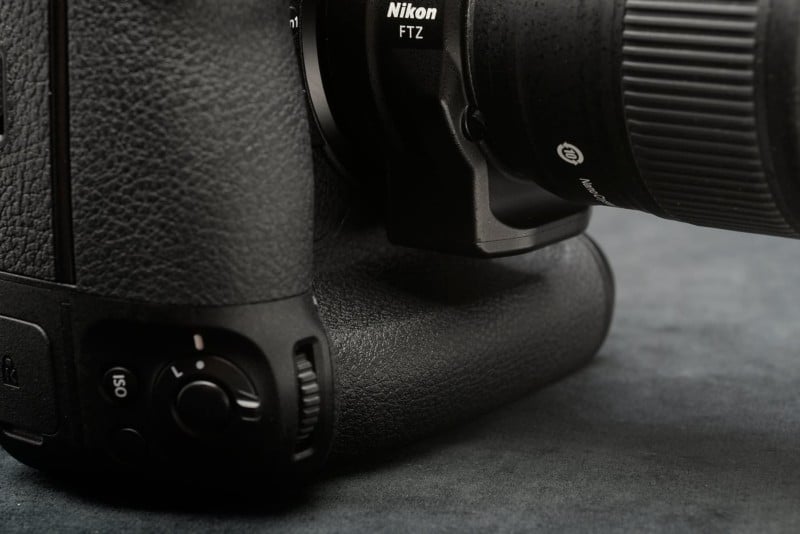
FTZ Adapter
There’s a new, slimmer FTZ adapter that’s been released at the same time as the Z9, but the original FTZ adapter also works. However, the original has a bump at the bottom which can cramp your fingers a bit when the camera is used vertically.
Contrary to some reports, it doesn’t pinch them (at least not my fingers), and I can still handle the camera comfortably like that. Also, I’m most likely to use the FTZ with my long telephotos, and since I usually have them mounted on a monopod, that grip becomes less important.
Clean Display
While Nikon’s Z II cameras offered the ability to have a display with just the photo – no other information – doing that meant giving up other options. With the Z9, you can easily switch to that clean display without sacrificing anything else. That will really help me in night photography, as well as when doing careful framing of landscape photos.
Mixed Stuff with the Nikon Z9
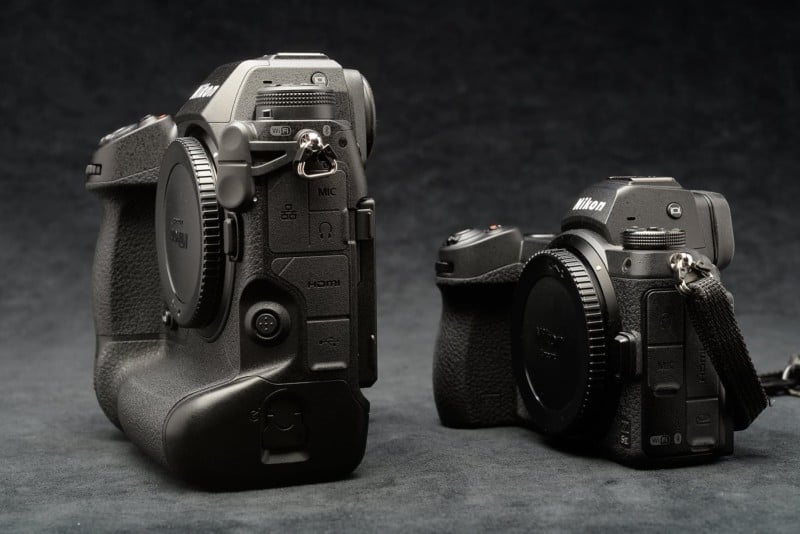
Size and Weight
I had hoped Nikon would design the Z9 as a camera with the option of adding a grip, like the Sony a1. However, now that I’ve got it, I realize that making the grip integral to the camera offers a number of advantages as well. It can be more ergonomic, offer more controls (buttons and dials), and be better weatherproofed. Of course, on the downside, it does make the whole camera larger and heavier.
Menu Banks
I’m still trying to figure out if the Menu Banks can be used like the excellent U1/2/3 options on other Z cameras (and the 7XXX series and D780 mirrored cameras). With those your default settings could be locked in, meaning changes you made while using that set wouldn’t be made permanent. That’s not how Nikon’s Menu Banks have worked in the past, but there are so many ways to customize this camera I simply may not have figured out how to set them that way yet.
And the future?
Looking to Future Nikon Cameras
Now that I’ve got the Z9 and seen all that Nikon’s done with it, I’m eager to hear what their next camera announcements will be. Obviously, there will be a Z8, or a couple of them (Z 8 S, Z 8 II?). Perhaps a smaller body sharing some of the features of the Z9 (like the D700 was)? Or a “pro-level” DX camera, like the still popular D500? Time will tell. For now, the Z9 pairs nicely with my smaller Z6 and Z6 II for multi-camera work.
I don’t shoot much video, so haven’t set aside the time to work through all the new and – often advanced – features offered there. However, from what I’ve been reading, Nikon’s set a high bar for other companies to match in video performance.
So that’s it for what I’ve seen and learned in just one week using the Z9. Now I’m really looking forward to what more I’ll learn in the weeks and months ahead!