Understanding the ‘Intersect’ Function of Lightroom’s New Masking Tools
It’s not often that a new Lightroom update or feature is as positively received by users as last week’s Masking improvements. And there is a good reason for the fanfare because these new tools really are amazing… as well as a bit confusing and inconsistent.
They are confusing because of a new layer of logic that Lightroom users can apply when determining exactly where you want to edit within a selection, by using combinations of the “Add” and “Subtract” functions within each mask. You can take it a step further by using the “Intersect” function to refine your selection, which seems to be causing a lot of confusion.
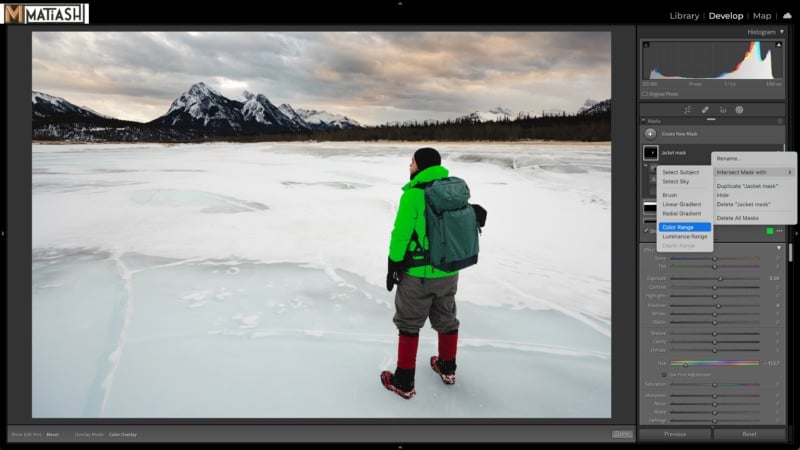
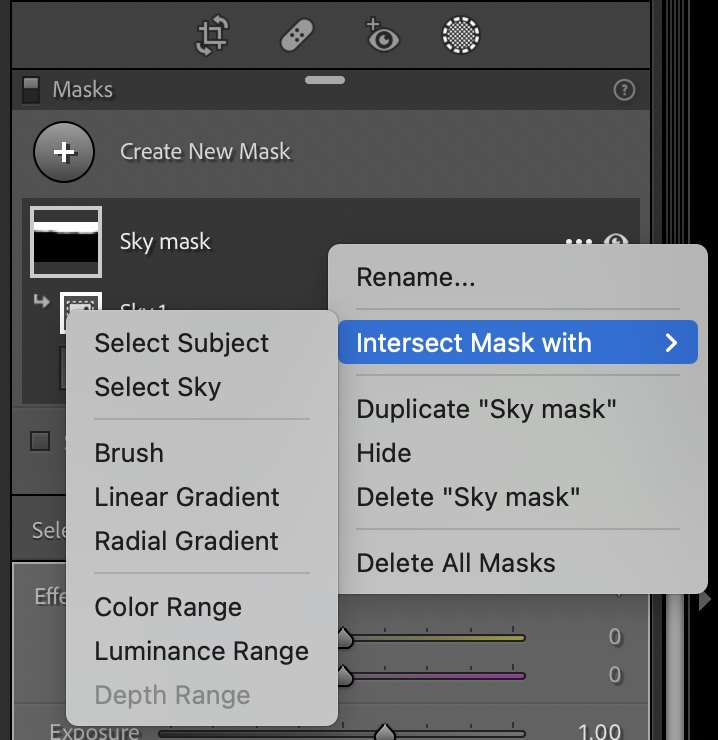
Furthermore, these masking tools are also inconsistent because you won’t find any trace of the Intersect menu item in the newer Lightroom Desktop or Lightroom Mobile, although you can absolutely achieve the exact same functionality in both apps. You’ll only find the Intersect option in Lightroom Classic when you click on the ellipse (…) next to a mask.
Fortunately, all Lightroom users can benefit from this especially powerful tool regardless of which version you prefer. If you’re using Lightroom Desktop or Mobile, the way to replicate the Intersect function is to make your initial selection, then click Subtract, make your secondary selection, and finally click on Invert.
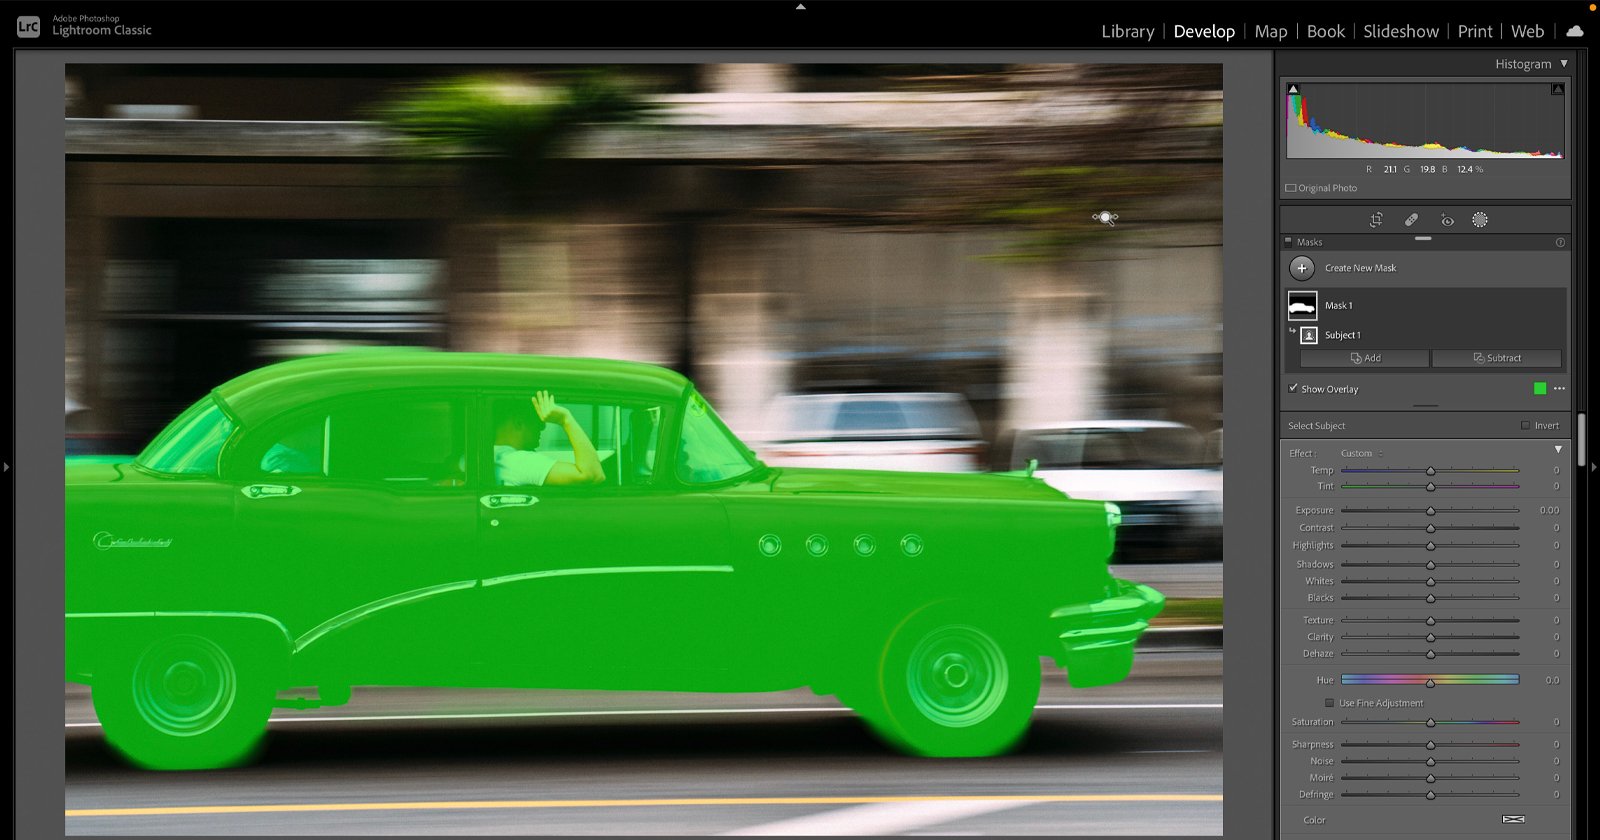
The way I approach explaining Intersect is as follows: your initial selection—whether it’s made using the Select Subject/Sky options or any of the existing selection tools—determines the What of your localized edit. Using Intersect takes it a step further by allowing you to specify Where in your initial selection you want to edit by combining it with a secondary selection. To illustrate this, check out the GIF below. I made my initial selection by using Select Subject. That is the What in terms of my localized edit. Next, I determined Where I want to refine my edit by using the Intersect tool with a Linear Gradient mask.
The new Intersect tool is undoubtedly one of the headier tools within the entire Lightroom ecosystem, but it’s also one of the most powerful if you’re into localized editing. Once you’re able to wrap your head around how to use it effectively, it’ll open up all sorts of creative opportunities to make precise edits to targeted areas within your photos.