How to Leverage Lightroom’s New Masking Tools in Your Workflow
Unless you’ve just emerged from a nuclear fallout bunker, you’ve likely already heard about Lightroom’s impressive new masking tools that Adobe announced at their annual Adobe Max conference. In fact, PetaPixel’s Ryan Mense wrote a wonderful hands-on article covering the expanse of these new masking tools.
My goal for this workflow video is to approach these tools from a practical perspective, without getting mired in some of the more technical aspects of these powerful technologies. It’s not that they are not important or worth knowing. I love nerding out about the intersection of AI and photo editing. But, I also understand that there are many photographers who are simply interested in seeing how these new tools work in a way that would be most applicable within their own post-processing workflows.
The Power of AI-Driven Masking
At a high level, the two most important updates to Lightroom’s selective editing are:
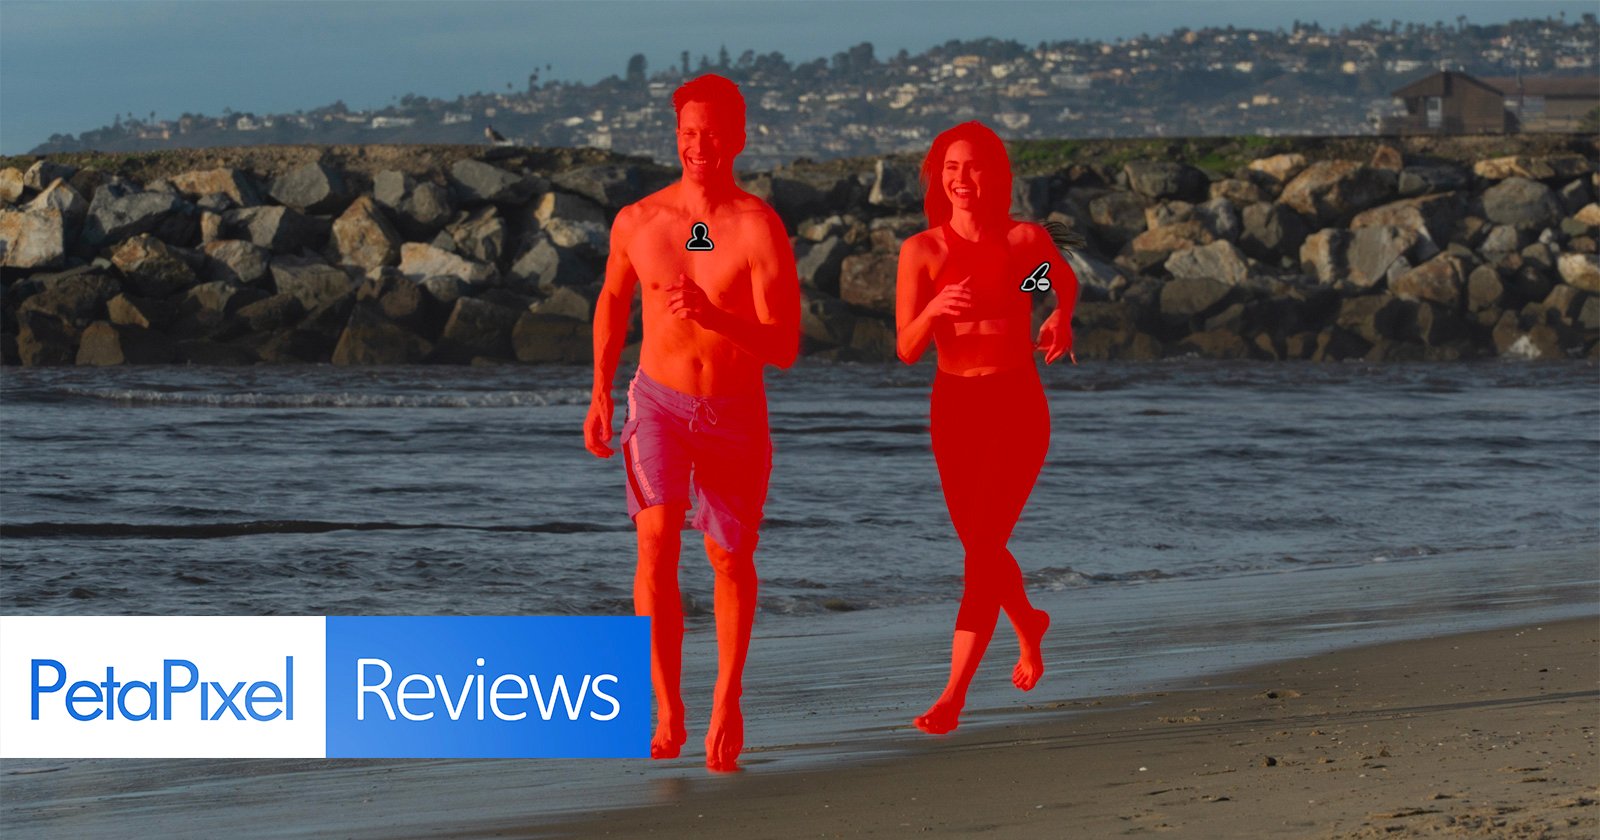
- The use of AI to intelligently select the sky and subject(s) in your composition and
- The way that you can have multiple selections, or masks, interact with each other by using the Add, Subtract, Invert, and Intersect tools.
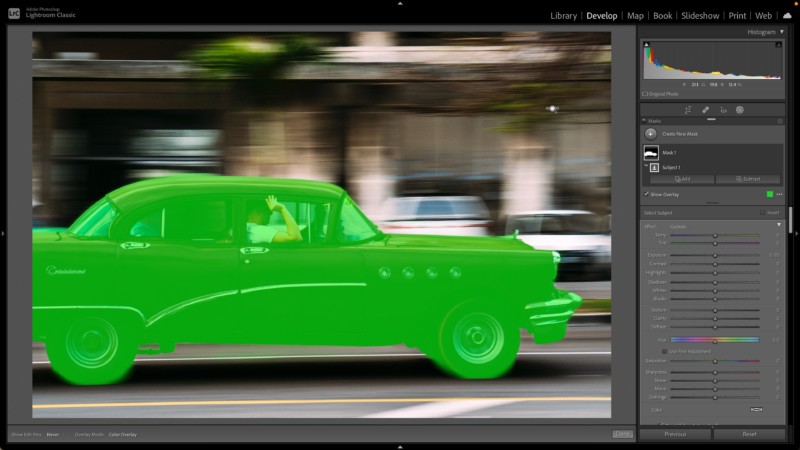
In my opinion, these two updates are some of the most significant to come to Lightroom since localized edits were introduced back in 2008 with Lightroom v2. At the risk of gushing, I cannot overstate how much flexibility this new local editing workflow offers photographers. Fine-edged selections that used to take several minutes to refine now occur within 1-2 seconds (at least on my M1 Macbook Air). And with the quasi-logic of the Add and Subtract tools, I can further target the specific areas of my photo that I want to selectively edit.
Unsung heroes
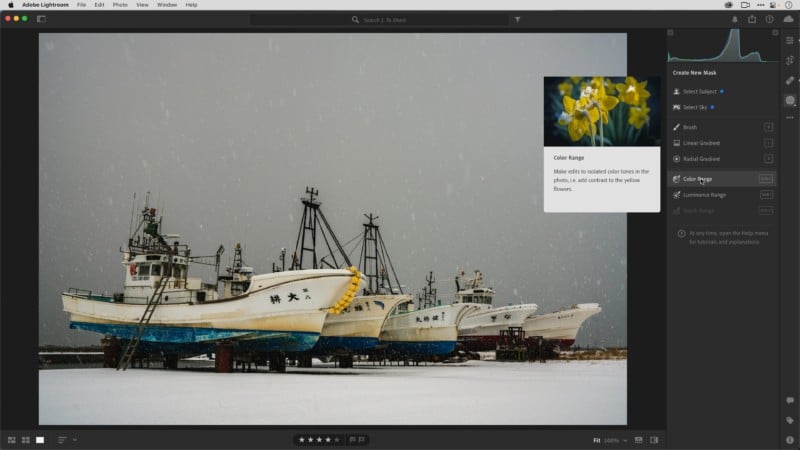
It’s important to also bring up a few other notable updates to Lightroom that may have been lost in all the fanfare. Notably, the “New Coke” version of Lightroom finally got the powerful Color, Luminance, and Depth Range masking tools that Lightroom Classic users have enjoyed for a few years now. As a Lightroom CC user, I cannot begin to express how happy I am to have access to these tools.
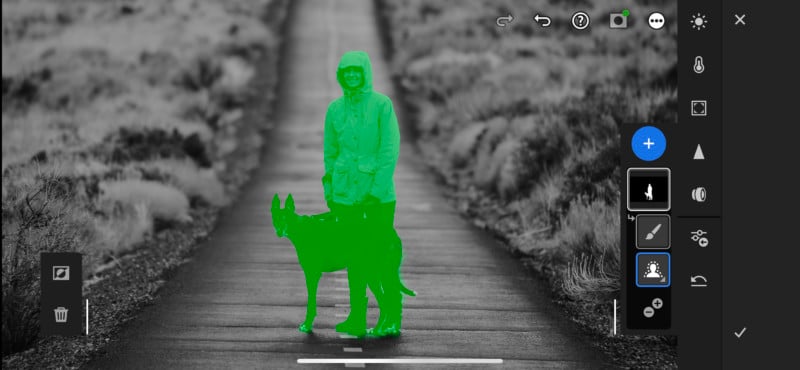
And as if mobile photo editing hadn’t been impressive enough with Lightroom iOS/Android, just about all of these new masking tools have made their way to this on-the-go platform. Which, when you take a moment to think about, is truly amazing. Imagine being able to make these fine-tuned edits on your phone.
Onto the workflow video!
Ok, enough gushing. I promised you a workflow video and here it is. Again, my goal for this video was to show you some creative ways to leverage these new masking tools to quickly achieve precise edits. In fact, in some of the photos, 100% of my edits were made using local adjustments with these new masking tools.
I am also working on a few add-on videos that showcase how well these tools sync across devices (start on your phone and finish up on your desktop), as well as how to use the Invert and Intersect masking options. I hope this video helps inspire you to try out these amazing new tools.
About the author: Brian Matiash is a professional photographer, videographer, and published author based in Coeur d’Alene, Idaho. His passion is to serve other photographers by helping them grow their own visual pursuits. Learn more about Brian by visiting his website, on Instagram, and on YouTube.