Kolari EF to EOS R Drop-In Filter Adapter: Tons of Creative Options
A little over a year ago, Kolari Vision released its lineup of high-end and ultra-rugged drop-in filters for Canon’s EF-to-RF mount adapter with a built-in filter slot, making the company the first to come to market for such a product. But does getting to market first make them any better than the competition? Is the price worth it?
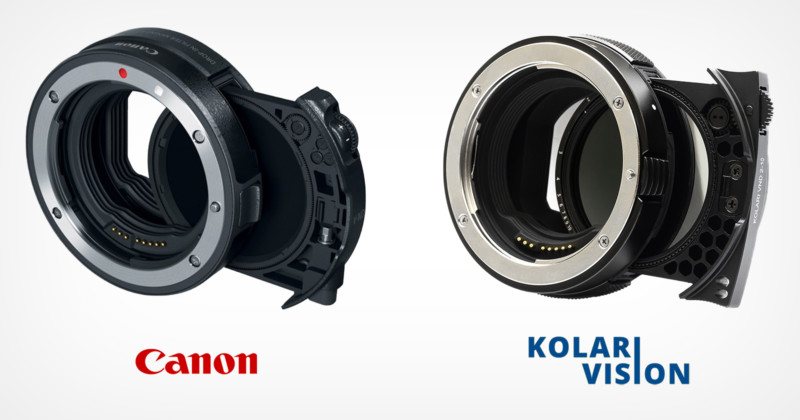
When I first got my hands on the Kolari adapter, I was impressed with its build quality as it was incredibly similar to the official adapter from Canon in terms of its look, feel, and weight. For this review, I used a Canon EOS R5 supplied by Kolari, and lenses provided by Lensrentals.
Polarizing filters are typically used in landscape photography to help cut down on reflected light that would overpower the colors in a scene in places like the sky and water. Variable Neutral Density filters are a filter type that controls the amount of light allowed into the camera at adjustable levels (two through 10 stops in this case). What makes the drop-in filters unique and highly advantageous compared to normal threaded lens-mounted filters is that you do not need to buy a new filter for each lens in your kit to accommodate all the different front filter sizes. With the drop-in kits, it really is a one size fits all kind of deal, so you can save a lot of money if you happen to use even a few different lenses regularly.
Design and Build Quality
The Kolari Vision Drop-In Filters range from EF to RF adapter itself ranges from $199 to with the CPL, $224 with the Clear Filter, and $299 with the two to 10 stop VND. The Swirl Bokeh Drop-in Filter is $99 each for the 1x and 2x filters or $149.99 for both.
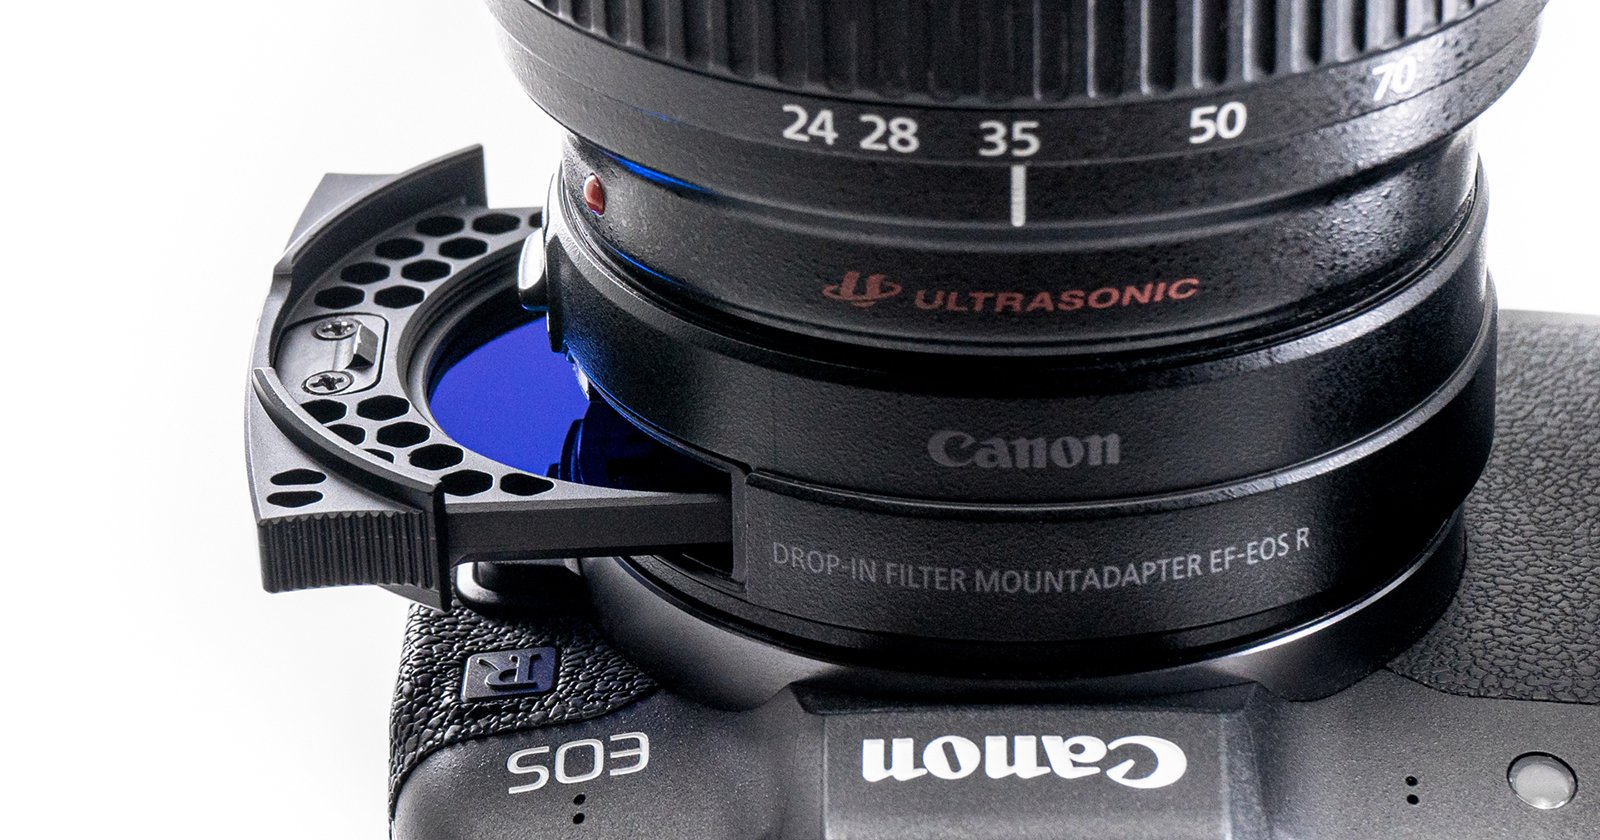
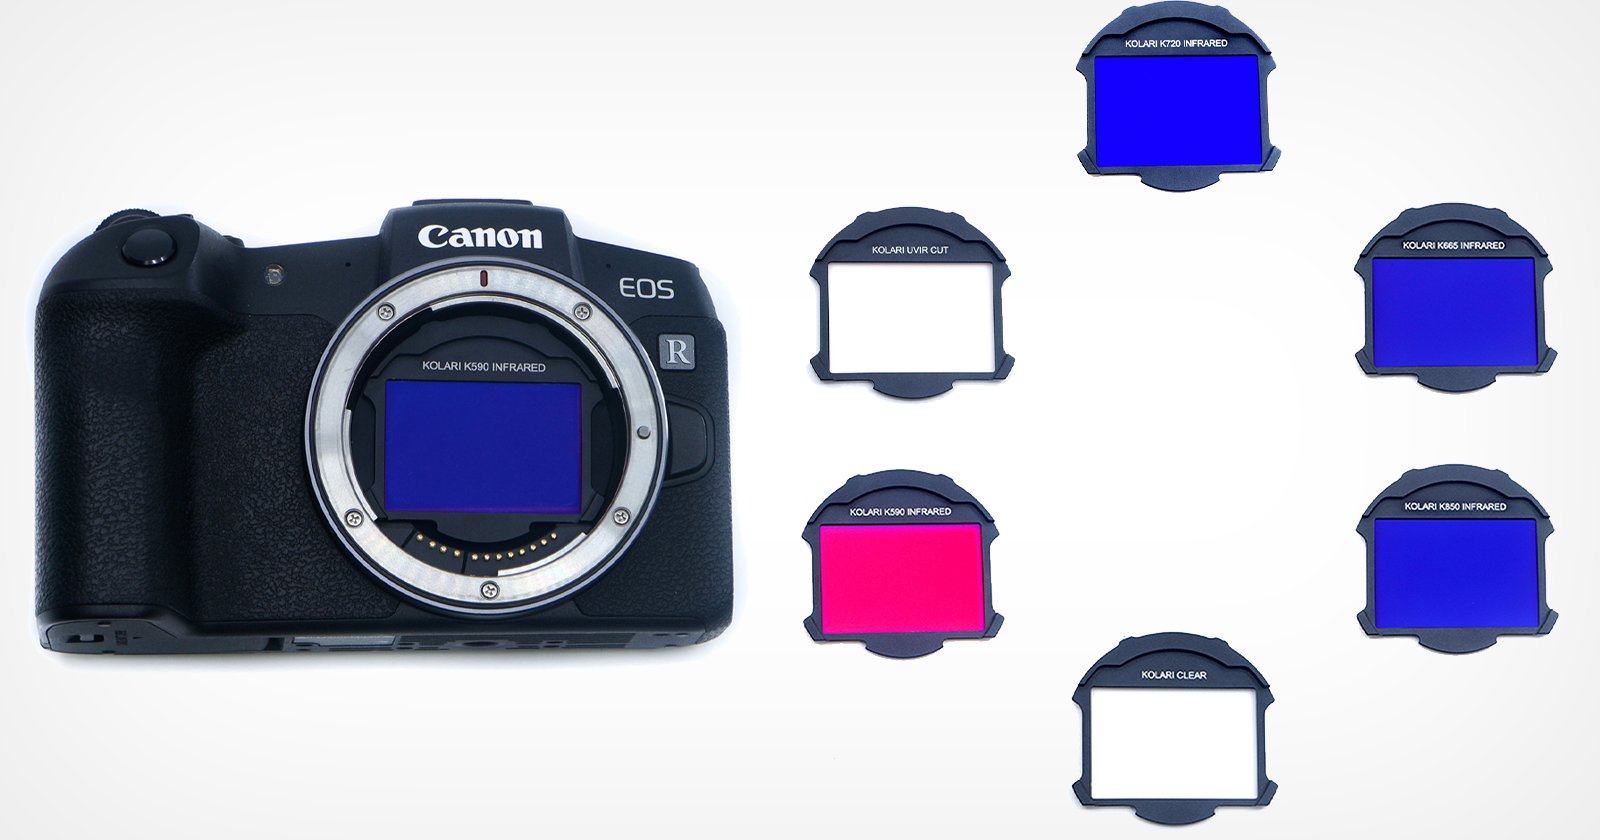
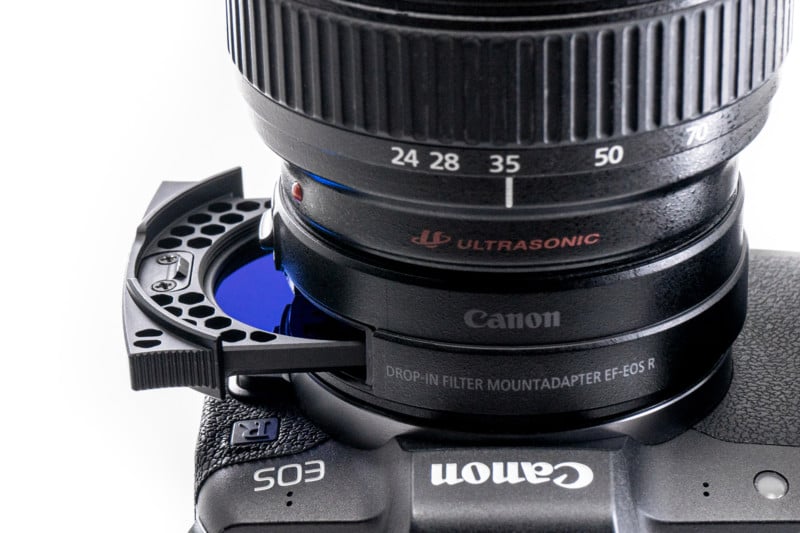
As I mentioned above, the exterior of the Kolari drop-in filter adapter is visually very similar in design and feel to the official Canon version, and both seemed to have nearly identical responsiveness for the lenses and autofocus. The Kolari adapter and filters are made using CNC aluminum and use a Gorilla Glass Substrate (similar to many smartphone displays) for the ND filters. Additionally, the system works with the company’s magnetic clip filter systems for the RF mount that can be paired with the Drop-in filters. These include options for infrared, Ultraviolet (UV), full-spectrum “clear,” various ND filters, and more.
This magnetic system can feel a bit risky, but after trying it myself I found that they work pretty efficiently if you want to combine various filters together, like an infrared filter on the magnetic side, a CPL on the adapter, and a UV filter on the end of the lens.
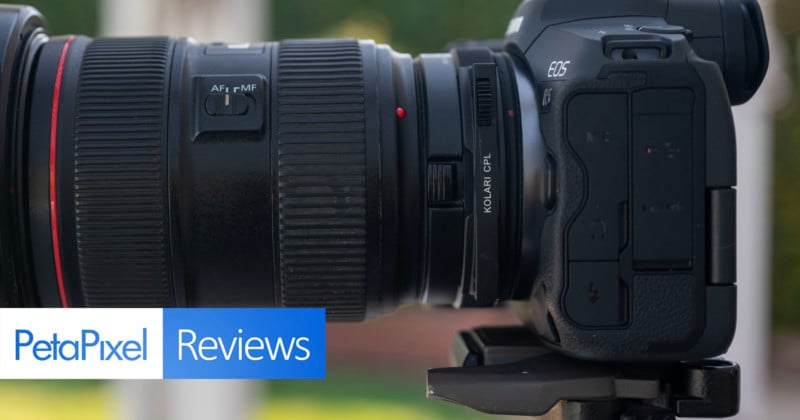
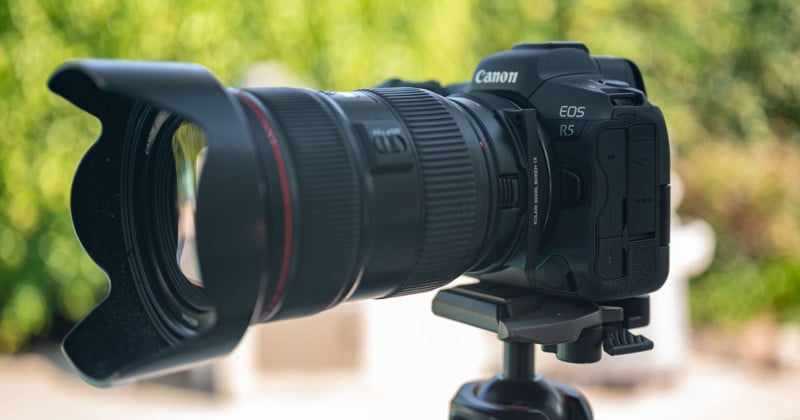
Mounting the adapter on an EOS-R body felt very stealthy in terms of its visibility on camera. Unlike many other lens adapters on the market for mounting DSLR lenses on mirrorless bodies, the Kolari system is quite discrete and almost blends in with the body and lens. It is practically unnoticeable to an unfamiliar eye. This kind of gives it a bit more of a stylish and less obtrusive feel than most other adapters.
The Drop-in filters (as well as the magnetic ones) are very solid, designed to resist impacts from drops and bumps, and are very easy to clean should you happen to be in a dusty environment with them. Not to mention the cases provided for the various systems are efficiently designed for holding everything safely in place while traveling.
In this area, one thing that could use work are the cases themselves, which I found to be a little janky to open and close, especially in cold weather. If you’re shooting outdoor work in a cold or wet environment, it can be easy to accidentally pop open the cases or drop them altogether. The good news is the filters themselves are very durable, so unless you are unlucky enough to scratch the filter’s glass itself, you should be fine, but it’s something it thought was worth noting.
Another thing that I thought could be improved is the access and availability of a clear filter. If you want to use the adapter but not use either a CPL or VND, you would want to put a clear filter in the slot otherwise you run the risk of exposing the sensor to the elements in addition to possibly affecting the optical formula since the drop in filter adapters are slightly larger to accommodate the filters.
You can buy a clear filter but it feels odd that the bundles Koliar offers do not include a clear filter. If you get this adapter, you need to get a clear filter, so not including it in the bundles feels like an unnecessary extra step.

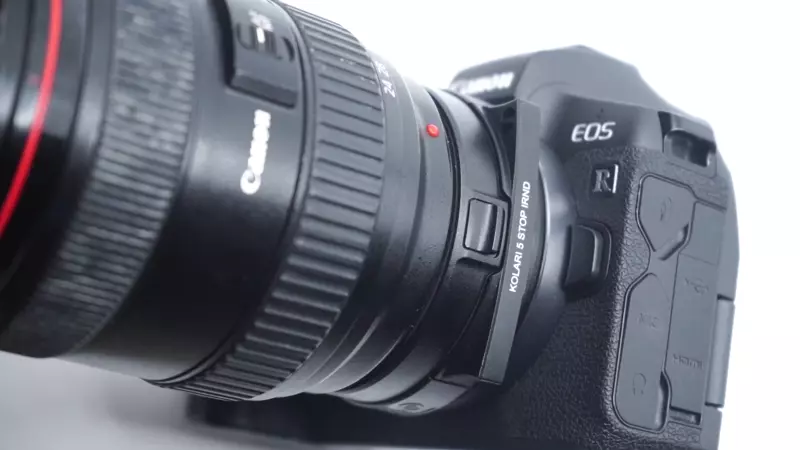
Image Quality
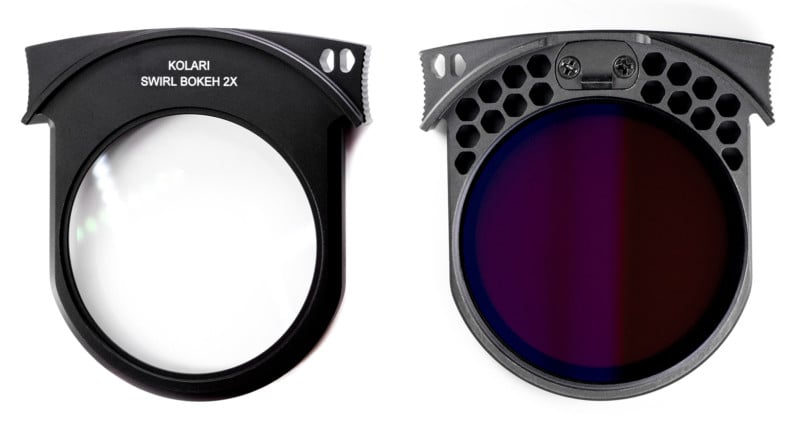
After testing the VND filter and CPL in various settings, the visual quality was very clean and arguably sharper and displayed more accurate color than when using various VND and CPL filters I’ve used mounted at the end of the lens barrel. The Swirl Bokeh filter, however, I found to be less appealing.
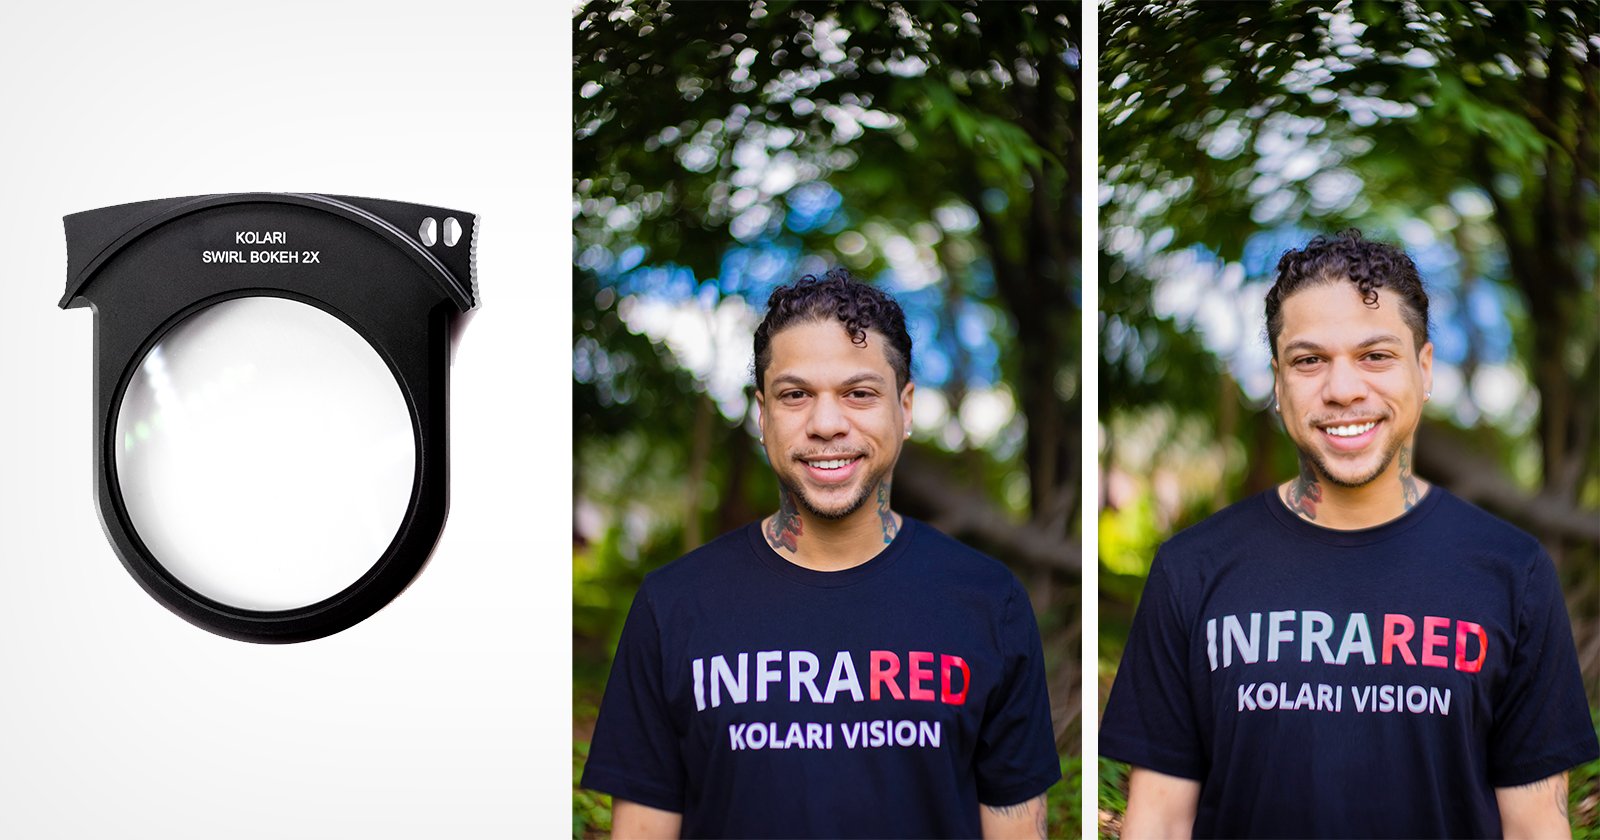
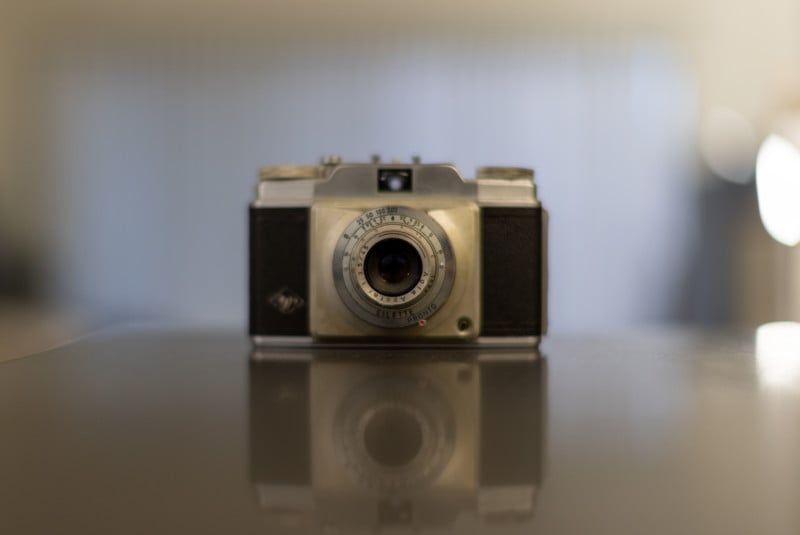
The intent is to give an intense swirl pattern bokeh similar to the effect of a Petzval lens.
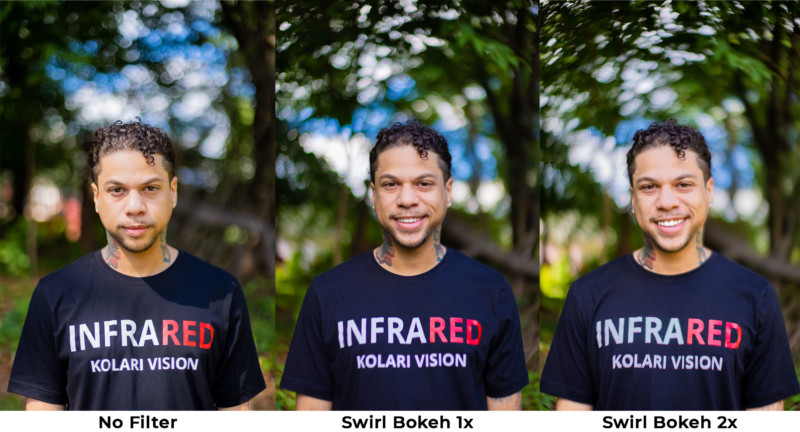
During my testing, I had access to the 1x Swirl filter and found while shooting on a standard telephoto lens (f/2.8 and above) the effects were minimally noticeable with just a subtle difference around the outer edges of the frame. When placed on a 50mm f/1.2 lens and shot wide open, the pattern was much more noticeable. The trade-off when using this filter is sharpness and focus distance.
With a lens that can shoot at f/1.8 or wider, it does give off an interesting bokeh pattern, but at the cost of focus range and clarity. To be fair, when shooting with an actual Petzval lens, your focus distance and sharpness is also rather limited so the filter does achieve that effect, I just found it to be below my expectations.
I found you couldn’t be any further than a few feet away from your subject matter (between one to four feet at 1x and one to two feet with the 2x), and much like the Petzval lenses, you need to put your subject directly in the center of the frame. Once you get further than this distance, pretty much everything in the frame will be soft and swirly which isn’t ideal. But if you can nail the focus with your subject at the right distance, you can get some pretty unique shots. Granted, they will be softer than you may expect, but that is to be the price you have to pay to achieve this style of bokeh.
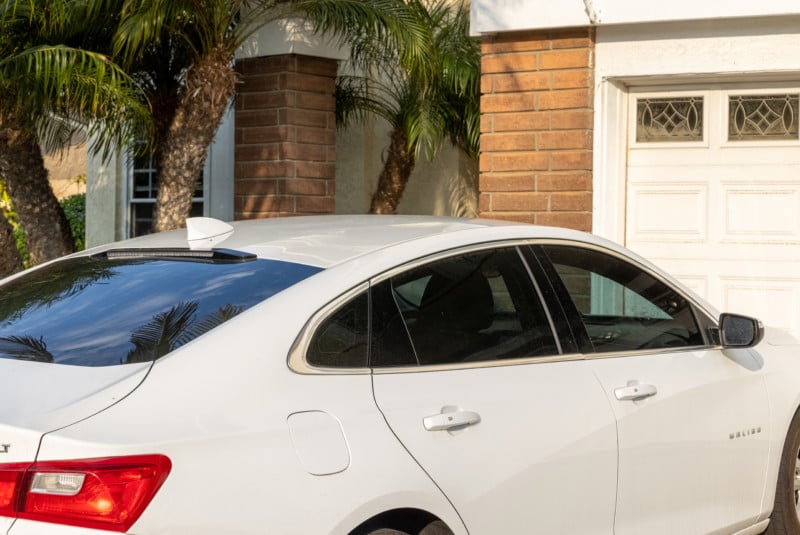
Below are a set of sample images captured with both the CPL filters and the Swirl filters to give an example of what to expect with each.
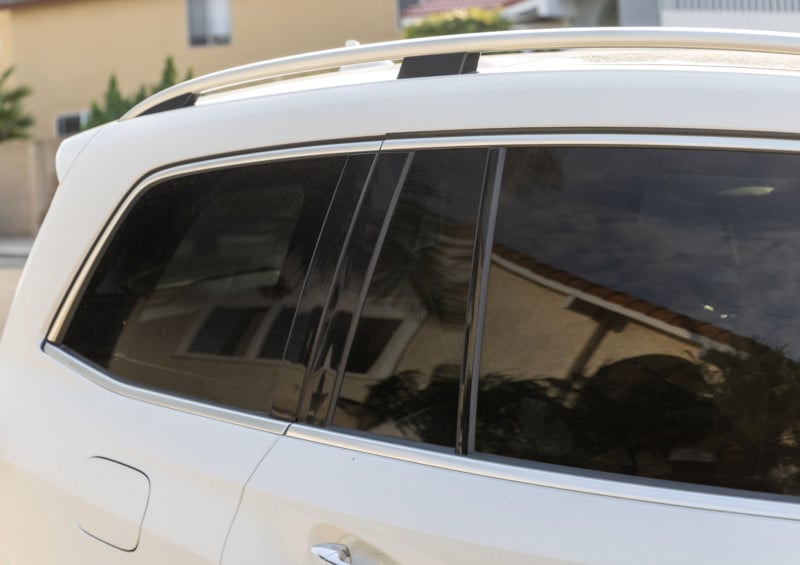
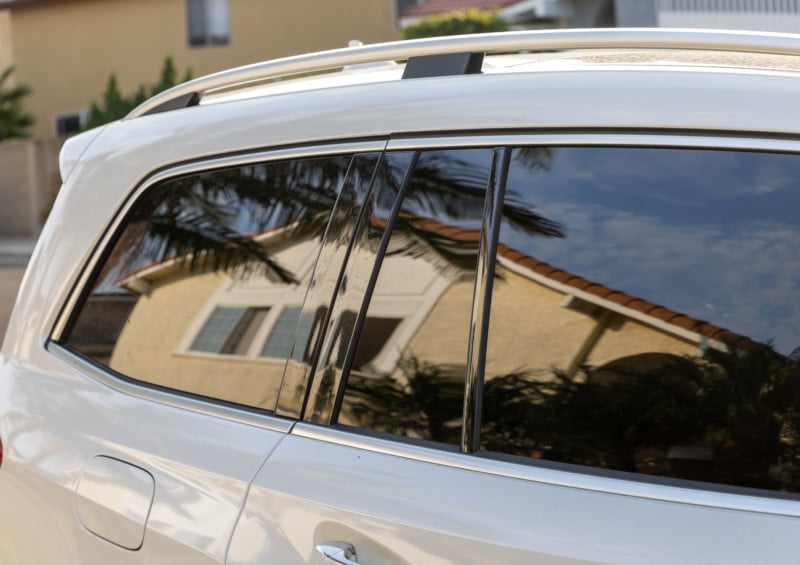
CPL Samples

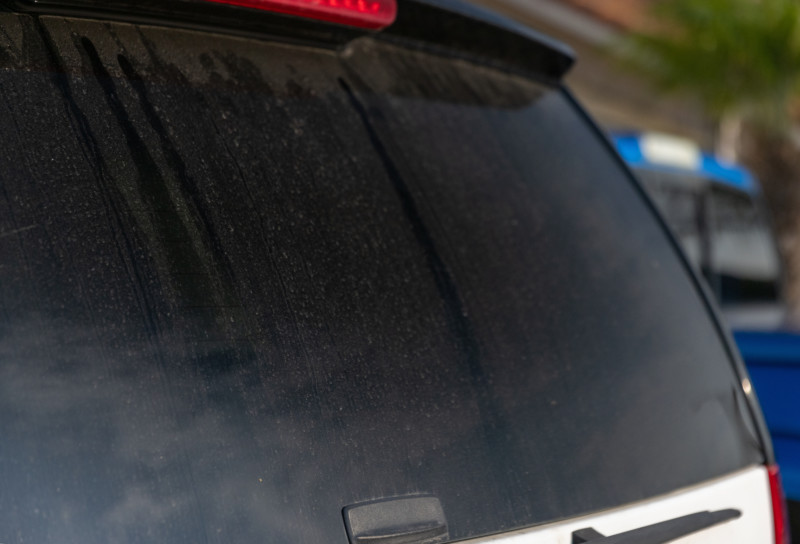


Swirl Bokeh Samples


High Quality and Tons of Creative Options
For people looking to move from the Canon DSLR systems to mirrorless, these types of adapters make the path of change so much easier and more affordable and ones that offer additional utility like rear-access filters that work with every compatible lens just means the system is even more attractive and useful. My only reservation is the price of the clear filters, while they aren’t bad, still seem a bit pricey to me for something you have to purchase. This seems to be the case no matter which brand you choose, though.
Having tested both the Canon and Kolari Vision versions of the adapters and VND filters, the difference is nearly impossible to spot throughout the images, making the Kolari version more attractive since it’s similarly priced but offers the ability to pair with a wider variety of special effects filters.
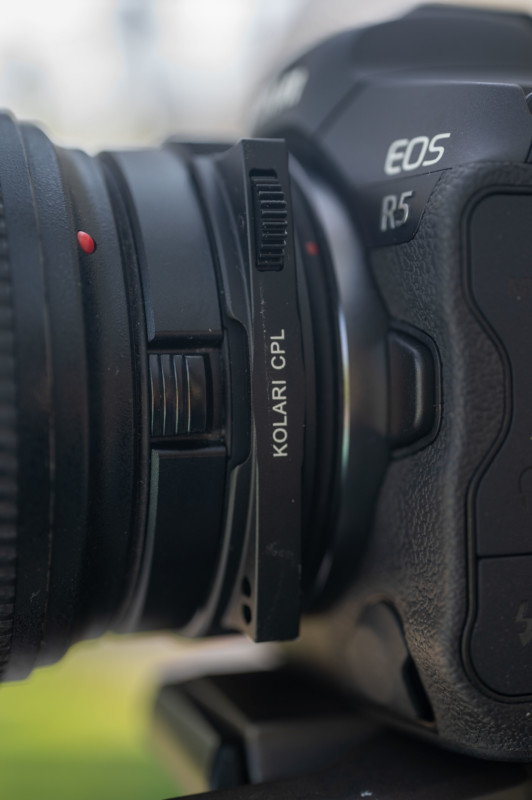
I have used many filter systems over the years, but testing this adapter was the first time I’ve used a rear drop-in-based system, and I have become a believer. It is much faster, cleaner, and discreet to use this method compared to using larger filters that mount to the front of the lens. The drop-in system of filters feels less intrusive, and in situations like a CPL and VND, the placement of the intensity dial right at the base of the camera lens instead of at the very end is so much more convenient and easy to control. It’s nice that they also play nice with Kolari’s Magnetic Filters for additional levels of creative control.
Are There Alternatives?
The adapter space is crowded, and as such there are a lot of alternatives to the Kolari system. Canon makes a first-party adapter with a built-in filter system for $300, but it only has the standard Clear, VND, and CPL options and only ships with the CPL. Additionally, Breakthrough Photography has an upcoming EF-RF kit with drop in filters that seem to be similarly priced to the Kolari system, but an official launch date has not been confirmed yet. Beyond that, there are several Lens adapter brands on the market such as options from DEO-Tech OWL or FotodioX, but neither converts the EF to RF mount as well as offers a drop-in filter feature.
Should You Buy It?
Yes. With the Kolari Vision system, not only do you get the EF to RF mount adapter but also a high-quality VND and CPL filter as well as access to a large array of creative filters like the Swirl Bokeh kit. It also plays nice with the various Kolari magnetic clip-in filters that can be added together to make unique photos.