Why I Use Stacking Instead of an ND Filter for Long Exposure Photos
In this article, I’ll share a technique that I learned many years ago and that I still use occasionally. You can use it for removing people from a scene, but in this case, I will be using it to mimic one of a neutral density (ND) filter‘s main purposes: longer exposure.
First, if the camera has moved or if something happens in front of the camera, those changes will often be permanently saved in the resulting photo.
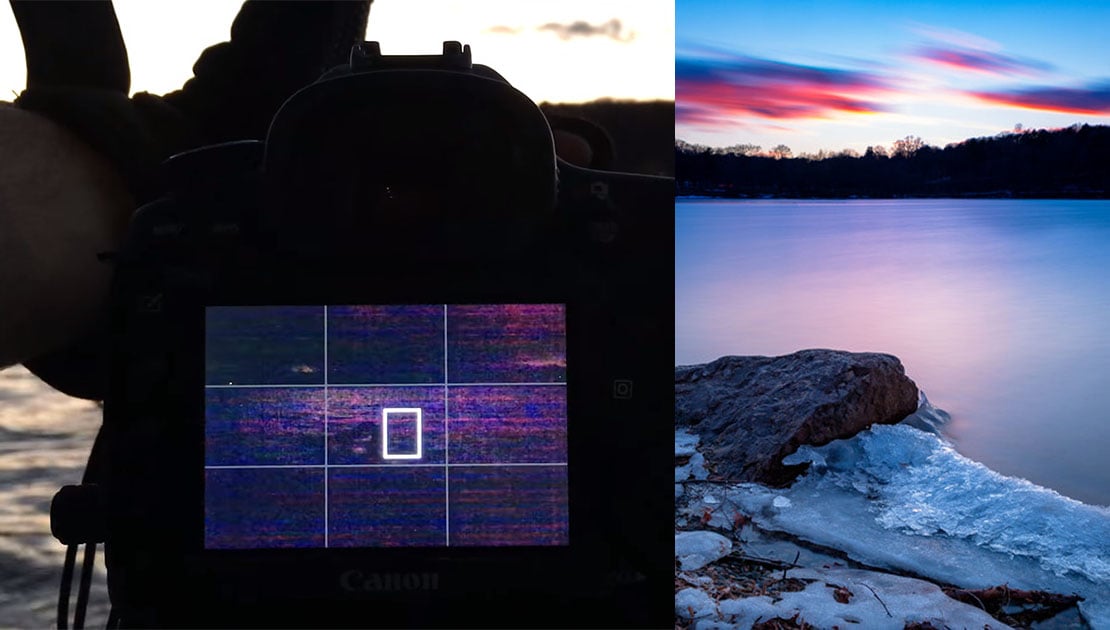
A second problem is the noise that’s introduced when shooting longer exposures. Yes, higher-end cameras and sensors can help you avoid some of the noise, but even on those cameras, using image stacking instead of a single ND filtered exposure can help you achieve cleaner results.
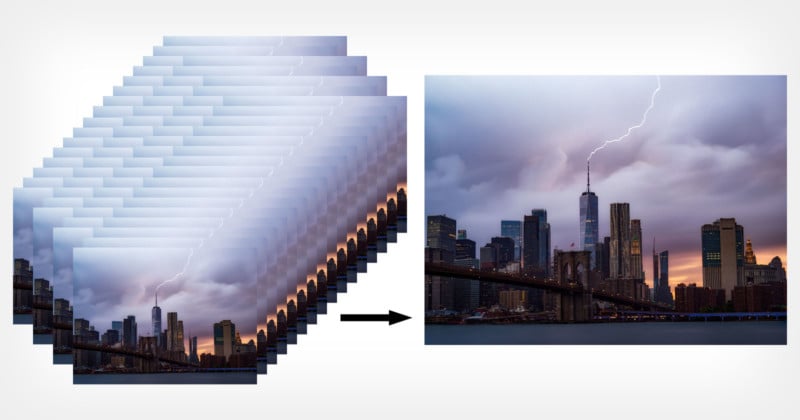
To create the following photograph, I first captured 247 separate photos:
I then stacked the photos in Photoshop after making simple adjustments to my raw files.
Here’s what you do:
1. In Photoshop, under the File menu, go to Scripts, then Load Files Into Stack.
2. If you have opened your files from Camera Raw, click on Add Open Files. If you have tiffs, then hit Browse. Make sure you check the boxes to automatically align source images and to create a Smart Object after loading the layers.
3. After Photoshop does its magic of aligning, go to the Layer menu, select Smart Objects, then hit Stack Mode. Choose Median or Mean. You have to make your choice based on what works best with your work.
Note: If you’re stacking large numbers of files, you may need a computer powerful enough to handle this kind of task.
So instead of using an ND filter for longer exposures, you can capture a longer cumulative exposure time across multiple photos and then stack them for a combined longer exposure.
The main advantage of this technique is the control you get when you have so many frames to choose from and work with.
For example, if someone walked in front of your camera during the shoot, you can easily delete the frames that have the person in them.
If your photo contains moving subjects such as trees, those objects would be blurred with a long exposure shot through an ND filter. But if you have a large number of photos captured with shorter exposure times, you could bring back detail and sharpness to things like trees and skies if you’d like to.
But one of the biggest advantages of using this technique for me is the fact that it allows me to do minimal retouching.
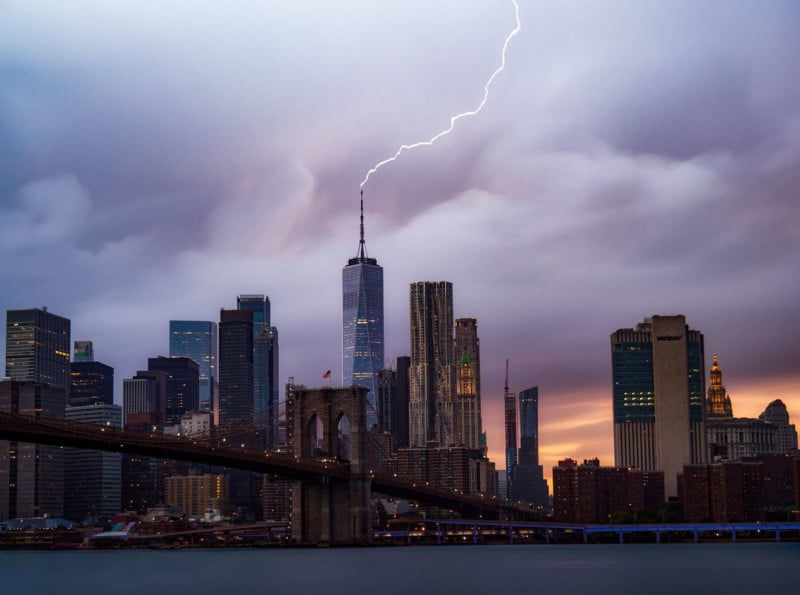
Say you captured the same lightning photograph seen above, except you used an ND filter and one long exposure. If there were more flashes of lightning than you wanted, you’d have to remove those lightning strikes in post-production. If a boat in the water stayed too long in the same place, you may be forced to remove the light from that boat in post-production if you want a clean river.
These types of things would ordinarily force you to clone and retouch your final photos.
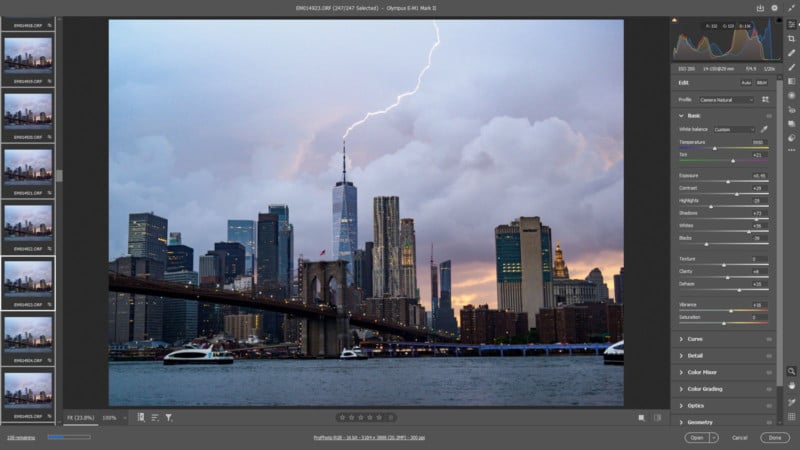
By using stacking for long exposure photos, I am able to avoid all of that. I only choose the frames that I want in my final photo, and I did not need to do any retouching whatsoever aside from my usual color correction and dodging/burning.
I’ve been using this stacking technique for my long exposure look for a long time now due to the increased control it gives me.
About the author: Alexander Light is a photographer focused on street, travel, and landscapes. The opinions expressed in this article are solely those of the author. You can find more of his work on his website, Facebook, and Instagram.