How To Photograph Beer and Successfully Retouch in Photoshop
In this 18-minute video, photographer Dustin Dolby explains many of the tricks beverage photographers use and shows how anyone can achieve professional-level beer photos with just a few speedlights and some entry-level camera gear.
Dolby says that every little detail matters when it comes to creating the perfect shot for advertising beverages. While beer photography tutorials come in all shapes and sizes, he says the big secret is most of the concepts come down to simply shaping light and using a little bit of Photoshop to fix the various imperfections that just happen throughout the course of the shoot. In the video above, Dolby walks through every step (including the mistakes) of his usual workflow for creating incredible beer and beverage photos.
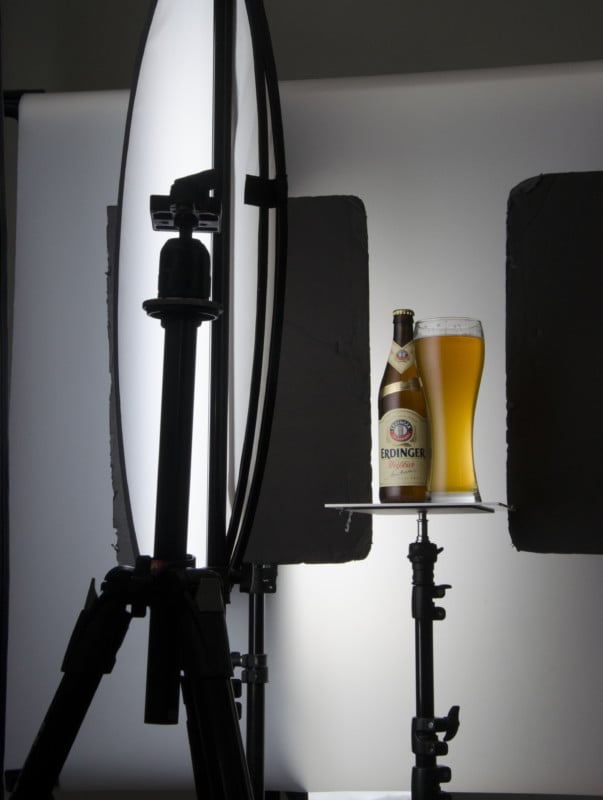
Starting with just his beer bottle and a single strip box, the first, and most important step is to ensure the bottle is aligned properly for the shot. From there Dolby says that photographers need to start modifying the lighting to ensure a broad and — what he describes as — “milky” look with a nice highlight on the side.
Dobly adds an additional strip box (his second light source) for his backlight and will cycle through multiple power levels to find the brightness that is just right for the planned image. Next, to ensure the labels are exposed properly, Dobly recommends using a third light bounced off the ceiling for a subtle fill.
Once all of this is done, he recommends then adding some flags (he uses black foam-core) to control any light spill and avoid any unwanted flares in the final shot. At this point, he can finally add the beer.
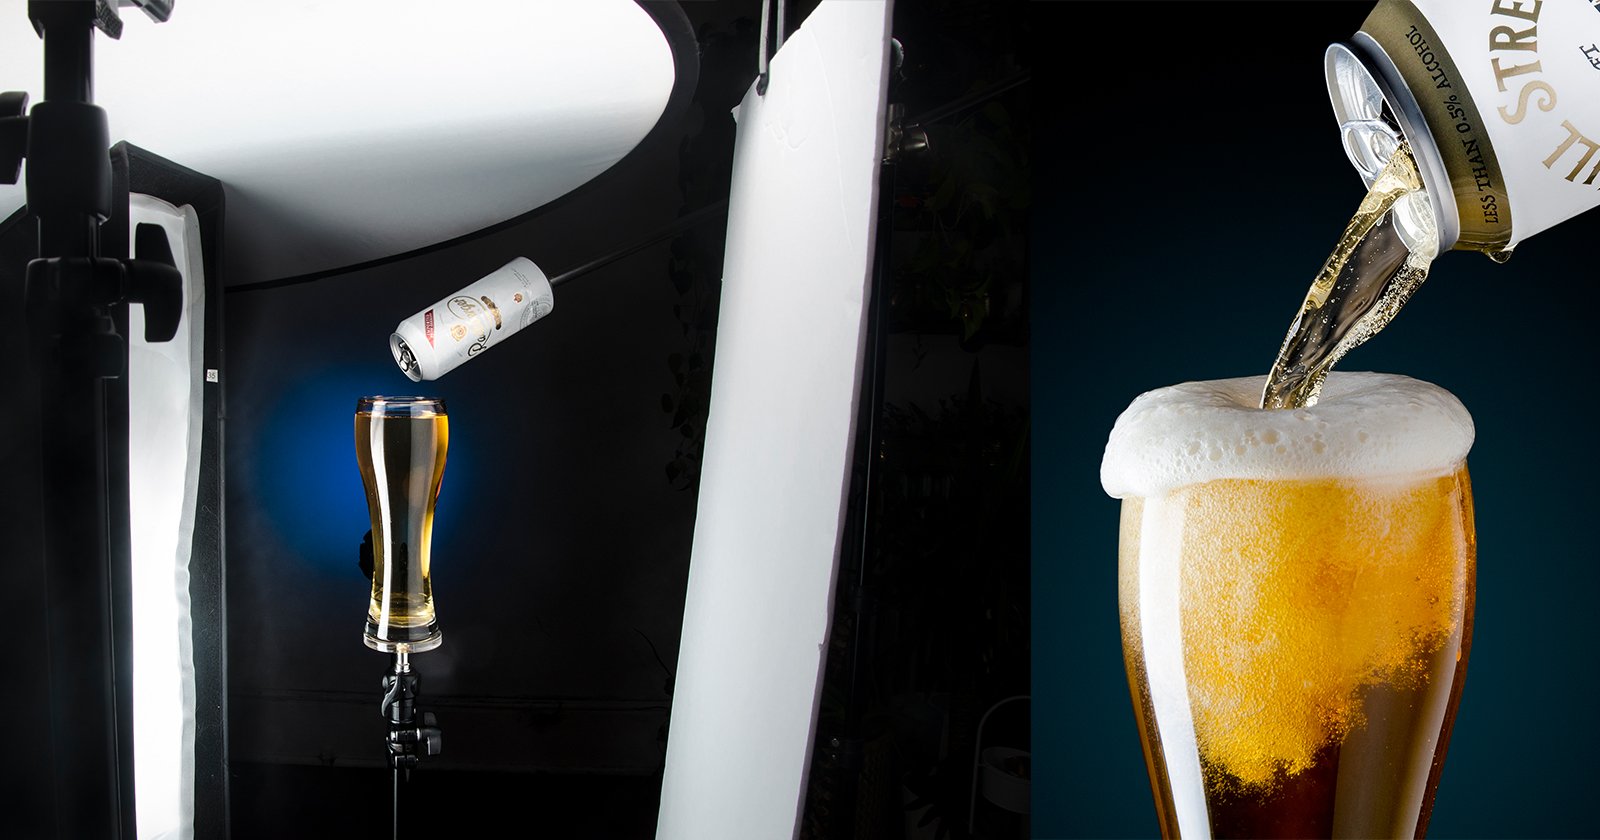
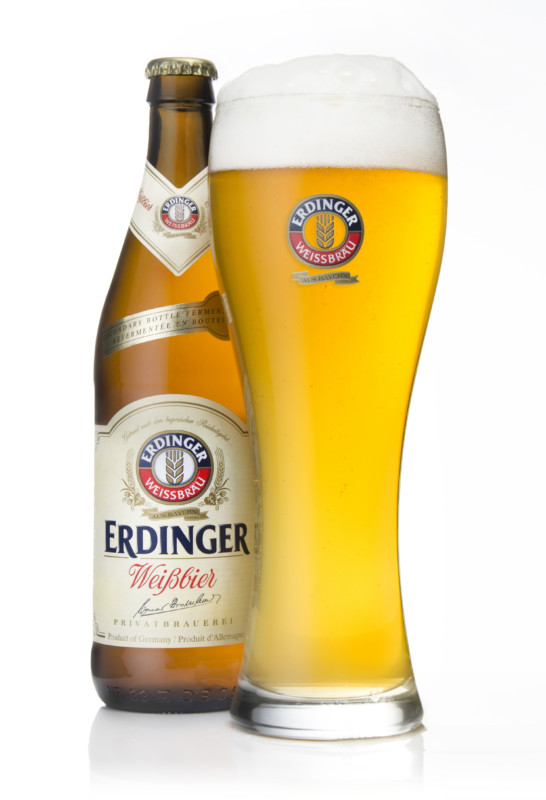
The trick here is to pour just half the glass first to let things settle and ensure the image is still framed properly. Dolby says that this extra step that allows him to finish pouring the second half directly into the upright glass will cause a “big reaction” that will hopefully lead to a big frothy end result. Dolby explains that photographers can miss the shot either due to the drink not pouring right or a technical issue with the camera or lights can occur. If this happens, the shot needs to be reset to a certain extent. He recommends having some spare beers to repour as needed, or even using a bamboo stick to agitate the drink will react with the bear and create an additional “frothing” to help get the shot correctly.
The second half of the video explains how to retouch the image for a fantastic final result. The first step is to eliminate any distractions or mismatched elements in the shots like excessive bubbles or condensation on the glass and table. He then details how to extend and clean up the background so that there is a perfectly clean slate and removes any splashes or spills on that may be visible on the table.
Over the course of the rest of the video, Dolby shows his entire process including fixing the labels, adding some color corrections, highlight fixes, and even compositing small elements to create a perfect shot — this even includes creating a label for the glass itself leaving him with a great sharp commercial-looking image worthy of a poster or billboard.
For more from Dustin Dolby, subscribe to his YouTube Channel.