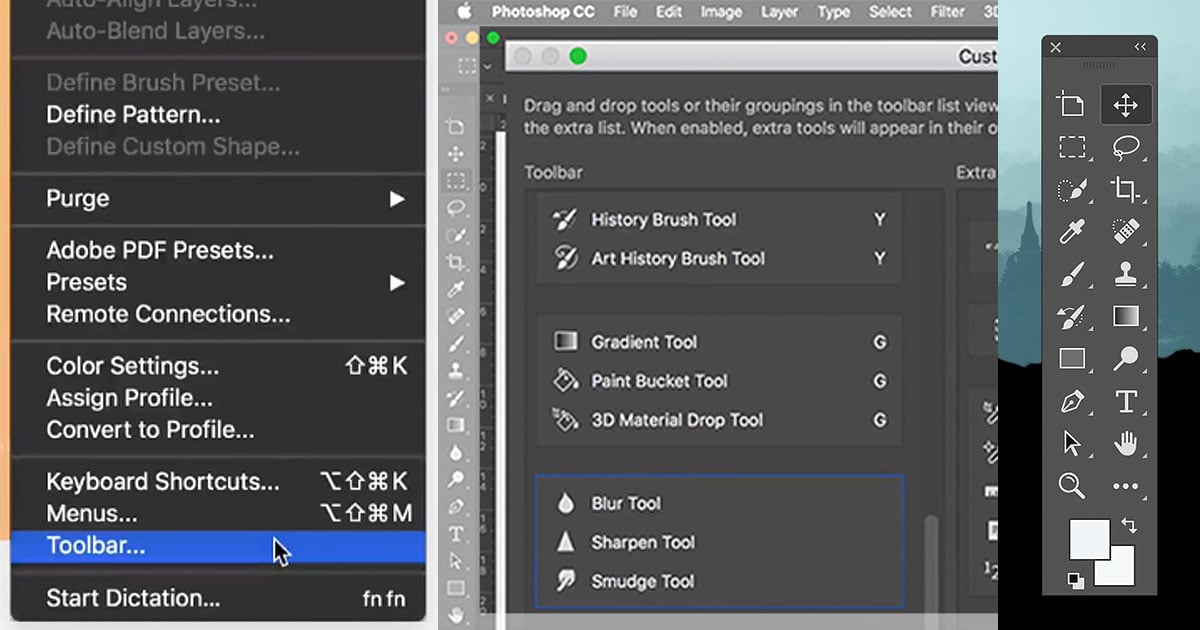
How to Create the Perfect Photoshop Toolbar for Your Editing Needs
Photoshop master Unmesh Dinda at PIXimperfect has put together a simple tutorial that could have a significant impact on your photo editing workflow. In a few minutes, he’ll show you how to customize your editing experience and create your personal “dream Photoshop toolbar.”
In this step-by-step guide, Dinda doesn’t just show you how to go in and edit your toolbar, he also gives you a few ideas on how to decide what to get rid of, what to keep, and how to organize everything you actually use.
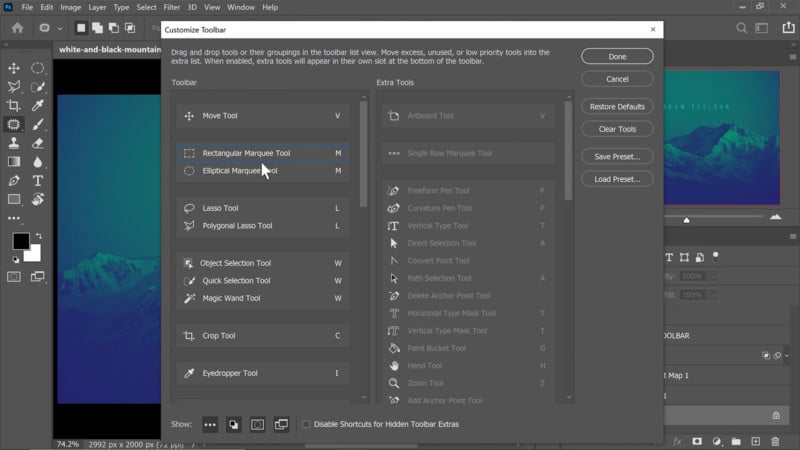
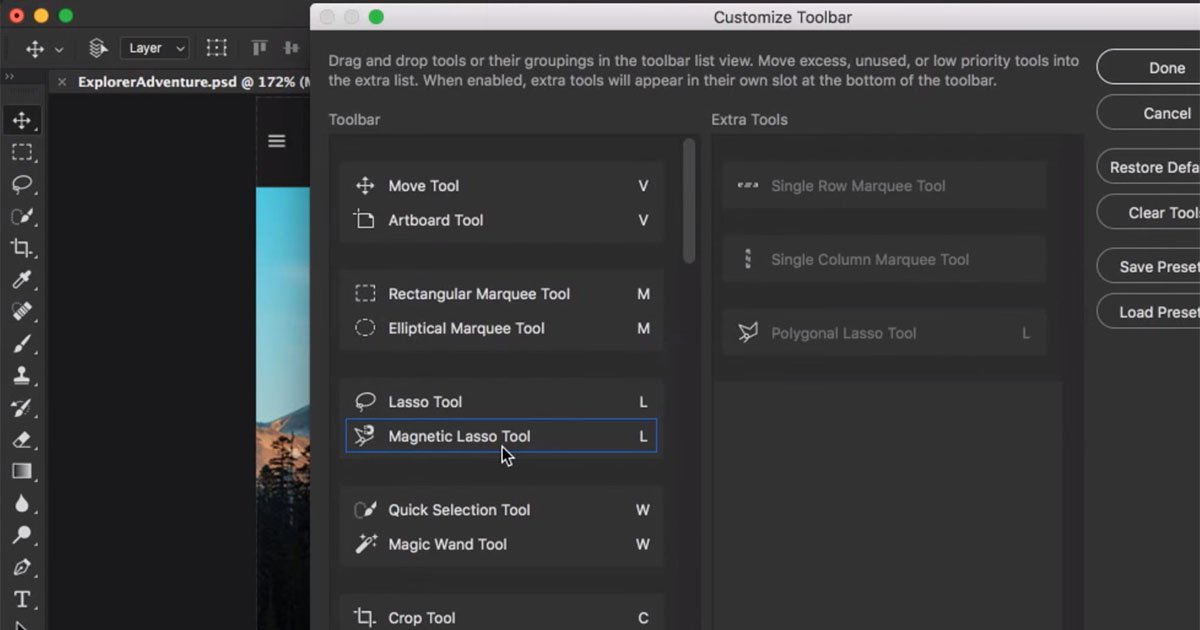
As he optimizes his setup, Dinda points out some of the tools that are totally useless in 2020—like the archaic Red Eye tool, destructive options like the Color Replacement tool, or options you can easily access using shortcuts like the Hand tool—and then walks you through how he ungroups anything he does use regularly so that it can be accessed with a single click.
Finally, he shows you how to remove specific buttons (not tools) that are cluttering your toolbar—like the Quick Mask button and the Change Screen Mode button—and explains how to save your customized toolbar as a Preset in case a rogue update wipes out all your custom settings.
Again, this is all basic optimization, but it’s a step that many photographers choose to skip when they first get into photo editing, and they never go back to address it. If you want to rectify that oversight and create your own “dream Photoshop toolbar,” check out the full video up top and follow along. A few minutes today could save you lots of time in the long run.