Blast from the Past: Using the Polaroid Palette to Make 35mm Negatives from iPhone Photos
The hybrid processes from the transition to digital photography generated lots of garbage, cheap stuff to experiment with. This story is about one of these discoveries.
Background
Photography came into my life in my teenage years, at a point when I was already someone who always checked inside dumpsters trying to find interesting things to transform into useful ones. This curiosity with the obsolete and the old only got bigger when I discovered photography.
In 2003, I ran across a few articles from Andrew Davidhazy and became determined to build myself a scanner camera for digital slit photography. I lived in São Paulo—a huge city that nowadays has more than 20 million people—and if you are ever looking for computer parts in São Paulo, Rua Santa Efigênia is the place to go. This is where I started searching for old “as is” scanners for very little money.
In an area like this, different stores specialize in different things and side streets have stores with cheaper stuff and some used stuff. But two streets north there is Rua do Triunfo, and this is where you’ll find the “as is” stuff—sometimes even sold by weight.
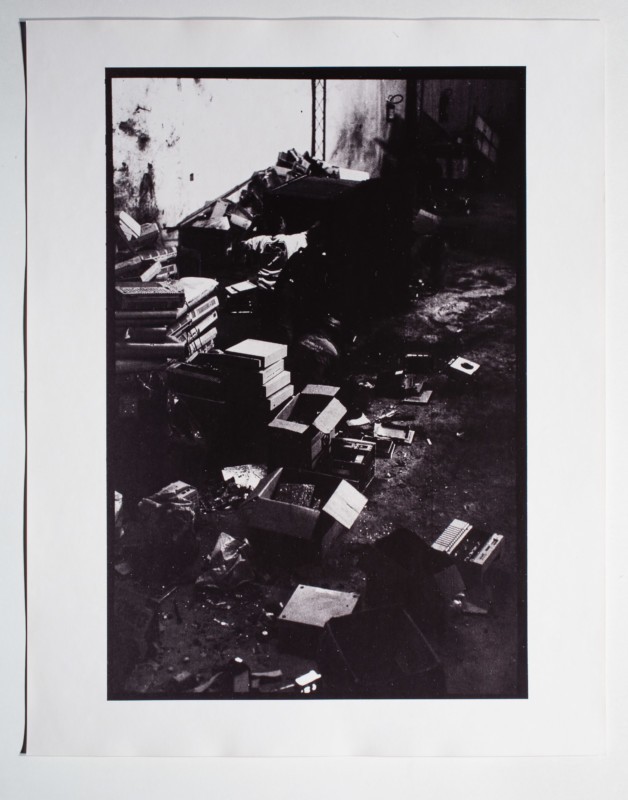
I came back so many times to these places that I got to know people and had access to places that weren’t really safe for regular customers. Just piles of beige stuff with cables.
I bought lots of scanners that I would later test and try to make into cameras. No matter what happened, I knew the main rule was not to complain if stuff didn’t work—after all, what they were selling me was in fact other people’s garbage. In the years that followed, I was able to make a few scanner cameras and kept buying scanners to feed the workshops I offered on how to do it. But I also set about collecting strange items that were imaging-related, simply to prevent them from being crushed and recycled until I could figure out what they did.
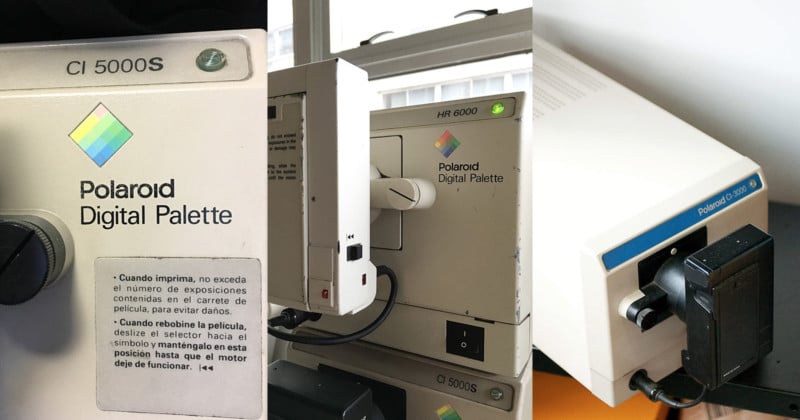
This is how I ended up with three Polaroid Palette printers.
The Polaroid Palette
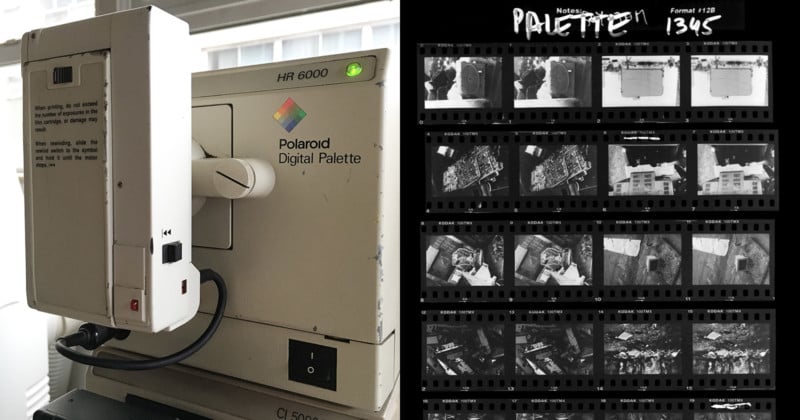
The Palette is a machine that combines a monochrome CRT screen, an RGB filter wheel, and a 35mm camera into a single package. The idea is to print a digital image onto a regular 24x36mm frame of 35mm film. The filter wheel is there to enable colour images (with three CRT passes).
There were other models, even one with a 4×5-inch back instead of a 35mm camera, but I never found one of those. All three that I had were fitted with a SCSI interface, and two also had a parallel port exclusively for PCs.
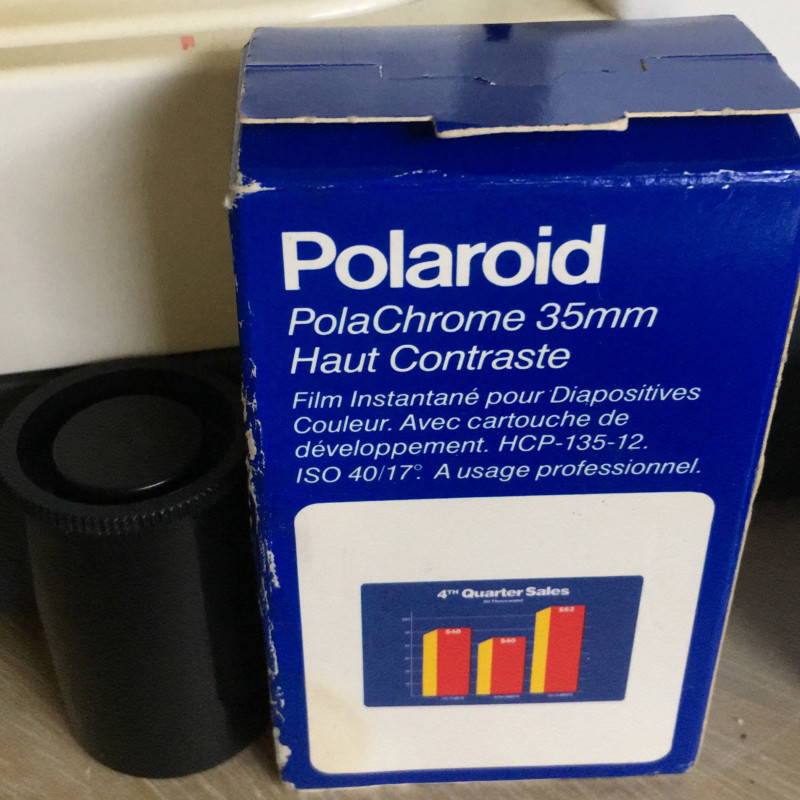
An ad for the Palette suggested that it would be good for making slides with pie charts for business meetings. It was a primitive solution prior to the LCD projector, but with some Polachrome 35mm it could be a really fast one for that era.
Generally, these kinds of strange items have one major issue for a “modern day” user: the lack of software, and sometimes the lack of any compatible cable.
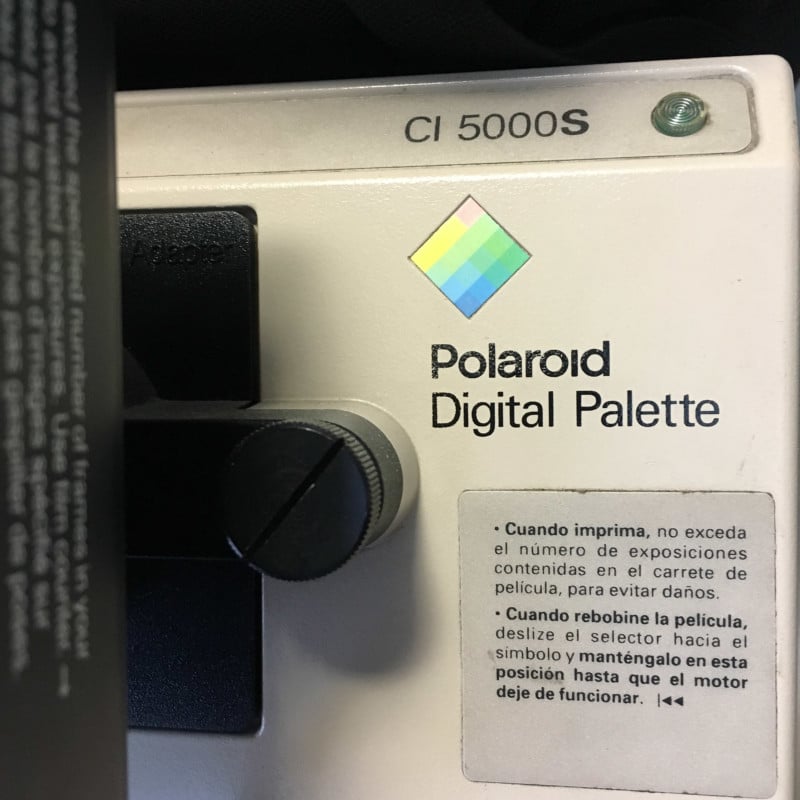
Palette #1
I found my first Palette in 2007, a CI5000. In this case, I got lucky: I had a bunch of SCSI cables that I’d also collected over the years of gleaning old computer equipment.
Its software wasn’t that hard to find either. I found a German website called Triber Update that still had the Mac OS9 files for most Polaroid products, so I installed the Palette Export driver on a Powermac G3 I had sitting around. The install consisted of simply adding the file to the Export folder inside Photoshop’s extensions folders.
The ReadMe file was very interesting: being a CRT projection, the Palette had to be away from other CRT monitors or anything that had a magnetic field in order to guarantee no distortion in the printed image. Anyway, I didn’t have a manual, that ReadMe was all the info I had on the machine.
When I opened the 35mm camera of the CI5000 it had sticker inside that read: CAUTION Do Not Touch the Shutter, but its focal plane shutter was already messed up because someone probably did touch it. Fortunately, I was able to put it back in place with a dentist tool. I connected it to power and green light came up and held steady. I loaded some colour film I had. I opened an image in Photoshop 5, got to the interface, and hit print.
A progress bar moved along steadily, but the Palette remained silent. For a couple days I tried a lots of ideas, but nothing I did could change this behaviour. One down, two to go.
Palette #2
It was about one year later when I found myself another Palette. This time it was an HR6000.

This one was really covered in dust and took a lot of work to get it clean, but once I got it plugged up it turned on and connected to the same software right away, so I loaded some TMax 100 into its camera.
My first attempt resulted on a warning message: CRT intensity too low. It is very easy to remove the camera from the Palette without releasing any cables, just a couple screws, so I checked and found that the CRT was on. Who would have guessed that a 15-year-old CRT could still produce a faint image.
I looked around a bit and eventually found a checkbox that let the thing ignore low intensity warnings. My guess is that the software engineers at Polaroid figured out this trap of frustration that the hardware engineers had setup for users in the future. Bless them.
So I got to print my first frame with a Polaroid Palette… and it… took forever. For the second one, I removed the camera to look inside and see exactly how it worked. It turns out that it takes such a long time because the image is projected on the CRT line by line, not filling the entire CRT area at once.
After I had it all tested, I forced film rewind and developed the roll to check the images.
Resolution is low for a negative and (looking back) maybe TMax 100 was not the best choice, since it out resolves the image showing every detail of the CRT lines. Shadow detail suffered a bit in the final image, but highlight detail was very good, so I decided that the next images I used would be more compressed, with less black—not a very scientific solution, but a solution all the same.
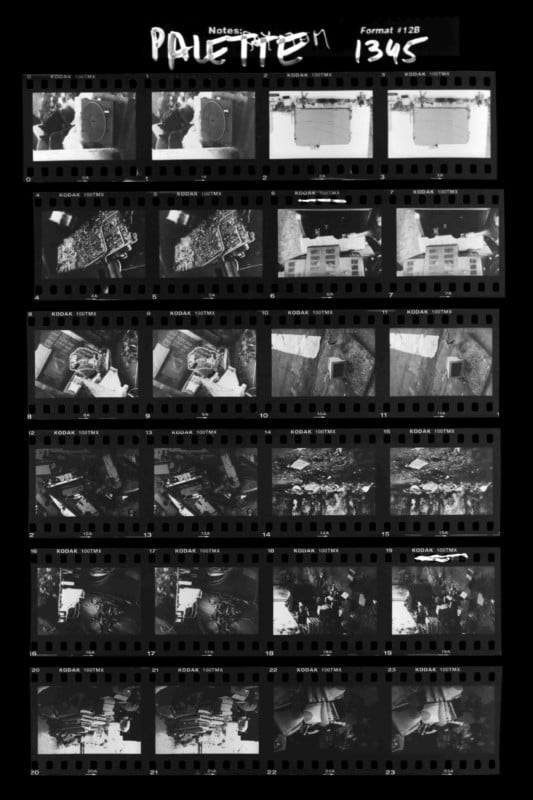
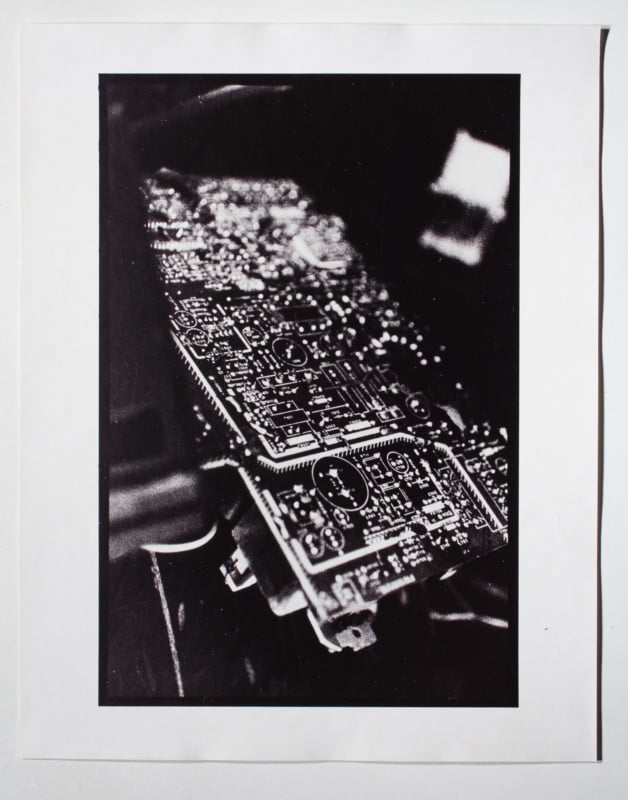
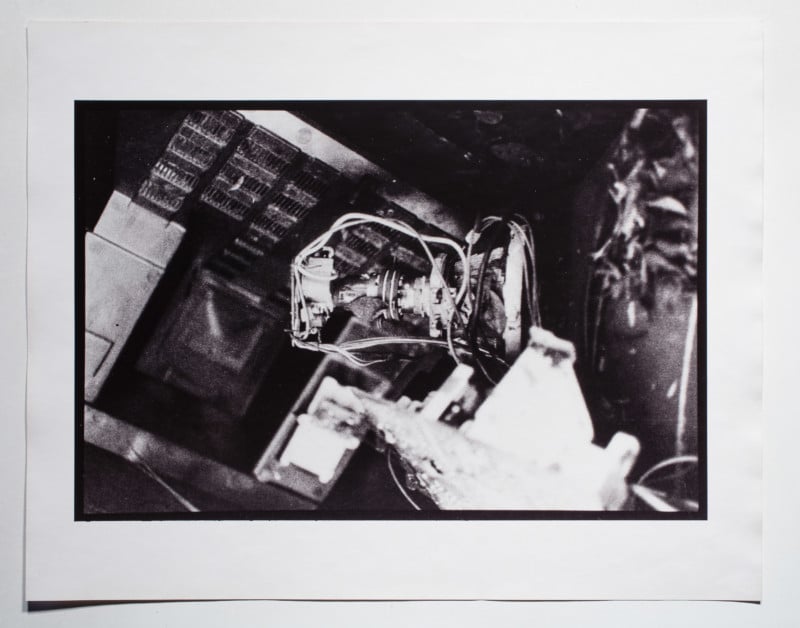
So, with another roll of TMax 100 ready, I printed images I had of the electronic garbage, and some other images of computer parts left on the streets of São Paulo. For each one, I would open the Curves command and moved the bottom of the curve to 30, make one frame, then move it to 60 and make another. This made pairs of negatives, at least one of which I considered usable at the time.
I made some trial prints onto Kodabromide F-3 single weight fiber based paper I had, which was maybe too contrasty for those compressed negatives.
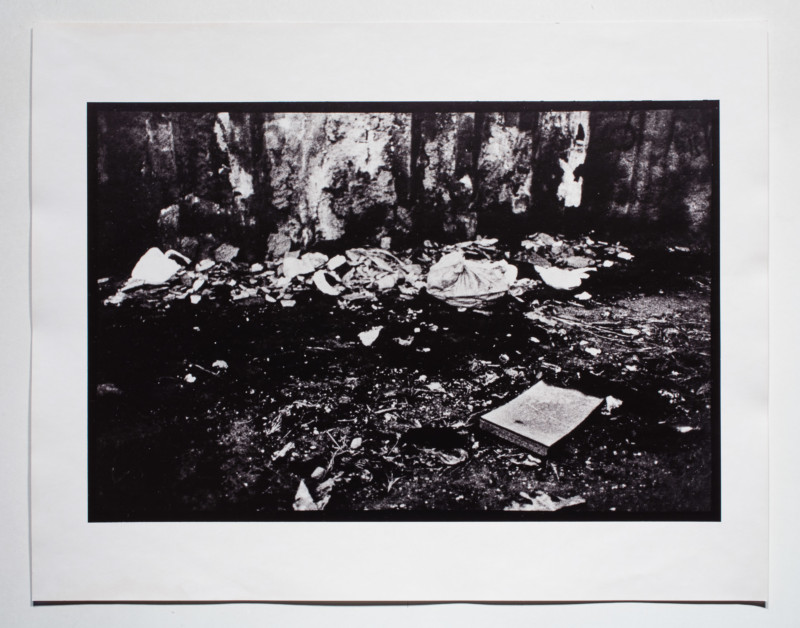

Ultimately, I didn’t like the texture the CRT image gave to the prints, so I left the print file containing these negatives in a box labeled PRINT inside my darkroom, along with other things I couldn’t find the final look for yet, and let some years go by.
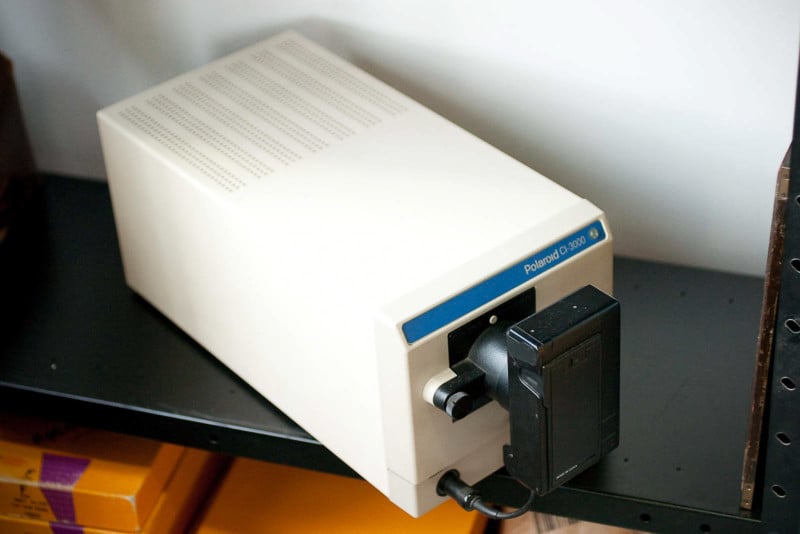
Palette #3
Fast forward to 2016. I finally decided to try again after I found another Palette that didn’t work: this one a CI3000.
I had just edited some images shot on my first iPhone, and I figured it was interesting material with which to make some B&W wet prints. So I made all these images B&W in Lightroom, and did all the toning and retouching I felt necessary.
This time I chose Kodak Double-X movie film—I had already realized that grain would save the day. I planed a large test to figure out how to expose my images.
My first two images were just gradients from black to white to get a feeling of the curve. Then I tried some B&W images in RGB mode with different film presets contained in the Palette software.
I was worried the RGB filters and the overlapping of three images on film would deteriorate the resolution, so I deleted some channels in some images and tried that approach. Then I decided to print some step wedges just to see what would happen, and one of the step wedges I had was a grayscale file… this turned out to be a saving grace: this time the software offered me some presets for B&W films, and printed without the filter in a single pass.
Success, totally by accident, without a manual.

So I converted two more images to B&W and printed each photo using all four of the B&W film presets available in the software.
The negatives looked very good right out of the fixer, but on close inspection there were some artifacts: some shadows extending sideways on the image. I really liked the Kodak Double-X solution. The edges are soft, but the grain gives the image a kick and solves the texture problem—in the enlarger, getting the grain in focus gives the image the necessary texture. If it wasn’t for the artifacts, you could barely recognize the source of the image… it might be just a really bad lens.
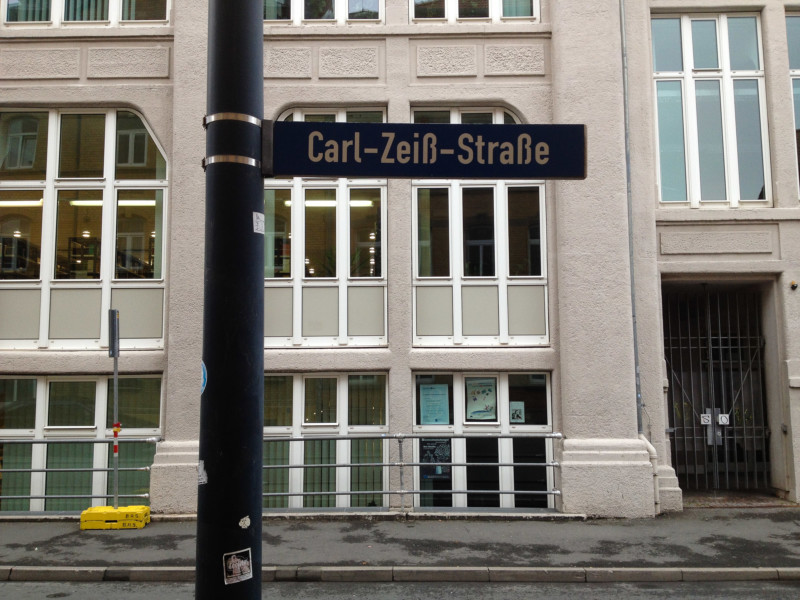
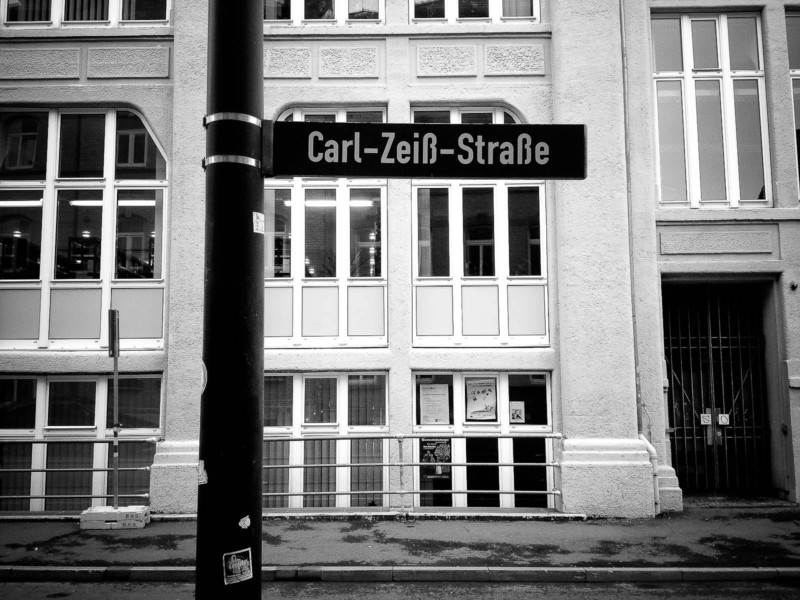
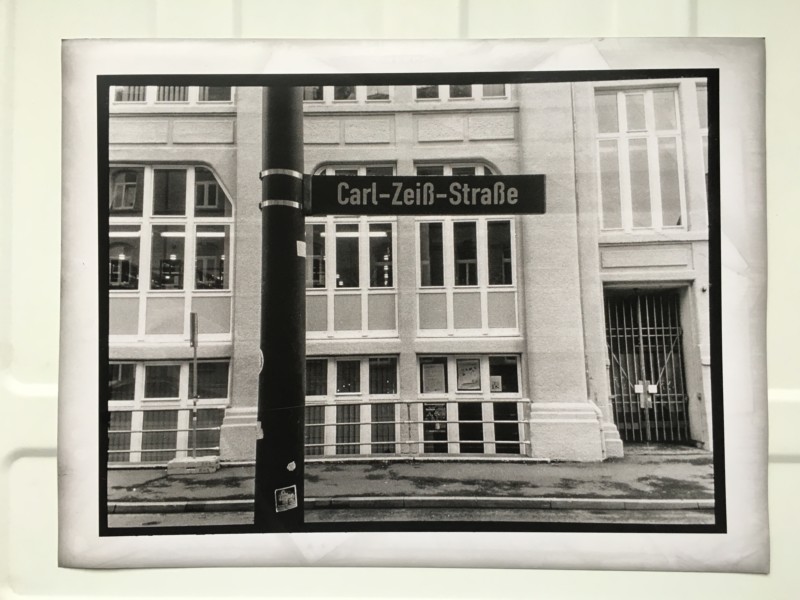

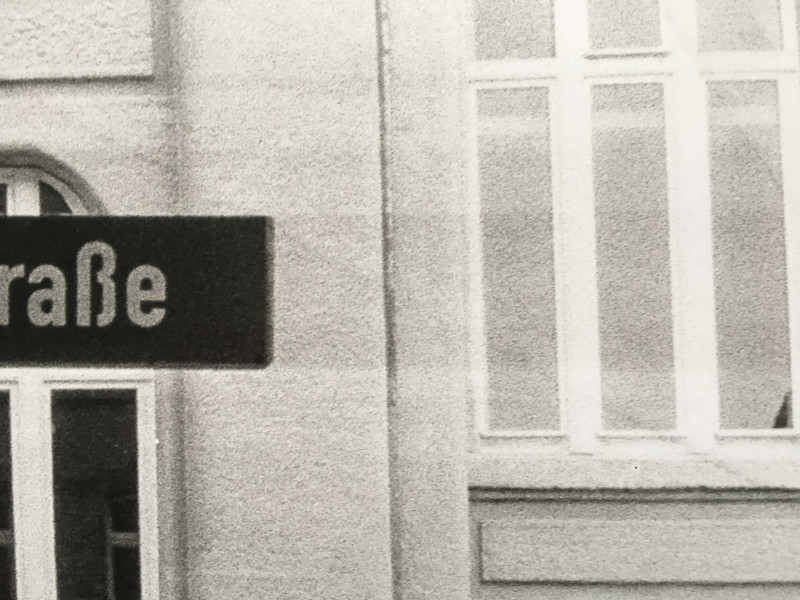
My Carl Zeiss Strasse image, from the green channel negative, looked really good on 12×16-inch paper, the tone transition in particular was very good given the source. From a distance, you could sense the image texture and how the street sign was in focus and the background slight of. It has depth.
The sideways shadow was interesting, something I could explore in another set of images, but maybe not these ones. It made me cherish the early Kodabromide F3 prints more, and helped me accept them as they are.
Conclusion
Making digital negatives has become so common since, especially in inkjet printers, but these 35mm negatives with actual grain were interesting and useful. Sadly, I had to giveaway all my SCSI collection when I was moving away from that studio. These large items, along with the PowerMacs and ancient scanners, took up lots of my space there.
I offered my Palettes on a couple social networks to other experimental photographers near by. Unfortunately, there were no takers.
About the author: Guilherme Maranhão is an experimental photographer based in Braga, Portugal. You can find more of his work on his website or by following him on Instagram.