10 Surf Photography Tips to Take Your Photos to the Next Level
My name is Tom Woods and I’m a full-time commercial and surf photographer who has been in the industry for two decades. In this article, I’m going to share 10 tips for taking your surf photography to the next level.
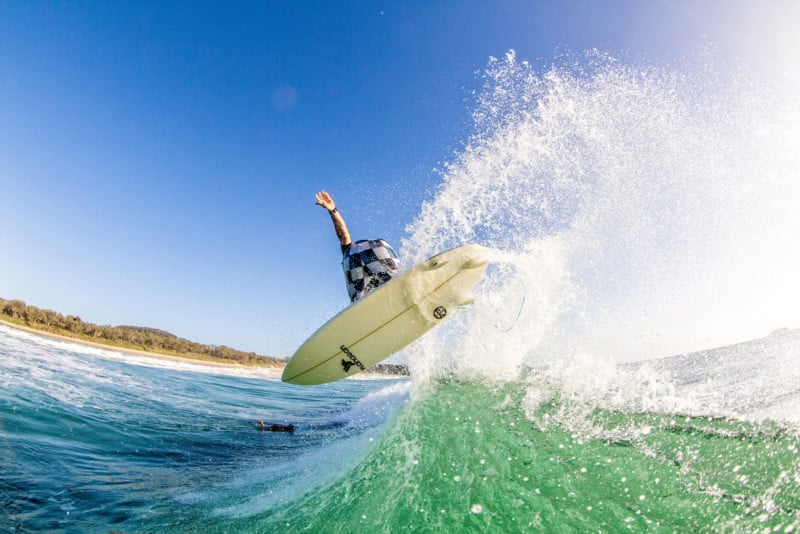
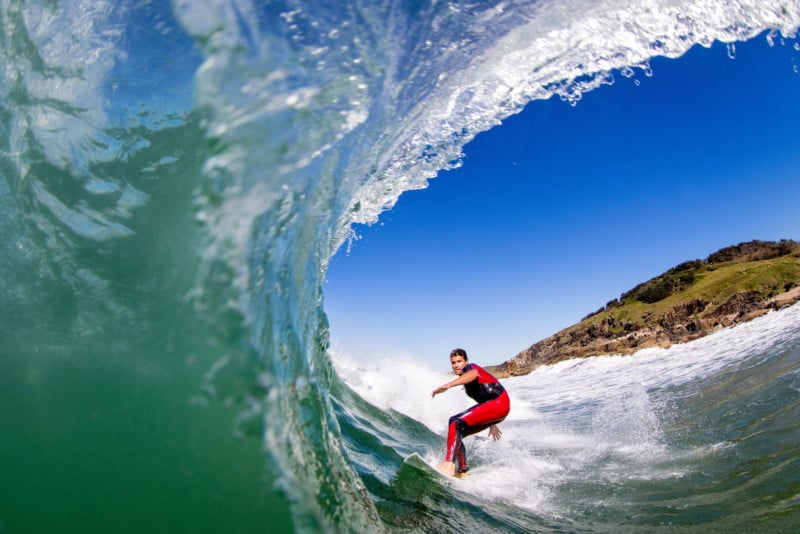
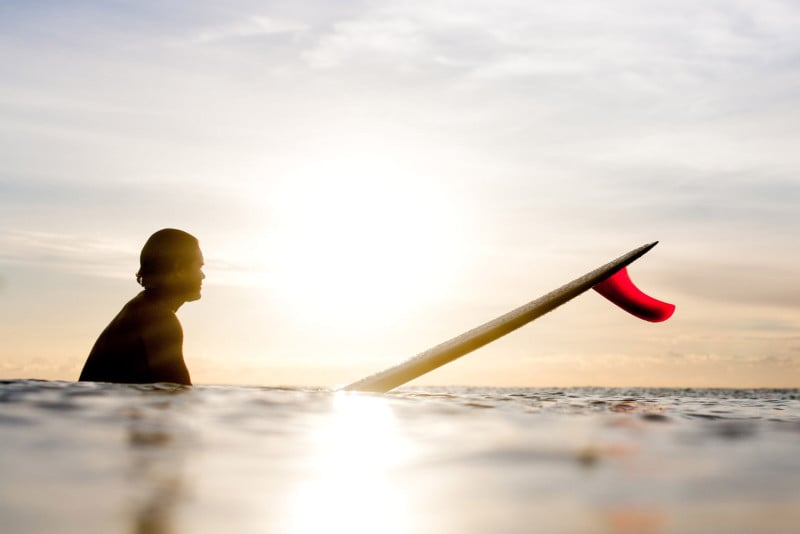
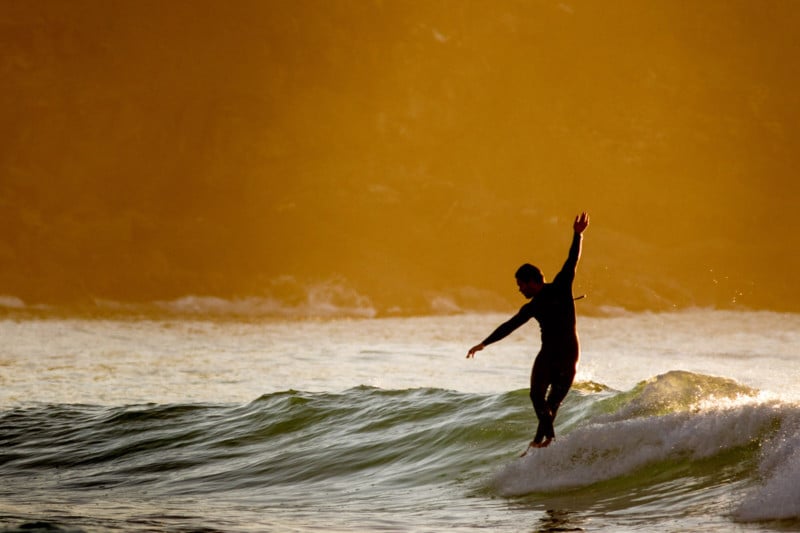
Tip #1. Consider Your Composition
I see so many surf photographers putting their subject bang in the middle. I’m guessing that they are only focused on the surfer and not giving a thought to an interesting composition. This creates boring photos. A few things can be easily done to lift your compositional game when shooting from the beach with surf action.

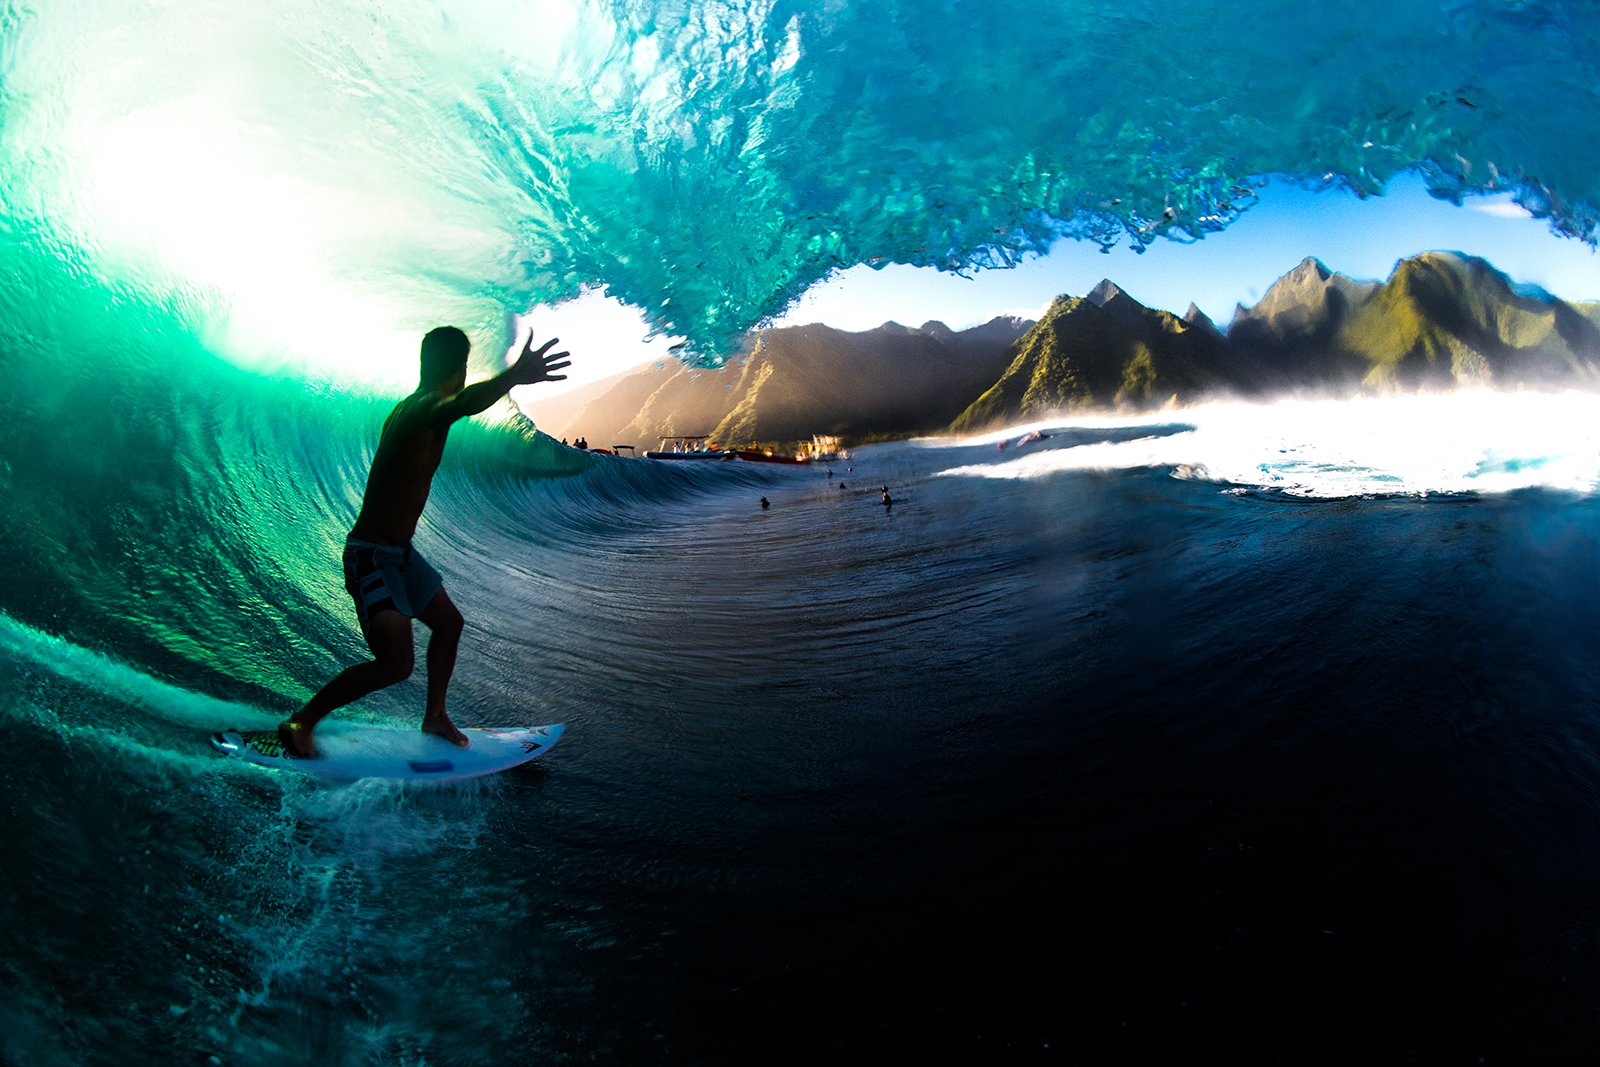
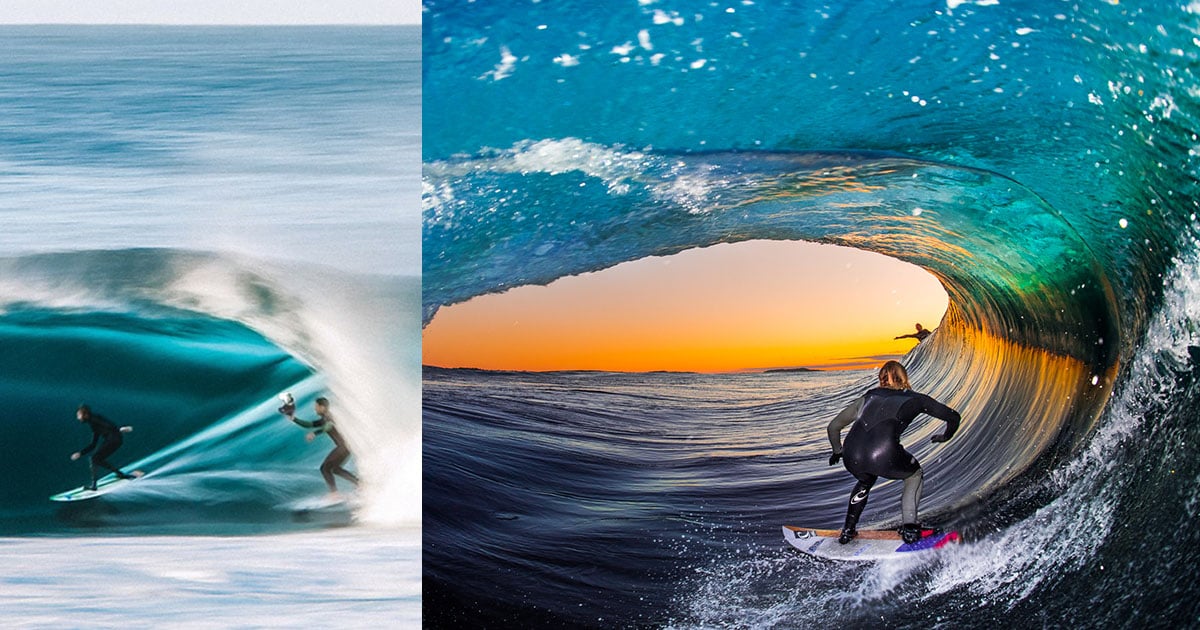
Firstly, with surf photos, I like to position the surfer surfing into the frame from either the left- or right-hand side so the viewer can see what lies in front of them. This better tells the story and gives the viewer an indication of what lays ahead for the rider.
Also, either putting the surfer in the top third or bottom third of the image will also satisfy the rule of thirds composition, which will lift the photo’s quality by a fair amount.
These are just two of the many compositional techniques that can be employed with surf photography. If you don’t consider composition you are missing out on a massive piece of the photography puzzle.
Tip #2. Use Shutter Speed Priority
There are certain times to use full manual and aperture priority modes, but on the whole shutter speed priority (TV mode) works great for surf action photography. This mode is especially useful when photographing surf action from the water.
When you are dodging set waves and swimming into position, having this half-manual/half-automatic mode of shutter speed priority will allow you to concentrate on all the other variables outside of locking in the correct exposure in full manual mode from shot to shot.
The other reason is when you are in the water your lens is constantly pointing in different directions and all of these directions will have different exposure values, so in shutter speed preferred the aperture will swing up and down to get you a well-exposed photo.
Now when shooting surf action and you want to freeze the action then I would suggest a shutter speed set at 1/800th of second or higher. If it’s super bright and sunny go up to 1/2000th of a second to really freeze that action and get those water drops nice and crisp. This is for freezing the action of course and getting a super sharp photo and most of the time this is what the action photographer is searching for.
When shooting from the land this high shutter speed works really well when using longer lenses. Full manual is a great option for land-based shooting if you are confident selecting all of your settings yourself.
If not stick to TV mode, if you want an extra safety net you can also select auto ISO, but I prefer to set the ISO value myself to have that little bit of extra control.
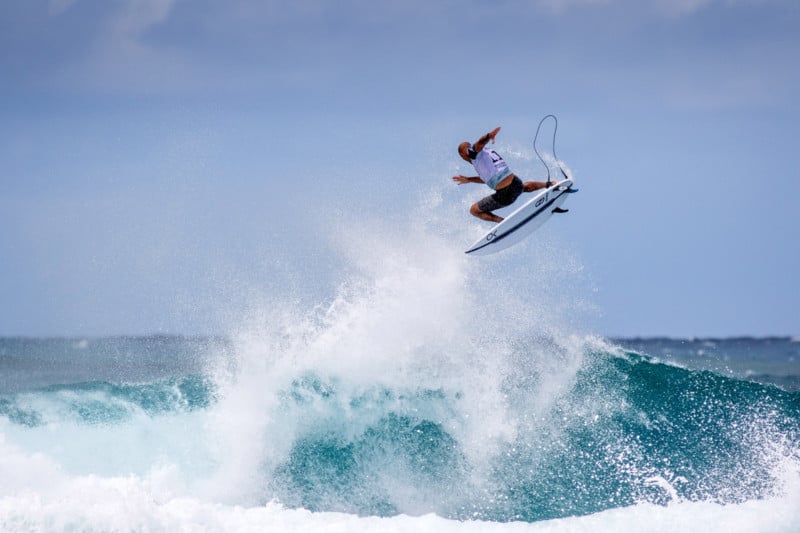
Tip #3. Anticipate the Action
When photographing surf action I like to surf the wave with the athlete. My own surfing has improved from many years of photographing high-level surfers. When you mind surf each wave with the surfer you will better understand and be able to anticipate what is going to happen next and when you know you will be in a better position to compose your image for impact.
Prior surfing knowledge or being a surfer yourself is a definite advantage with surf photography but not absolutely necessary.
If surfing is new to you I would suggest lining up your composition with the pocket of the breaking wave, a really good surfer will never be too far from the pocket of the wave. So if you keep your framing around the moving pocket of the wave you will be in the right spot for those peak action moments.
If you are keen on further improving your surf photography but don’t surf yourself, I would suggest you start watching lots of surfing videos and you will start to get a feel the lines surfers take on a wave and how to anticipate that action.
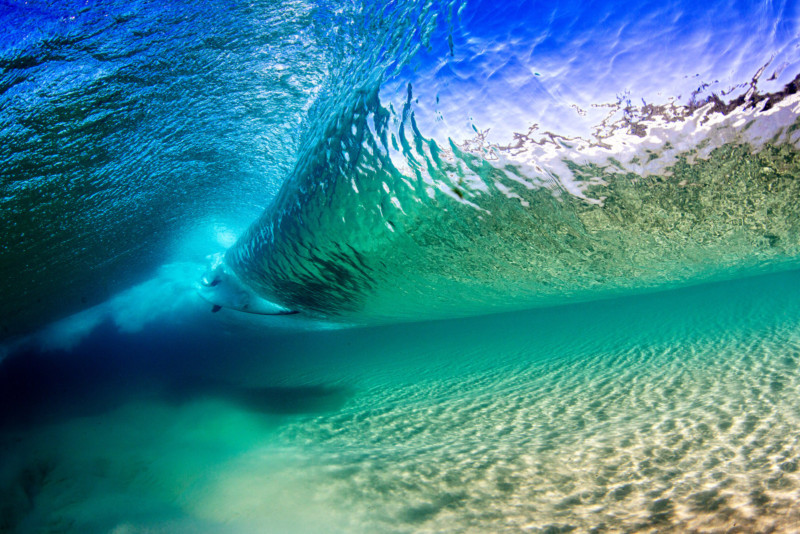
Tip #4. Water-Drop-Free Lens Ports
So how do you get crystal clear pictures while shooting through your dome port or when using a wide-angle lens or GoPro style camera in the water?
The goal when shooting through a dome port is to have a thin – even sheet of water sucking perfectly against the entire port. This method is called “Wet Port Shooting” and is the most effective method when shooting surface work from the water and split level shots.
If you don’t have this perfectly even film of water covering your dome port then you will get water drops forming that will ruin your shots. Nothing worse than nailing that hero shot in the barrel to find out later that a water drop is covering the subject’s face.
So to get this even film of water sucking to the lens port you will need to lick your lens. Yep, that’s right: you will need to spit all over that thing and make sure no part of that port is neglected.
This is a widely used and known technique, but what isn’t widely known is that it works so much better if you lick your lens port around 5 minutes before you dunk your camera housing into the water. Your success rate of getting clear pictures will triple if you use this method.
Note: I have a few more tips for getting clear images with dome ports and wide lenses in a free mini-course which you can get access to at the end of this article. You will also find out how to get clear pictures when shooting through flat ports using longer lenses. This method is entirely different, so take the course if water photography interests you.
Tip #5. Servo Focus and High-Speed Motor Drive
If you have a high-speed motor drive option on your camera then use it. That perfect moment will be easier to capture if you have taken multiple shots, you can always get rid of the rubbish later on the computer.
Also have servo focus set so your lens tracks the moving subject and keeps them nice and sharp for the entire ride. The focus tracking systems in the latest cameras are phenomenal so make sure you are using all the technology to your advantage.
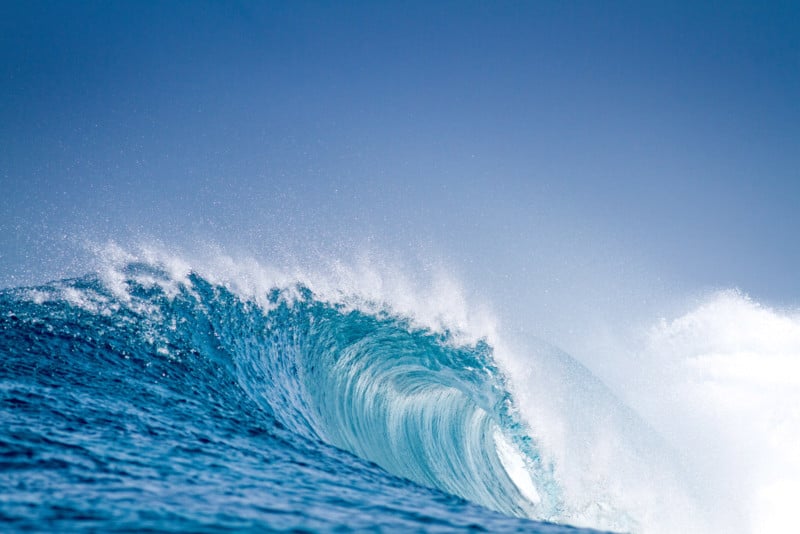
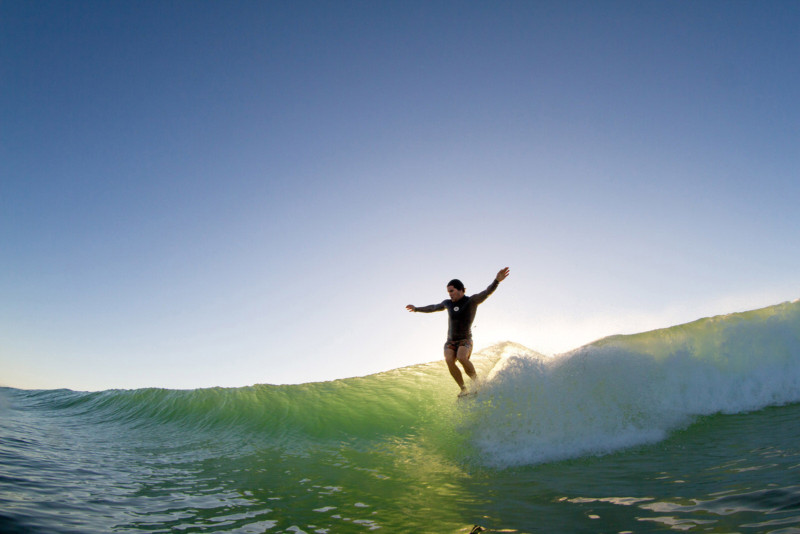
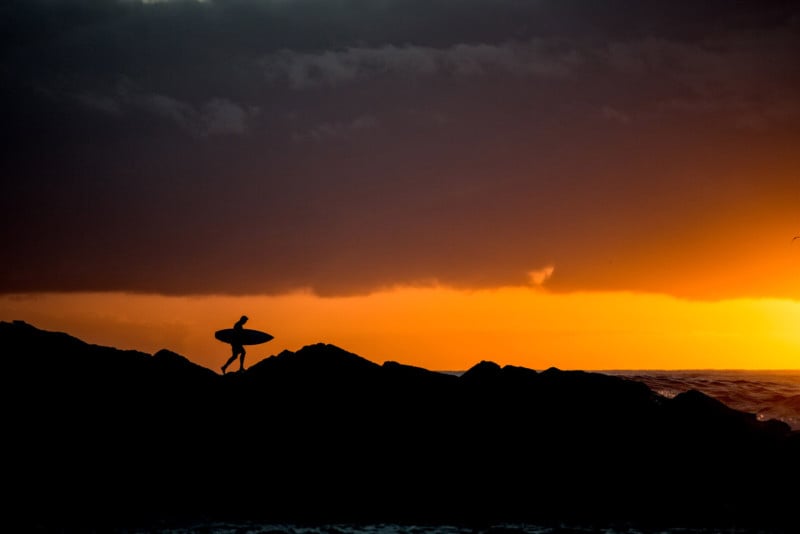
Tip #6. Light
Photography is all about light. I am looking at light all day long whether I have a camera in my hand or not. Interesting light makes for interesting photos. With surf photography, you can use light for different effects.
Always be on the lookout for changing weather patterns, those stormy skies or light cracks in the clouds can make for dramatic lighting setups.
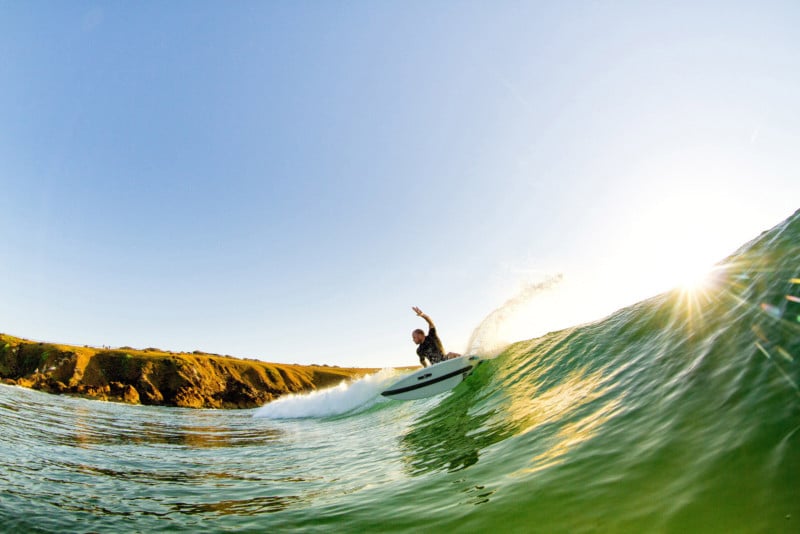
I love shooting either end the day. Sunset and sunrise and the hour leading up to or after are great times for many types of photography, and surfing is no different. I prefer lower sun angles for pretty much all surf photography. Your photos will have more feeling, more emotion and just be more pleasing to the eye. And don’t be afraid to shoot into the sun that beautiful backlighting can be challenging but well worth the effort for the results you can get.
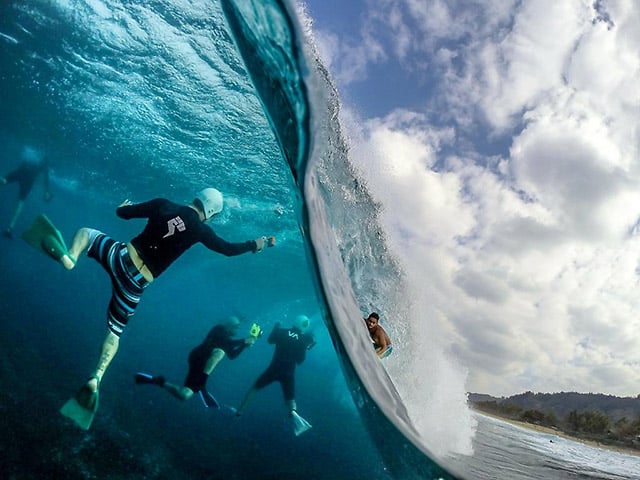
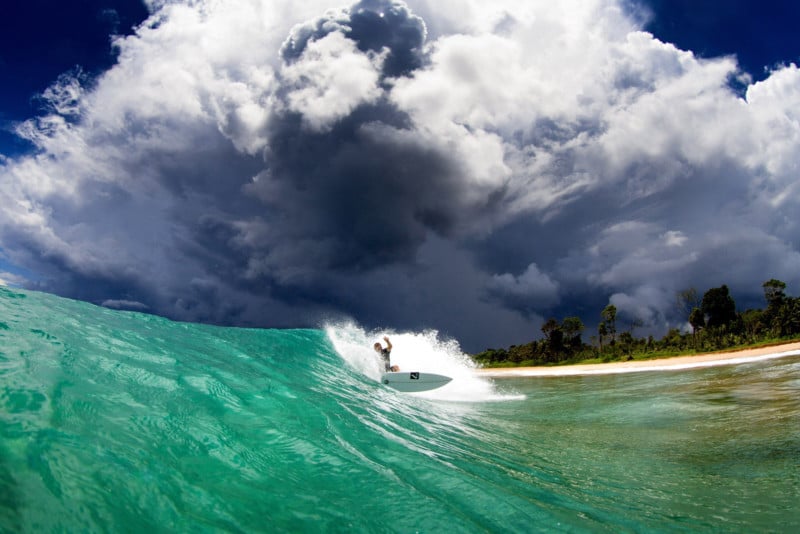
Having said all that there are certain types of surf photography that look great in the midday sun. If you have a waterproof camera or water housing then midday is a great time to go underwater and shoot surfers gliding through the wave from underwater. The bright sun is diffused by the ocean surface and the light penetrates the surface to light up the underwater world, a world few get to see, so those photos are super engaging.
Also if you have a drone, then the top-down photos of surfing are also great in the bright hours of the day, so either go below the surface or well above the surface when the sun is high in the sky.
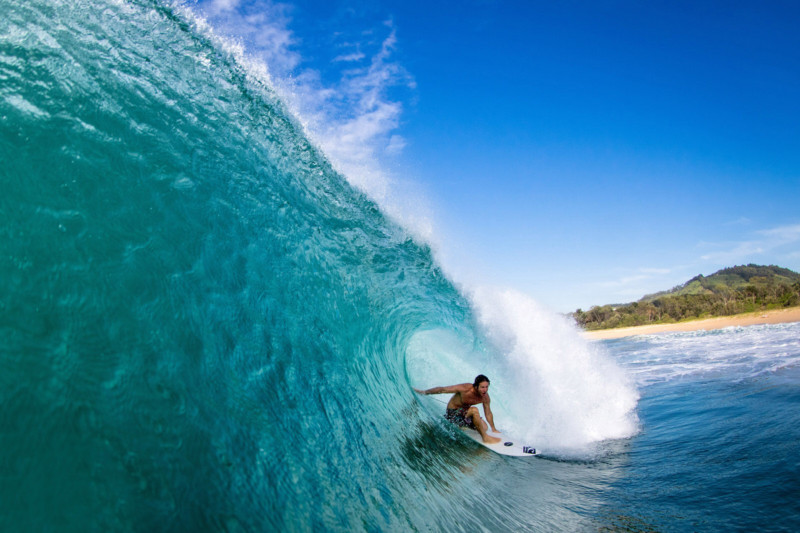
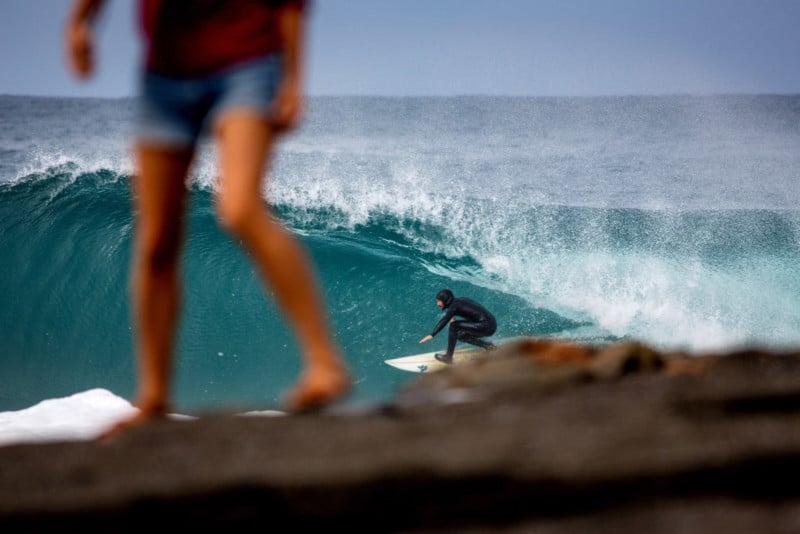
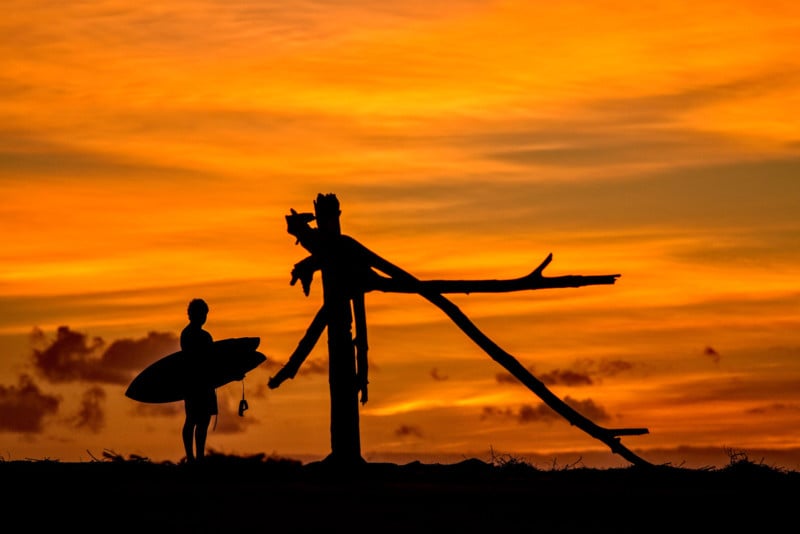
Tip #7. Foregrounds and Backgrounds
A good clean high action photo of surfing isn’t going to cut it these days, you need to create some more interest to get people’s hearts racing. Setting the scene is one way of capturing the viewer’s imagination.
Using an interesting foreground leading into the action shot is one way of giving the viewer something more to latch on to. If you can incorporate some out of focus scenery that gives a few clues or a feeling of the destination then try to take some of your shots that include that foreground interest.
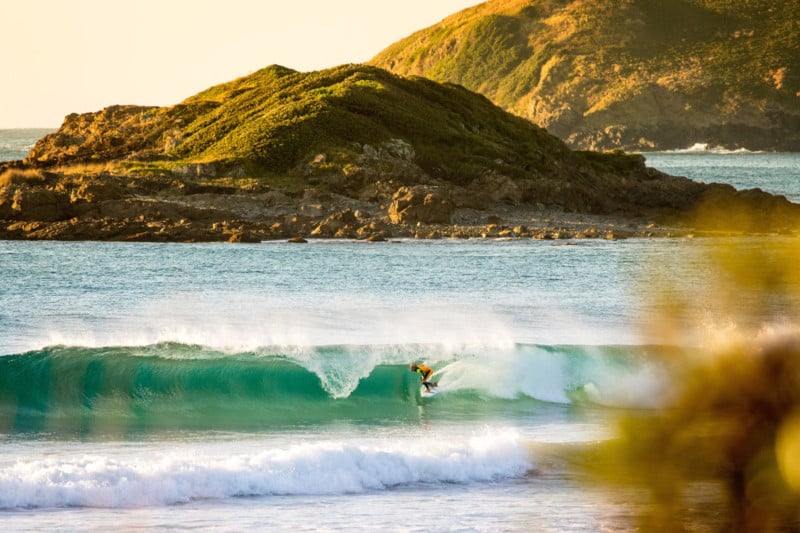
If you are at a beautiful location then look for angles that can better lineup the background to give a sense of place and scale. Using both foregrounds and backgrounds rather than just shooting toward a blue empty sky can give your shots that little extra something.
Tip #8. Long Lens
Most times when shooting surf action from the land there is going to be a fair distance between you and the subject so you are going to be looking for your longest lens.
When I first started surf photography back in the late nineties and early two-thousands, I envied the top surf photographers with their massive 600mm lenses. The trend back then was for super tight action photos and that could only be achieved from the land with 600mm lens and extenders. However, by around 2005, the trend had shifted towards more pulled back photos and you didn’t necessarily need the massive lenses.
I much prefer the slightly pulled-back look; with this, you can start to incorporate the foregrounds and backgrounds that I was talking about in the previous section.
So now you can get really great action photos with 400mm lenses and I even regularly use a 70-200mm lens to get those more interesting pulled back shots. Another advantage with the crop sensor cameras like the Canon 7D is that a 400mm turns into a 640mm so you are getting a powerful lens now for much less investment.
With the half-frame cameras like the Olympus then you turn a 400mm into a whopping 800mm! So what was once out of reach to most photographers is now attainable.
Tip #9. Use a Tripod (or at Least a Mono!)
So often I see surf photogs getting around the rocks and shorelines with massive lenses trying to handhold them! I know image stabilization has come a long way, but using a tripod or at least a monopod will improve your photo clarity, your composition and your general thought process around what you are trying to achieve.
Using a tripod or monopod with lenses 400mm and longer will make for better image quality, your slight mistakes will be magnified the more powerful your lens is, so stabilizing the image at your end will improve the sharpness of your photo. You can also set the level up so when panning with your subject the horizon will always remain straight and not annoyingly tilting on an angle, another mistake that I often see often.
One thing to watch out for with a tripod is to make sure you don’t get stuck in one spot, keep moving around high and low, down the beach in the dunes all around to get variation in your series of shots.
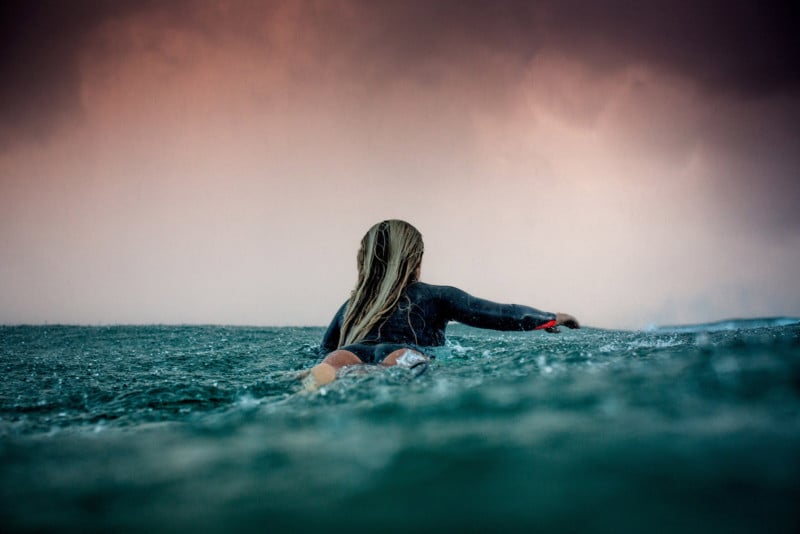
Tip #10. Don’t Just Look for the Action
The surfing experience isn’t just about that killer barrel ride or the huge aerial maneuver. The in-between moments can tell the surfing lifestyle even better so don’t just be focused on the action.
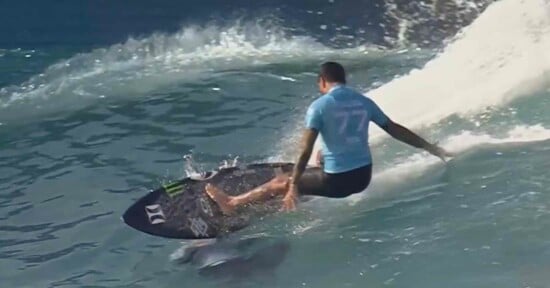
When you are down the beach all sorts of things can be going on. Be on the lookout for chance wildlife encounters, especially if they involve the surfer. Be tuned into the process of entering the surf, paddling out, and the entire experience of wave riding. If you are doing surf travel, make sure to include the culture of the place you are visiting.
You don’t want to come home with just 3,000 surf action photos and nothing else that tells the true story of the journey of a surfer. I feel you should tell the whole story and that will come together as a strong portfolio with far more meaning to the viewer.
These quick 10 tips are designed to get you thinking more about your surf photography and hopefully give you a few little insights that you may not be considering when shooting surf action.
P.S. I dive deeper into the process of water and surf photography in my latest free mini-course called “Transform Your Water Photography”, which you can enroll in today.
About the author: Tom Woods is a professional commercial and surf photographer who has been shooting for 20 decades and working professionally for 15 years. The opinions expressed in this article are solely those of the author. You can find more of Woods’ work on his website, Facebook, and Instagram.