How to Take Macro Photos on a Budget
Want to get started in macro photography but don’t have much to spend? There are ways to jump into the niche using mostly the gear you already have (assuming you don’t have a dedicated macro lens). Here’s an 8-minute video by NatureTTL that’ll point you in the right direction.
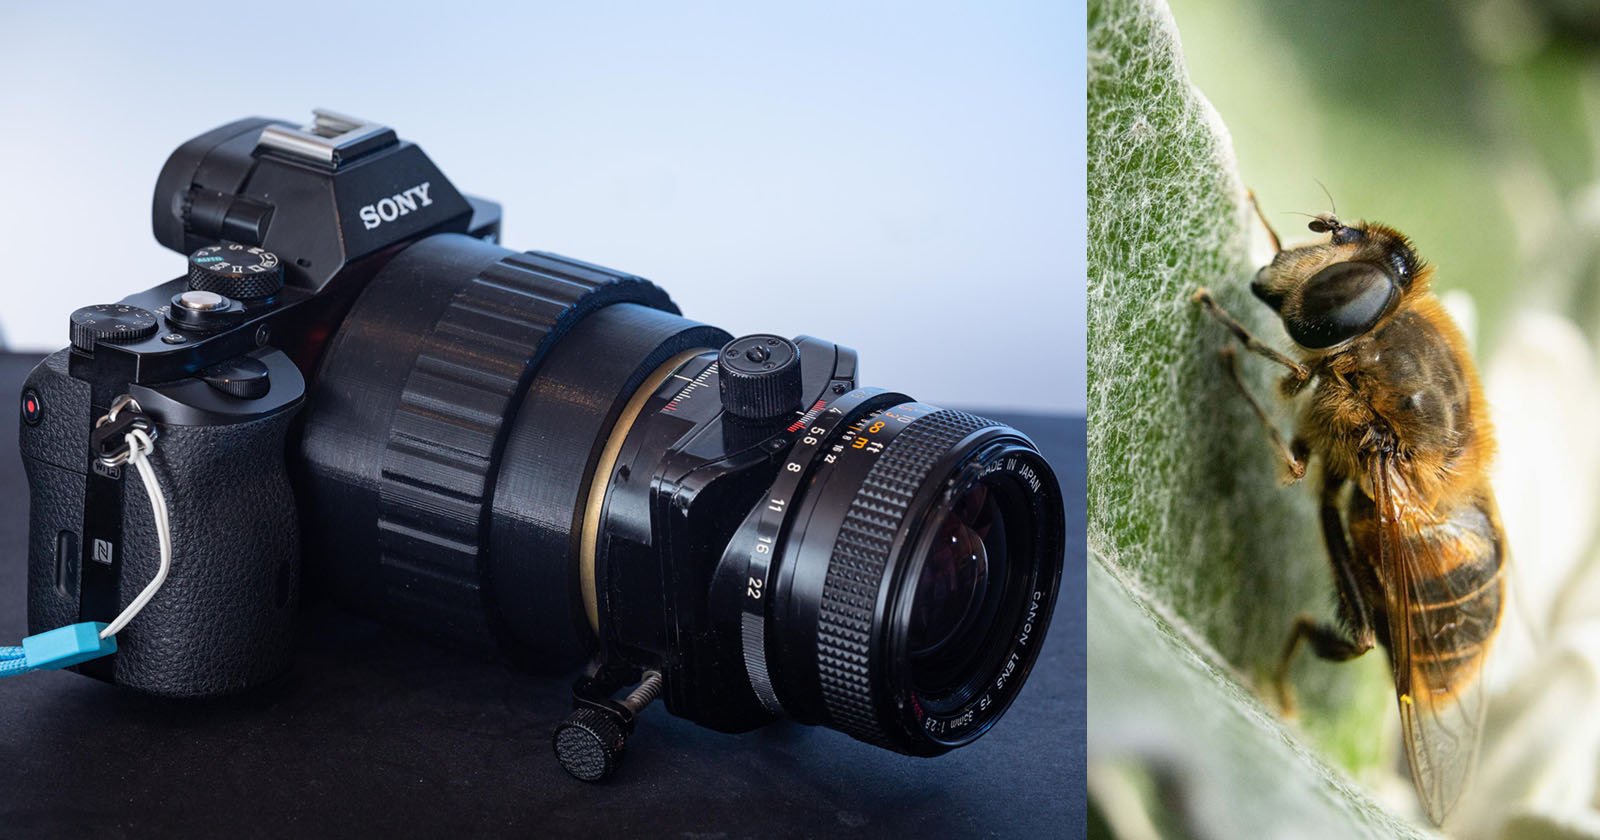
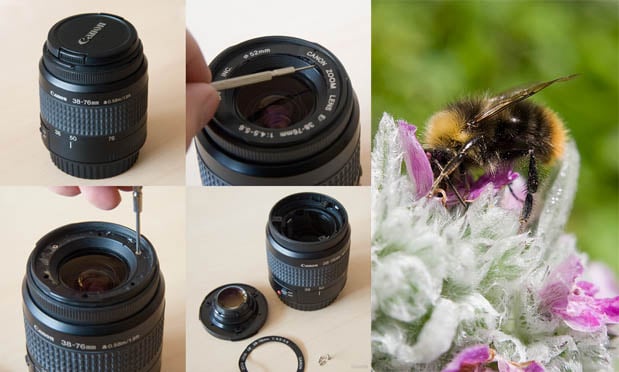
First, Hoddinott explains how you can use your existing lens for macro photos by buying a close-up filter for the front, an extension tube for the rear, or a reversing ring for mounting a lens back-to-front on your camera. These options may run you around $100 or less depending on which product you purchase.

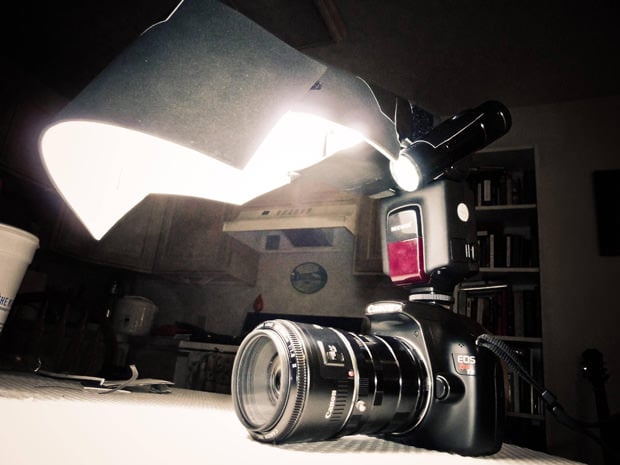
For lighting macro photos, one technique Hoddinott recommends is reflecting natural light onto subjects. You can do this by simply wrapping some cardboard with aluminum foil to create a reflective surface.
Finally, you can also add more light to a shot using a cheap LED light.
Watch the video above to hear Hoddinott explain these techniques in more detail and demonstrate how they’re done.