How To Bracket For Perfectly Exposed Landscape Photos
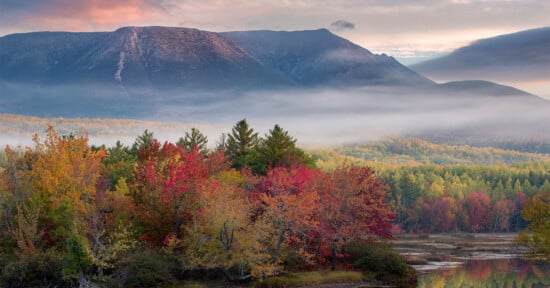
Perhaps one of the more difficult aspects of landscape photography is determining how to properly expose your scene under less-than-ideal lighting conditions. These types of situations are a common occurrence with outdoor photography as it’s often a struggle trying to properly expose an image consisting of a bright sky and a dark foreground in a single image.
What is Exposure Bracketing?
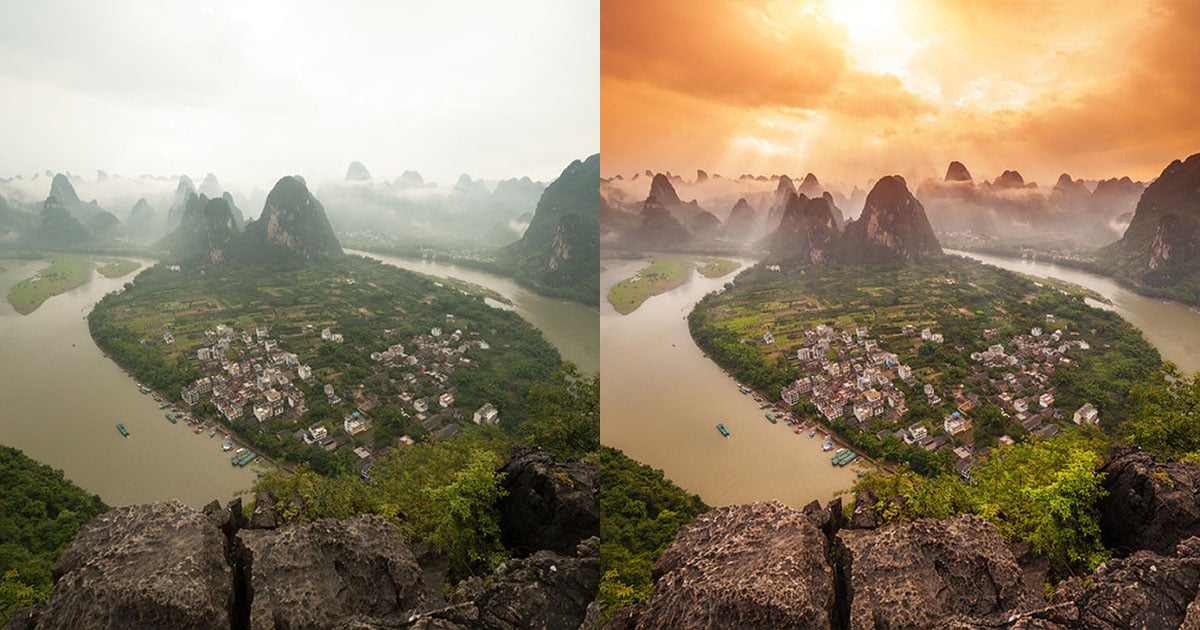
Exposure Bracketing is the process of taking multiple versions of the same image with each image representing a different level of exposure. For example, I typically shoot a three-shot bracketed series, one image for my main exposure where I expose the scene the best I can, the second image which is two stops below my main exposure and the third which is two stops above my main exposure. This can also be done using various other combinations as well, such as a five or nine image series with one, two, or even three stops of light between each image.
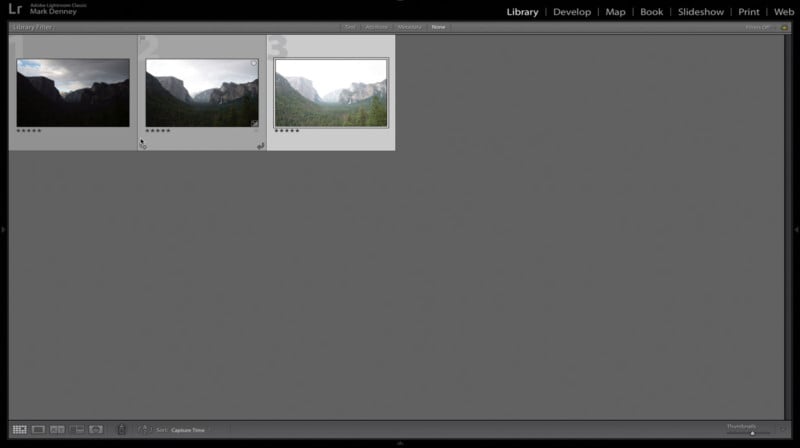
Once your exposure bracketed series is complete, you then blend the images together using your post-processing software of choice. An easy way to do this is with the HDR feature within Lightroom or you can blend your images together using Photoshop.
Modern-day cameras have the ability to capture a large tonal range within a single image, but it’s still common to encounter lighting conditions that far surpass the ability of your camera. Any camera can bracket exposures, some have automatic bracketing modes and others require this to be done manually, but both options are simple to apply.
Automatic Exposure Bracketing (AEB)
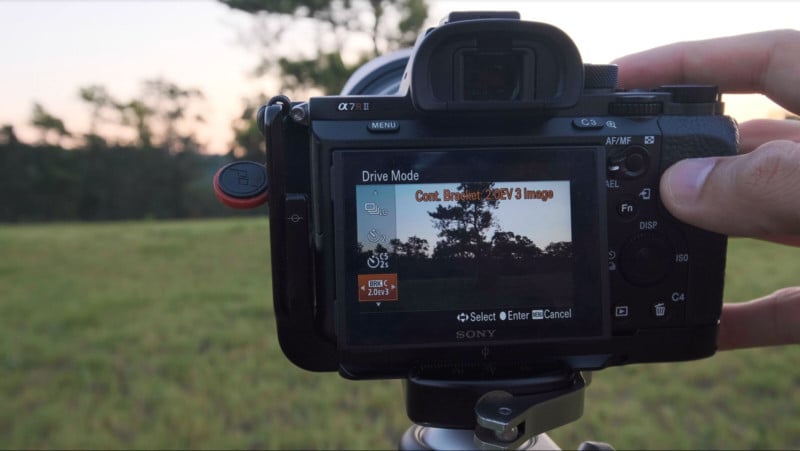
This feature allows you to set the number of images in your bracketed series along with the number of stops of exposure between each one. You can even take it a step further by setting the AEB function on your camera to Continuous Shooting and have your entire series captured with a single press of the shutter.
Manual Exposure Bracketing
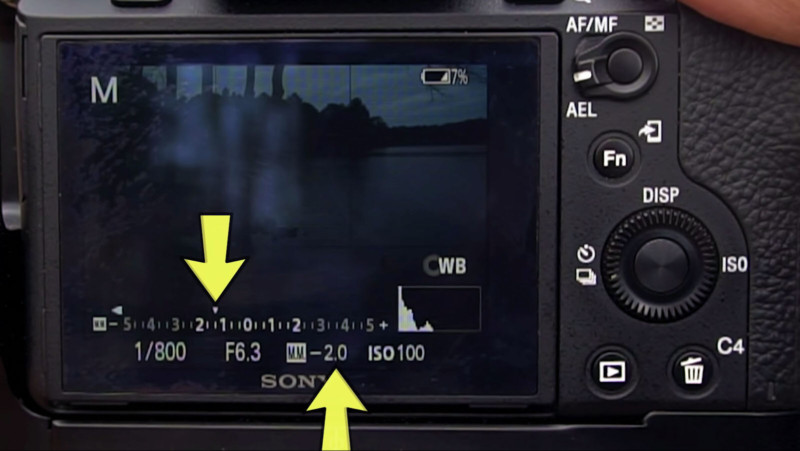
If your camera doesn’t have an AEB feature you can always manually exposure bracket. The process here is simple as well – after each image you’ll want to adjust your shutter speed to create your overexposed and underexposed images. You don’t want to use aperture as a means to influence your exposure levels as you want consistency when it comes to depth of field in order to seamlessly blend your images.
When Should You Bracket Your Images?
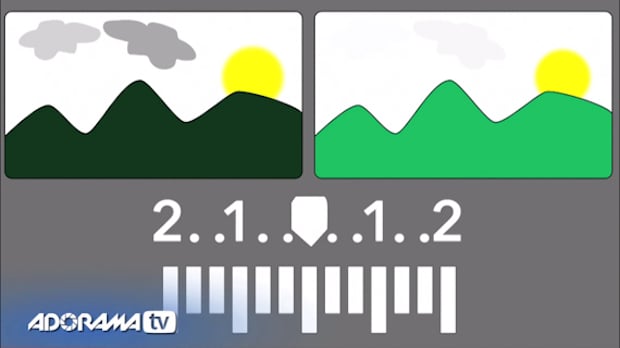
I go by something called the ‘One-Stop’ rule to help me determine when to bracket my exposure. Your camera’s light meter is a great way to quickly check this. Adjust your settings to where the light meter is indicating a “proper” exposure, then if you have to adjust your exposure level, plus or minus, more than one stop to properly expose for the sky or foreground than you might want to bracket your exposures. If a proper exposure of your foreground or sky is within a single stop of your main or base exposure then your camera’s dynamic range can more than likely pick up the difference.
Hopefully next time you find yourself in a challenging lighting situation this information will help you bracket your shots to create a perfectly exposed landscape image.
P.S. If you enjoyed this video and article, you can find more by subscribing to my YouTube channel.
About the author: Mark Denney is a landscape photographer based in North Carolina. The opinions expressed in this article are solely those of the author. You can find more of his work on his website, Facebook, Twitter, and Instagram.