Before & After: How One Popular Photographer Edits His Photos

Photographer Peter Stewart is an internationally published photographer who’s also popular on photo sharing sites, boasting tens of thousands of followers and millions of views on 500px, Flickr, and Instagram. Here’s an eye-opening series of his before-and-after post-processing comparisons.
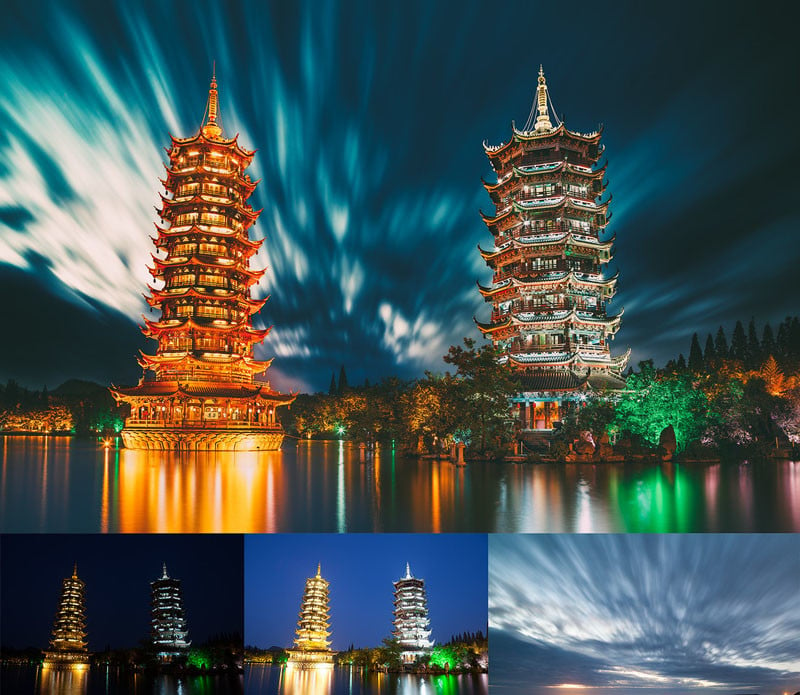
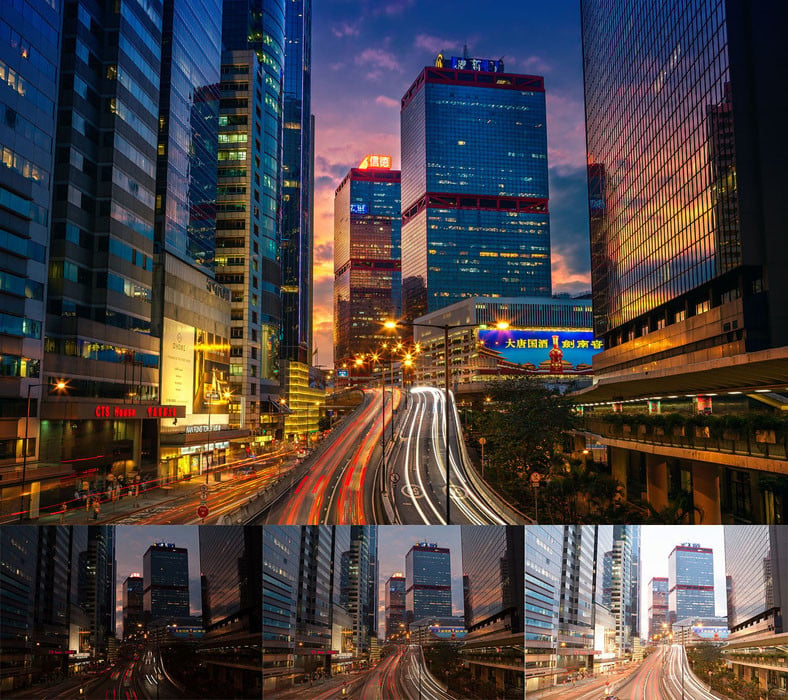
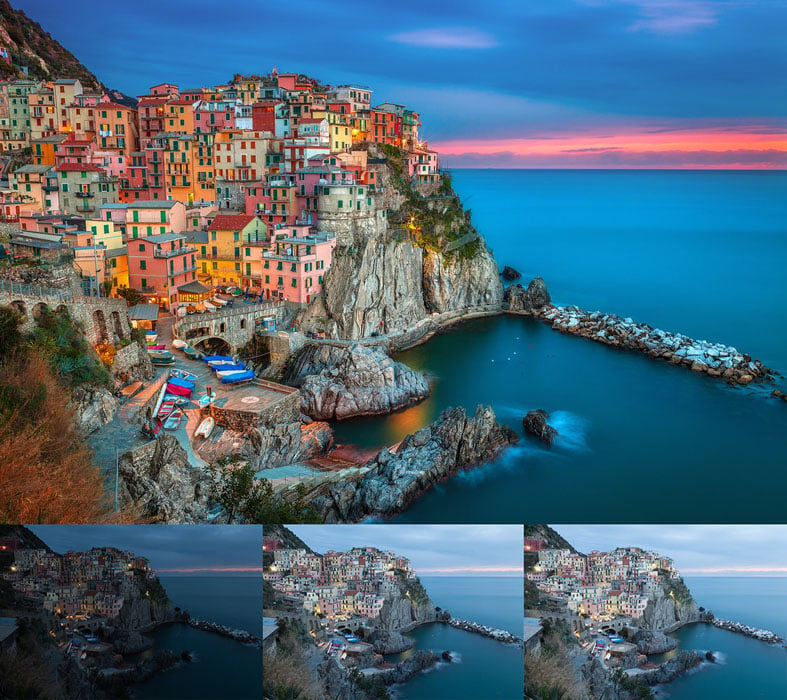
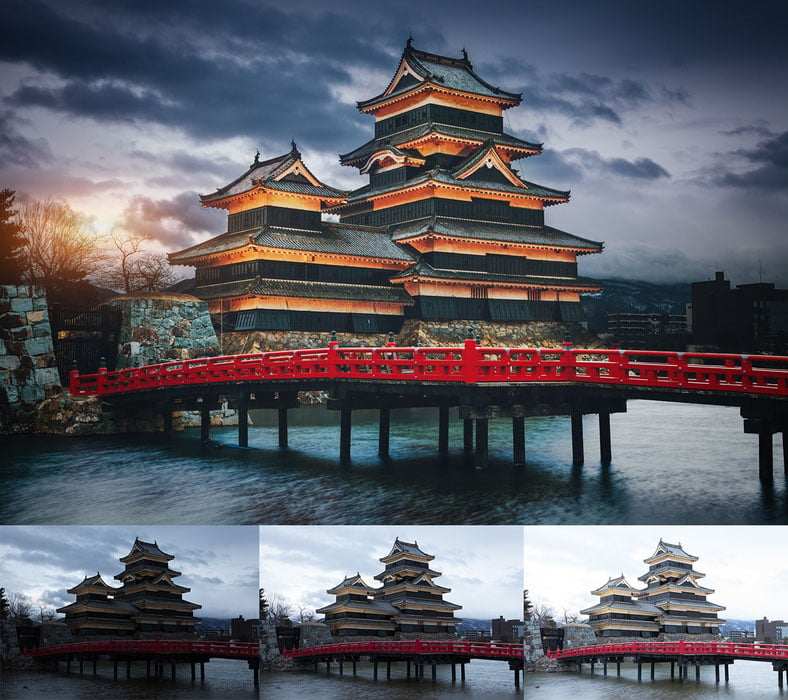
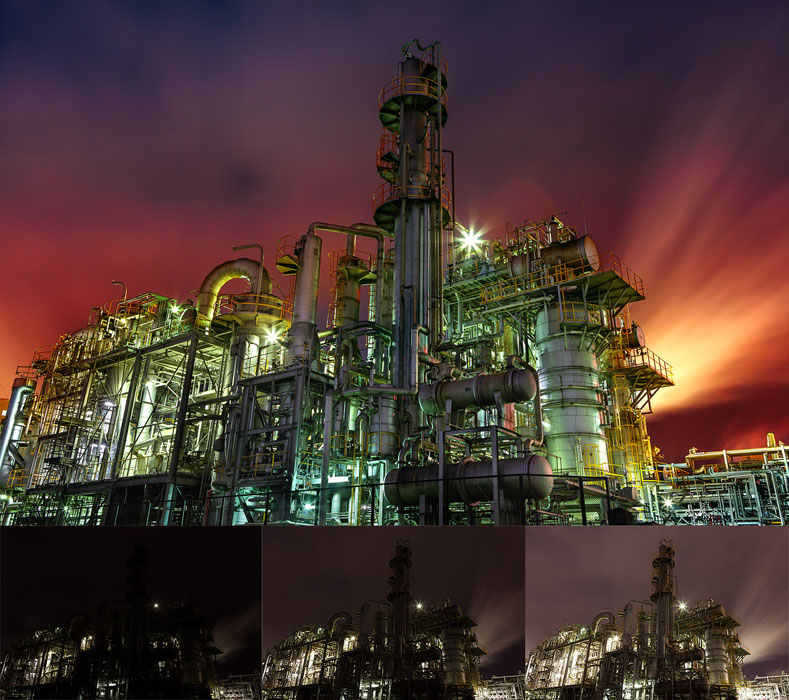
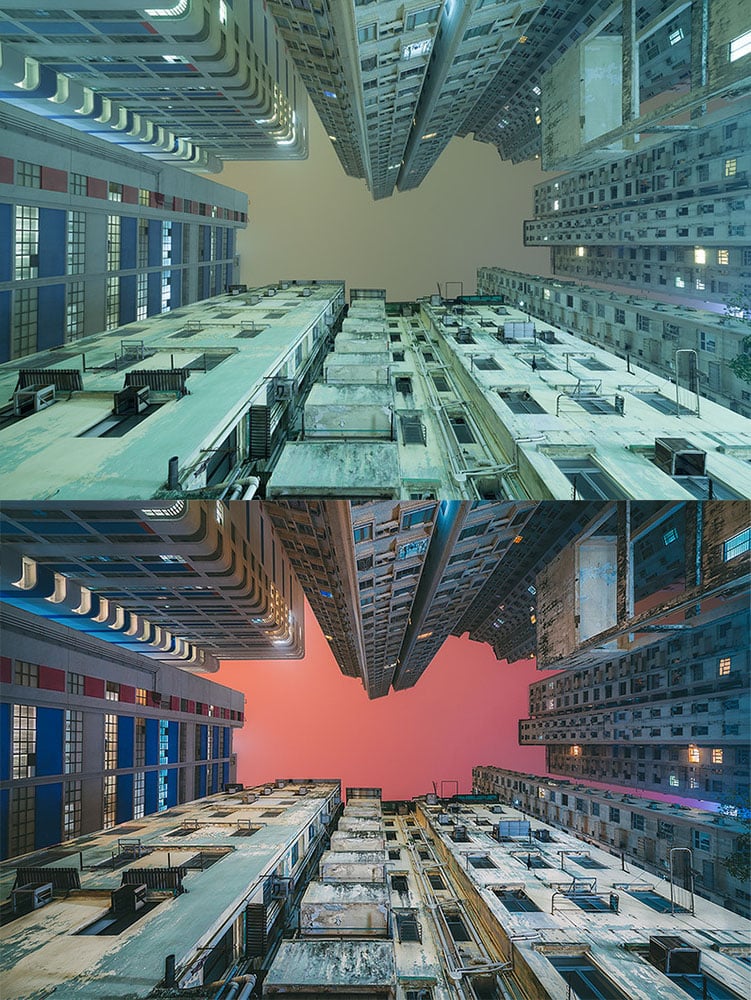
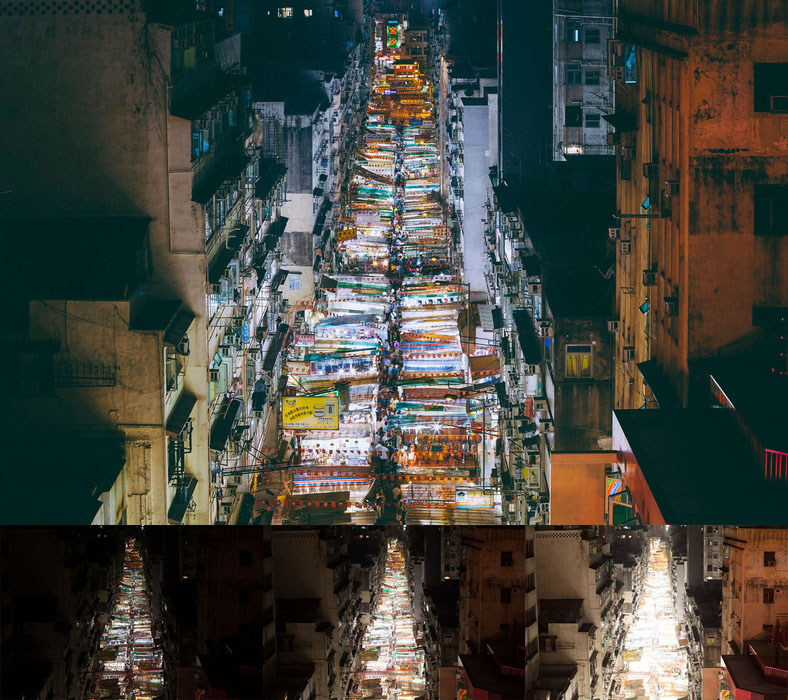
“I like to approach my digital photography with a certain sense of the fantastical and the surreal,” Stewart tells PetaPixel. “Many of my architectural and cityscape images feature the use of bracketed multiple exposures, which allow me to retain highlight detail in things like window lights and neon signs when shooting at night, or shadow detail in underexposed areas of the frame I want to call attention to.”
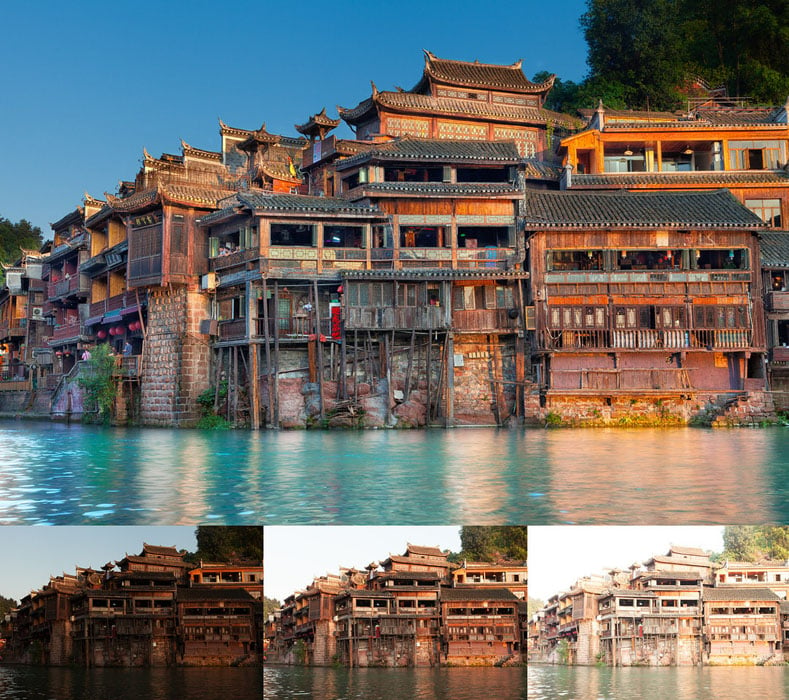
“The majority of my editing is though Photoshop, with the process starting in Adobe CameraRAW,” says Stewart. “I’ll take each of my bracketed exposures and make my initial adjustments there to things like color temperature, saturation, highlight/shadow detail and perspective correction.”
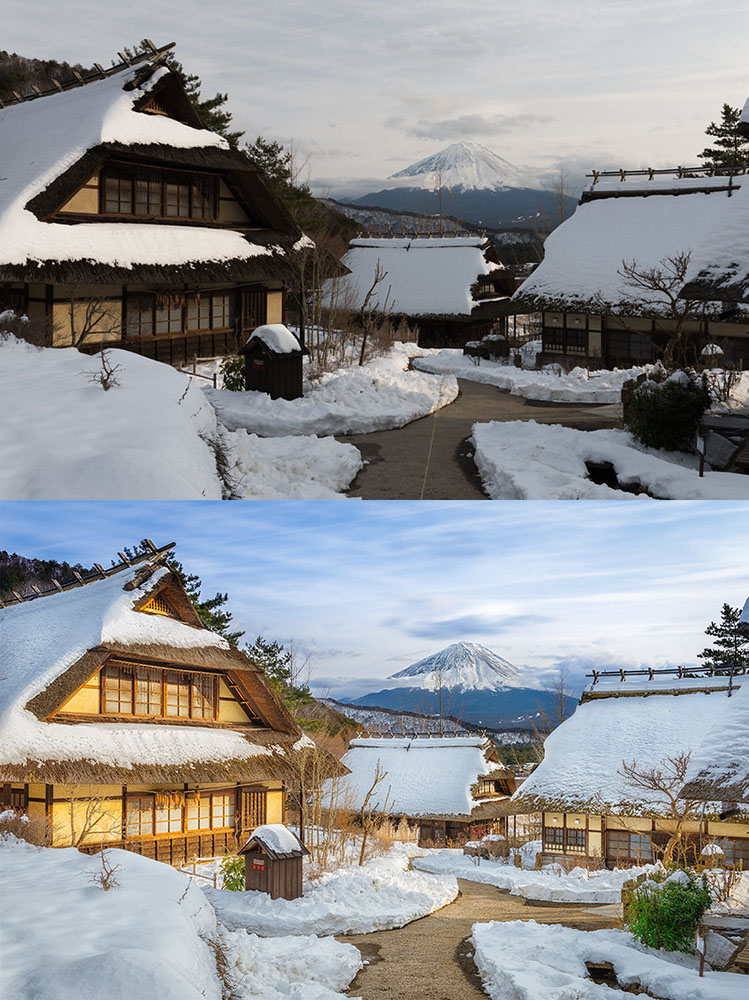
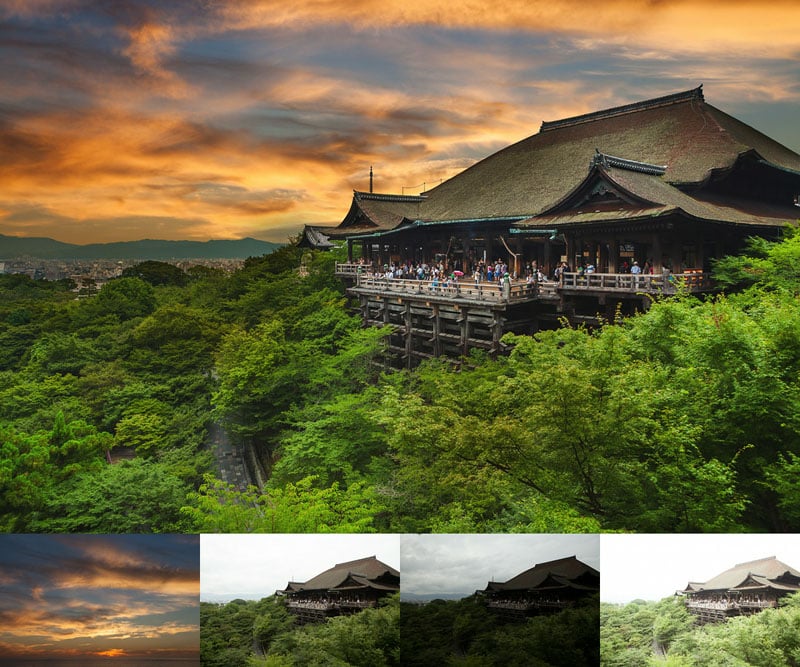
“I tend to use Nik Color Efex pro for achieving the overall ‘final’ result,” the photographer says. “This now free plug in for Lightroom and Photoshop has a heap of great tools which allow me to make tweaks to individual colors, increase or soften specific details, and can be used as dramatically or minimally as you desire.”
“I recognize that my particular style of shooting and processing forms a split opinion among photographers,” Stewart tells us. “HDR processing is easy to abuse, and I too am guilty of over-doing it on many occasions.”
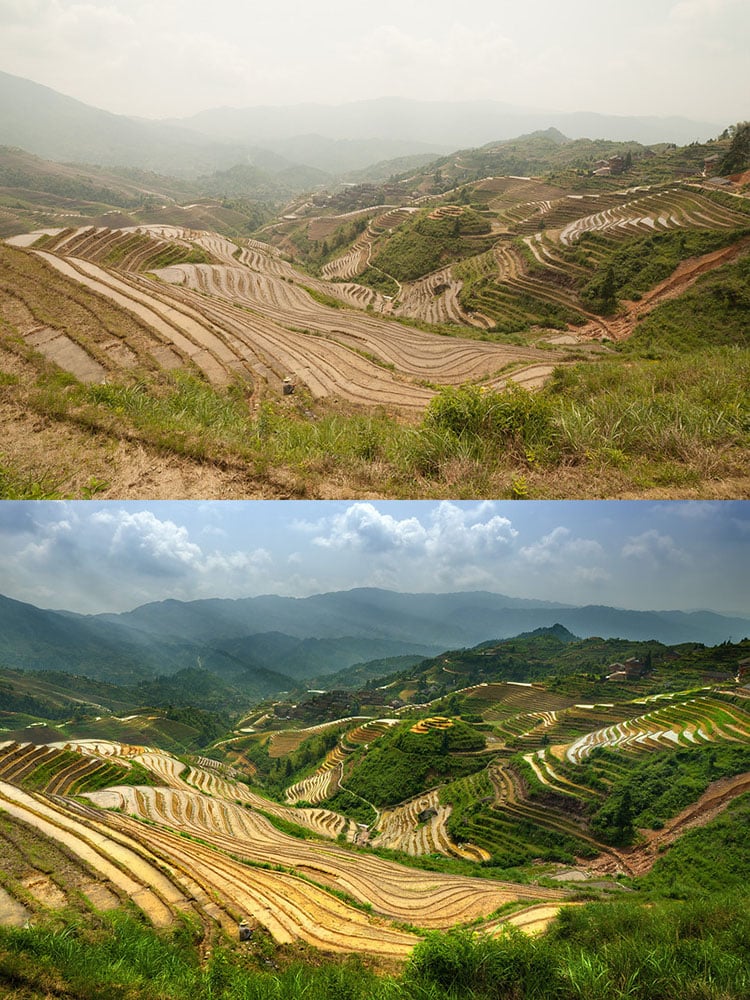
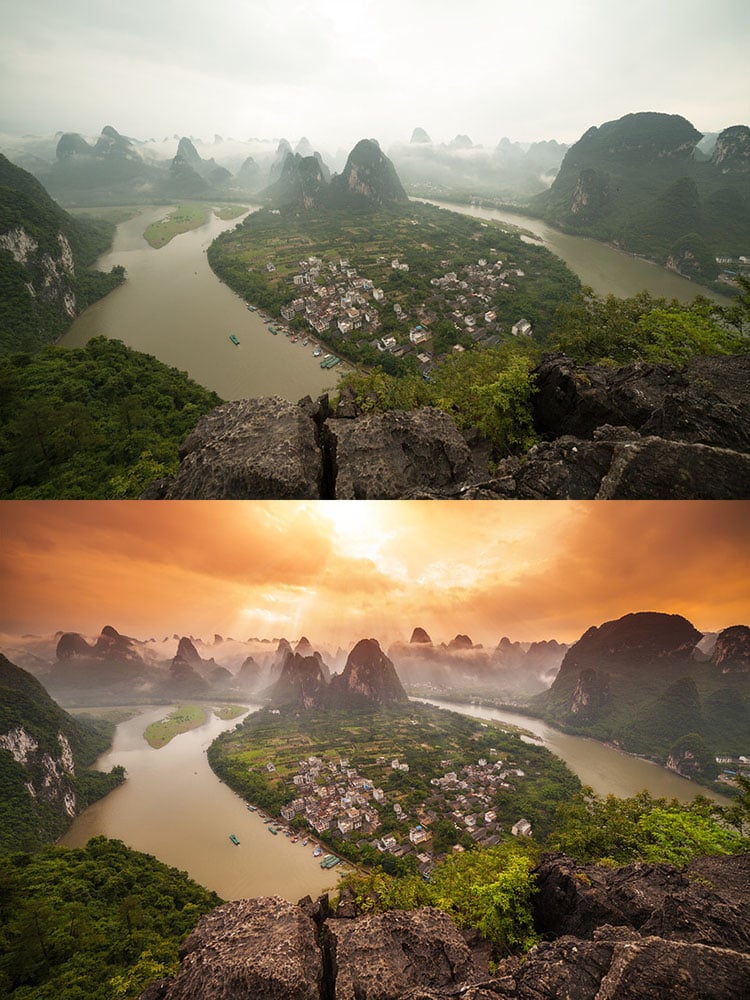
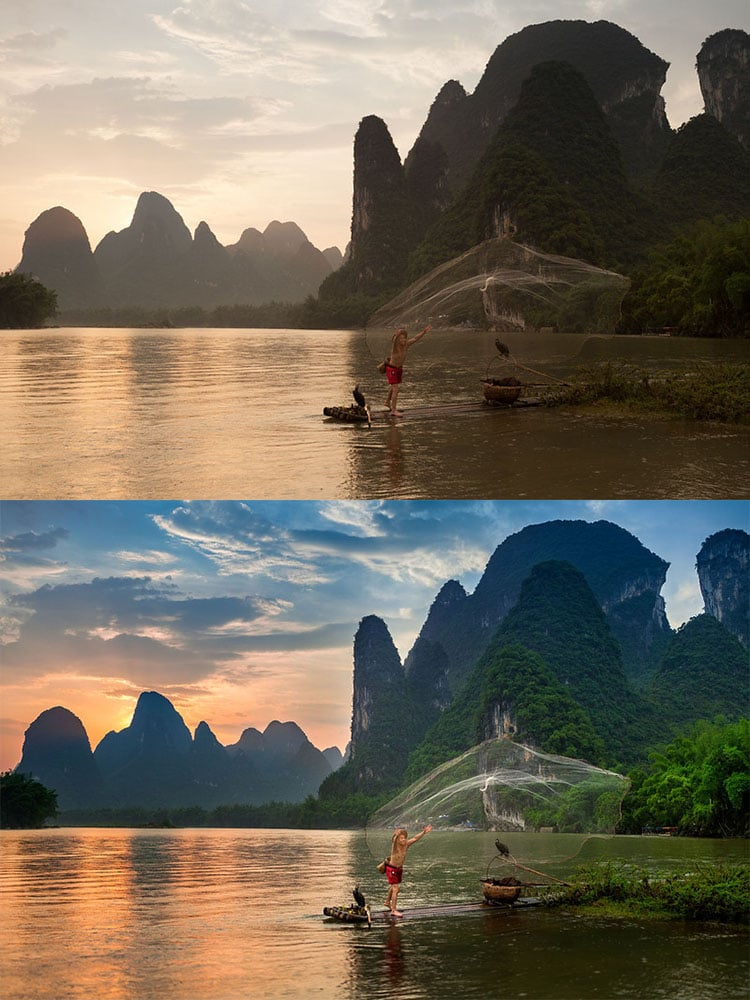
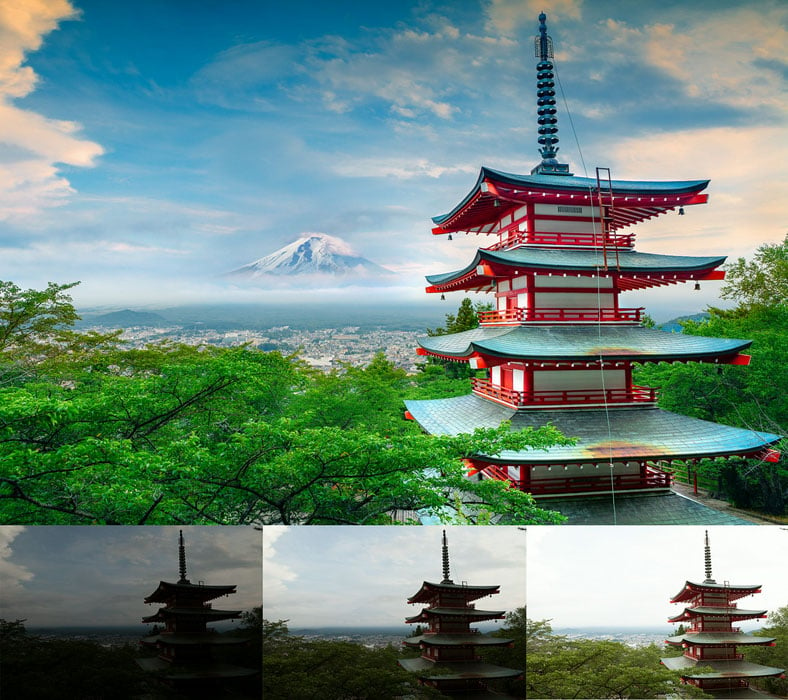
“These Before & After samples are simply meant to highlight what can be done with the power of Photoshop, and as such, I have deliberately provided the most dramatic examples.”
You can find more of Stewart’s work on his website, 500px, Flickr, and Instagram
Image credits: Photographs by Peter Stewart and used with permission