Smoke Bomb Photos: What I Learned Shooting Models in a Junkyard
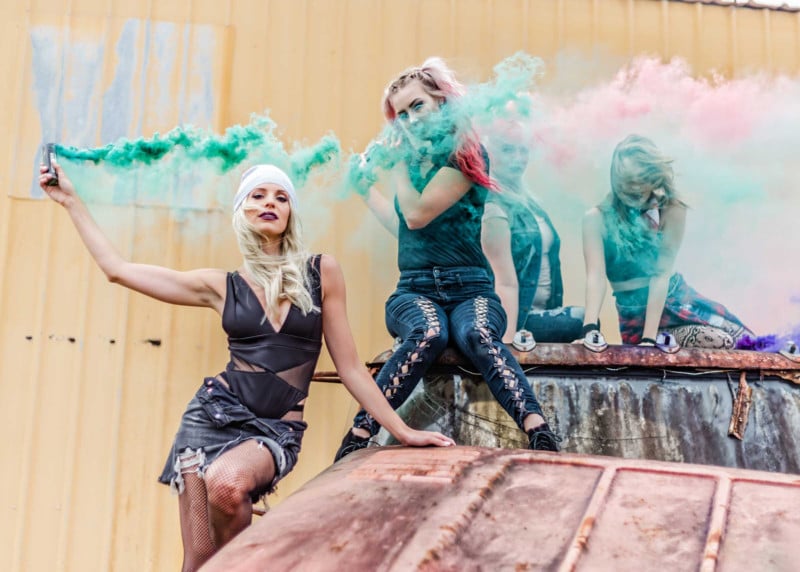
Ever wanted to try one of those cool smoke bomb shots, with thick, bright smoke in eerily sculpted curves floating around fashion models? I’d never tried one but I’ve seen quite a few images online that amazed and delighted me, so when the local model photography group in Orlando planned a smoke bomb shoot at a secluded junkyard, I was there early with a bag full of smoke grenades and a couple of poses I knew I wanted to get. This is what I learned.
Mechanics
1. Smoke bombs are fun. You want the Enola Gaye WP40 smoke grenades.
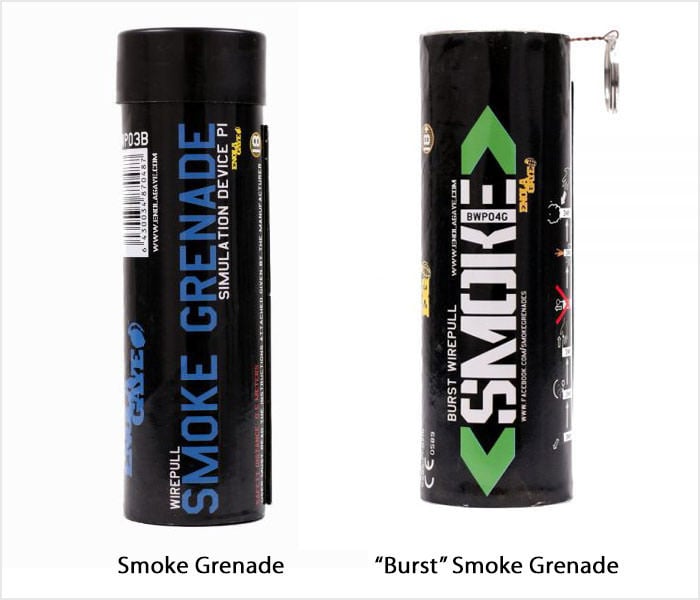
“WP” stands for “wire pull,” there’s a ring at one end you yank to the side to fire it off. They get about as hot as a hand warmer while they’re firing and are reasonably comfortable to hold, especially if you wear gloves. You can buy them online or at local paintball places.
2. Smoke bombs are expensive. They average $7 a pop, they last 60-90 seconds, and the first and last 10 seconds or so will not be very photogenic. And, as with every firework kind of thing, some of them will be duds. Out of the 16 I shot with, two refused to fire.
3. Some of the bombs fire at both ends. They’re called “bursts,” and it’s easy to mix them up with the regular ones. The difference: the logos on the grenades from Enola Gaye should include arrows pointing both ways and the serial number will start with BWP instead of WP. They can be more dramatic but they also burn out twice as fast.
4. Even “safe” smoke bombs are still dangerous. Sparks will fly out when you pull the ring and may spit out a bit while the smoke is coming out. DO NOT AIM THEM AT ANYBODY. One model I worked with received a slight burn to her hand when the model next to her pulled the ring on her grenade. Also, while the grenades are warm to hold, they heat up quickly after the smoke stops and they remain hot for a few minutes. The model should drop the expended bomb onto dirt, concrete or metal or into a bucket of water to avoid accidental fires. The shells can be disposed of once they cool. Keeping a fire extinguisher ready nearby is always a good idea.
5. Fun fact: Colored smoke can color other things. Hold it too close to clothing, skin, hair or property and it will leave stains. The dye used is water-based so it should come out, but delicate clothing may suffer. You may want to use a rain cover on your gear if you’ll be shooting very close to the smoke or in an enclosed area.
6. Make sure you’re allowed to fire them off where you’re shooting. We had permission from a junkyard owner to use his property but in many places you’ll get yelled at and police or fire departments may get called. Many local and federal parks ban them, and you may run into problems in areas where fireworks are illegal. If you’re planning on firing off smoke bombs in a public place you may want to inform local authorities, especially if you’re using white or black smoke. Check your local requirements to see if permits are required. Even with all that, if you’re shooting inside a building, make sure anyone else in there knows about it.
7. And, let’s remember: it’s smoke. It’s not any easier to breathe just because it’s pretty.
Shooting
1. Unless you’ve got a trunk full of the things you won’t have a lot of time to get your shots, so plan them out first. A model sitting quietly in a cloud of smoke won’t need much direction but if movement will be involved or you want the smoke in a specific trail, go through it with the model first without the grenade so they understand what you want and what they should do. Fancy effects will need some choreography. Plan to waste the first few bombs so she can get a feel for them.
2. Keep in mind that unless the model has used these extensively already, she’s going to need much more direction and feedback than usual. She can’t see what the smoke looks like to you, she can’t tell if she’s creating the look you want, she knows she only has a minute at best, and she may know that you could only afford to bring three of them today. Tell her constantly how she’s doing and what she should do next. If possible, consider setting up a reflective surface behind you so she can see for herself what she’s doing.
3. Be aware of the environment. If the smoke is going into her face, adjust her quickly. If you want more smoke in the shot, have her turn around and make some big circles before turning back to you so there’s a wall of smoke behind her. If you have more than one model you may need to try a few different poses to get everyone in place. In several of my images from that shoot, I have one or two models looking great and the rest blocked by smoke.
4. Slower movements make thicker smoke trails.
5. Wind is your enemy. Our biggest problem that day was a 10-15 mph wind that prevented much in the way of thick smoke clouds or well-defined trails. Unless you want the wind-swept look (and you might) get somewhere where the wind is blocked. If you shoot indoors or in a doorway, make sure it’s well-ventilated.
6. If you want wonderfully textured smoke trails, high shutter speeds are mandatory. Think 1/1000 minimum, 1/2000+ better. Then adjust ISO and aperture to suit.
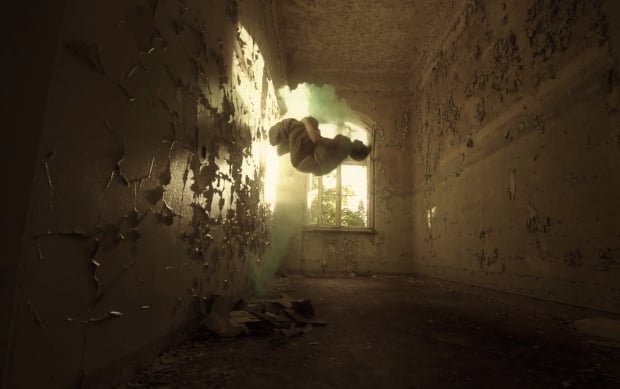
7. Light sources behind the smoke can add interesting looks, and light coming from the side adds sharper definition to the smoke tendrils.
8. Smoke can be shaped, temporarily. You can use doorways or overhanging tree branches to create enclosed areas of smoke or use props like umbrellas or hats to catch it and play with it.
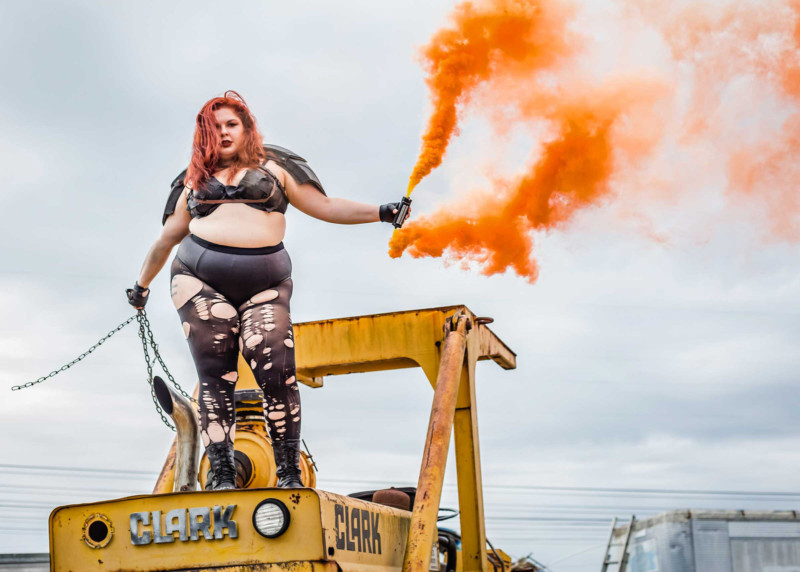
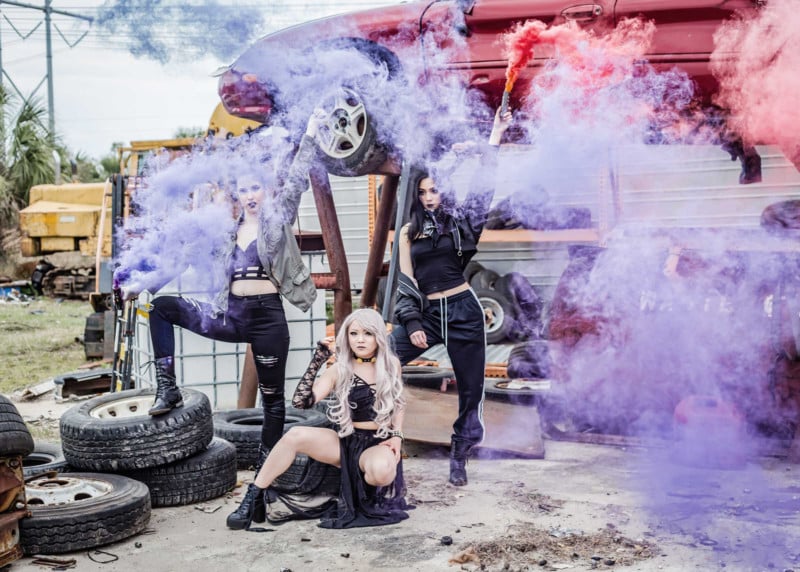
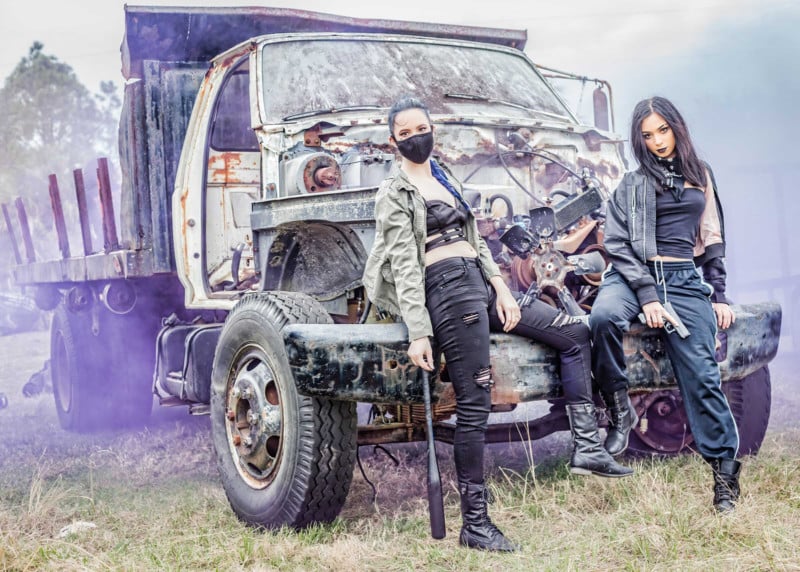
9. Using smoke that matches the color of the model’s clothing can make the scene more dramatic.
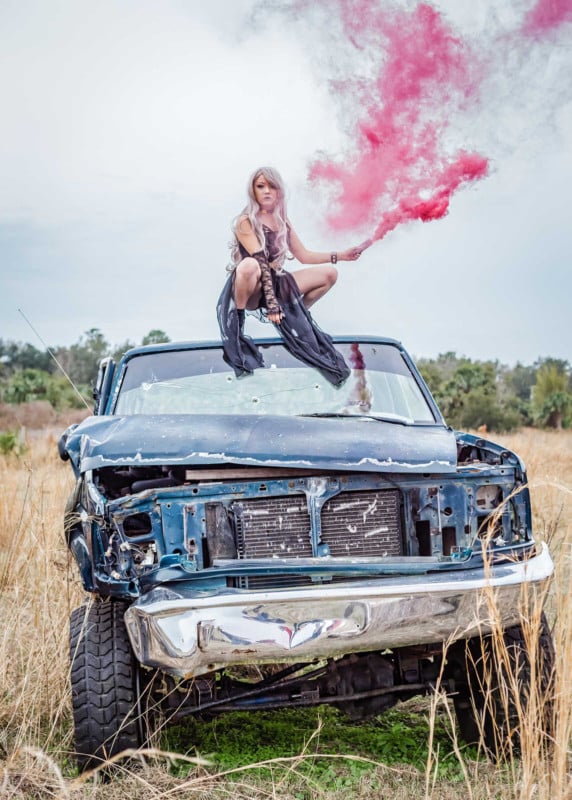
10. The most important thing I learned — besides how not to catch anything on fire — was to use the smoke as AN element of the pic, not as THE element. Some of the best images I saw from this shoot were focused on the model’s pose and expression, with the smoke setting the tone and adding texture and mood. Some of the shots — including far too many of mine — were clearly the photographer thinking “Cool! Smoke! Look!” and snapping away. Ideally, you should have an image that would be amazing even without the smoke.
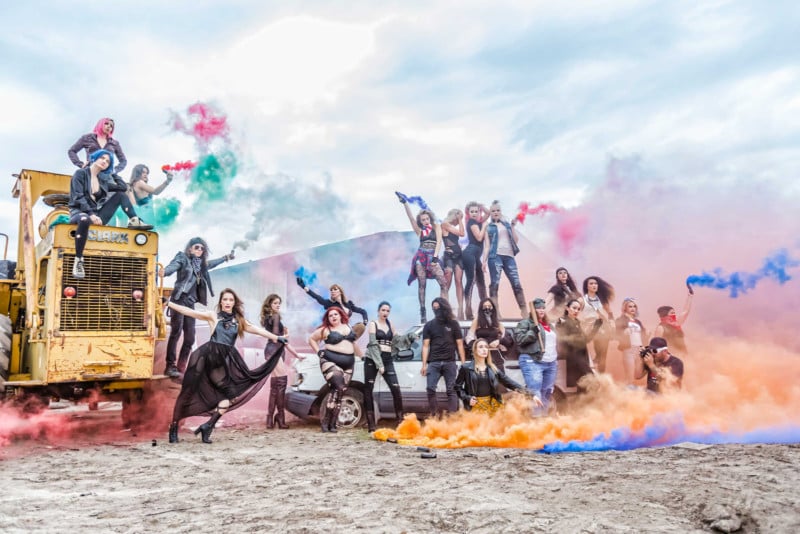
I’m looking forward to trying what I’ve learned in a more controlled situation. But if you do get the chance to shoot two dozen models firing off multi-colored smoke bombs in a post-apocalyptic scene, I highly recommend it.
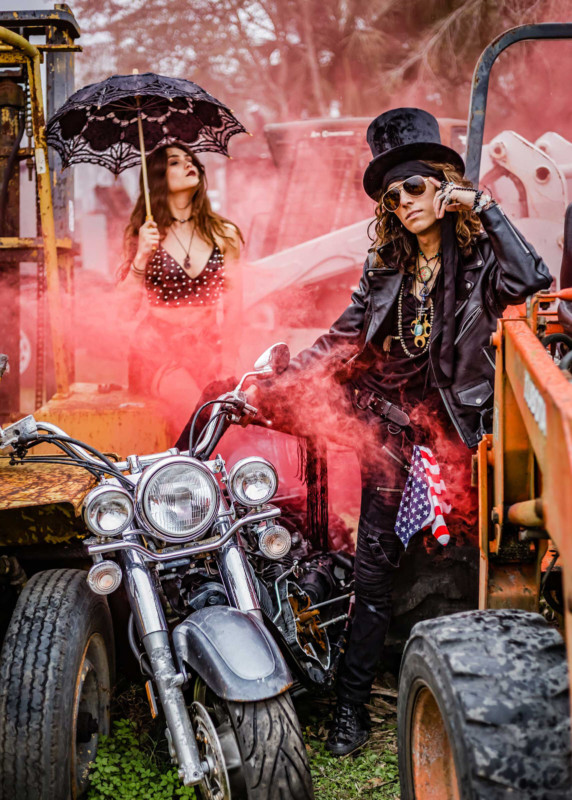
Image creditsHeader photo by C. A. Bridges. Models: Alice Fischer, Sarah Powell, Erin Sizemore, Christian McClure, Christian McClure, Ivy Les Vixens, Tabitha Hayden, Lana Light, Keira Christman, Sasha Fuentes, Jakob Colon, Emily Techera, Sarah Marince, Marisa Cooley, Becca Griffin, Brianna Wolfsen, Melody Atapay, Sharon Rigiero, Andie Nichols, Cecilia Koh-Lutheran, Thao Tran, Elizabeth Tyler, Joe Holland.