How to Build a Simple Sound Trigger for High-Speed Photos With Arduino
Are you stressed? What better way to de-stress is there than to break things while making cool photographs at the same time? You can break anything, from spaghetti to fancy glassware, there is no limit. It will take you about half an hour to build the Arduino circuit and write the code for this sound triggering photographic system.
Materials
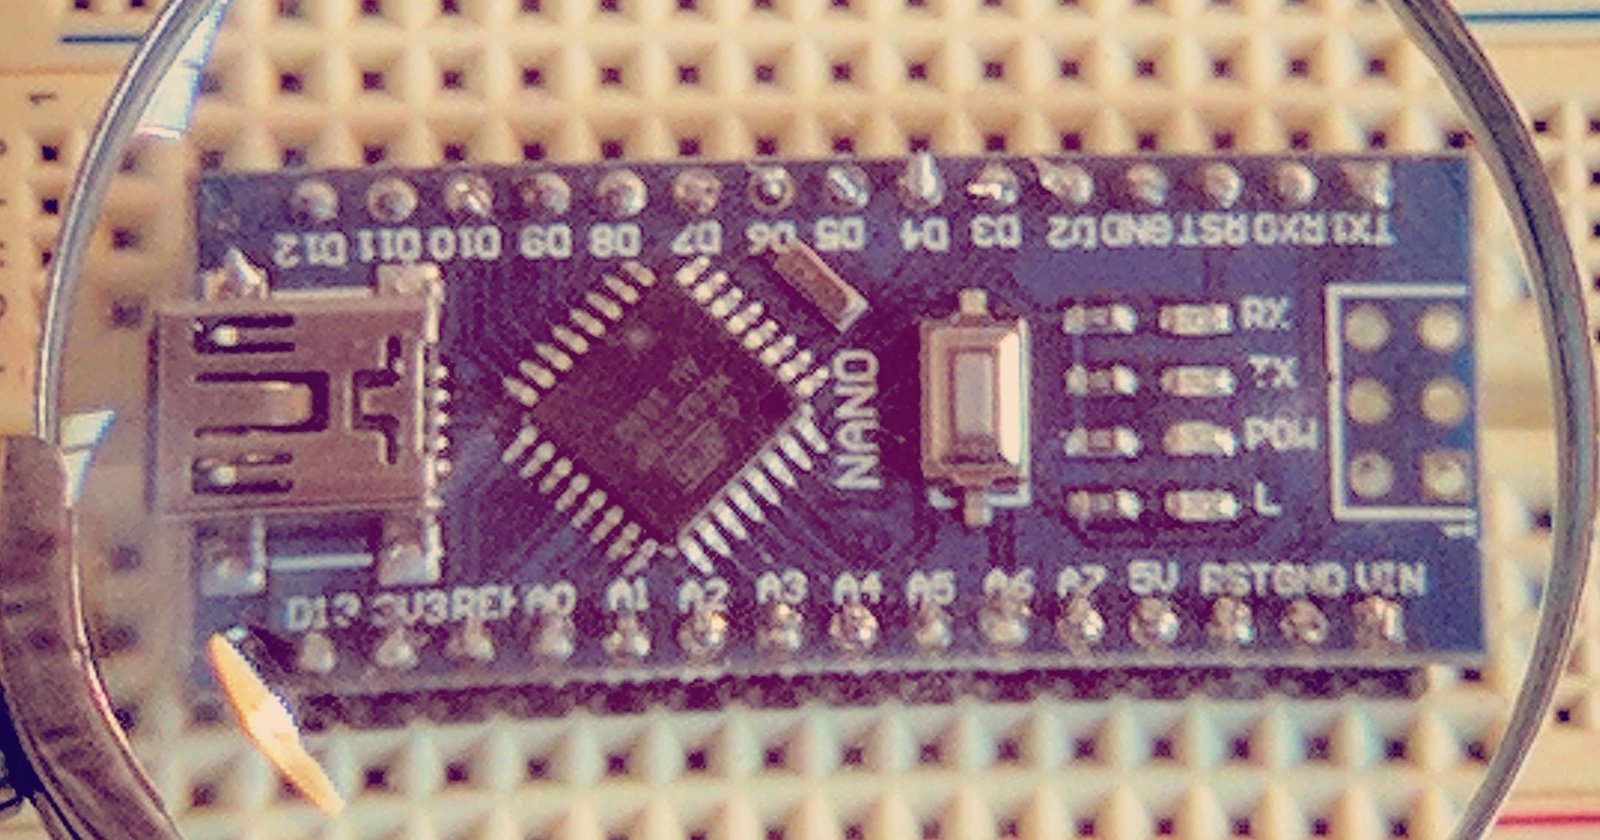
- Arduino Uno R3
- Standard electronics breadboard
- LM393 Sound Detection Module
- OptoIsolator transistor
- 2-220Ω resistors
- LED (of any color)
- Flash strobe head or speedlite (must have PC connection)
- Camera and lens of your choice
- Tripod
- Computer or laptop with Arduino editor
Safety first: Make sure to wear eye goggles and gloves when breaking objects because there might be debris flying everywhere.
Set Up
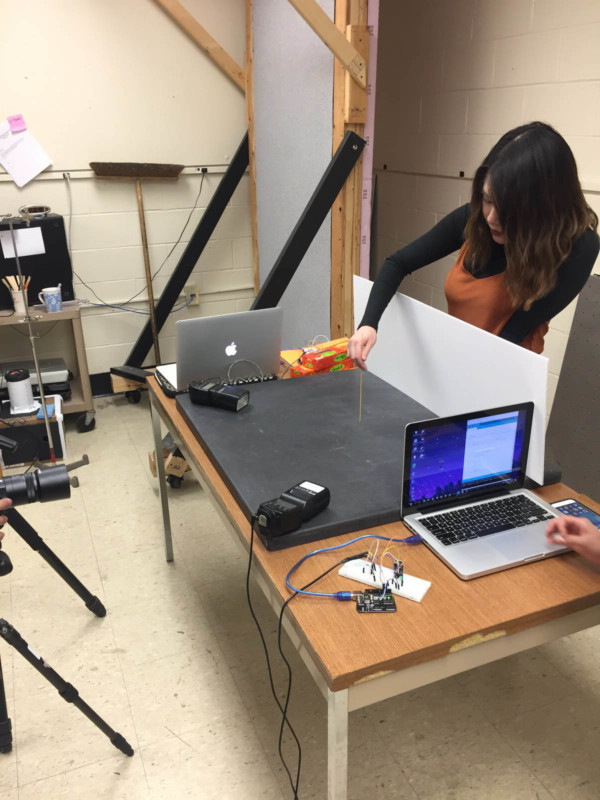
The set up to get the best photo is pretty simple. You want a table large enough for you objects that you will be smashing. Once you have a spot to set up, having a few cameras on tripods at different angles helps give it depth and new perspectives. The flash is important because it’s going to light up your piece.
Once you get ready for your shot, you will use the cameras that are set to bulb ideally and hold the button down without clicking it until the lights are off and the flash goes off. We used an Einstein E640 Flash Unit by Paul Buff, Inc. The flash is a powerful, all digital self-contained flash which automatically senses the voltage/frequency and adjusting. We used 1/128th of a second, which was fast enough to freeze all the action and minimize blur.
Ideally if you want to use flashes, using the canon portable flash. It’s nice because it’s portable so you can put it anywhere. Put two at 45 degrees on each corner of the table to have that balance of light. You can connect two flashes by using two opto-couplers controlled by the same pin on the Arduino. Beware of using two flashes since they often trigger at different times producing a double exposure. Whenever possible use a single flash.
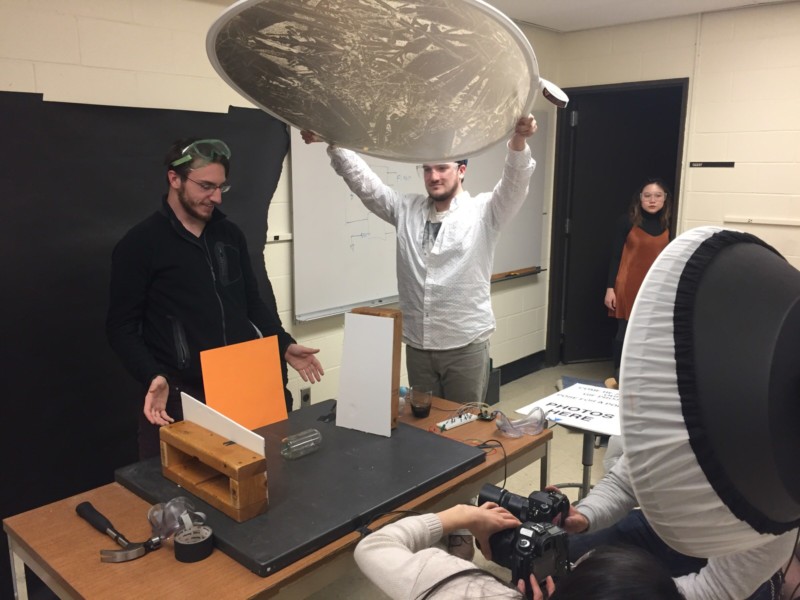
We used a black and white background depending on the subject we were breaking. You can play around with the background depending on the subject you are breaking. Sometimes to get nice lighting on top of the subject, we used a reflector to balance the light to all parts of the subject.
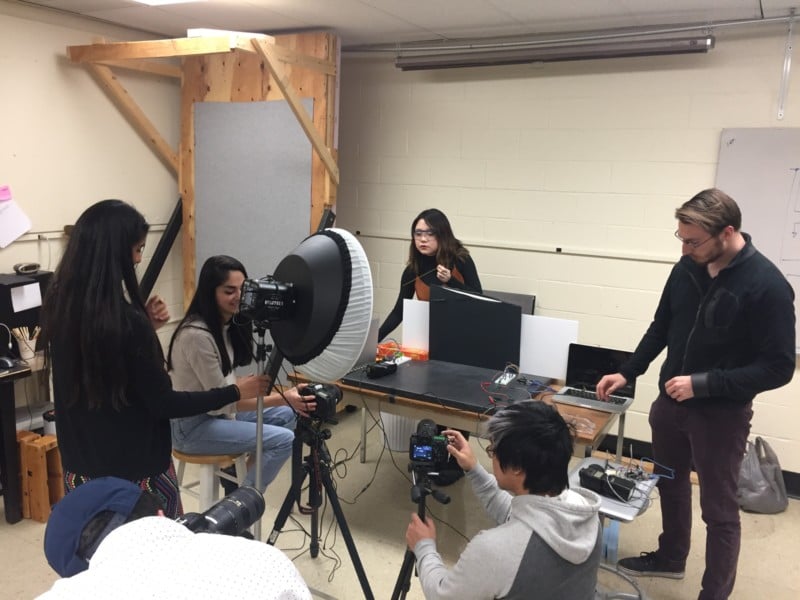
The Einstein flash is close enough to the subject to light up the whole table. As you can see, we have two cameras in two different positions to get two different angles and different perspectives of the shot. The opto-isolator that is connected to the Arduino is close enough to the subject so the sound can trigger causing the flash to go off.
We set our cameras to bulb which opens the shutter for a longer amount of time. We hold down the button and when the subject breaks, the flash is triggered and that is our way of knowing to release the button so the shutter can close. Make sure to take so test reruns to see if your exposure and lighting is correct.
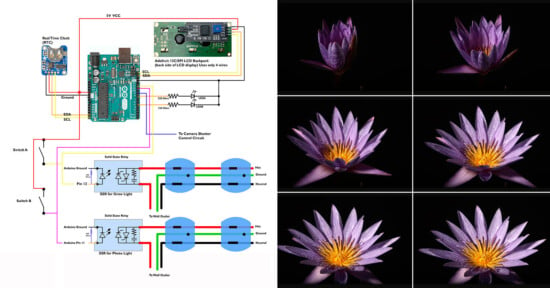
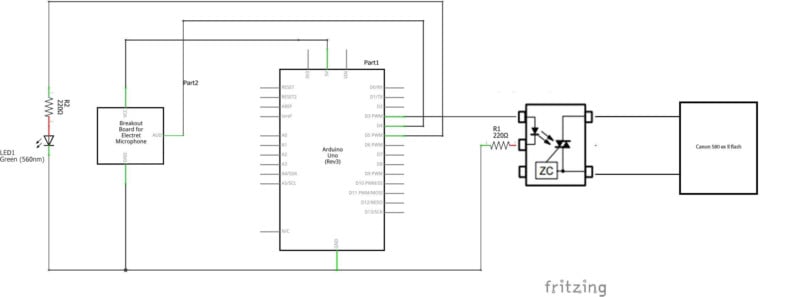
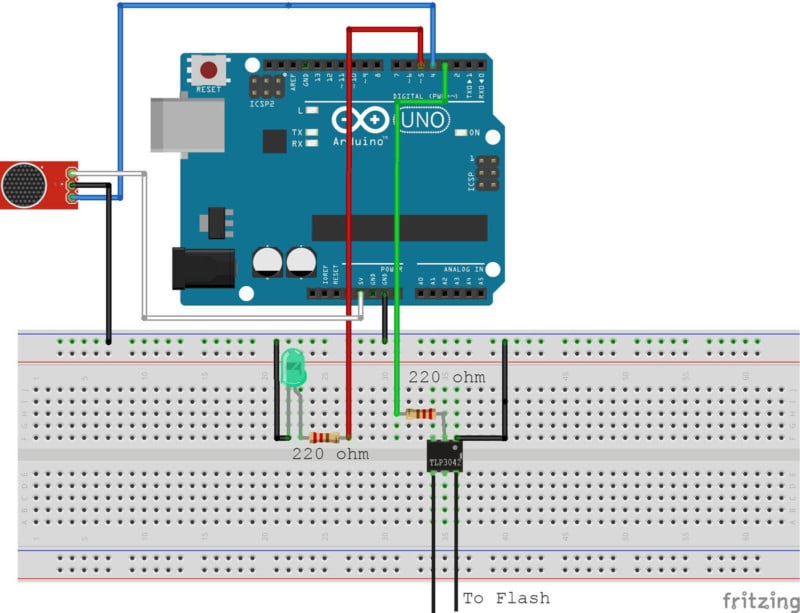
The Circuit
The Arduino Code
 /*
  * RIT Photographic Sciences
  *  Photographic Instrumentation 2017
  *  This code will trigger a flash when a sound is heard. Pin numbers
  *  are defined in the beginning of the code.  The flash is connected
  *  to pin 3, the sound sensor on pin 4, and the LED on pin 5.  In the
  *  set up, the pinModes of each pin in use were defined.  The flash
  *  and LED pins begin LOW and trigger to HIGH when the sound is
  *  detected in void loop.  Once the sound detector triggers LOW, the
  *  flash and LED fire.  Since a LM393 Sound Detection Module was
  *  used, the sensitivity of the detector can be physically adjusted.
  */
int flash = 3; //flash is on pin 3
int soundSensor = 4; //sound sensor is on pin 4
int LED = 5; //LED is on pin 5 and is used for testing if the code works
void setup() {
pinMode(flash, OUTPUT); //sets the flash as an output
pinMode(soundSensor, INPUT); //sets the sound sensor as an input
pinMode(LED, OUTPUT); //sets the LED as an output
}
void loop() {
int sensorInfo = digitalRead(soundSensor);
//a variable created for the data taken in by the sound sensor
digitalWrite(flash, LOW); //start with the flash off
digitalWrite(soundSensor, HIGH); //Sound sensor ready to detect
digitalWrite(LED, LOW); //start with the LED off
if (sensorInfo == LOW) {
delay (25); //wait for the flash to settle down
digitalWrite(LED, HIGH); //fires flash
digitalWrite(flash, HIGH); //turns LED on
delay (70); //keep the flash on for 70th of a second
digitalWrite (LED, LOW); //turns LED off
digitalWrite (flash, LOW); // turns flash off
delay (2000); //wait 2 minutes for the system to reset
}
}
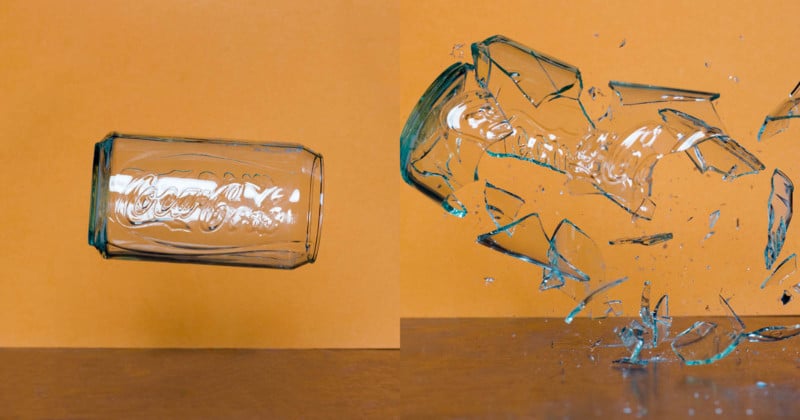
Results


Conclusion
This is a fun, fast, and straightforward project that could help release some stress during finals week. Although, for different types of subject we might need to adjust the delay time for the flash in the code so that we can capture the right moment. As a class we think this is the easiest, accessible way for people to do high-speed photography, and the resulting photos are stunning.

This article written by Ryan Flanagan, Brendan Toyoshima, Nick Mailhot, Anka Parzych, Paige Pham, and Madison Zic, students in the Photographic Instrumentation class at RIT spring 2017.