Editing Photos on an iPhone, a Step-by-Step Walkthrough
There’s something special and so satisfying about shooting, editing, and publishing photos all on one device. The following is an example of taking a photo through the editing process.
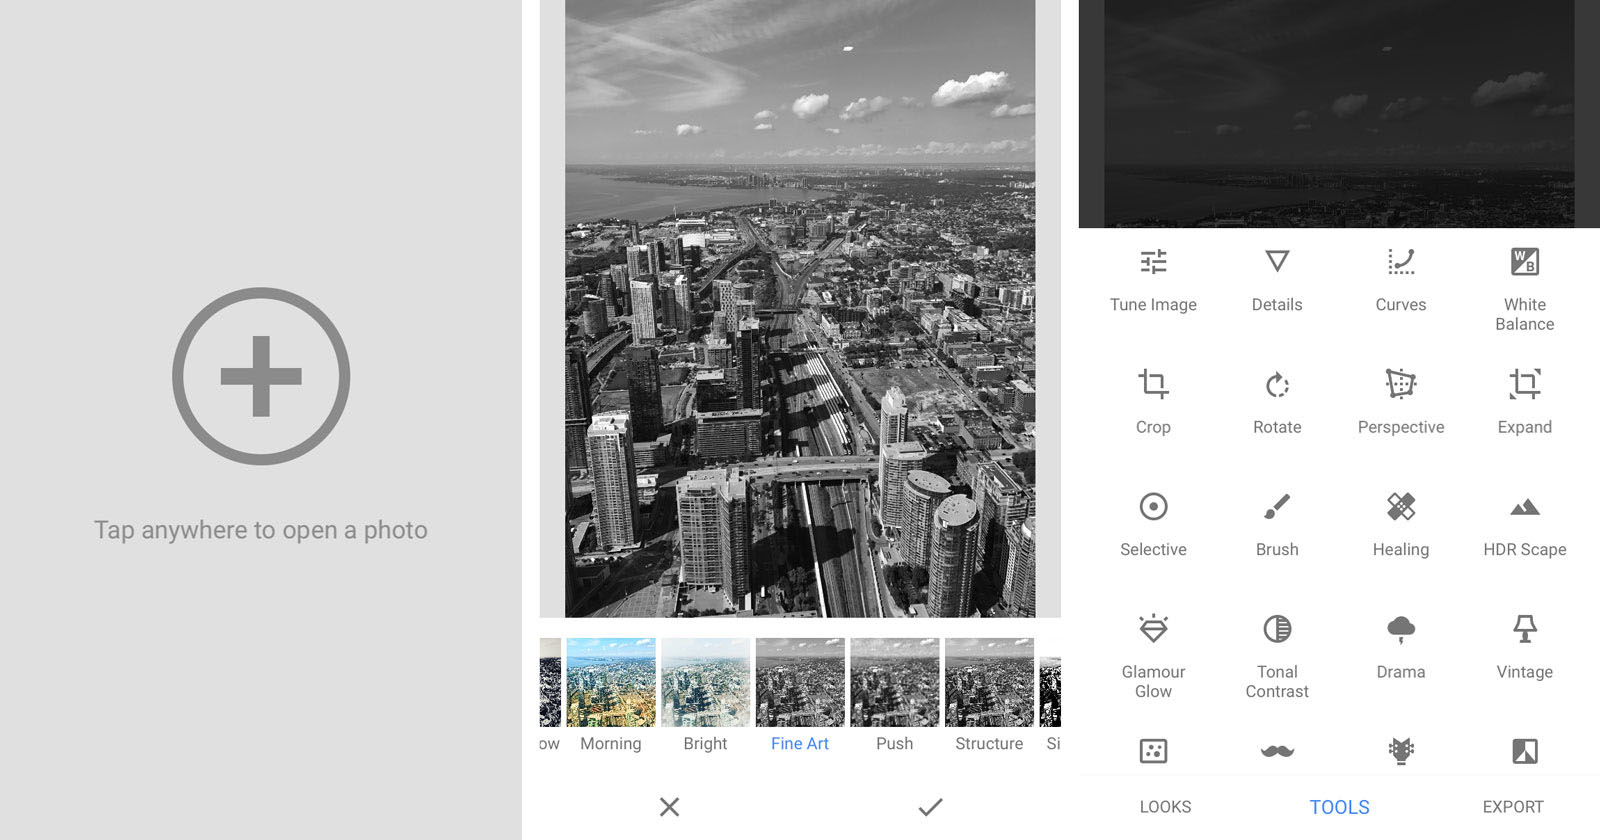
Snapseed – Healing
To start, I always edit out unwanted distractions using the content aware healing feature on Snapseed. Removing even the small irregularities can make a noticeable difference.
Snapseed — Tune Image
Then, I use the Tune Image tool to brighten the image. Boosting Contrast and lowering the Ambiance smooths out the shadows and dark tones.
Snapseed – Selective Adjust
Using Selective Adjust, I darken and brighten certain areas to draw attention to my subject. It may be subtle, but these subtle effects can add up.
LensLight
After Snapseed, I bring the image into LensLight. Here I add an exaggeration to the existing light source to give the photo a little more flair.
VSCO
Finally, I bring the photo into VSCO for the final color grading and sharpening. I try to use the same filter on every photo for style continuity.
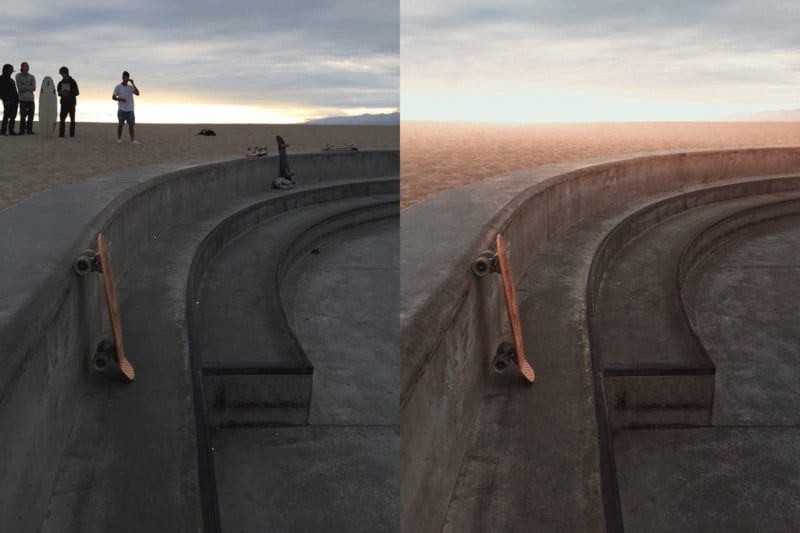
Before/After
There are a million photo editing apps, but these (Snapseed, LensLight, and VSCO) are the three I use on a regular basis.
About the author: Sam Morrison is a photographer a social media influencer working with brands to design, conceptualize, and execute Instagram advertising campaigns. The opinions in this article are solely those of the author. To see more of Sam’s work, visit his website or follow him on Instagram and Twitter. This article also appeared here.