Shooting 7 Headshots on 1 Wall with 1 Model
The first time I sketched a photo was in 2011. It had never crossed my mind before that. Up until then I had never really needed it. I was five years into a business and new ideas had always come pretty easily.
Everybody always says that the first 5 years of owning a business are the hardest. Creatively, I think they’re the easiest. There’s a reckless abandon that comes with having no idea what you’re doing.
In 2011, we (my wife Amy and I work together) did a portrait project at our house. Since we shoot a lot of weddings, I wanted to push myself to put more thought into each photo. So we had 35 people to our house in one day and took 1 photo of each person.
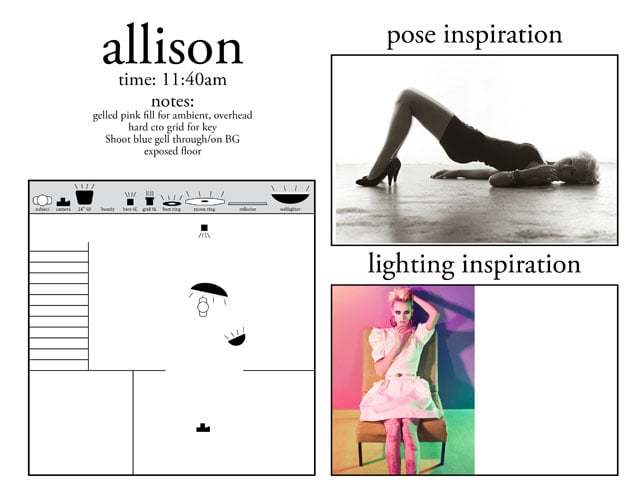
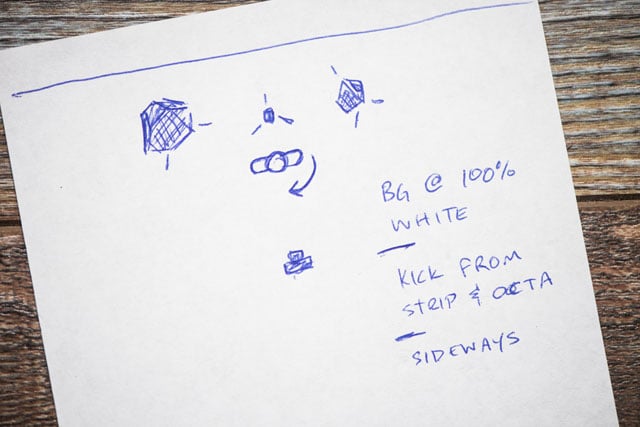
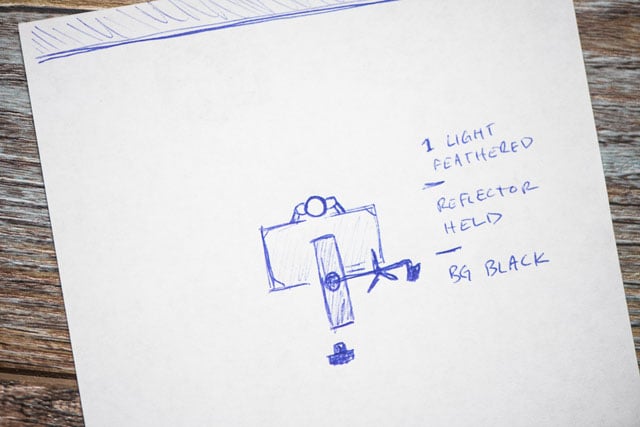
Each photo was different. They each had an inspiration for the photo, a pre-diagrammed lighting setup and were born from a conversation with the subject. It was a big undertaking, but taught me a lot about light and how to be picky. Here’s an example of just one of the diagrams (I apologize for not knowing who the inspiration photos are from — it was a long time ago!):
Over the next few years I started incorporating sketching into our work on a more regular basis. Sometimes it involved lighting setups, other times it involved compositional or posing ideas.
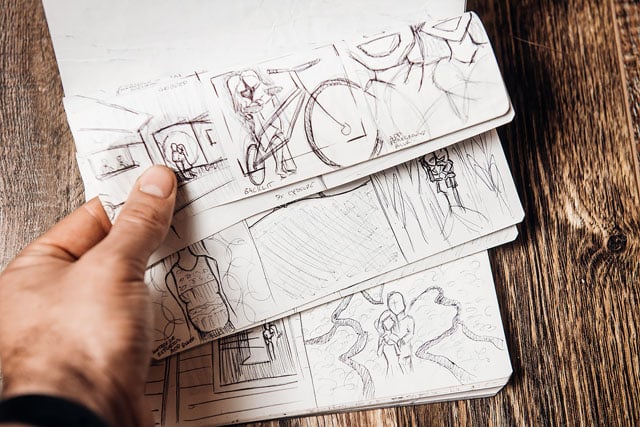
What I found was that if I had one successfully planned shot during a shoot, it changed my whole outlook for the rest of the day. I was often able to think more creativity or more outside the box for everything else on the shoot. Here’s one of my sketchbooks…
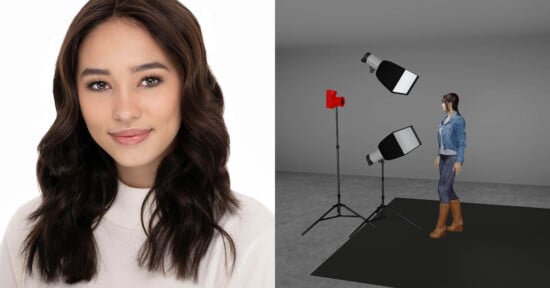
A few weeks ago, I decided to do a practice shoot with our friend Kayla. My goal was to use a small wall in our studio and really explore the subtlety of light changes. So I diagramed 7 photos (one didn’t work, another is represented twice) and shot Kayla in front of the wall using the sketched diagrams.
Whenever I do practice shoots, I use our friends or clients. I prefer to shoot people who don’t have tons of experience in front of the camera because it forces me to work the subject and really create the look I want. While established models can be excellent for creating beautiful images, I find that I learn more with real subjects.

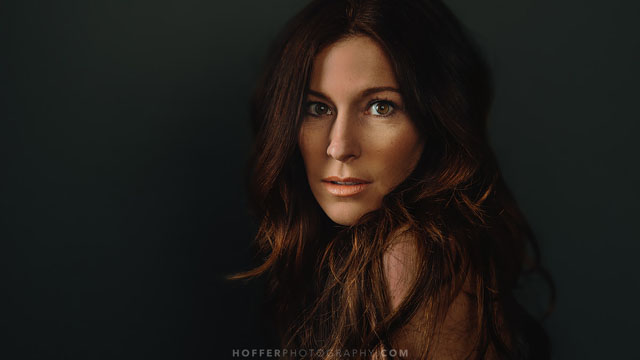
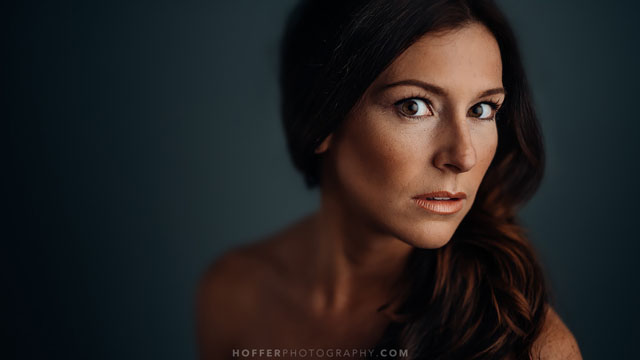
For the first image in the series, I wanted to play with varying degrees of fill light and the dimensional effects that it can have. I chose to have a pretty strong fill light (only about 1 stop under the key light). I ended up moving my key light to the left because it worked better for the part in her hair. Here the key light really helps open up the side of the face that is in shadow because of her hair.
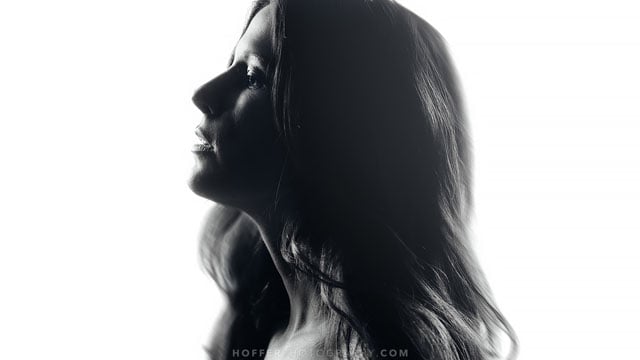
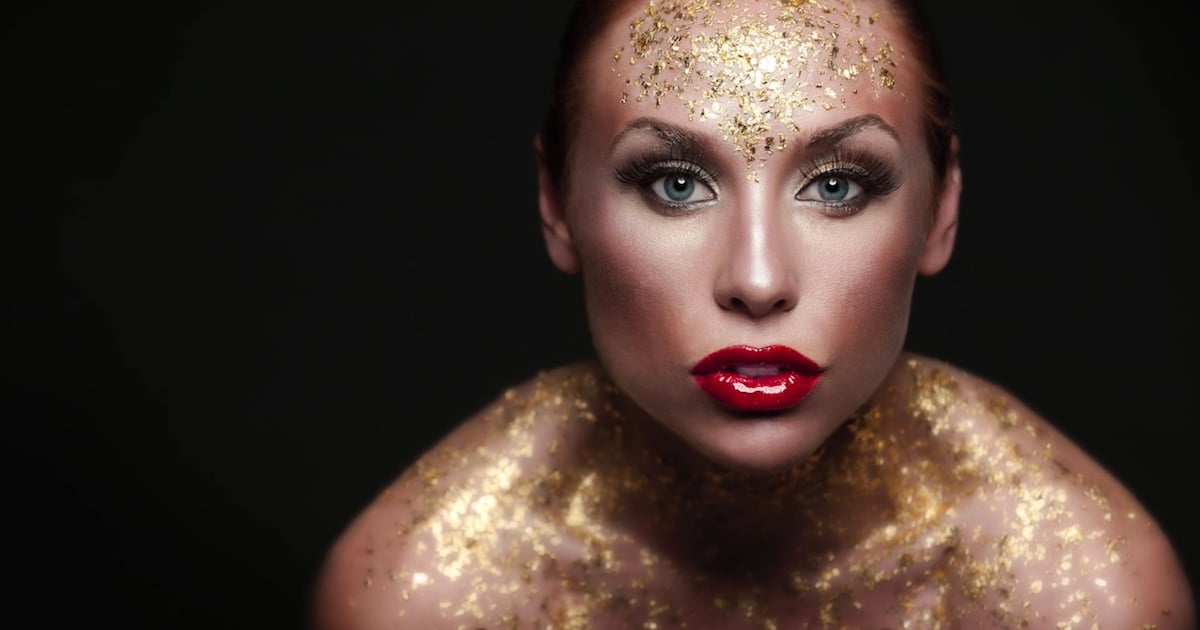
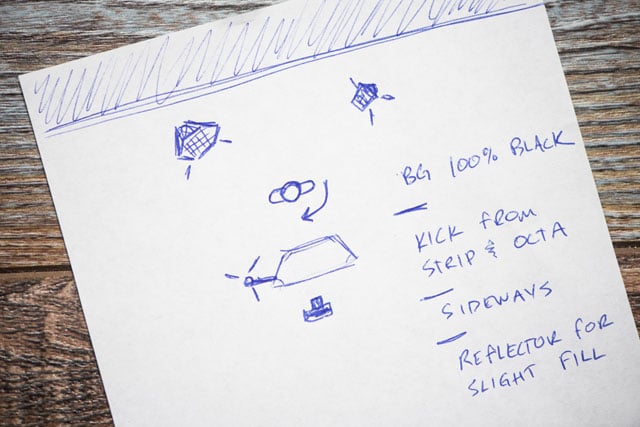
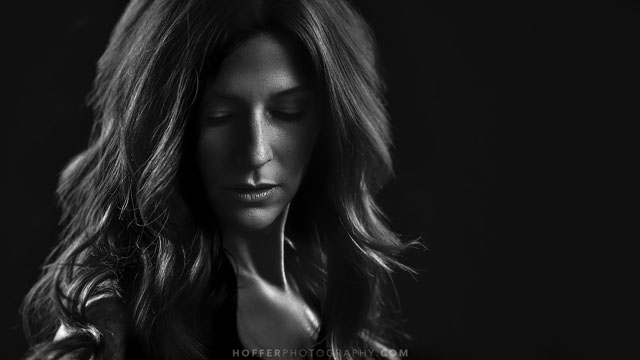
For the second image, I blasted a light behind the subject. Rather than shoot a full silhouette, I wanted to add some slivers of light to define the edges of her a bit more. I still wanted to keep most of her face and hair without detail.
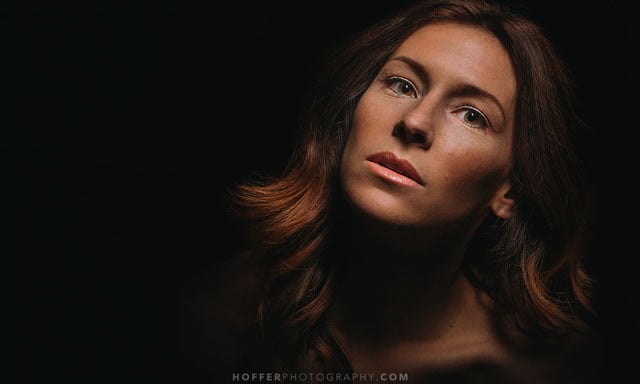
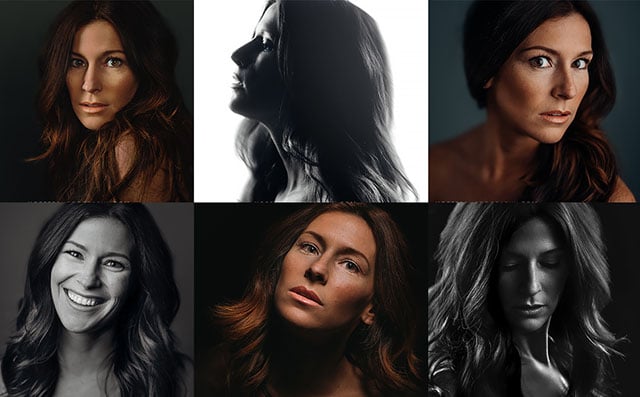
For this image my goal was to play with butterfly and beauty light to experiment with the amount of shadow below the chin. I had Kayla holding the reflector below her for a while (like the sketch). In the end I ditched the reflector and shot a 1 light portrait almost straight overhead. It looks a little noir, which isn’t really my style, but something about it was still striking to me.
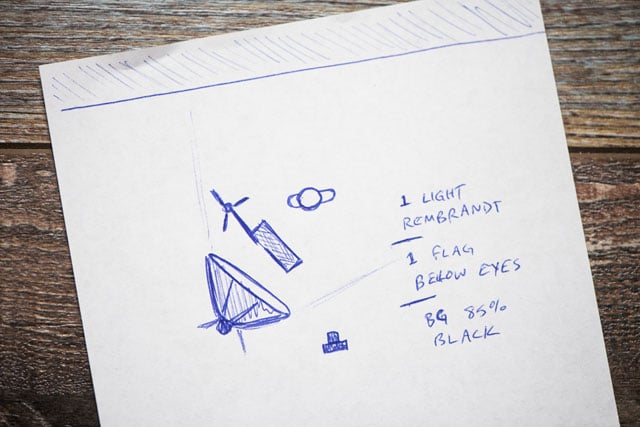
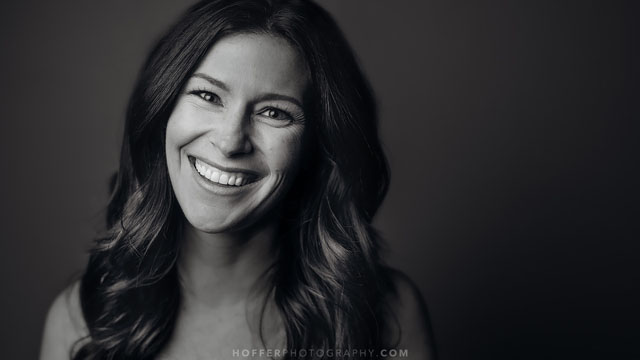
Other than the sketch that didn’t work at all, I had the most trouble with getting accuracy out of my flags. This image in particular (and the standard smiling headshot) is pretty standard and not quite as stylized as I had hoped, but still accomplishes the goal of knocking out some light below her face.
This was a fun and surprisingly interesting portrait to take. I was hoping for a very subtle light on the face using only reflected light from the two kickers behind the left and right of the subject. In the end the reflector ended up being really close to her face. The result was soft but still moody and I liked it quite a bit.
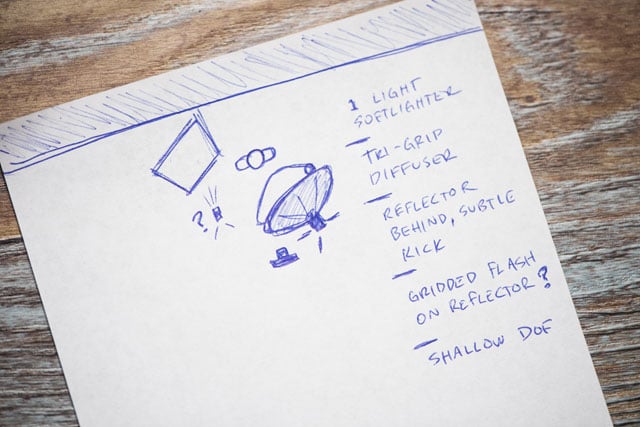
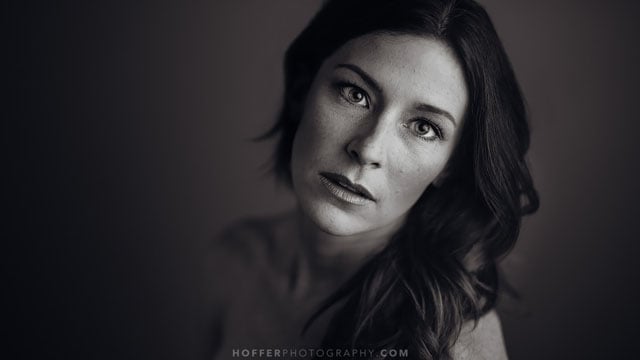
The last set up was the most successful in my opinion and was a double diffused light using a large soft light and a scrim really close to the subject. Unlike the rest of the images, I shot this on a 35mm because I needed to be close to keep the modifiers out of the photo.
I really wanted an ultra soft source that still gave some dimension. I also used a reflector behind and below the subject that provided the slightest amount of kick. It was subtle, but effective and fit the look of the light.
And there you have it: that’s how I shot 7 headshots on 1 wall with 1 face using different lighting setups.
About the author: Tony Hoffer is a wedding and portrait photographer based in the Philadelphia area, where he operates Hoffer Photography with his wife Amy. To follow their work or see more of his sketches (he plans to share more this year), check out their Instagram pages (personal and business) and their Facebook page. You can also see more of their work on their website here.