How to Manually Create an HDR Photo in Photoshop

Here’s a tutorial on how to do non-automated HDR for real estate photography using Photoshop CS5. The first thing you’ll need is a sturdy tripod with a level. The closer you are to a leveled image, the less correction you’ll have to do later.
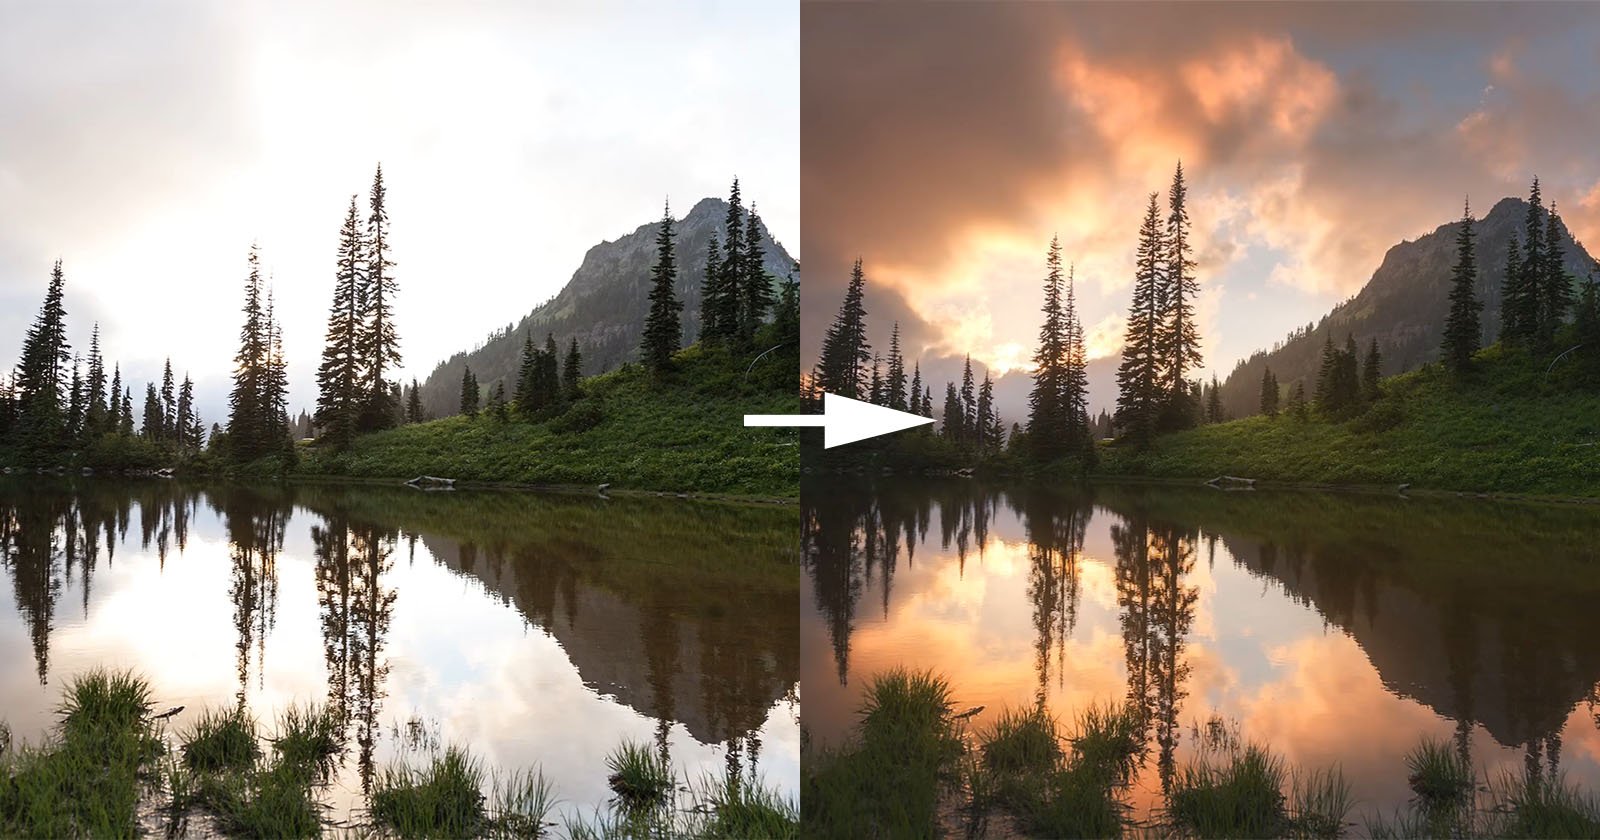
I’ll be turning these photos:

…into this photo:
Start off by opening both files in Adobe Camera Raw. On the underexposed image, adjust your fill light to bring out detail in all shadows. I almost always bump it up to 100%. Occasionally, I’ll also adjust recovery a little. It all depends on whether or not the fill light blew out your highlights. Adjust temperature and tint accordingly (a huge problem I have is florescent lighting exposing green).

Next, adjust the fill light on the overexposed image a bit. Normally I go about 40%. Again, adjust tint and temperature accordingly.

Open them up in Photoshop. In the next step, you’ll drag the overexposed image so that it’s on top of the underexposed image. Add a white layer beneath the underexposed image.

Here’s where the magic happens (not really). On your overexposed layer, apply the multiply blending change. This should already give you a pretty decent look.

The next step is some local touch ups. Select your eraser tool and drop the opacity to somewhere between 5% and 10%. Now select your under exposed layer. Now you can slowly erase any shadows that are too dark, but try not to over do it. You just want to be able to see a little bit of detail in everything.

Now flatten the image and duplicate the new layer.

Now you can transform the layer and use perspective and warp to make lens corrections. When using perspective, simply drag the bottom or top corner to the left or right to correct skewed lines. You can use warp to be a little more precise with it (I’ve purposely stretched the walls a lot here to give an example).

Next, you’ll want to crop out whatever edges are overlapping.

Afterward, use selective color, color balance and local desaturation to finalize color correction. That method is up to you. I tend to use a variety of tools depending on what I’m going for. As you can see, my sensor was filthy when I shot this image so you’ll want to spot any of that if it’s showing. Then get rid of anything weird like that wire in the left hand of the image and you’re set.
I have actions set up that take care of most of the work for me. Once you play around with this, you’ll probably want to do the same to really speed things up.
About the author: Andrew Bramasco is a Los Angeles/Orange County luxury real estate photographer. Visit his Facebook page here.