How We Created a Giant 60-Foot Photo of NYC with a 100MP Camera

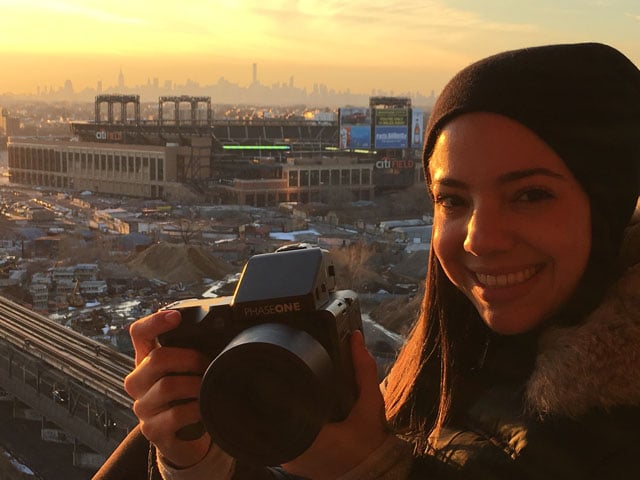
My name is Brian Podnos, and my wife Donna and I run an architectural photography company called Donna Dotan Photography. We were recently commissioned to create a giant 60-foot photo of Citifield with New York City in the background at twilight. Here’s a look at how we made the photo.
At the time, we were using a Canon 5D Mark III to do photography of the model units for a new development project in Flushing, Queens. One of the photos they wanted to see was the view of Manhattan from the construction site, so we waited until twilight and got a pretty incredible photo showcasing Citifield with the city in the background.
We didn’t know at the time they were going to be blowing this image up to that kind of size (60 feet x 9 feet), and once we were told, we decided to pitch them the idea of letting us go back with a medium format system. They agreed with the caveat that the final image needed to be delivered at the end of the week.
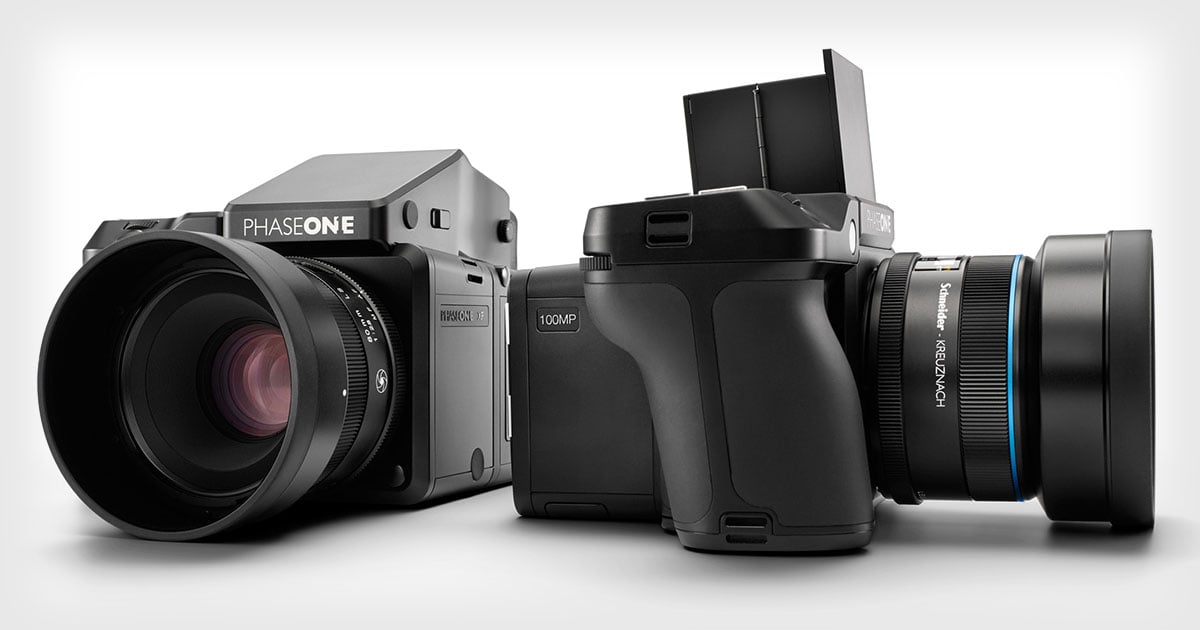
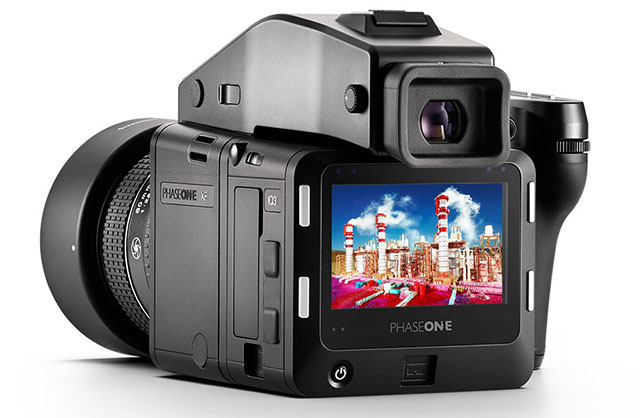
The Phase One IQ3 100MP system had just come out, and we really wanted to utilize its latest and greatest sensor (100MP!). After some adversity (you’ll see in the video) we were able to rent the camera. Now we only had one day to get the shot.
The pressure was on. Everything had to go according to plan. The weather had to cooperate, plus we had to learn the mechanics behind a camera we had never used before, and we had to figure out exactly by what method we would create the photo.
Since the wall was 60 feet wide, we knew we would have to shoot multiple panels and stitch them together in post (even with a medium format system, a single shot wouldn’t be sufficient), but we weren’t sure if we should use a rail or a tripod. We also didn’t know if we should photograph in the horizontal or vertical orientation, or if we should capture the panels top-down or left-right. Lastly, we weren’t sure which lens would be most appropriate.
Lots of questions, not a lot of time to spare.
After much deliberation, we decided to take multiple lenses and figure the rest out on site. Thankfully, the weather was on our side that day. We rented the camera from Digital Transitions in NYC and they were amazing in teaching us how to operate it. They also assured us they would always be around should something arise on site. That comforted us to say the least.
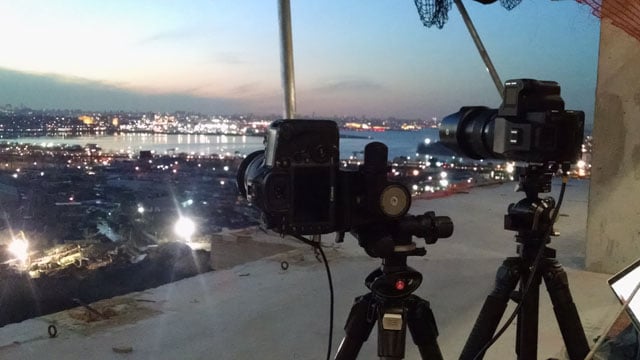
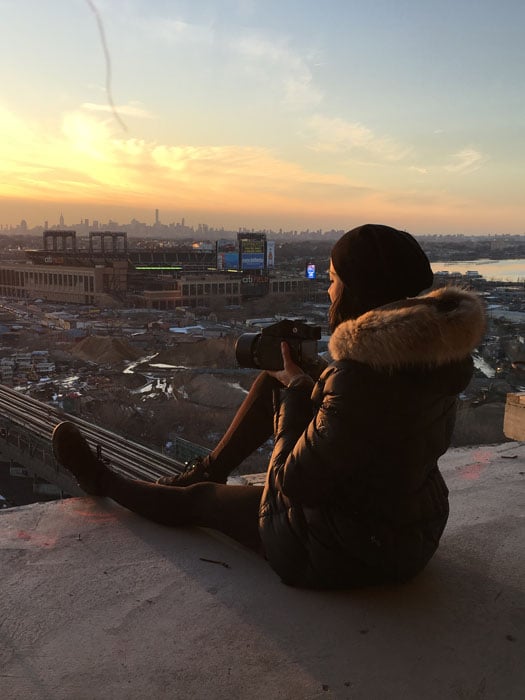
Sunset was around 5:15, so we arrived at 4 and made our way up the construction site to the 15th floor. It was already so beautiful as the sun was setting behind the Manhattan skyline.
Quickly, we were able to eliminate the rail system we had brought. Our photo subject was so far away that we could easily photograph the needed panels on our Arca-Swiss D4 tripod head. Next, we decided that the Schneider 150mm was the lens to use. It gave us exactly the frame we were hoping to get. We elected to orient the camera vertically and shoot around 7 panels from left to right.
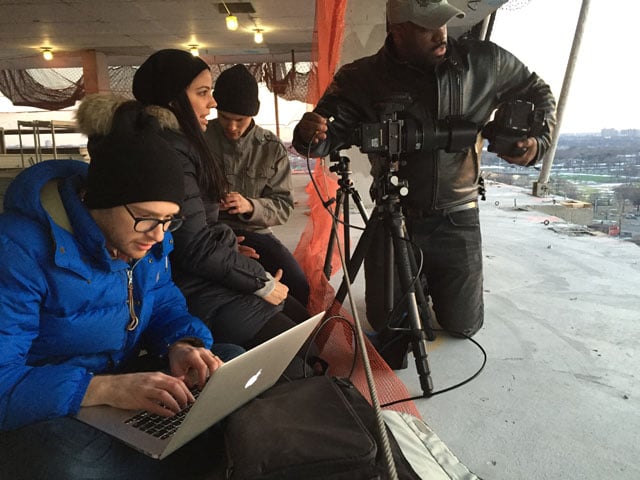
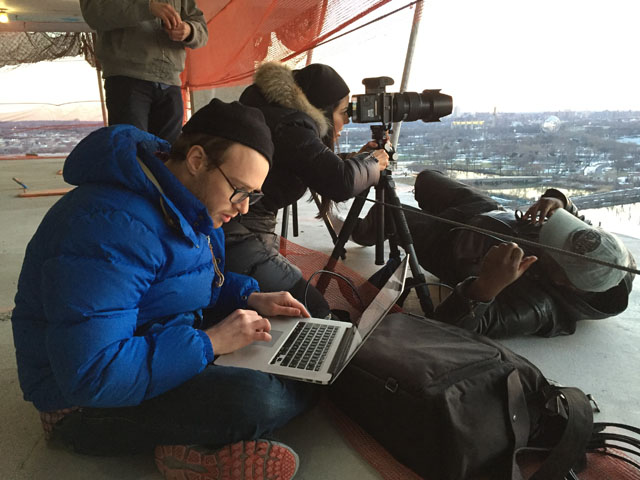
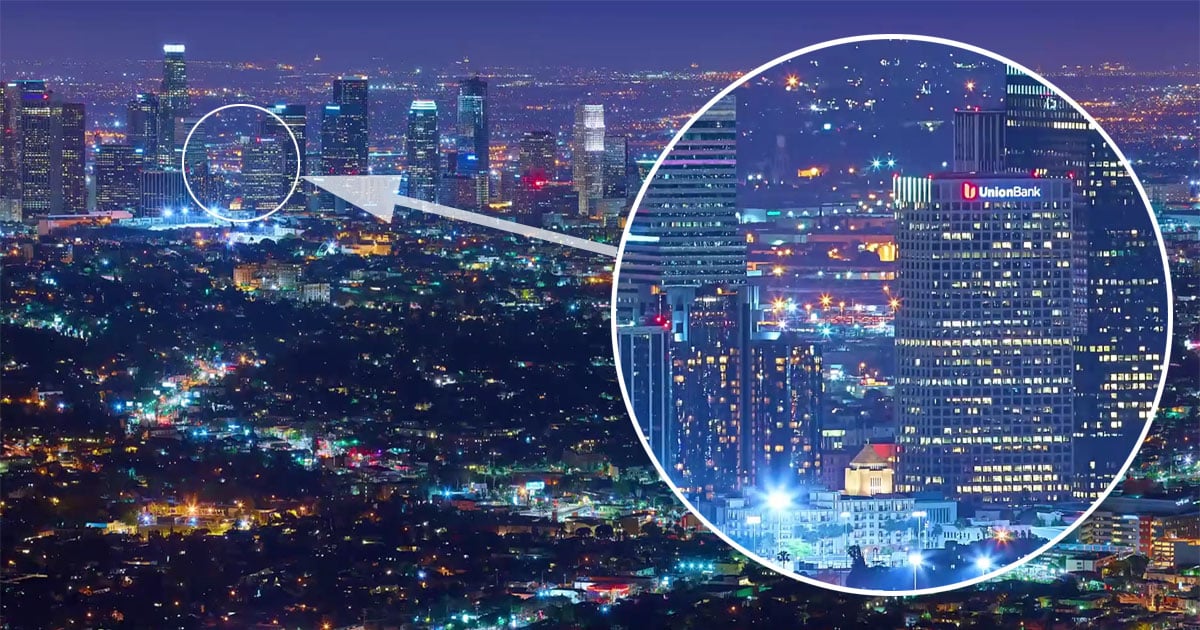
One additional element we worried over was the fear that the construction site would be too active. Any camera shake would mean the image would be blurry. Thankfully we were able to select a floor where no one was working, and thus were free to begin. Once the camera was set up, we ran a test by tethering to a computer and taking a look at how the panels stacked up next to each other. It was perfect, the resolution was incredible, we were even able to read signs that were miles away!
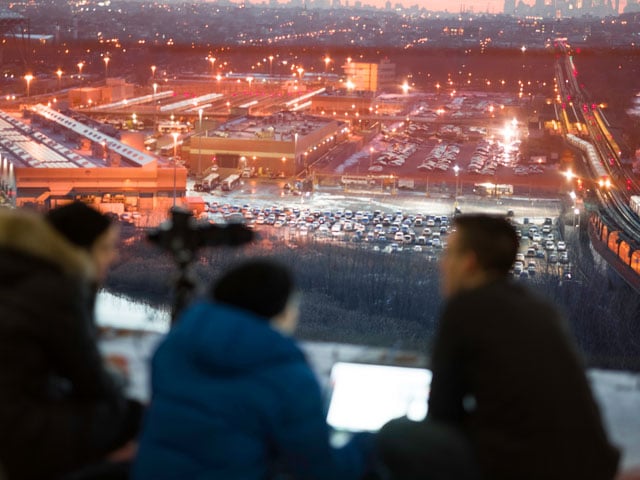
We were finally confident that we would be able to create the image the way we wanted to. Now we just had to wait for the buildings to light up….
The next day we imported all the files to our office computers and spent the rest of the day editing the shot. It literally took all day to get the color corrections on point and blend the photo seamlessly. We finally submitted the photo and shortly after heard from the printer that the file was going to work. We all breathed a sigh of relief.
We got to see the photo in person a week later, and it was incredible. Inspecting it up close we really got to see how sharp every detail was. It was extremely satisfying to have finally used a medium format camera, and to have used it for something this ambitious.
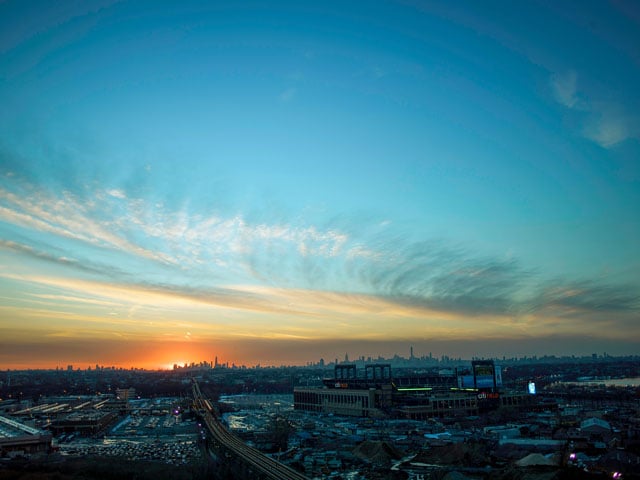
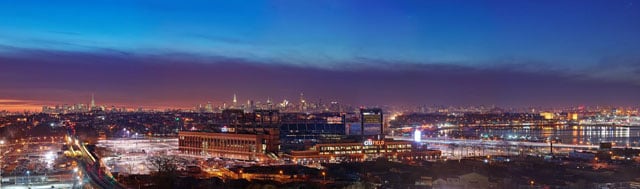
Here’s the panorama that was turned into a giant 60-foot print (you can click it to see the original resolution):
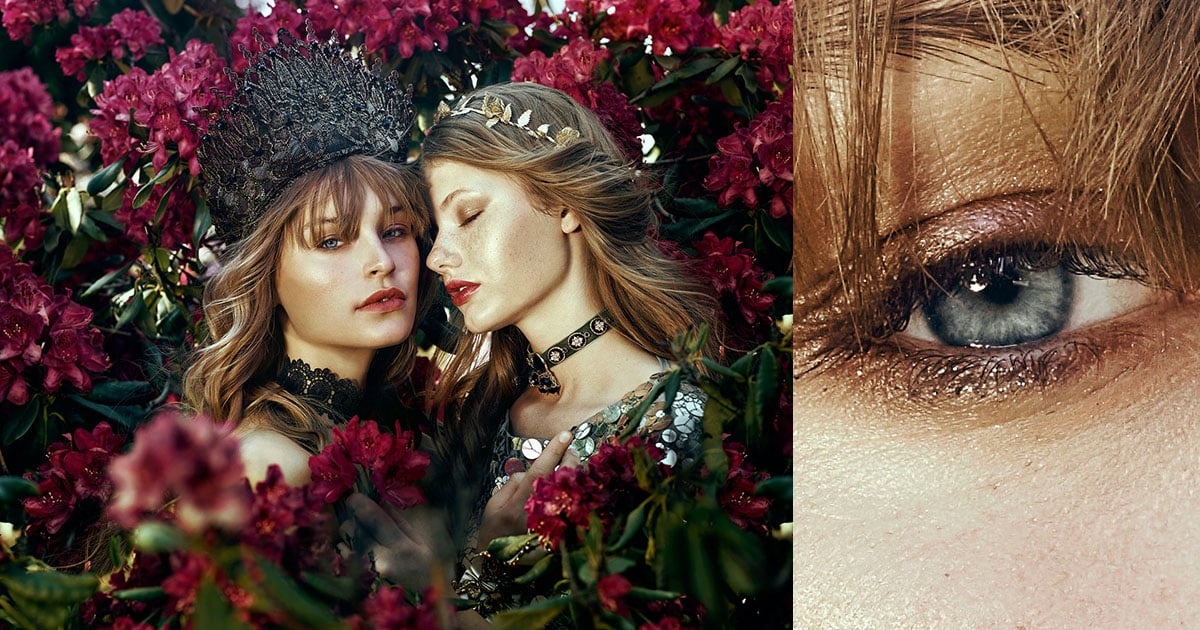
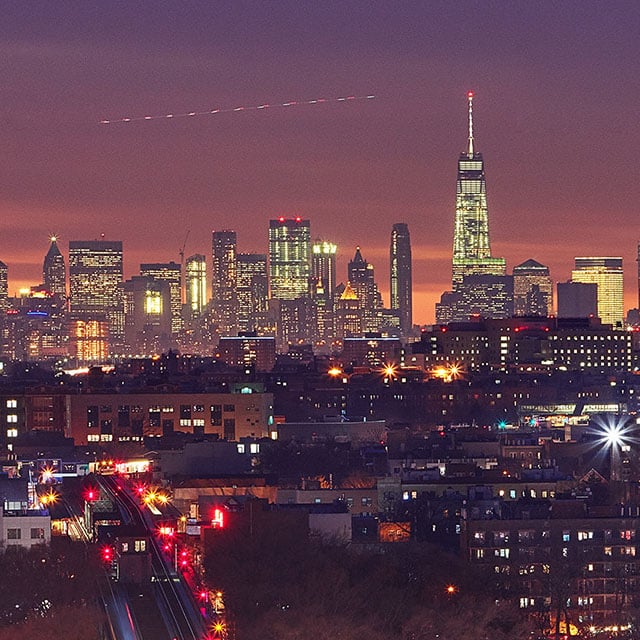
Here are a couple of 100% crops from the original size:

Reflecting on the experience, the whole process was pretty wild. There were so many question marks in the air and that made the shoot a big risk (renting a system like this isn’t cheap!), but it all worked out in the end and if nothing else, it makes me wonder how I will ever go back to a DSLR (just kidding Canon, I still love ya).
Here’s a 6-minute behind-the-scenes video we made while doing this project:
P.S. Special thanks to Onex Real Estate Partners, Modern Spaces, Digital Transitions, Ken Jones, and Pitra Media!