How to Create White, Black, and Gradient Backgrounds in Photos

Creating an evenly lit background can be trickier than one would think, but is a skill that every photographer should master. But with the right equipment and knowledge, it gets much easier to capture a pure white, black, or colored gradient background in-camera without the need for heavy Photoshop cleanup in post.
When it comes to lighting a background, there is a little more technique required than just hanging up a piece of paper. While the specific type of background choice is a personal preference, it is always a good idea to know how to create different styles so that you are always prepared should a client request something specific.
There are many commercial assignments (such as E-commerce) that require a perfectly white background because of how the image will be printed on paper or clean websites with text. Conversely, the image may need to be shot against a solid black for the same reason.
In general, it is always in a creative’s best interest to properly light and expose their backgrounds since it will save so much time and effort with their retouching efforts. An under (or over) exposed background with uneven highlights is going to look bad regardless of the subject matter.
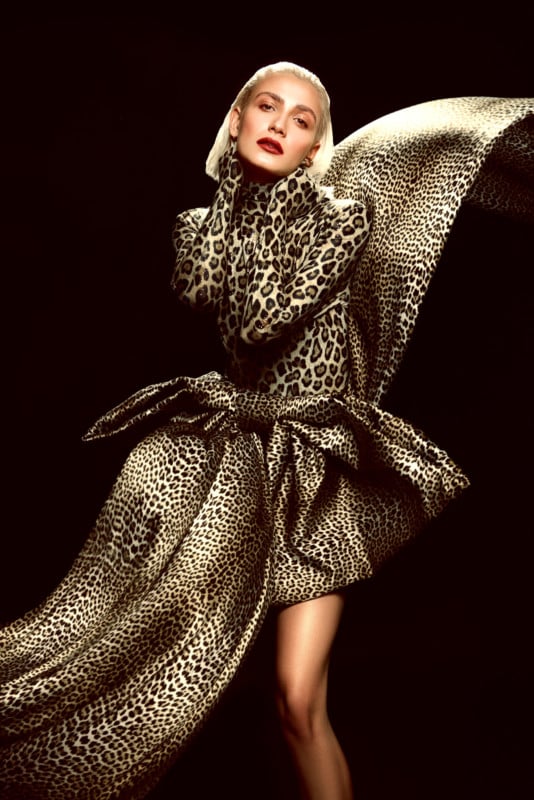
Table of Contents
Creating A Solid White Background
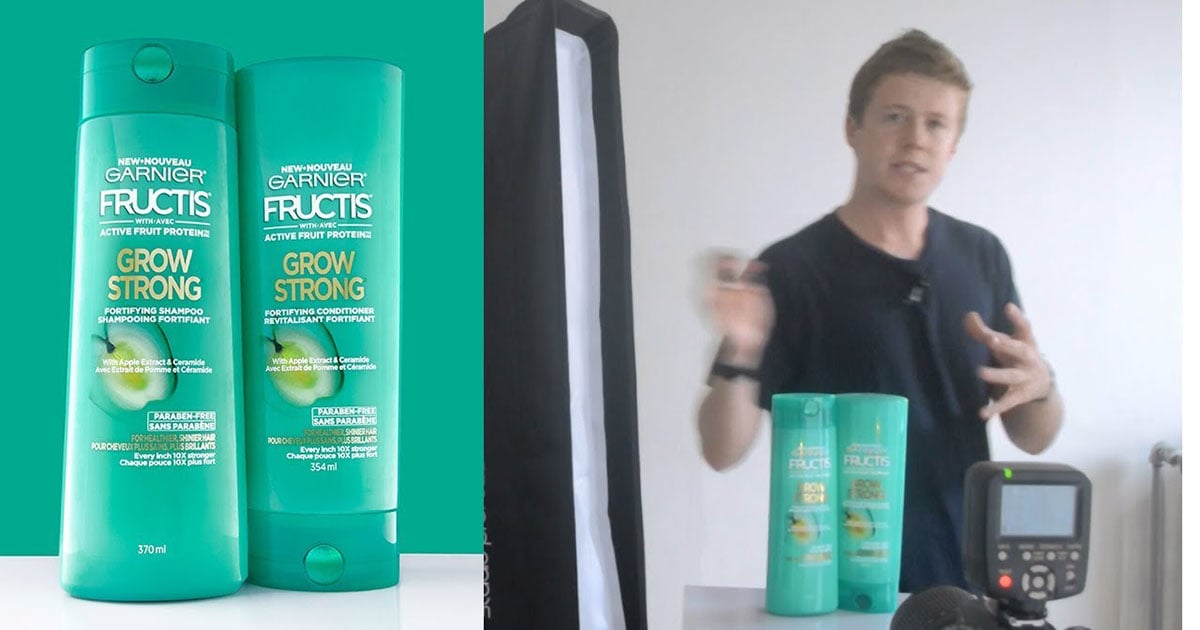
Creating a solid white background is arguably one of the simplest ones in this article, yet many photographers can struggle with it. There are a few things that can easily go wrong when shooting a white background – The background may be overexposed, underexposed, lit too hard, and/or lit unevenly. Let’s address each one by considering the images below.
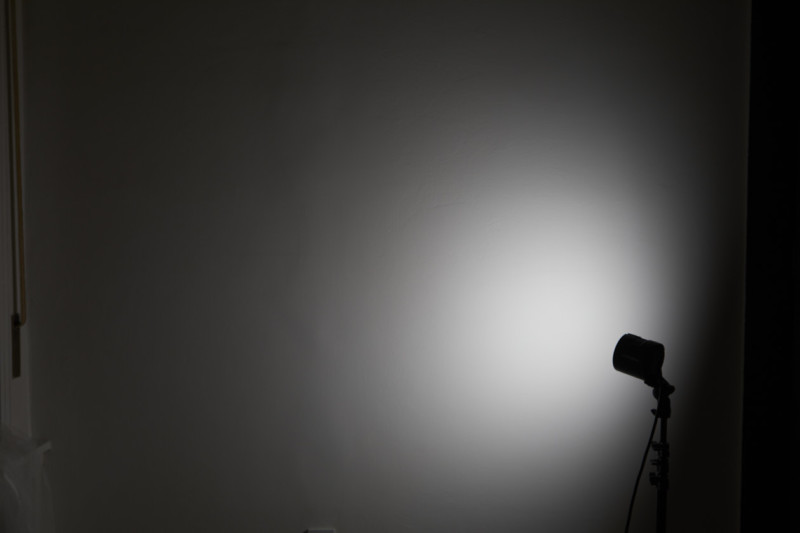
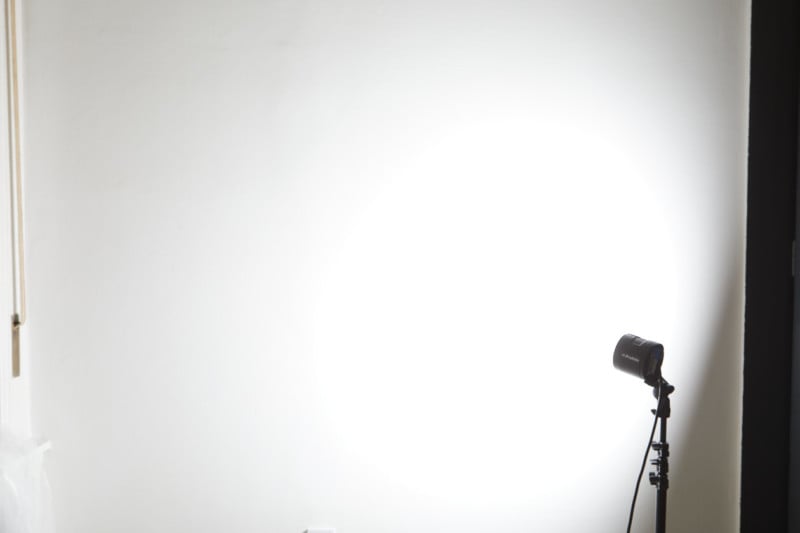
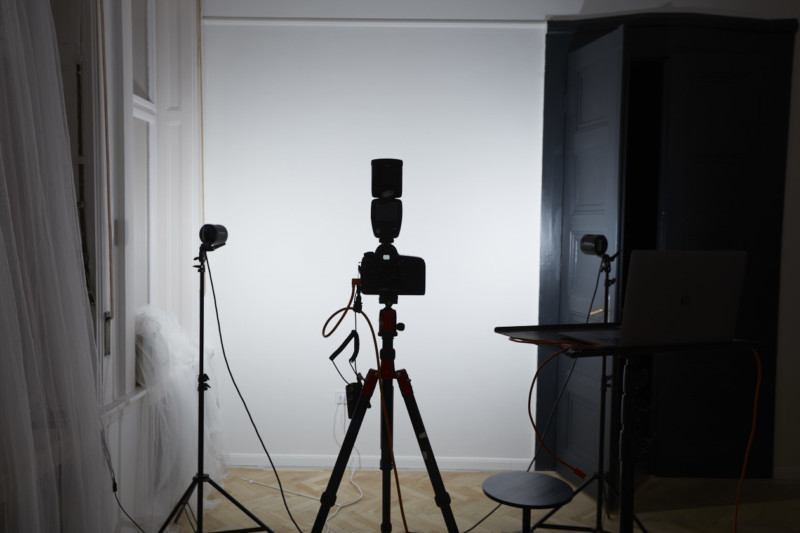

It is easy to think that a perfectly white background is just a massive overexposed blob, so the instinctive move may be to simply blast it with light. But if we do that, the background will start acting as a light source and messing with our overall image. Especially if the background light is really powerful as it may even create unwanted flare which will decrease the overall image quality and detail by a lot.
Another issue that one may encounter is the overexposed white turning into a nasty magenta or an unflattering green that will appear if it is underexposed. While these are not huge issues in digital photography since it can be fixed in post, it can be a major pain when shooting film (as some clients request) and will still be annoying to have to fix in every image after the fact with digital. To avoid this issue, be sure to always set the light power from low to high and stop where the background is the right tone.
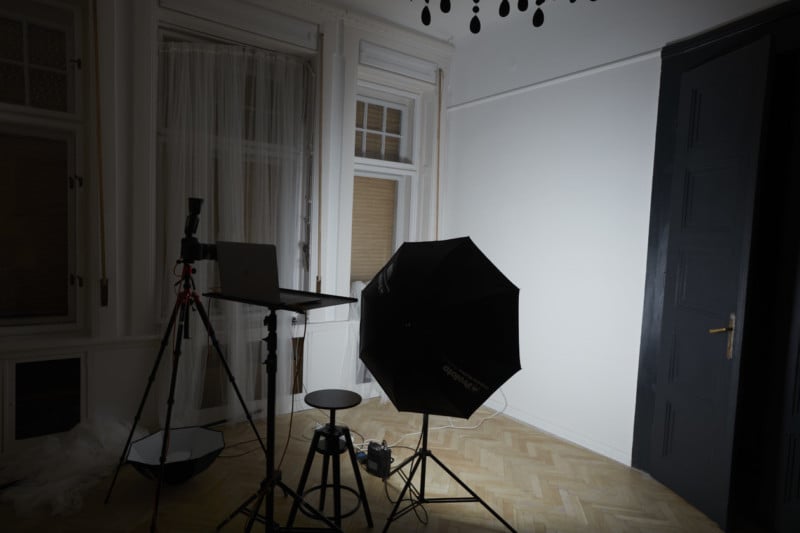
Also, beware of the wrong light positioning. Your goal must be to evenly illuminate the whole background and this is best done with a large light source such as an umbrella or a beauty dish. Remember to give enough space between your subject and the background to avoid light flares. Typically you’ll want at least 4-5 feet from the background for this.
Creating A Solid Black Background
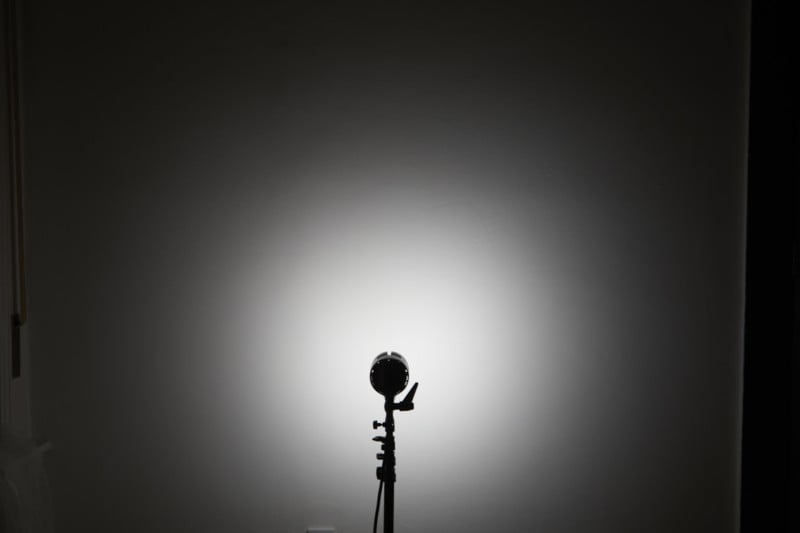
Photographing a smooth black background is the opposite of creating a solid white one. It requires switching from overexposing to underexposing.
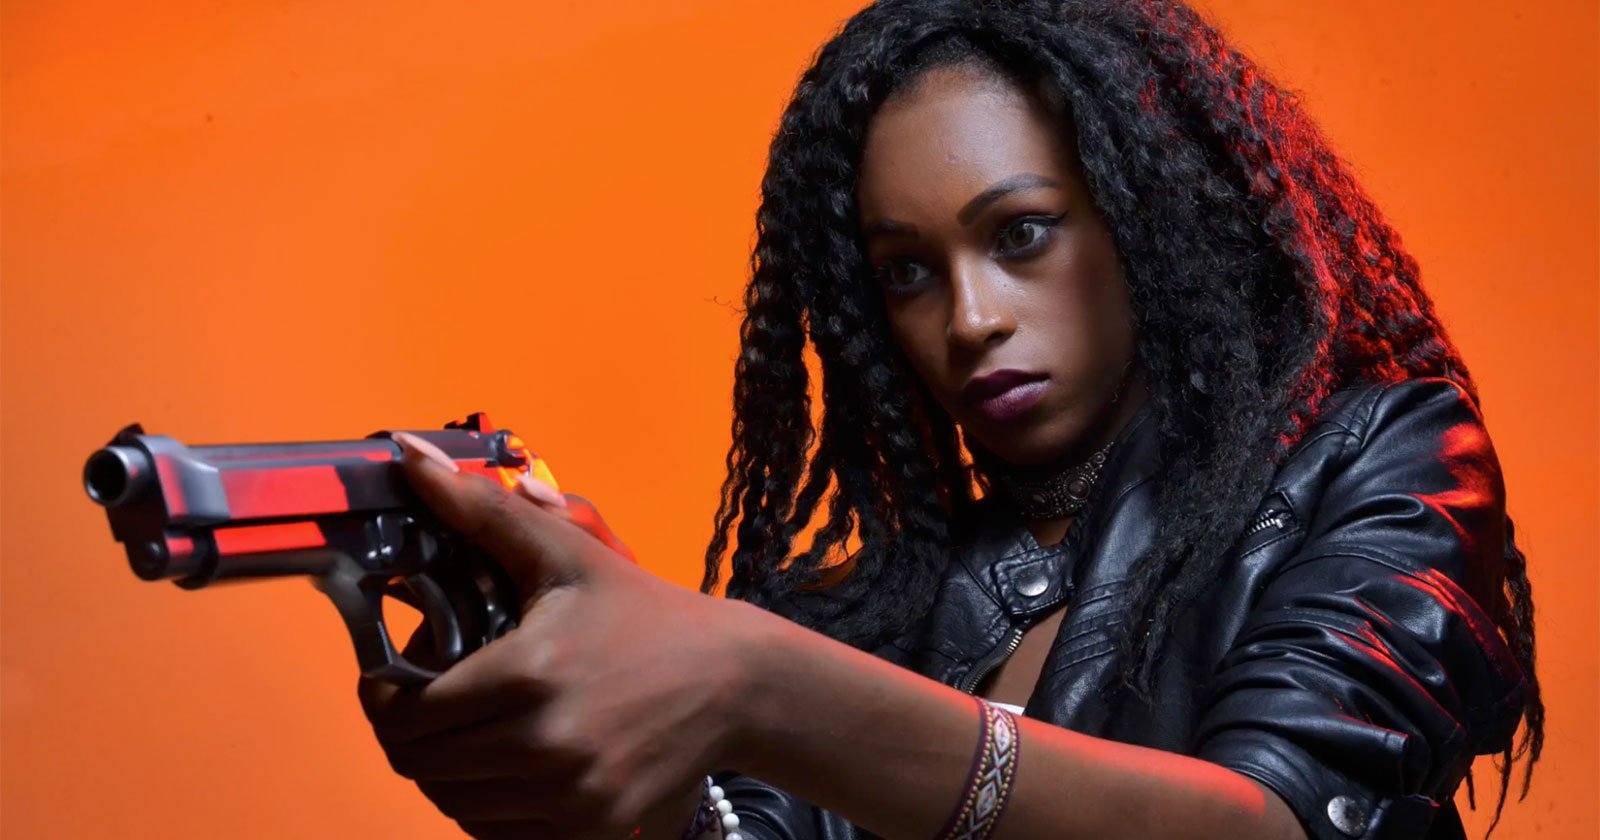
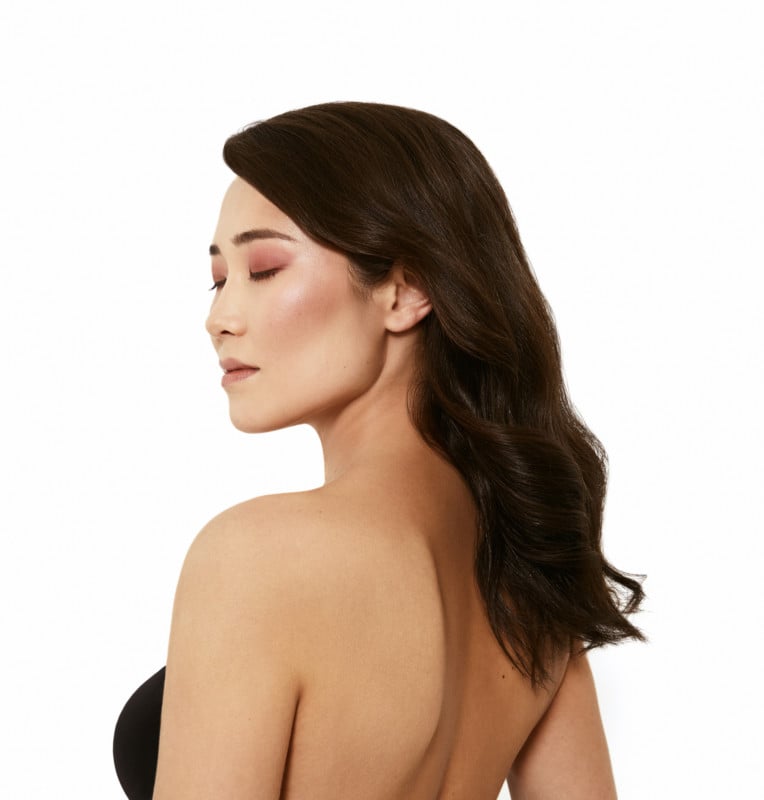
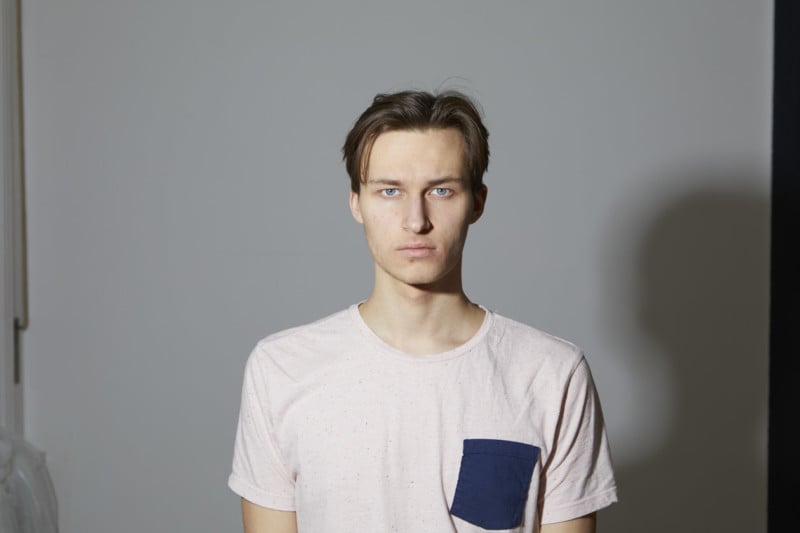
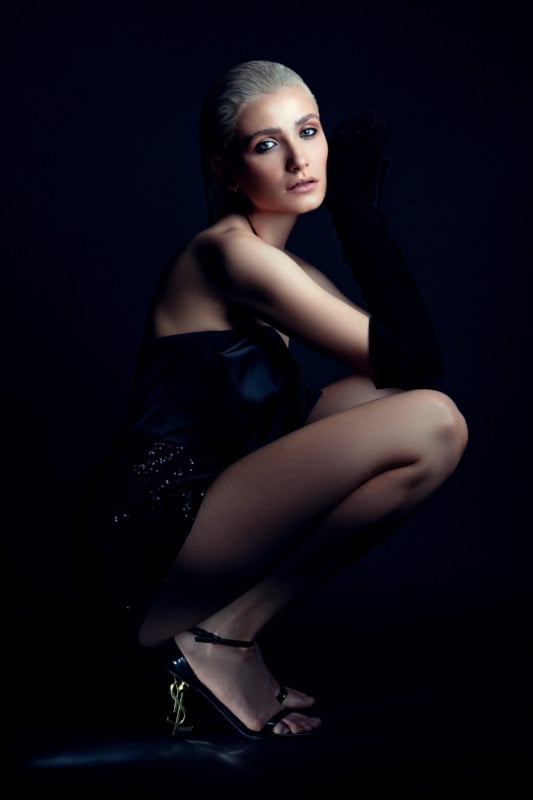
While it may not obvious, a black background can actually be created when shooting against a white wall. In the portrait below we use a white wall for the first picture to illustrate how doing this is possible almost anywhere. The image was done with a simple straight-on flash that looks unflattering and does not achieve our goal of having a black background.
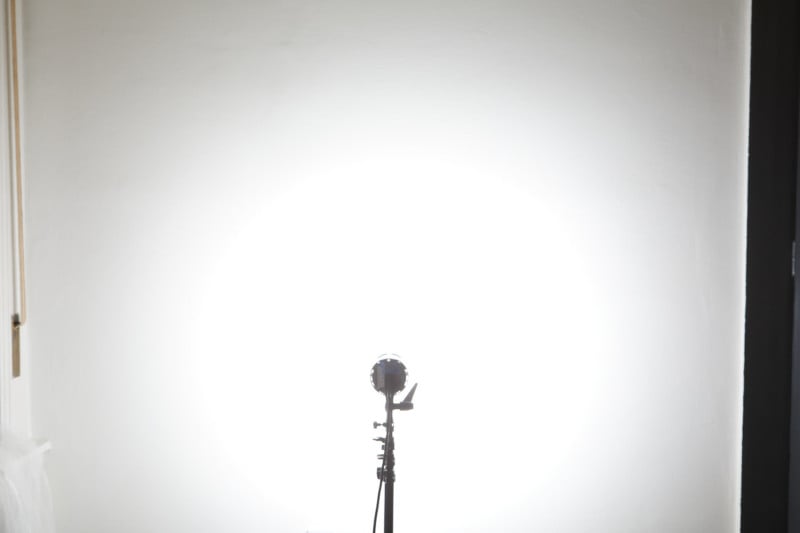
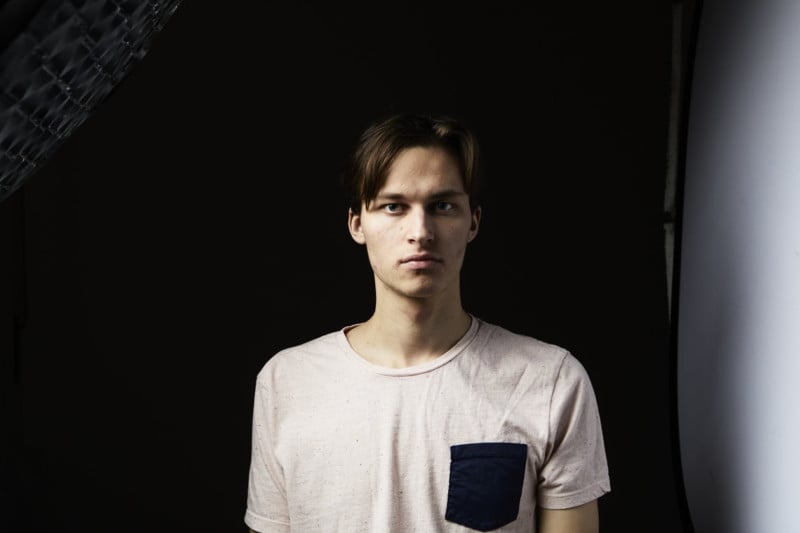
To create the solid black background we need to be sure there is no light hitting any of the nearby surfaces and reflecting back into the camera (No light can hit the backdrop). The first piece of gear useful for this is a black “flag” or a piece of black styrofoam (V-flat) to block some of the light.
Additionally, a grid was added to the softbox to create soft flattering light, but also to control it so it only hits the subject’s face. Adding some fill light will brighten up the shadows, but it can be done in a way so that the background remains underexposed. The best way to achieve that is by placing a reflector or white styrofoam.
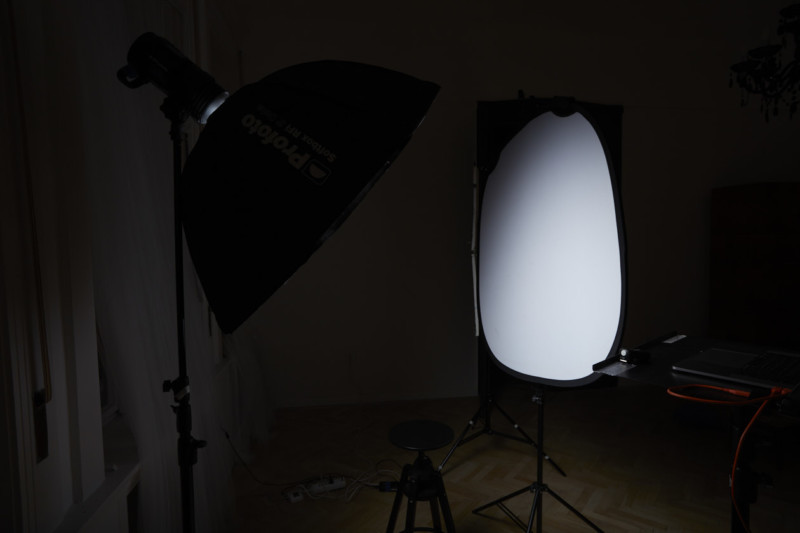

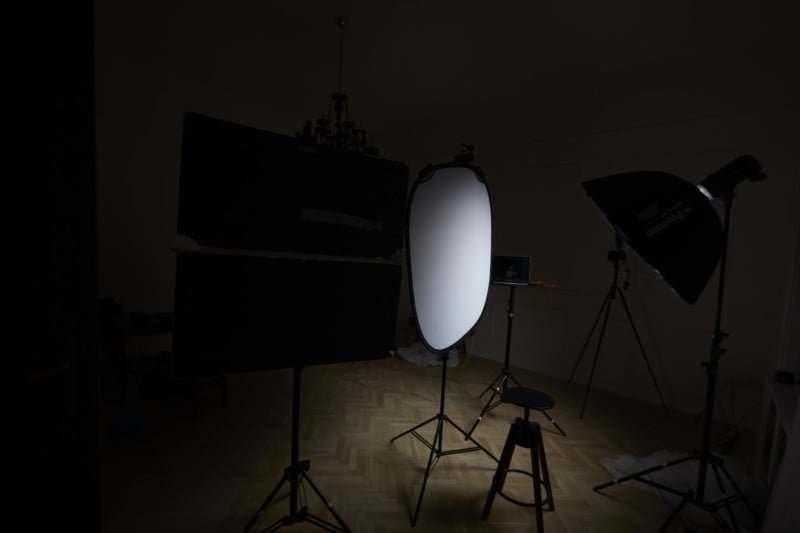
Of course, a simpler way would be to use a black backdrop, but even then it can still reflect some light, so we still need to be smart with our lighting to make it work. Lighting black backgrounds can be more challenging because the light is removed instead of added (something that not all photographers know how to do well). Useful tips and tools to remove light are increasing the distance of the subject from the background, using grids to control the light spread, flags to block and channel, and black styrofoam boards (V-Flats).
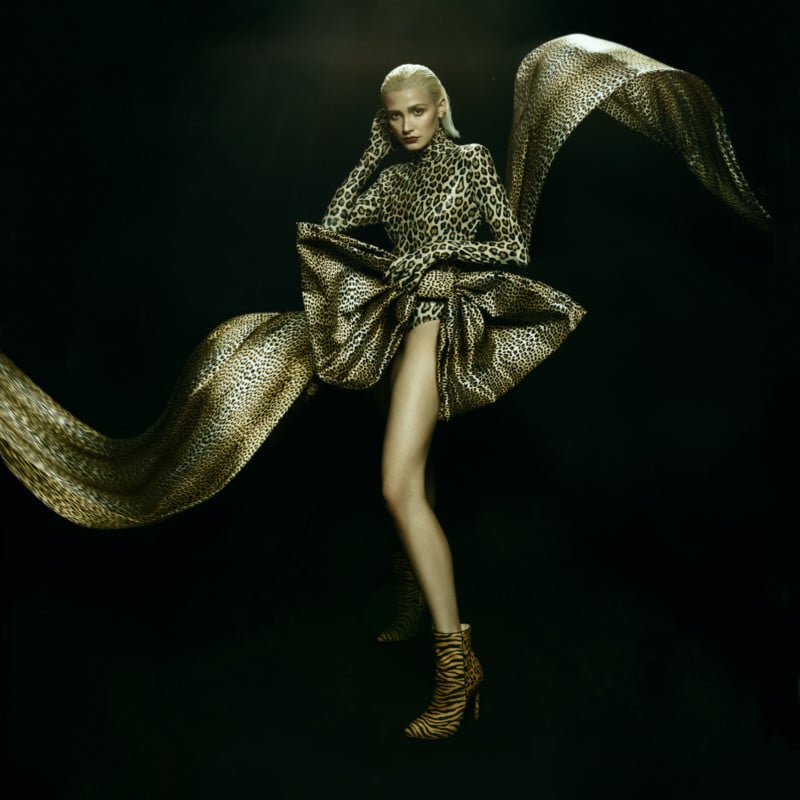
Whenever photographing someone/something on a solid black background, using a grid on the lights is the best place to start. To add to that, it is a good idea to make sure that every bit of light exiting the flash is controlled so there is no bounce happening. This means flagging lights, adding additional grids/snoots, or even taping over them to decrease any chance of light spills.
The general goal is to create good light on the subject while also protecting the background from it. In a large studio, this can be done by simply moving the model further from the backdrop. But if a large space is not available, controlling and contouring the light like this is the only way.
Creating a Gradient Background
Creating a balanced gradient background will require good knowledge of the inverse square law. While it is can be misleading as far as calculations go, the concept of inverse square law is relevant for this situation. We will cover two cases of creating gradient backgrounds: where it gradates into darkness, and where it gradates into brightness.
It is also possible to have two colors blend into each other, but that is fairly simple to figure out once an understanding of color gradations into black and white is formed.

Color To Black
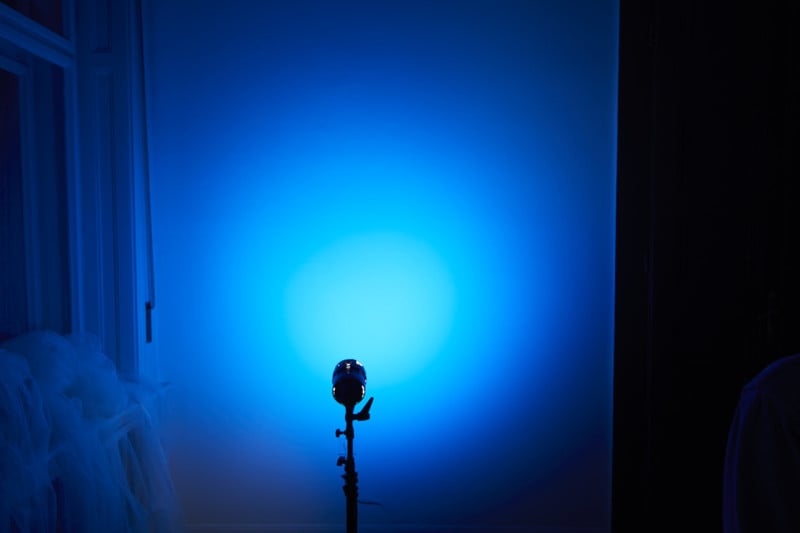

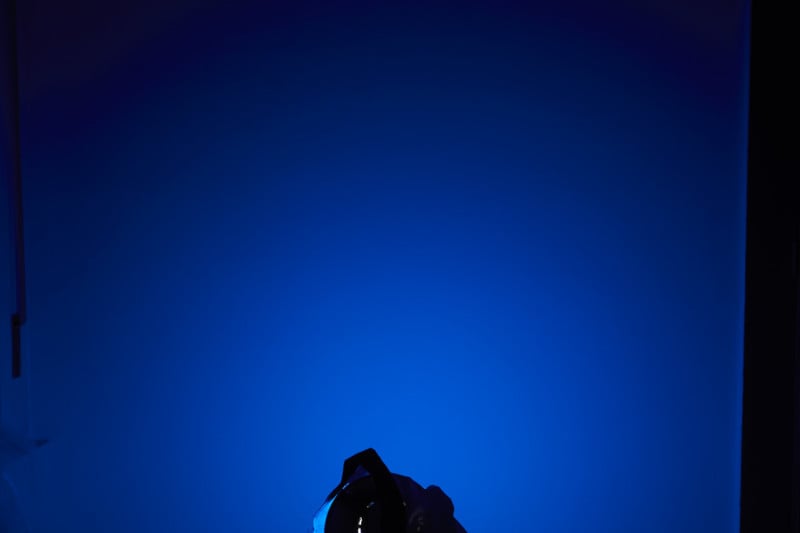
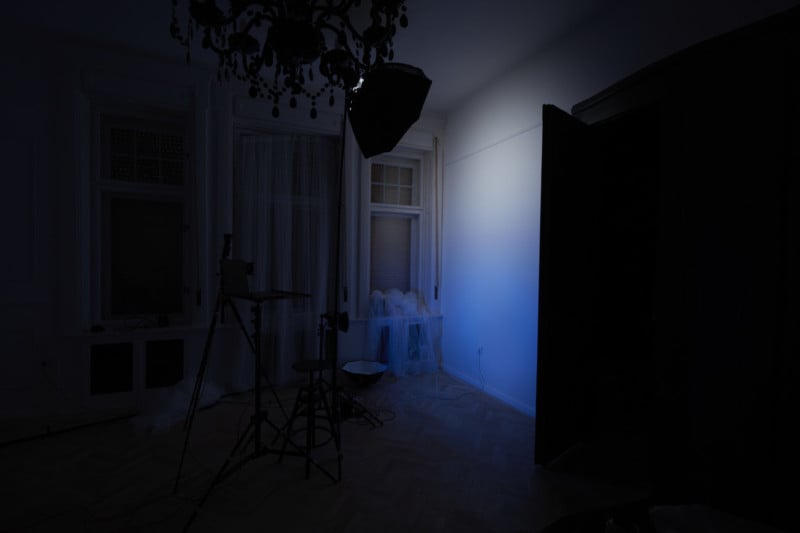
A gradient to black is simply when a bright splash of color becomes darker and fades out smoothly. Many photographers will instinctively place their bare light directly next to a wall and think it will create a smooth result, however, when the light source is placed too close you will see every imperfection in the backdrop. Using a hard and uneven light source is not ideal for this application.
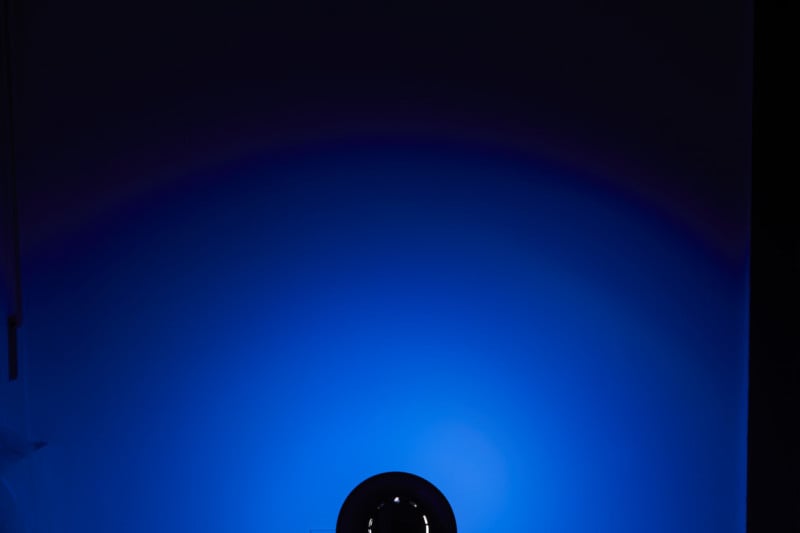
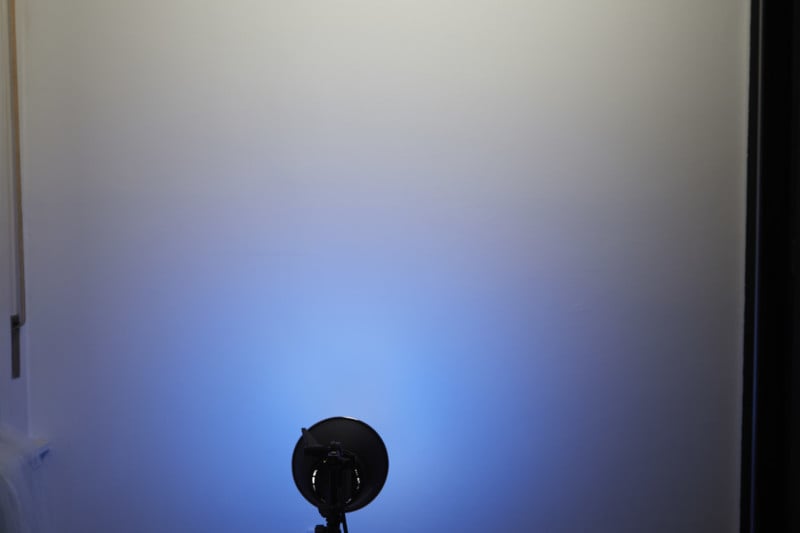
What does work, is placing a hard reflector which makes the light source larger, and then diffusing it. Depending on the type of gradient you want, you should point your light at an angle that is best suited for the need of the project. For example, if I need a pure back backdrop going into a dark blue, I will aim my light downwards so that there is no spill.
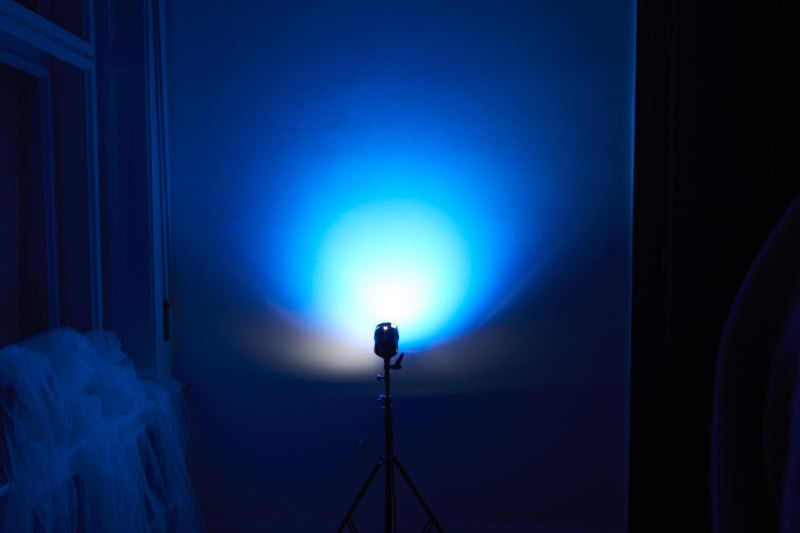
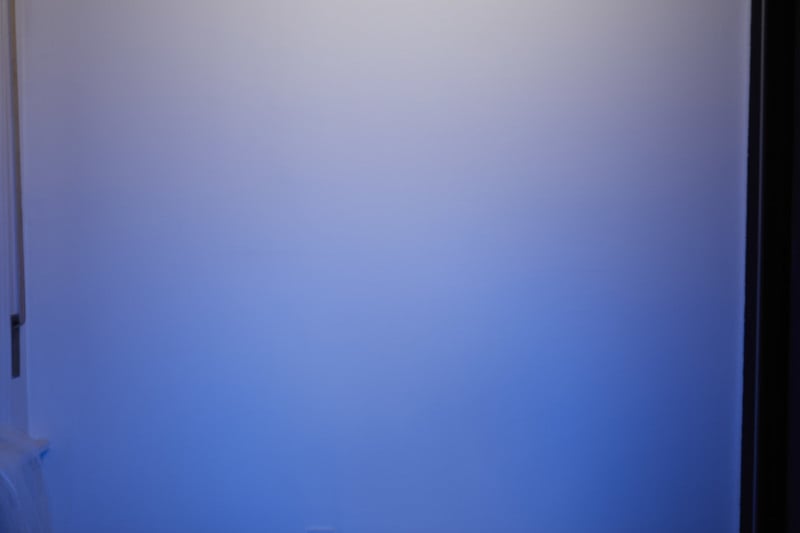
If, however, the goal is to transition from a bright blue into a darker tone of blue, simply aim the light higher. Experimenting with these positions is the best that can be suggested here as every photographer (and client) will have a different preference or need.
Color To White
While rare, there are situations where the client needs the backdrop gradient to move from color to white. This can be pretty difficult to do but is a fantastic skill to have in your bag if the request ever comes up. Especially since some clients prefer a gradient that fades into white as bright pictures often do better than dark ones when it comes to branding.
In order to create a gradient of color into white, two gradient setups are needed: a white one and a colored one. The color gels will fill in the shadow created by the white light, so it is best to position the white light first. Then something like a gridded octabox will provide enough softness to create an even gradient, while a grid will ensure that the light spread is controlled.
Place it fairly close to the wall, remembering to pay attention to the principle behind inverse square law to get the right amount of falloff. Then, place the colored gel and simply adjust the power so that it would gently mix with white.
Mastering these lighting setups will help photographers be able to light for nearly any situation that a client or personal project can demand of them, and will help save countless hours of retouching clean up at the computer after the fact.