Blue Hour: The Photographer’s Guide
The period of time when the sun is just below the horizon is commonly referred to as “blue hour,” and comes directly before or after golden hour depending on the time of day. While most people know about golden hour’s benefits for photography, blue hour is often left out when thinking about optimal lighting conditions.
Table of Contents
What is Blue Hour and Why is it Useful?
Similar to golden hour, blue hour is not exactly one hour. Instead, it varies based on location, the weather, and the time of year. Generally speaking, blue hour is about half an hour before sunrise and after sunset, when light takes on a blue color. There is no definition of exactly when blue hour starts and ends, although some websites say that blue hour ends when nautical twilight (when the sun is 12 degrees below the horizon) begins.
On a more scientific level, blue hour happens because of Chappuis absorption. This principle is based on the fact that red light wavelengths pass through space while bluer light with shorter wavelengths is scattered in the atmosphere. This means that mostly blue-light wavelengths reach the Earth’s surface when the sun is just below the horizon, creating the effect that we call blue hour.
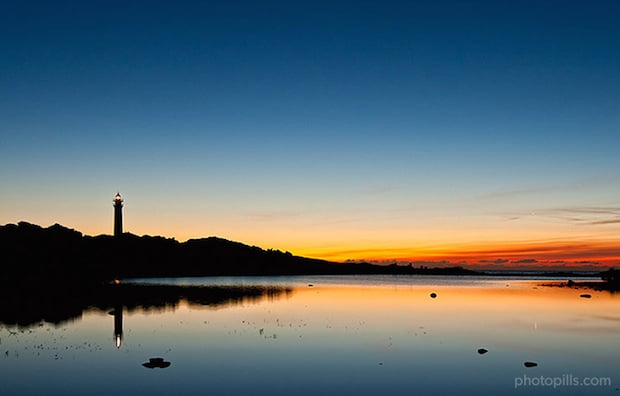
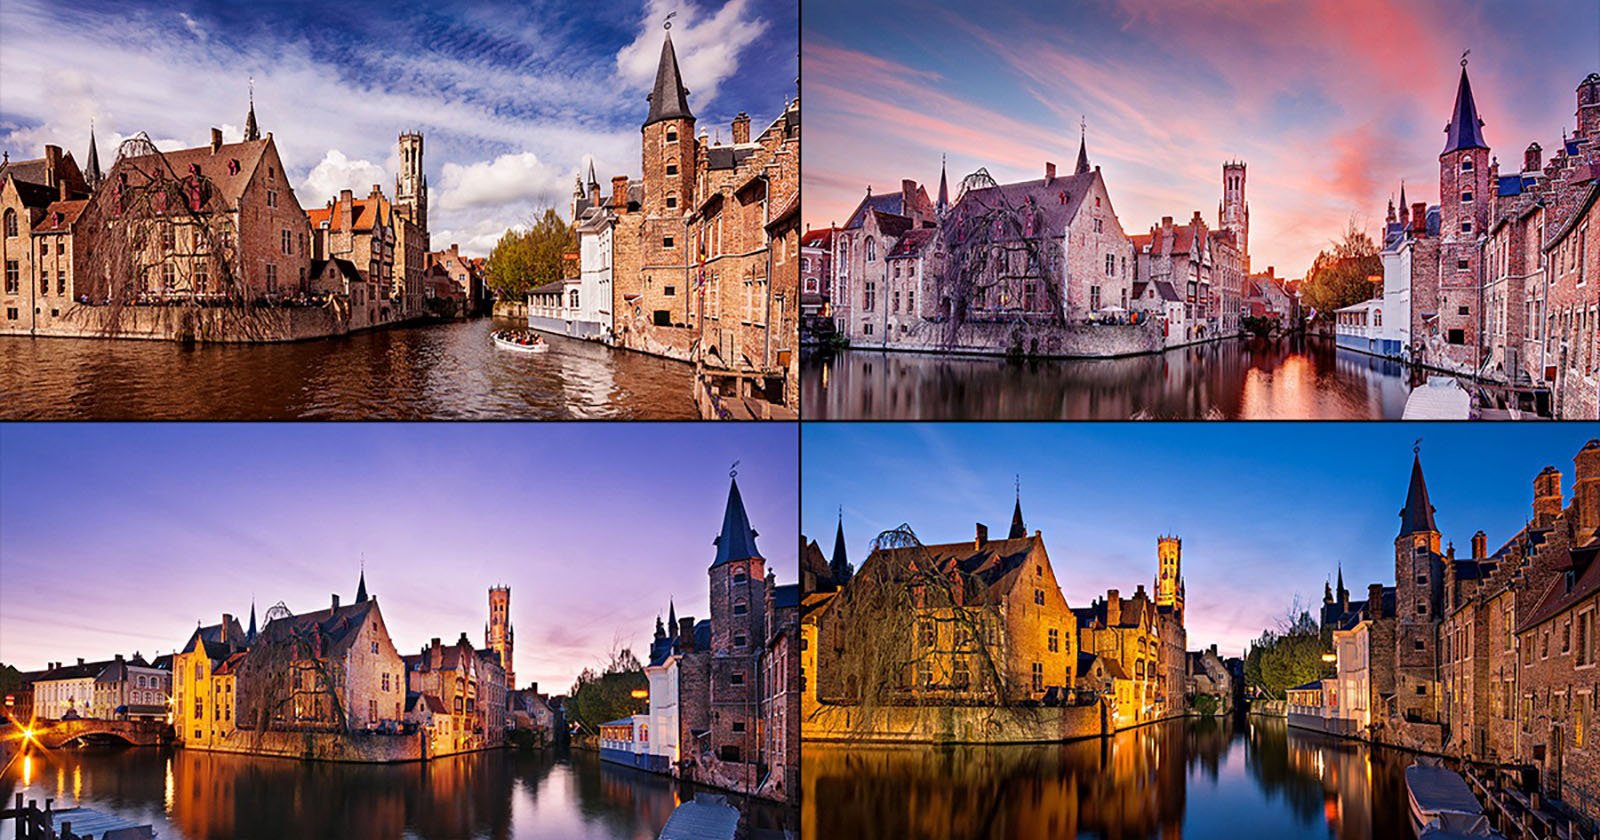
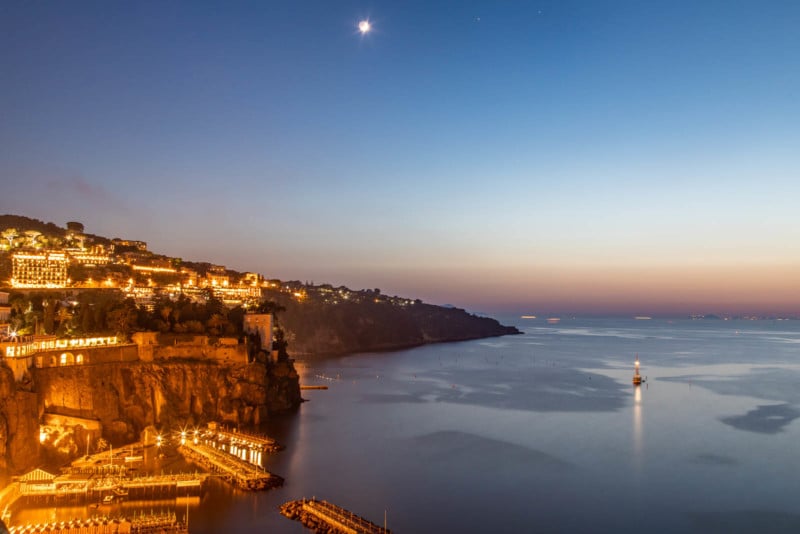
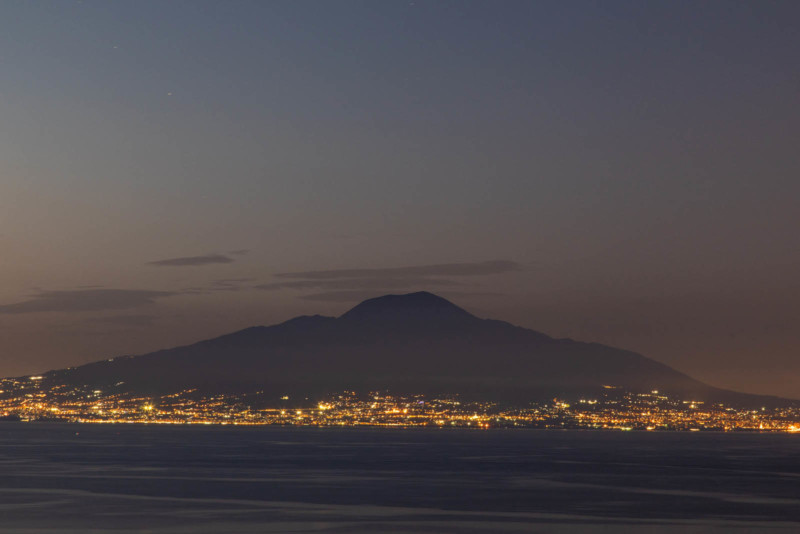
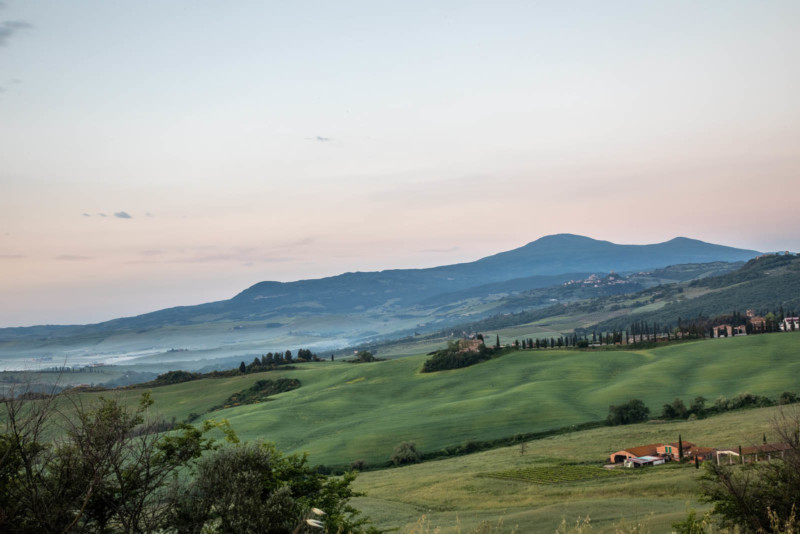
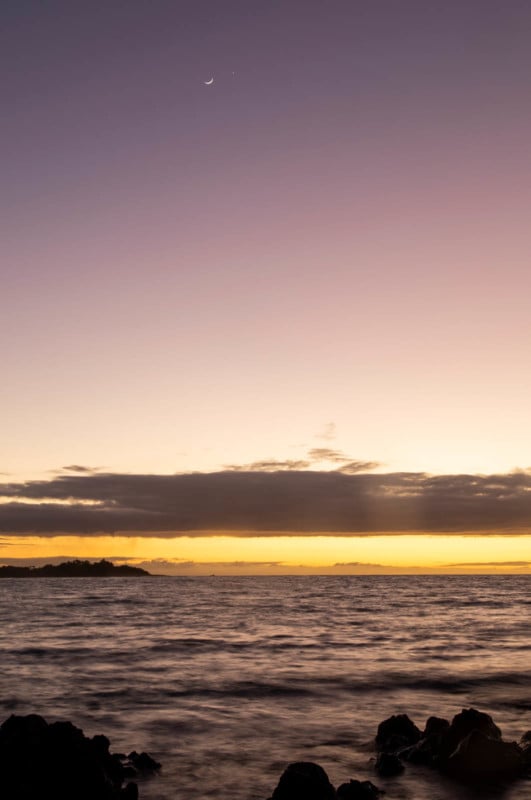
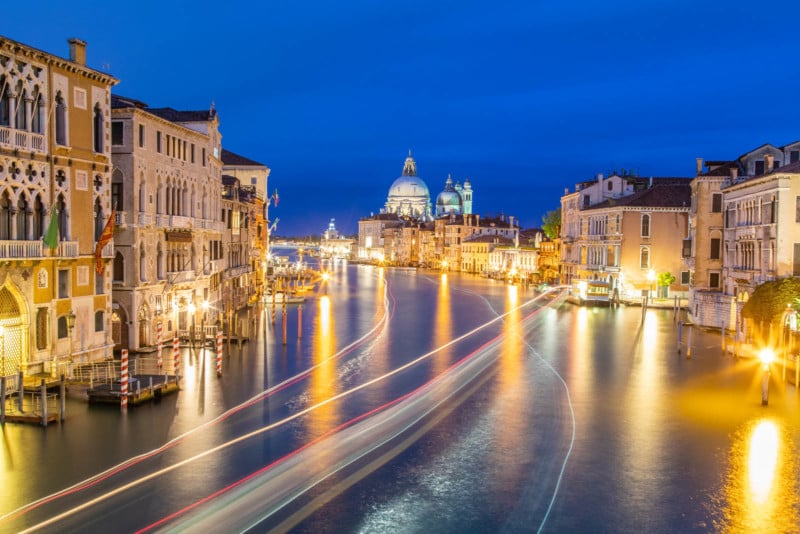
Blue hour is particularly desirable for photographers because of its soft and moody light. There are no harsh shadows, and most blue hour scenes do not have a particularly high dynamic range. While golden hour may evoke a warm and calming mood, blue hour is often the opposite–a cool and ominous one. Perhaps one of the greatest reasons to shoot blue hour, however, is that you are almost guaranteed to have less of a crowd if you’re in a popular location than at golden hour. It’s more peaceful and easier to be creative with fewer people rushing to get “the shot.”
One final bonus of blue hour is that it is not as weather-dependent as golden hour is. Golden hour requires sunlight to get the warm, glowing light that photographers love, but blue hour can be cloudy and still be a great time for photography. In fact, clouds often make blue hour landscapes more interesting.
When is Blue Hour?
Blue hour is even less defined than golden hour, and neither are exact times of the day. Generally, blue hour is about 30 minutes before sunrise and after sunset, but you can always give yourself more time to be safe. You can find the sunrise and sunset times for your location by simply searching for them on a search engine. It’s important to note that different locations will have different sunrise and sunset times, so keep that in mind if you’re traveling.
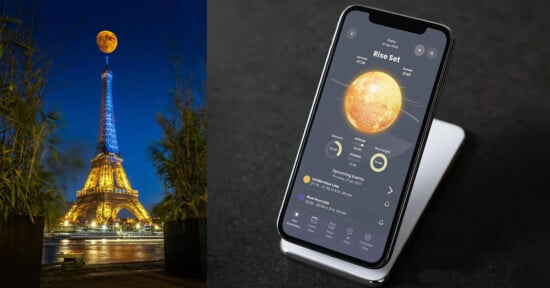
If you’d prefer to have all your information in one place, there are useful photography planning apps, such as PhotoPills and The Photographer’s Ephemeris (also a web app) that will tell you each day’s sunrise and sunset times, as well as the blue hour times that correspond with those.
While the apps will give you a good idea, each one uses a different metric to gauge when blue hour “starts and stops,” so you may want to give yourself some room on each end.
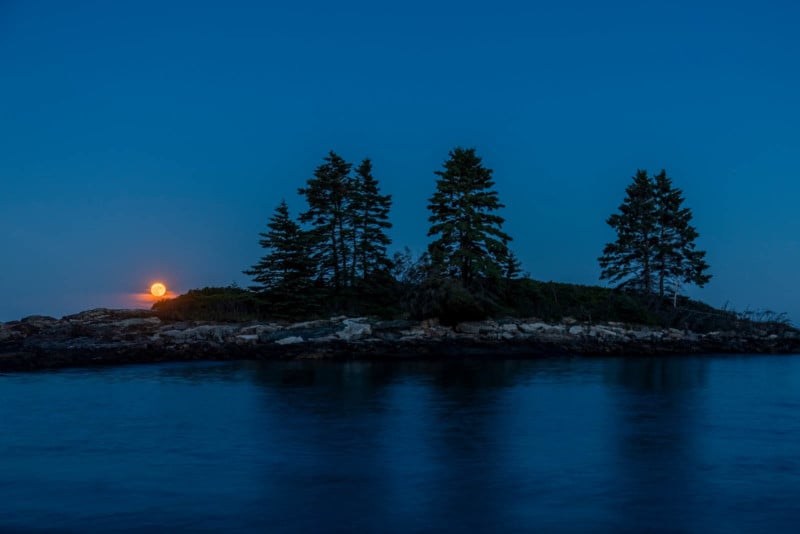
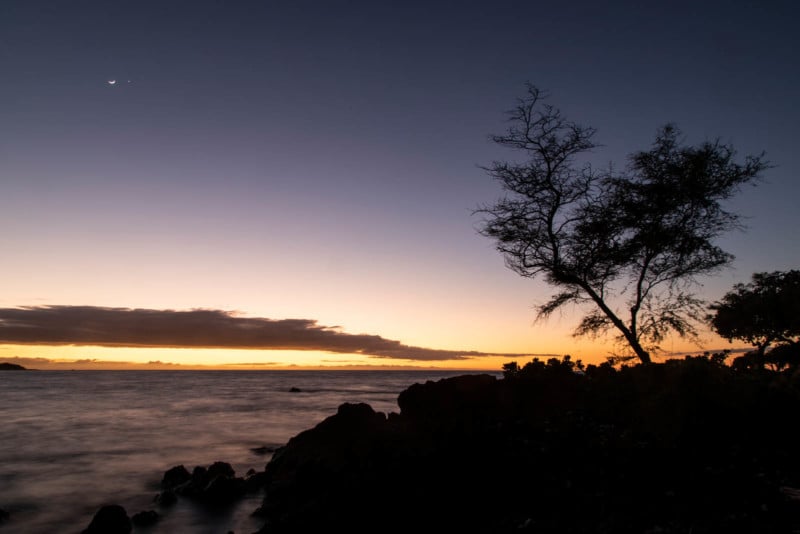
Tip: If you’re planning to do moon photography during blue hour or astrophotography in true nighttime, most planning apps will help tell you the location of the moon and stars at different times.
Tips for Photography During Blue Hour
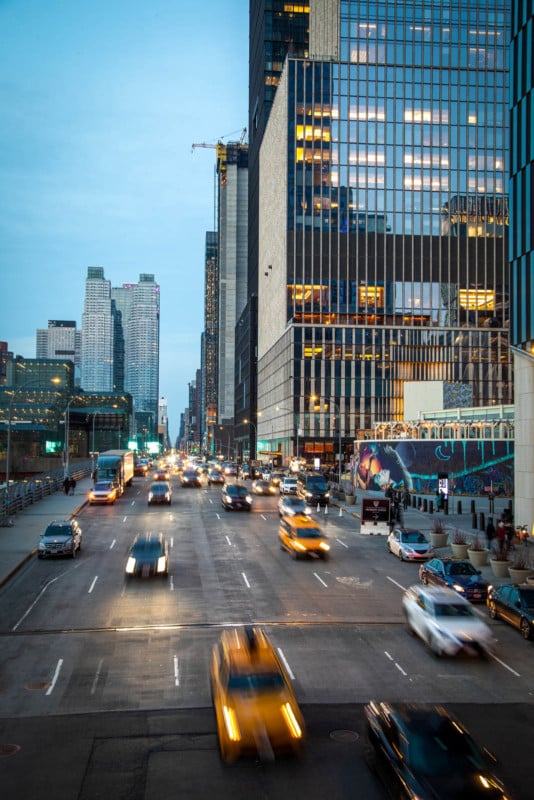
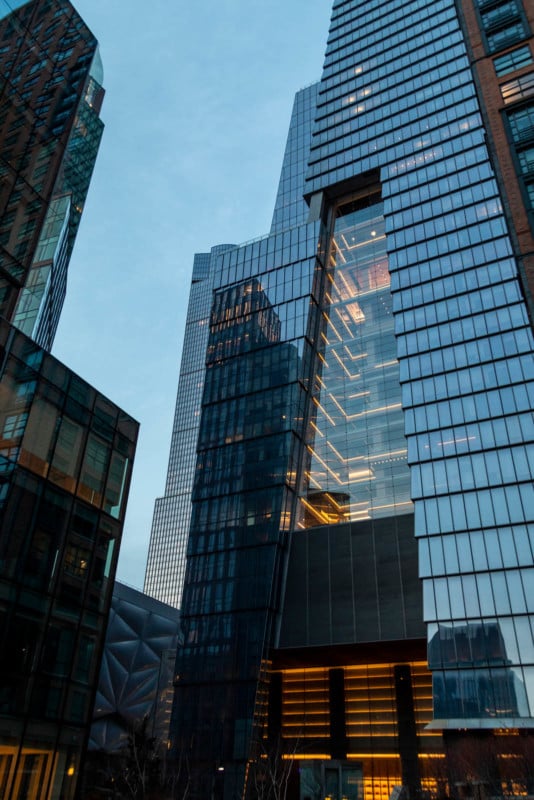
Balance cool tones with warm tones using artificial lights. Whether it’s a cityscape or someone shining a headlamp into the sky, there is a point during blue hour where the brightness of artificial lights will match the brightness of the overall scene. It’s a short window, and these can be some of the most stunning images only possible during blue hour.
Don’t overexpose. Part of the magic of blue hour lives in the shadows, and overexposing your image will get rid of that magic. While everyone is entitled to their own exposure preferences, keep in mind that blue hour is a darker time of day and your exposures might be slightly darker than normal to preserve the blue hour effect.
Experiment with long exposure. Blue hour is the perfect time to be introduced to long exposure. You can still see everything around you (and on your camera), but it is usually dark enough to use shutter speeds of multiple seconds during blue hour. Moving water, clouds, people, planets, stars, and the moon are just a few subjects you may want to consider for your long-exposure endeavors. Make sure to use a tripod for most long exposures, which is covered in the next tip.
Consider a tripod. Blue hour starts to get fairly dark, and if you’d like to avoid having to use a high ISO, consider using a tripod for your blue hour photography. This will allow you to use longer shutter speeds without blur caused by shaky hands. A tripod also opens up possibilities for much longer exposures of many seconds (see above).
Learn about bulb mode. Sometimes, blue hour lighting conditions are so dark that your longest shutter speed (usually 30 seconds) won’t let in enough light, especially if you are using your most narrow aperture and lowest ISO. In this case, you’ll want to use bulb mode if your camera has it, which allows you to keep the camera’s shutter open as long as the shutter button is pressed.
Think about moods. Blue hour evokes different moods than daytime photographs. The even, cool-toned light can be calming, unsettling, ominous, and melancholy, just to name a few. Keep these moods in mind when you are photographing during blue hour, and set a goal to capture more than one of these moods (or whatever moods you choose) in your images. This will set some direction and keep you true to the uniqueness that blue hour has to offer.
Stay late or arrive early for golden hour. If you’re there or going to be there already, you may as well shoot the sunrise or sunset and capture the magical light of golden hour. If you really don’t feel like taking more pictures, kick back, relax, and enjoy the display of other colors.
Tips for Editing Blue Hour Photography
Learn how to read a histogram. Especially at times like blue hour when shadows are important to preserve, your camera’s LCD screen isn’t always the best way to judge whether your image is too bright or too dark. A camera’s histogram is basically a graph of the values in your image and will help you determine if your image is too bright or too dark with minimal guesswork.
Mind your white balance. This makes sense for blue hour photography – make sure to keep the “blue” in “blue hour.” It’s okay if your image looks cooler than it would normally, and in fact, that’s one of the “cool” things about blue hour. It’s ultimately up to you, but be aware that you don’t need to make your image warmer than it was naturally.
Use graduated filters and more localized adjustments if necessary. Especially if you are shooting a cityscape or something similar, chances are good that parts of your image will be significantly brighter or darker than the rest. This is where you can use graduated filters and other localized adjustments to adjust specific areas of your image. While this is less applicable to blue hour than it is to golden hour, it is still something you should consider.
Consider a light vignette to add to your image’s mood, but don’t overdo it. Many photographers will add a slight vignette to blue hour landscape images to enhance their intended mood. This can be tasteful, but be cautious and err on the side of less vignette. Too much vignette can make an image look tacky and too unnatural.
Zoom to check sharpness, and sharpen if necessary. Especially if you aren’t using a tripod, it’s easy to have slight motion blur in your images. If it’s an acceptable amount of blur, you can attempt to sharpen your image using software such as Adobe Lightroom or Topaz Sharpen AI. It’s always good to check by zooming in, especially if you think you might print your image on a large scale.
Conclusion
As golden hour’s less-appreciated cousin, blue hour opens up a new set of unique moods, scenes, and generally fun photography. If you’re planning to shoot the sunrise or sunset, you may as well arrive early or stay late to explore blue hour and its possibilities. As a welcome bonus, you’ll find that blue hour attracts smaller crowds, and can be even prettier than sunrise or sunset. It’s a great time for portraits, landscape, cityscape, and even astrophotography if the conditions are right.