The Best Tips for Photographing the Total Solar Eclipse
For those who may have somehow missed it, a historic total solar eclipse will be visible across much of North America on April 8. Photographing an eclipse can be tricky, but fret not. You’ll surely capture some great photos next week with these helpful tips.
Preparation is vital for those who want epic images, as opportunities to capture a rare celestial event like a solar eclipse are few and far between. For context, the next North American solar eclipse isn’t until 2044. If you don’t seize this moment perfectly, you must travel to another continent or wait for two decades.
Luckily, many camera makers are publishing helpful articles and videos to help photographers nail their shots for this special event. We’ve gathered together the best resources to help you find what you need and put you in the best position to get stunning images of this event.
Stay Safe and Use a Solar Filter
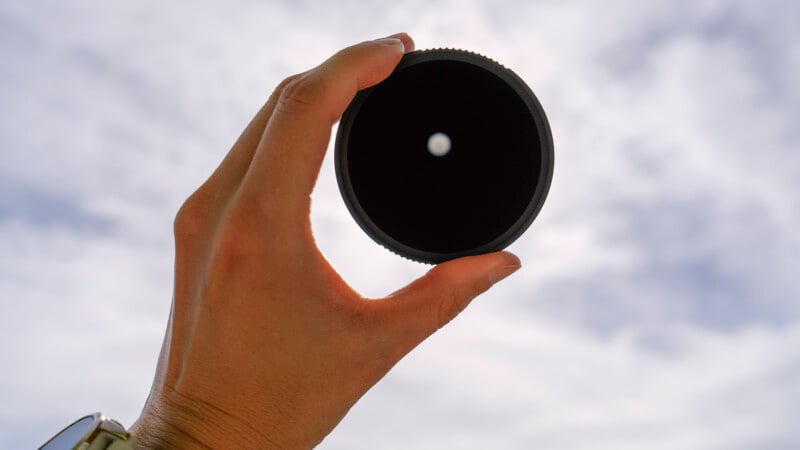
First and foremost, it can’t be said enough that it is never, ever safe to look at the Sun without proper eye protection when any part of it isn’t blocked by the Moon. That includes looking through your camera if it is not equipped with a solar filter. Also, as Canon points out, there are many filters available, but some filters “are safe only for photography while others are safe for both photography and viewing through your camera’s viewfinder eyepiece.” When in doubt, use a solar filter on the front of your lens and only view the eclipse through your camera’s display if you don’t have solar eclipse glasses.
Choosing a filter can be confusing, though. Some are only extra-strong neutral density (ND) filters, which are safe for photography, but not necessarily for viewing. “A safe filter for photography and viewing also restricts infrared and ultraviolet light beyond a wavelength of 800nm. Neutral density filters don’t do this. Not having a solar filter or having a plain ND filter can burn a hole not only through the sensor of a camera, but also melt the aperture blades too,” cautions Canon.
Nearly Any Camera Will Work
Most people are likely using the camera they have, and not purchasing one specifically for the eclipse. Luckily, “just about any camera will work to capture a solar eclipse, but some will produce a better experience depending on your expectations,” Canon explains on its blog.
If you are using this as an excuse to pick up a new camera, that’s great, too. However, if you are getting a new camera, familiarize yourself with it before the eclipse. Instead, heed Sony’s advice. “This isn’t the best time to try out new gear — you want to use a camera you know well so you aren’t fumbling with settings,” Sony says on its blog.

Choose Your Lens (Or Lenses)
More important than your choice of camera is your lens. Choosing the right focal length depends on personal preference, the size of the Sun or Moon disk you want, and even individual phases of the eclipse.
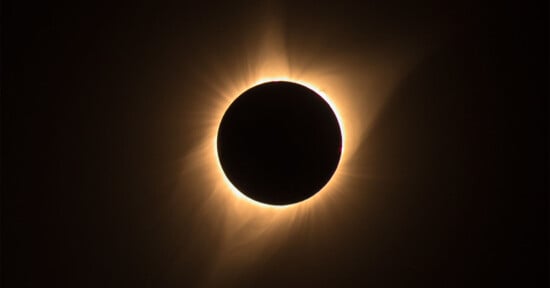
“Longer lenses are better for capturing the diamond ring effect just before and after totality, while a slightly shorter focal length will ensure that you get the corona, which extends far from the solar disc, at totality,” says Sony.
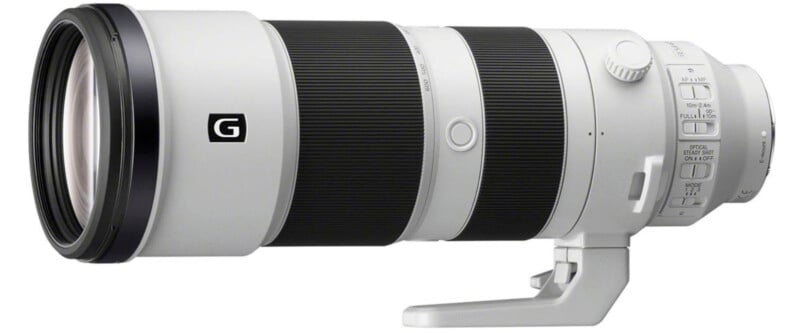
When choosing a lens for the size of the sun disk you want, you’ll need to factor in your sensor size. “The size of the disk is controlled by two things: your camera’s sensor size and the focal length of your lens. You should be looking for a sun disk 1/3 to 1/4 the height of your sensor,” says Canon. As a starting point, Canon further explains that a 400mm lens will result in a 1/4 size sun disk on an APS-C sensor.
On the flip side, if you would prefer to capture a timelapse of the entire event with the horizon and other foreground features (essentially a landscape shot with an eclipse timelapse), a wide-angle lens will be necessary.
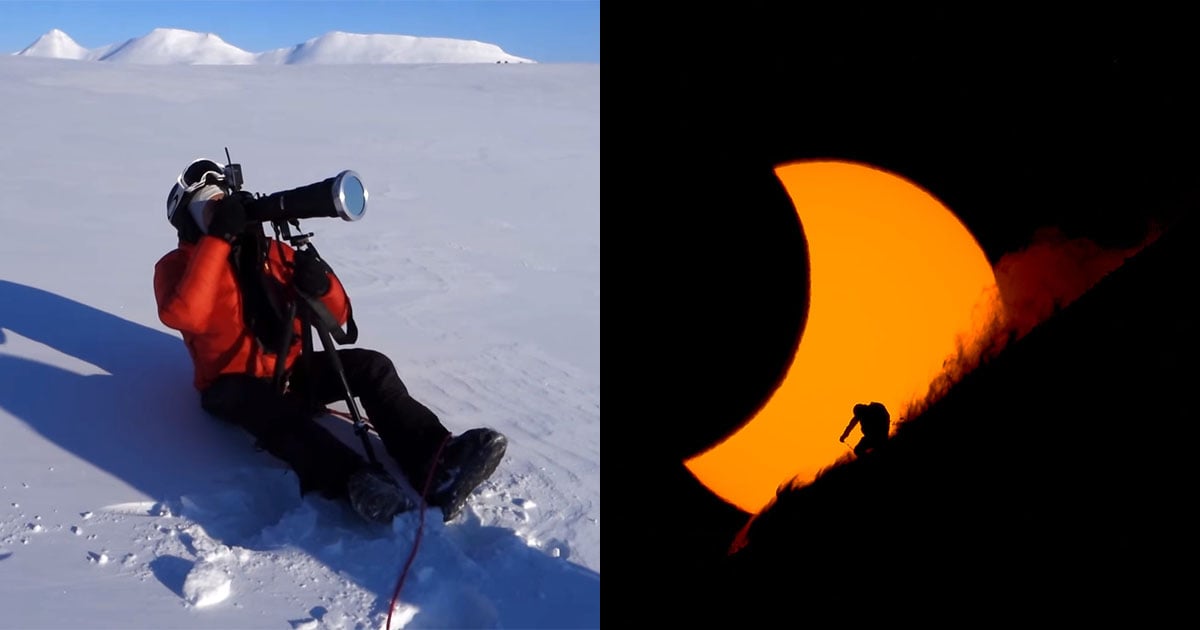
Bring a Tripod
A tripod is necessary for the eclipse for a few reasons. First, “when the eclipse is in totality, you will be photographing in relative darkness and will want to approach it the same way you would twilight or night photography,” explains Sony. A tripod will allow you to get sharp images free of camera shake from attempting to hand-hold the camera at a slow shutter speed. Second, if you want to capture multiple stages of the eclipse, a tripod will make it easier to track it through the sky.
Camera Settings
Once you have all your gear, the camera settings are the final piece of the puzzle. Exact camera settings depend on your specific camera, lens, filter, and atmospheric conditions. To help you get set up before the action begins, “you can test exposure times before the eclipse by photographing the sun at the same height in the sky as during the eclipse,” explains Sony. We’d also recommend testing your exact setup on the Sun before the big day to help take some of the stress out of the moment. That way, you at least have a starting point and can dial it in based on the conditions on April 8.
Luckily, the brightness of the Sun doesn’t change much throughout the eclipse, even at totality. You may have to adjust slightly, but it won’t be drastic. Broadly speaking, Sony Artisan Andrew Geraci recommends keeping your ISO low (ideally below 100) and using a decently fast shutter speed, such as 1/120-1/250 sec. Nikon suggest changing your camera’s metering mode to spot metering and then metering off the Sun to dial in your aperture value. You don’t need to worry too much about the depth of field (the Sun is a little ways away, after all), but a decently small aperture, such as f/8, is best.
Specific moments of the eclipse may require different settings. For example, in the video above, Nikon Ambassador and extreme nature shooter Mike Mezeul II suggests shooting with a shutter speed of 1/1000 sec for Bailey’s Beads, the brief moment before the Moon fully covers the Sun. He also recommends shooting in continuous high (or your camera’s version of a fast burst) for that brief moment to ensure that you get the best shot.
In terms of other camera settings, you’ll want to use manual focus with focus peaking on if you have that option. Turn off image stabilization if you are using a sturdy tripod and remote trigger, and set quality to RAW. Bracketing could also be beneficial to ensure you get the exposure right.
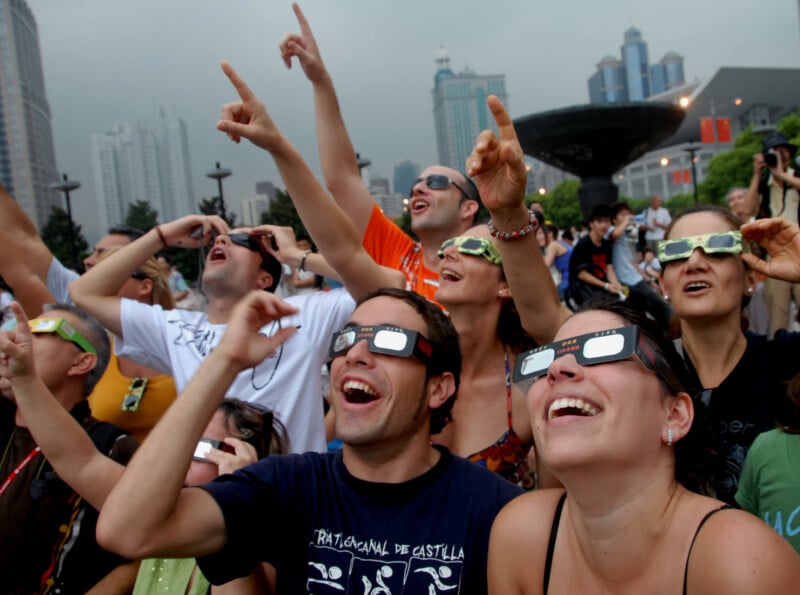
Don’t Forget To Look Around
While it’s easy to be mesmerized by what’s happening in the sky, it’s also worth looking around. “As the Moon slips in front of the Sun, the landscape will be bathed in eerie lighting and shadows. As light filters through the overlapping leaves of trees, it creates natural pinholes that project miniature eclipse replicas on the ground,” NASA explains.
If you have a second camera body, it may be worth using that to grab some shots of the earthly impacts of the eclipse.
“Anywhere you can point your camera can yield exceptional imagery, so be sure to compose some wide-angle photos that can capture your eclipse experience,” NASA recommends.
At the end of the day, though, remember to take a moment to enjoy the spectacle beyond your camera. Otherwise, you’ll have to wait another 20 years to do so.
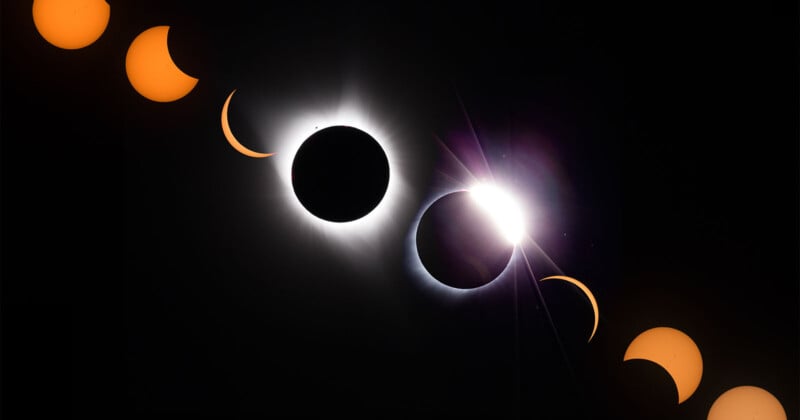
Image credits: Header photo licensed via Depositphotos.