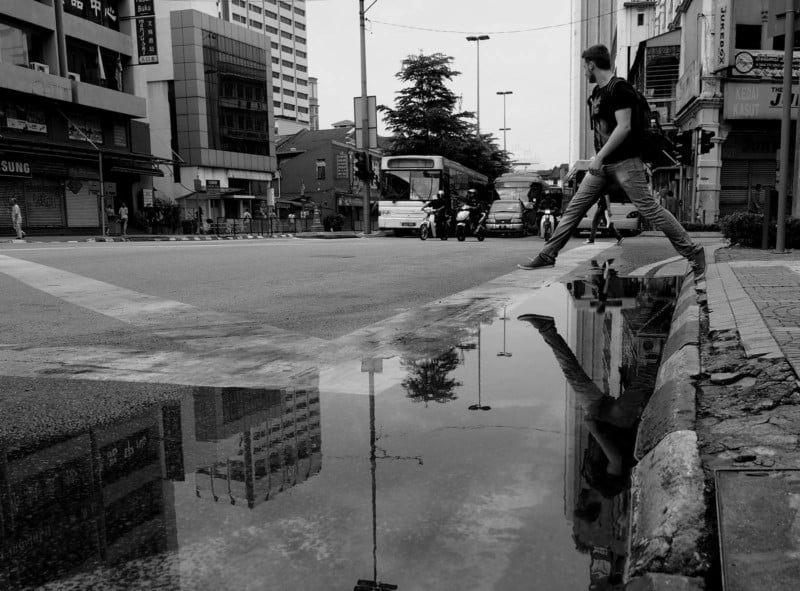
Finding the Decisive Moment in Candid Street Photography
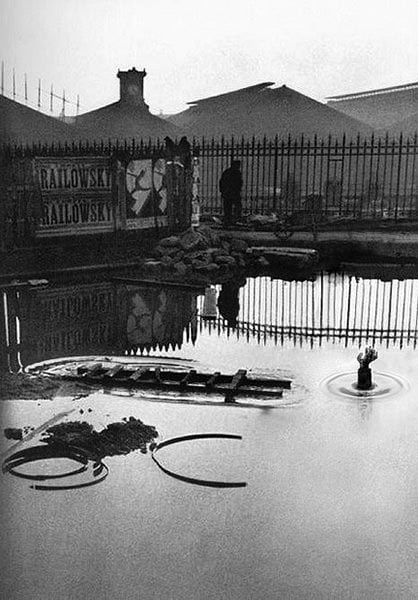
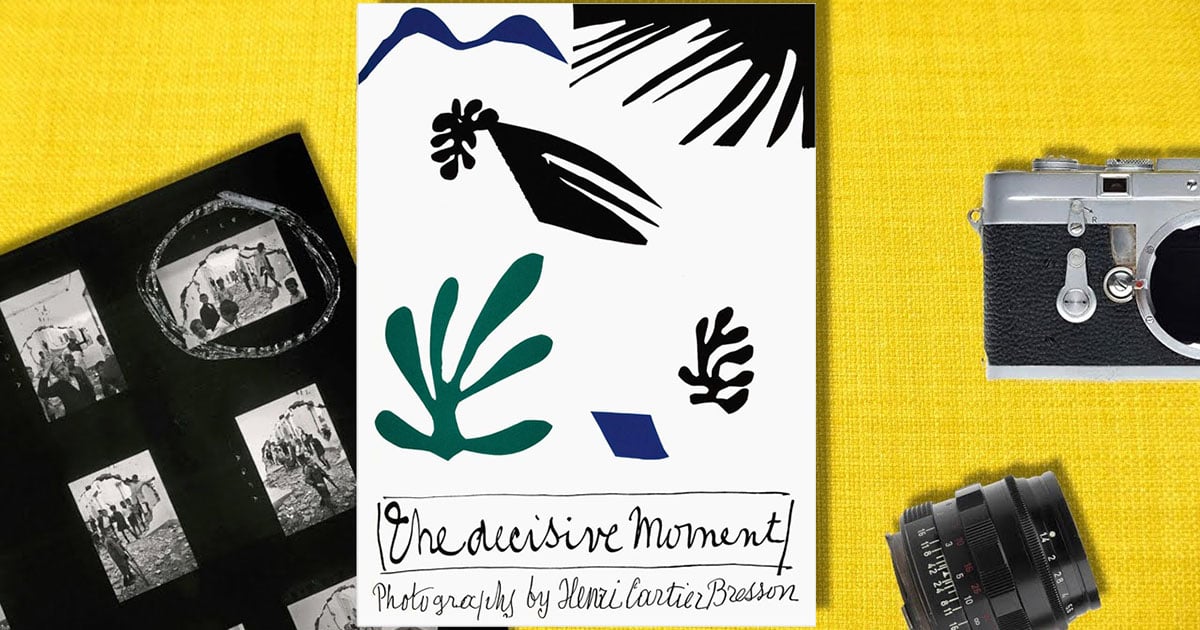
Much has been written about the concept of the “decisive moment”, a notion popularized (posthumously, for the most part) by legendary candid photographer Henri Cartier-Bresson.
Instead, let’s take a step back for a second.
On a streetside photography walk, when should you trip the shutter?
This fundamental question raises an existential issue of photography: we can only ever take as many pictures as our camera allows, yet the number of isolated “moments” in the real world is infinite. Which of these infinite moments is the decisive one that we should choose to capture?
Ultimately, this is a question of intuition, of a certain sixth sense if you will. However, that doesn’t mean that you can’t practice, develop, and study the potential answers to this question to gain a better understanding of your own ideas.
In that spirit, let’s find out how to isolate the decisive moment in street photography!
Freeing Yourself From Camera Settings
Most photography guides, even those specifically targeted towards genres like street photography, won’t have enough things to say about the best camera and exposure settings that every beginner should learn about and practice.
The truth is that, while none of those suggestions are patently wrong, they can be misleading and counter-productive, especially for a beginner.
Spending too much time fussing about how your shot is set up will have you walking home with a lot of uninspired shots. Why? In plain English, because you’ll be thinking more about the setup than what’s in front of your eyes!
In street photography more than in almost any other genre, composition isn’t made, but found.
That means you actively need to scout your surroundings, something that’s hard to do if you’re too preoccupied with the technical details of how your camera is configured.
Let’s take a look at what you can do to take your mind off of these distractions and focus on the moment.

Learn to Stay in the Zone
If there is one technique that I love using more than anything to allow myself to stay in the moment and retain awareness on the street, it’s zone focusing.
Pioneered by some of the earliest street photographers and popularized by Cartier-Bresson’s generation, zone focusing, or scale focus, allows you to “pre-set” your camera and lens before your shoot. This way, you may concentrate entirely on your subjects and composition once you’re out and about.
To be more precise, scale focus makes use of a principle known as focus zones. As you may know, your camera’s lens never focuses on one specific point. Instead, a whole region within a certain distance from the focal plane will always be in focus. This region is called the focus zone.
By determining your focus zone in advance and tailoring it to your liking, you can simply wait for subjects to enter that zone and click away – no recomposing or refocusing needed.
In order to determine your focus zone, you need to understand that the extent of your zone always depends on a few basic factors. These include the focal length of your lens, the size of your camera’s sensor or film, the focal distance, and the lens aperture.
Generally, the smaller the lens aperture, the higher the depth of field, and thus the larger your focus zone will be.
To make things easier and minimize the guesswork, I suggest using a depth-of-field scale. Almost all cameras and lenses made during the manual focus era (that is, before the late 1980s) will feature such a scale. These come in many forms, from simple markings that let you read off the size of your focus field depending on your current f-number to “calculator”-style devices where you plug in your exposure settings and get a more precise measurement of the depth of field.
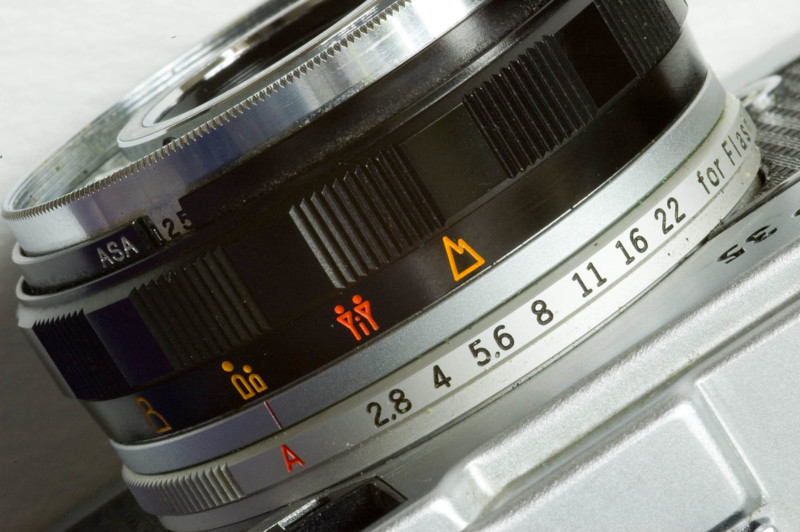
Even if you don’t have a good DOF scale on the lens or camera you’re using, you can easily experiment with focus zones under most daylight conditions. Just set your lens focus to a moderate distance – say, a few meters – and leave the aperture at something small, like f/11 or f/16. Voilà, you should have a huge focus zone that will allow you to take your eyes off the camera and focus on composition!
…Or Go Full-Auto
Zone focus is meant to get your hands off the lens and keep your eyes on the street. If you for whatever reason can’t or don’t want to use the zone-focusing method though, there are other means towards the same end.
One that’s especially practical with the latest digital cameras is to go fully automatic. Switch over to either program mode or aperture priority (some action-oriented street photographers might even select shutter priority instead), configure automatic ISO, and use the best of your camera’s autofocus abilities to your advantage.
In the past, using automatic exposure and focus was considered too unreliable for street photography. Not only did speed leave a lot to be desired, but autofocus motors of the 90s and 2000s were also far too noisy for candid, stealthy operation.
Today, that’s changed a lot. There are plenty of high-quality lenses and camera bodies that will automatically expose for you and do it quickly as well as silently. This makes for an excellent “fire-and-forget” option that can be even more effective than scale focus in the right hands.
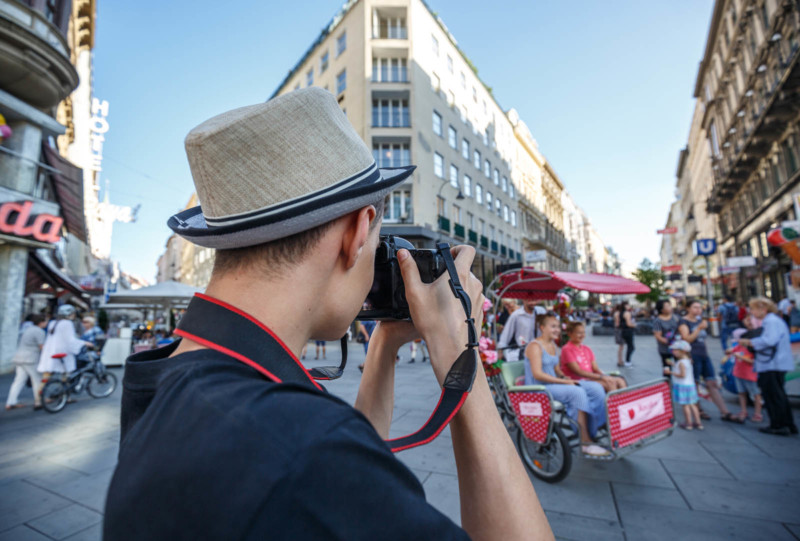
Compose With Your Eyes
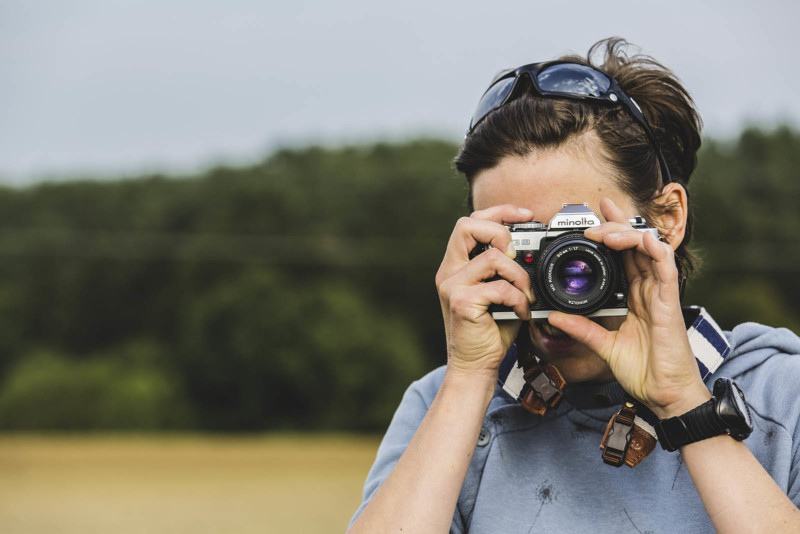
Whichever of these methods you use, you should never forget that in street photography, your eyes should always be looking ahead and around you, not down at your camera or into the viewfinder.
Assume a relaxed posture and use a neck strap to keep your camera ready, yet out of the way.
Alternatively, add a wrist strap for an even more discreet look.
To then “compose with your eyes” doesn’t strictly mean to just point your camera at what you see in front of you and fire the shutter. That can work, but usually only if you’re lucky.
Rather, the skill and the art both lie in learning to “see” like your camera’s lens without peering into the viewfinder. Picture the proportions of the frame within your mind’s eye and try to compose and arrange within that frame just like you would with the camera up to your face.
This is not an easy thing to learn, so don’t be discouraged if impressive results don’t come immediately. Still, it’s possible to get quite proficient at composing by eye within a short amount of time as long as you really push yourself to make use of the technique at every opportunity.
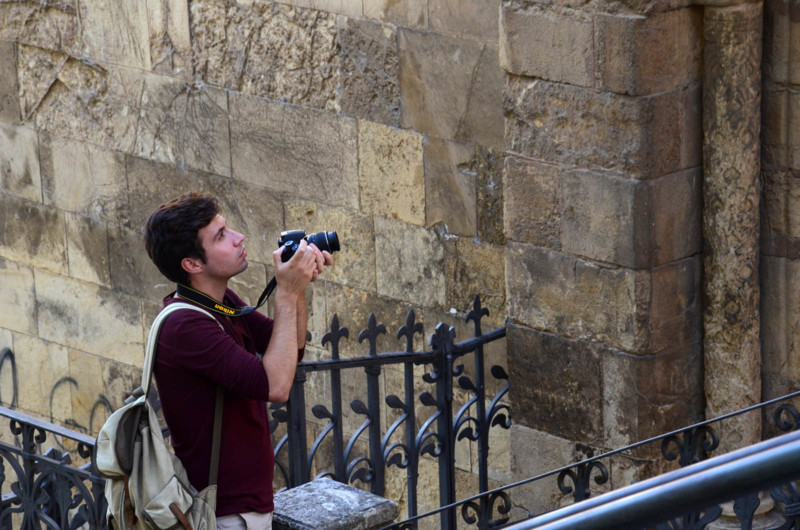
Consider a Waist-Level Viewfinder
Some would prefer a method of quickly and discreetly composing candid street photographs that is stealthier than holding a bulky DSLR up to your face, yet comes with less of a learning curve than composing entirely without the help of the camera.
The answer to that lies in using a waist-level viewfinder, or WLF for short. Cameras with such viewfinders were all the rage between the 1950s and the 70s, though true WLFs are hard to find on more modern gear. On some SLRs, it might be possible to either remove the pentaprism head or attach a right-angle finder to the eyepiece to get a pseudo-WLF effect – allowing you to compose while looking down into the camera in some fashion or other.
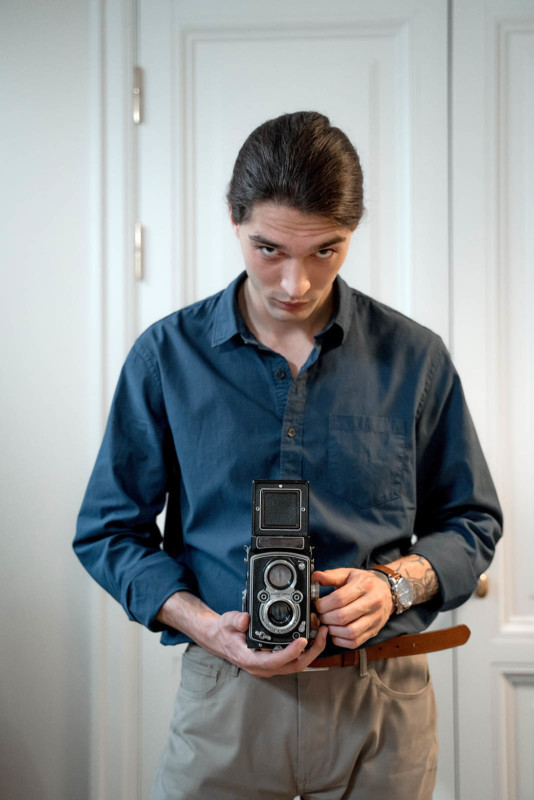
Still, a true WLF, such as found on twin-lens reflex cameras (TLRs) and almost all medium-format SLRs, is just about unbeatable when it comes to stealthily composing candid subjects.
By letting the camera hang off of a strap and looking down into the shroud that protects the viewfinder, you can assume an incognito position in the crowd and take your time setting up your shot.
This is even more true nowadays, long past the waist-level viewfinder’s prime, as most pedestrians won’t be able to immediately recognize your machine as a camera, let alone realize that you have them in your frame!
…Or None At All
If investing in rare camera gear doesn’t sound like a smart idea and other waist-level viewfinder solutions are too clunky for you, here’s a different thought: how about using no viewfinder at all to compose?
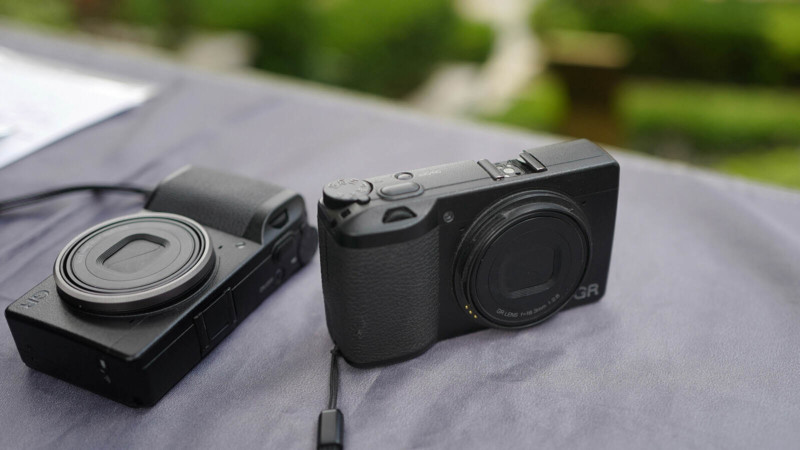
I’m not just talking about the “compose by eye” technique from earlier. Rather, I’m suggesting you pick up a pint-sized compact camera, the kind that completely lacks a dedicated viewfinder. Examples of such machines nowadays include the Ricoh GR series, the Fujifilm X70 and X-A7, as well as Panasonic’s compact Lumix models.
All of these cameras mainly rely on the excellent depth of field from their wide-angle prime lenses and the live-view rear LCD for guaranteeing good exposures.
Because using the LCD is just as effective as an EVF under most conditions, yet requires you to stop and take a second to bring the camera up to view, these kinds of viewfinder-less compacts are excellent “training wheels” to use on your way towards learning how to compose freely and intuitively.
Perfecting Situational Awareness
Picturing imaginary frame lines in your head is one thing. But how do you know what to put inside those frame lines?
This is where situational awareness comes into play. As a candid street photographer, your mission is to take an ordinary moment and transfigure it into something magical.
The best street photographs throughout history haven’t been the ones that used cheap tricks to make something ordinary look extraordinary. Rather, they were all shot by photographers that knew how to recognize the little moments of magic that hide skin-deep beneath everyday scenes.
If you’re quick enough to fire the shutter at that decisive moment, you’ve perfected your situational awareness far beyond the human average. In other words, it’s not going to come to you that easily.
Keeping your radar open for anything that might come at you at any time, and pouncing on it when it does, is actually the hardest part. You can try working your way up to that coveted skill by homing in on specific moments instead.
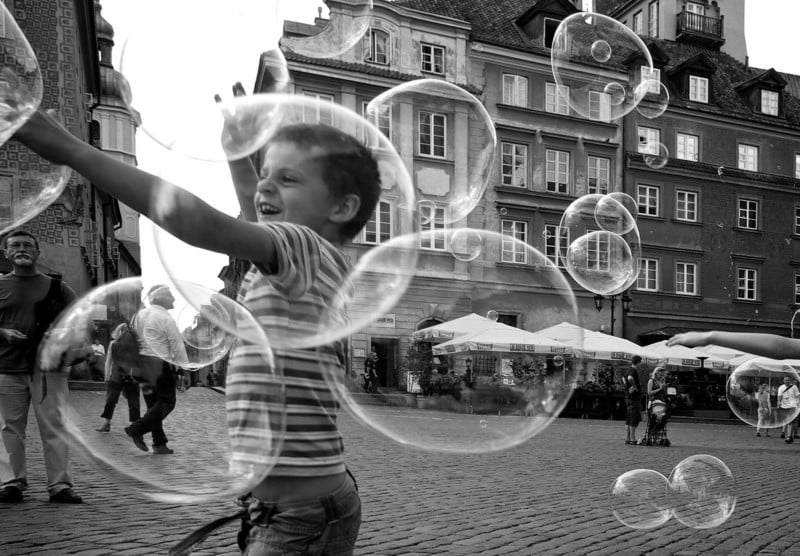
For example, go on a photo walk with the mission of capturing “a genuine moment of childhood joy”. Filter out everything in your head that doesn’t match that theme. Eventually, given enough time and mindfulness, you will find what you’re looking for. Don’t miss it!
Identifying the Right Moment When it Comes
Another fundamental question is when to know that you’ve captured the right kind of moment in the first place. What if you’ve ended up with 30-odd pictures of childhood joy, but you’re not sure if any of them were really “decisive”?
Again, this is a question whose answer depends a lot on intuition and feeling. It’s going to be different for every photographer and for each individual style and mood.
What you can do to get closer to your individual answer is by studying the kind of photography that excites you, the kind of work that you admire.
What is it about such candid photographs that look magical to your eyes? Try to articulate these things, as hard as it may seem at first. It is very likely that your favorite street photographer – no matter whether it’s Robert Frank or Fan Ho – did make use of some specific techniques, whether in composition, in exposure, or in some other way.
By studying their work, you may be able to recognize these techniques. And by recognizing the techniques themselves, you will already be one giant step closer to applying them to your own work!

A Short Word on ‘Spray and Pray’ Shooting
Some photographers try to alleviate these problems, or rather circumvent them, by practicing a working philosophy often referred to as “spray and pray. ”
In simple terms, this means making use of the burst mode on most digital cameras to rapid-fire as many candid street photographs as you can without thinking too much about each of them.
This can work, for sure – in the same sense that a monkey at a typewriter might actually put out Shakespeare one day.
However, I beg to differ with this approach. Sure, on an important assignment, you might not want to miss crucial moments that could make or break your commission.
But if you don’t shoot street photography for a living, I think you’d be much better off putting more thought into each frame you shoot. Compared to the spray and pray strategy, this has one crucial advantage: you’ll have a better idea of what you’re doing, which ultimately will teach you how to improve.
How Limitations Can Work in Your Favor
Moving on from that thought, let me close this guide with one big appeal to the power of simplicity and limitation.
It’s not just learning how to shoot without the help of your camera’s viewfinder! I think that by embracing a self-limiting philosophy, you can bring out the best in your candid street photography.
For example, consider using a film camera for at least some of your photo walks – the limited number of shots will definitely make you approach each press of the shutter release in a totally different way. You can double that for medium and large-format film, where you’ll be even more restricted than with the 36-exposure rolls of 35mm.
Other self-limitations can include working only with a certain focal length for the whole day or refusing to shoot in artificial light. How many limits can you think of?
When you work within self-imposed limitations like these, each shot feels more precious and important. This works in the opposite manner of the spray-and-pray approach: you’ll probably be putting out a lot less work, but you will also likely put a lot more thought into each and every image you produce.
Used in harmony with the other techniques you learned today, this approach doesn’t just stimulate learning and continuous self-improvement. It helps you make the kind of work that stands out and that you can feel proud of.
Image credits: Header photo by John Ragai and licensed under CC BY 2.0.