Use Magic Light AI To Add A Dash Of Wonder To Your Holiday Photos
Luminar Neo has a new extension available just in time to add something special to your holiday photos. The Magic Light Extension, may not be as big, flashing, and extensive as some of the others available within the system, but what it does bring is a lot of fun and adds a little (or a lot) extra sparkle to your shots.
Full disclosureThis article was brought to you by Skylum, the software company behind Luminar NEO.
Magic Light AI essentially takes an image and enhances the glow from any light source in your image. This means lamps, string lights, car headlights, streetlights, strobes/flashes, candles, and more. In addition to an enhanced glow, Magic Light AI can adjust the intensity of the light point as well as the beam rotation, and even the influence on the objects around it.
Using the extensions control sliders, users can adjust the highlights of a light source to add shine intensity and even create star patterns or stripes (think lens flares), all while leveraging artificial intelligence to help the system identify and isolate the desired and prominent light sources to help create much more atmospheric images.

Admittedly this is a very niche extension, but even so, it is actually wildly popular for these types of images. When used right it can add a lot of additional emotion and awe to a photo, taking an otherwise cute photo, and turning it into something magical.
What Exactly Is Magic Light AI
Magic Light AI is the seventh extension released for the Luminar Neo application that uses AI to scan an entire image to identify light sources and add additional effects like glow, intensity, size, rotation, and even the number of “beams” presented with the effect. The light effects added by the extension can create a star-like pattern with beam quantities ranging from two, all the way up to 24, with color and glow taken directly from the color of the actual light source in the image.

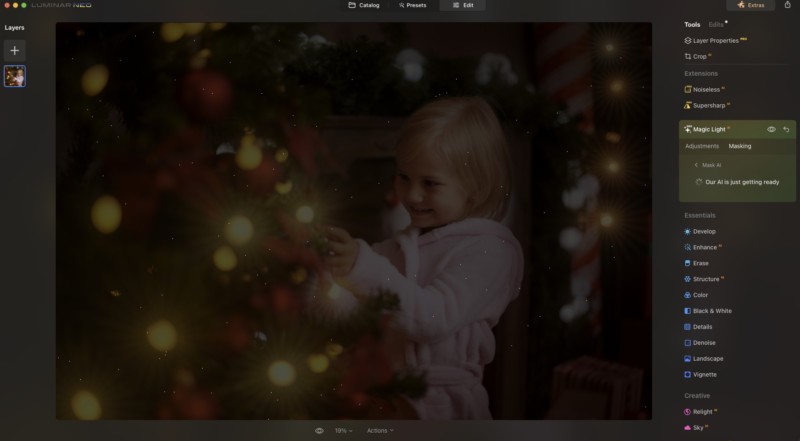
The effect can be quickly and easily adjusted using a series of eight sliders to adjust the entire image, but also has the ability to even use the Mask AI tool to mask out regions of the image you do not want to be affected by the extension.
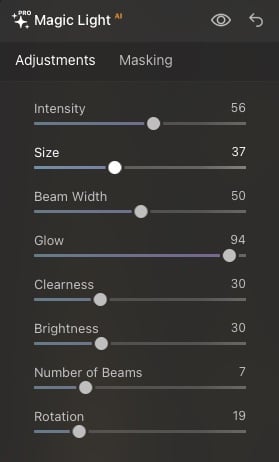
The sliders themselves present users with the following options; Intensity – to control the overall impact the Magic Light AI effect has on the image as a whole. Size – to adjust the actual size of the beams and glow pattern. Beam Width – to change the width of the light beams. Glow – to adjust the amount of glow around each affected light source. Clearness – this adjusts how defined each individual beam is. Brightness – this changes the brightness and glow from each beam of light. Number of Beams – Rather straightforward here, this adjusts the number of beams extending from each light source ranging from 2 to 24. And finally Rotation – This allows users to rotate the beams of light from right to left.

Getting Started
Magic Light AI can be used within Luminar Neo as a plugin through Lightroom and Photoshop, or directly from within Luminar Neo as a stand-alone application, and it supports working with any image format that Neo can open. It might even be best to use Magic Glow AI as one of the first tools used in your image processing as the glow can overlap with effects from other tools like Glow, Mystical and Dramatic should you choose to use them, and then the overall effect could be overprocessed.
I recommend starting with Magic Light to get the tone of the image where you want it, and then move on to your “normal” editing with tools like Mood, Color, and Details. Also, you can always work with each step on new layers to help keep things “non-destructive” in the editing process, this allows you to mask and dial things back without losing any of the creative effects from Magic Light.
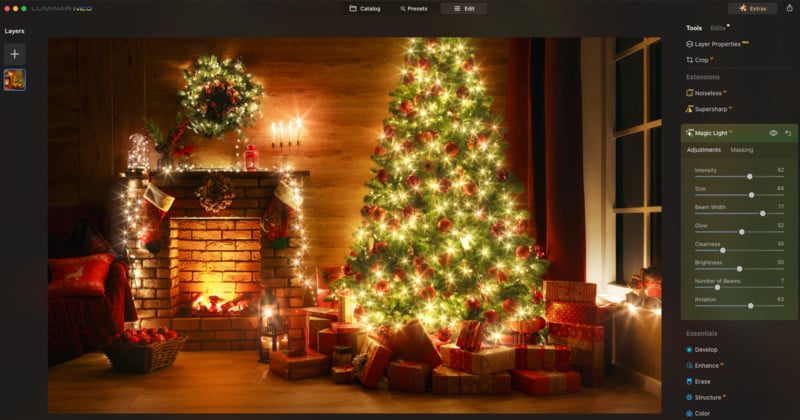
Once you’ve opened your image, you simply select the EDIT button on the top right, and then select MAGIC LIGHT AI located under the Extensions section of the Toolbar on the right-hand side of the application. Here you can use the sliders to enhance your image to the desired level, and if things are a little too much for your tastes, you can then use the MASKING section to select and paint away areas you do not want the AI to affect to alter.
Once you have adjusted the image to the level you like, create a new layer and start editing with the rest of the tools in the application. It’s really that simple!

While holiday photos are great, there are other uses for the Magic Light AI as well like adding some flare to automotive, street, and landscape images like these below;

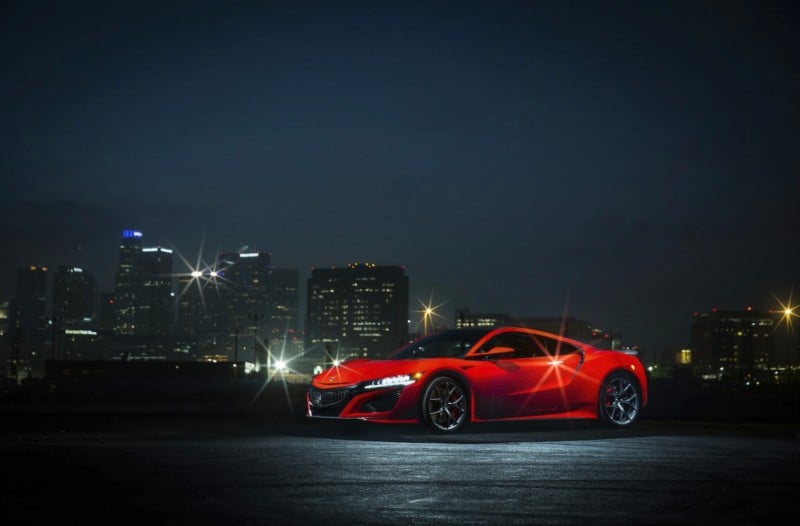
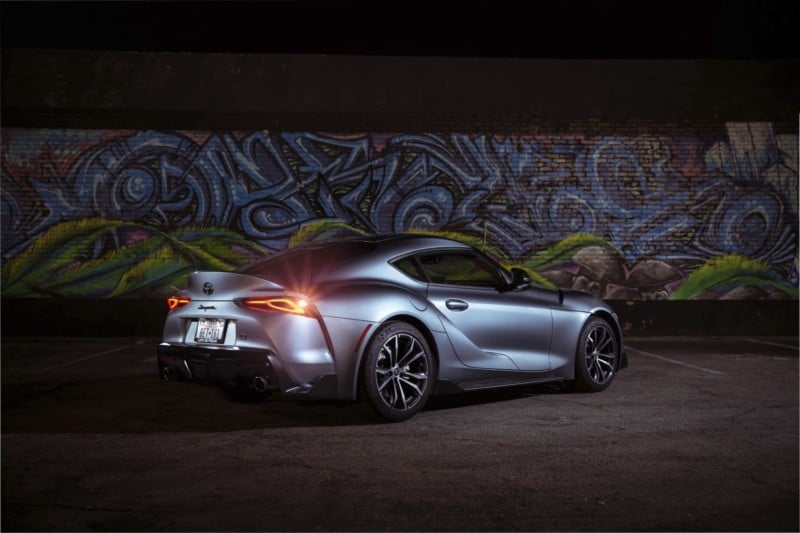
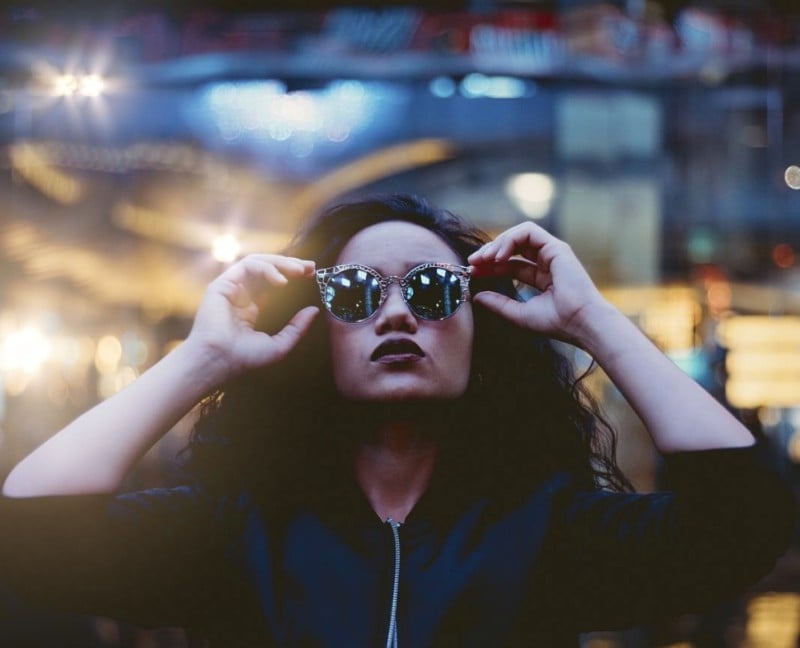


If done right (aka not overused) this new extension can give creatives some new imaginative uses for enhancing the light and flare in their images, and its release is almost perfectly timed for this holiday season.
Price and Subscription Plans
Luminar NEO is available in a variety of combinations ranging from $99 to $119 per year as part of the subscription plans, or for $149 as a one-time stand-alone purchase. Additionally, users can buy the 2022 extensions pack which includes 7 extensions (HDR Merge, Noiseless AI, etc) for $299 for even more creative power.
All Luminar Neo extensions, including Magic Light AI can be accessed as part of the monthly, or yearly. PetaPixel readers can use the exclusive promo code PetaPixel10 for an additional 10% off when purchasing either Pro or Explore yearly subscriptions and a lifetime option.
Full disclosureThis article was brought to you by Skylum, the software company behind Luminar NEO.
Image creditsHoliday photos from Depositphotos