The Best Time of Day to Take Outdoor Portrait Photos
When is the best time of day to shoot portrait photos outdoors? Should we shoot only during the golden hours and avoid midday altogether, or is it better to use the brightest daylight hours to take our portraits with a few simple light modifiers? In this guide, we explore the best times of day for outdoor portraits.
Setting up in a studio where conditions are controlled and lighting, backdrops, and styling is all precisely monitored is all very well and good, but taking things outdoors can start to make things a little more tricky. With problems like weather, sun position, shooting locations, and access restricting a photographer’s ability to shoot there are a lot of variables that can make an outdoor portrait session go wrong.
However, with this guide, we’ll highlight the best practices for all times of day to ensure a successful outdoor portrait shoot. From apps that help us plan for the best weather and time of day, to a look at some useful tips to make the most of modifying the quality and quantity of light that falls on our subjects. We’ll also consider what to look for in camera equipment and how camera settings can influence our final results.
Table of Contents
Planning an Outdoor Portrait Photo Shoot
Shooting portraits outdoors requires a fair bit of planning, the same as any other type of outdoor photography photoshoots like landscapes or astrophotography. That’s because weather and sun position plays a huge part in where and how we can shoot. Of course, the first thing to do is to check the weather forecast for the shooting location before heading out. The closer to the shoot time the more accurate the forecast will be but build in a cut-off time to avoid letting others down at the last minute if working in a team.
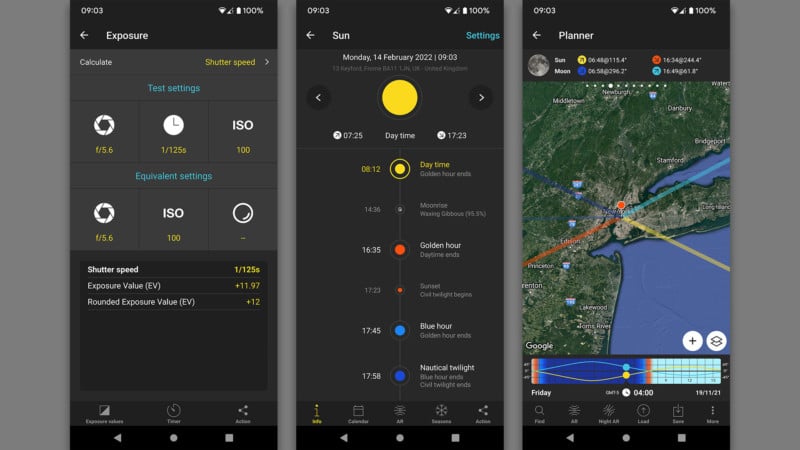
Planning sunlight position is relatively easy with the use of a smartphone app such as The Photographer’s Ephemeris or PhotoPills which help to track sun (and moon) position throughout the year, no matter the location. Extra built-in features such as shadow length tracking and golden hour angles can make it easier to shoot in the right location for certain styles of outdoor portraits. It’s possible to fast-forward and rewind in time so there’s no excuse for checking this out well ahead of the photoshoot.
What is Golden Hour in Photography?
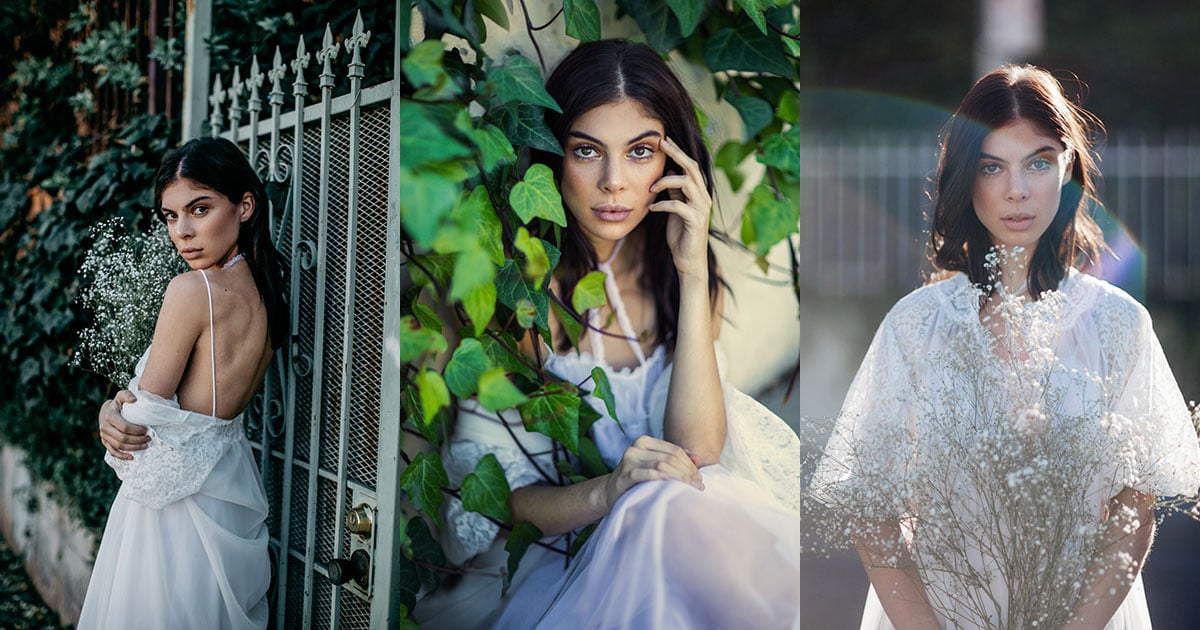
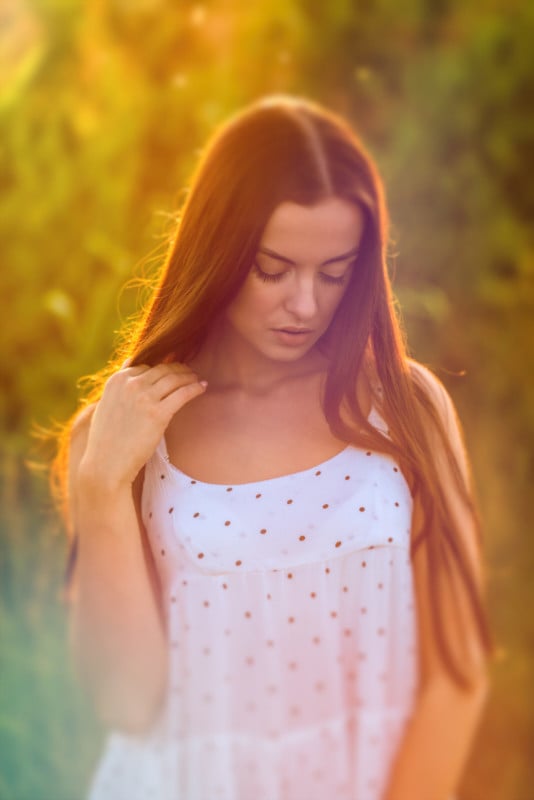
One of the most popular periods of the day portrait photographers aim for is golden hour, or the short period immediately after sunrise or immediately before sunset in which the low angle of the sun causes the natural light in a scene to be soft and golden (hence the name).
Also referred to as “magic hour,” this is often considered the best time of the day to shoot portraits due to the warm directional light you can easily achieve.
What is Blue Hour in Photography?
Like golden hour, blue hour is also found around sunrise and sunset, except it is the short period (perhaps 20 or 30 minutes) immediately before sunrise or after sunset, when the sun is below the horizon and not directly illuminating your subject.
Portraits captured during blue hour will have a blue shade and a more moody quality.
Sunrise and Morning Portraits
While sunrise and sunset can be thought of as identical there are actually some key differences between them.
Overnight, the atmosphere cools as the earth rotates and the sun falls out of view. Moisture in the atmosphere condenses onto the ground and, depending on location, can lead to dew or even frost forming on the ground. As the sun rises, before it warms the ground and this moisture evaporates, there’s a small window of opportunity to capture the condensation shining in the new light, like jewels glimmering in the background.
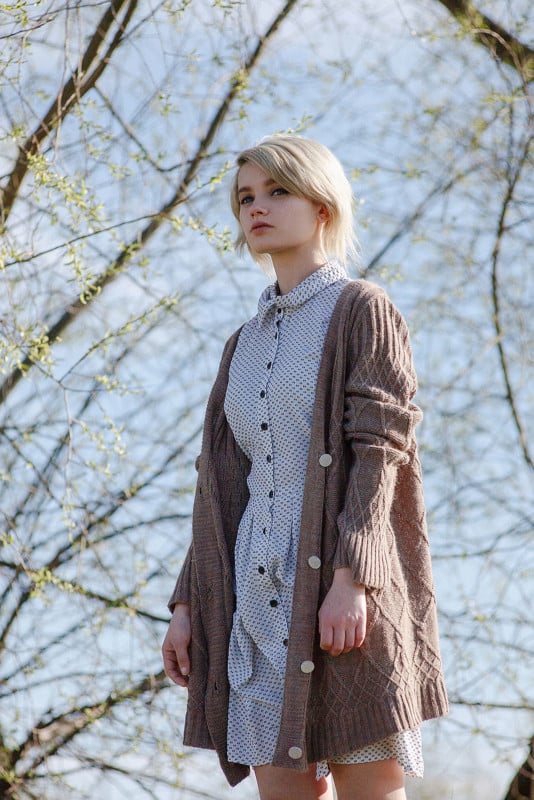
The amount of sky you include in an outdoor portrait may also be influenced by the time of day. In the morning clouds struggle to form because the sun has yet to heat the ground sufficiently to allow strong thermal convection. It’s this rising of air that can build clouds in the sky.
Something in common among both sunrise and sunset though is the fact that the sun hangs low in the sky, scudding the landscape and providing longer shadows. Because the sun has to pass through a thicker portion of the atmosphere the blue light is scattered more and as such, enhances warmer, lower wavelength light like oranges and reds. This can be used to the photographer’s advantage for natural, warm, side light, or backlight to accentuate facial features, hair, or clothing.
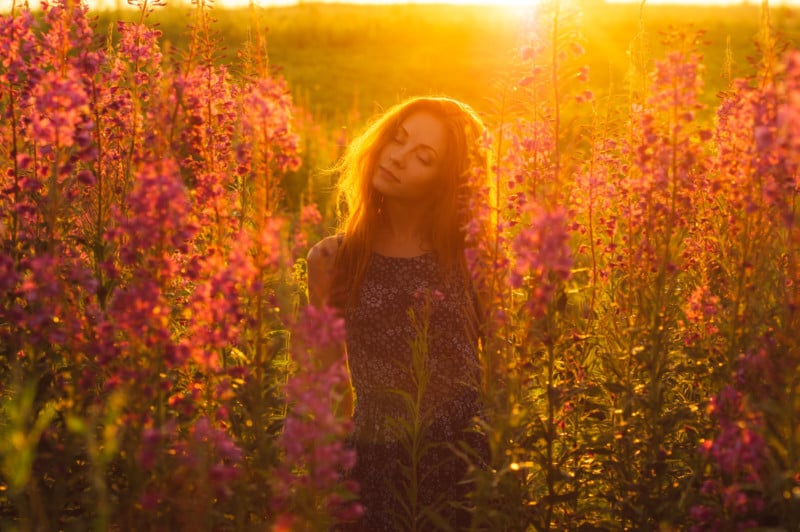
Shooting directly into the sun makes it easier to produce silhouettes because the extreme brightness of the sun is in stark contrast to the dark shadowed side when the subject is placed between camera and sun. However, sometimes this darkening of the subject may be unintentional, so additional lighting must be used to counteract this which we’ll discuss in the lighting section below.
Shooting in the Middle of the Day
Shooting in the middle of the day, when the sun is highest in the sky, is usually thought of as the worst time for outdoor portraits. That’s because the overhead light can look unflattering, casting shadows downwards on the face.
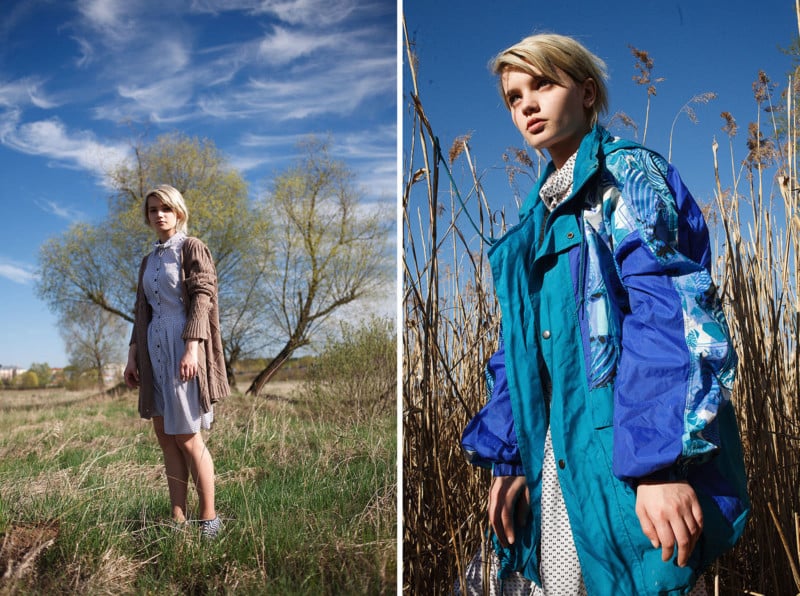
Clear skies will allow for much harsher shadows with a greater difference between highlights and shadows, making it harder for cameras to capture detail because they’re limited in dynamic range. Of course, the intensity of this effect depends on where you are on the globe, with locations nearer the equator suffering more from this effect, as opposed to those nearer either pole.
This harsh look might be what you’re seeking though, as it entirely depends on the desired style of the photos. But if it’s not, there are some ways to tame the harshness of the overhead sun. The simplest step would be to swap a standing posture for one laying down, facing up towards the camera. This would reposition the shadows on the face based on the orientation of the subject.
To remove the hard light problem altogether, head for some shade. It might be the shadow of a building, the shade under trees, or a shadow you cast yourself with some kind of flag (like the black side of a 5-in-1 reflector).
It’s important not to go too far into the shade, like walking deep into the woodlands, because the further you go, the darker it’ll be. That’s because light propagates according to the inverse square law, but we’ll spare the technical jargon behind that. Essentially, go as far into the shade as required to create shade across the subject, but no further. This keeps light intensity bright enough to match the original camera settings.
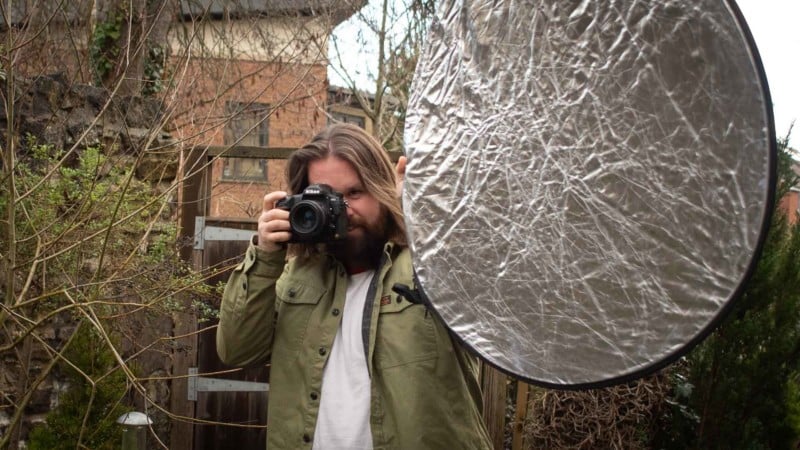
Instead of blocking the light completely, it might be useful to just diffuse the light a little. If that’s the case, a 5-in-1 reflector (like the Lastolite Trigrip reflector) will offer a diffusion panel to softly spread the light. Place it between the subject and the sun and for best results keep it as close to the subject as possible without it coming into frame. Either hold the panel yourself, get the model to hold it, or set it up on a reflector holder attached to a light stand but be careful in high winds, as it may need to be weighed down.
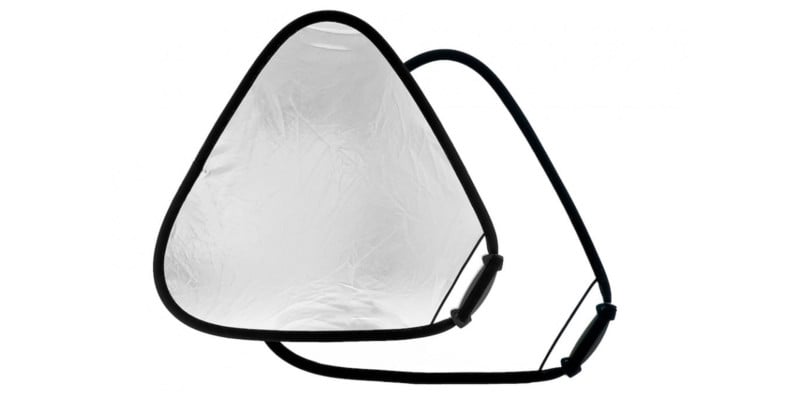
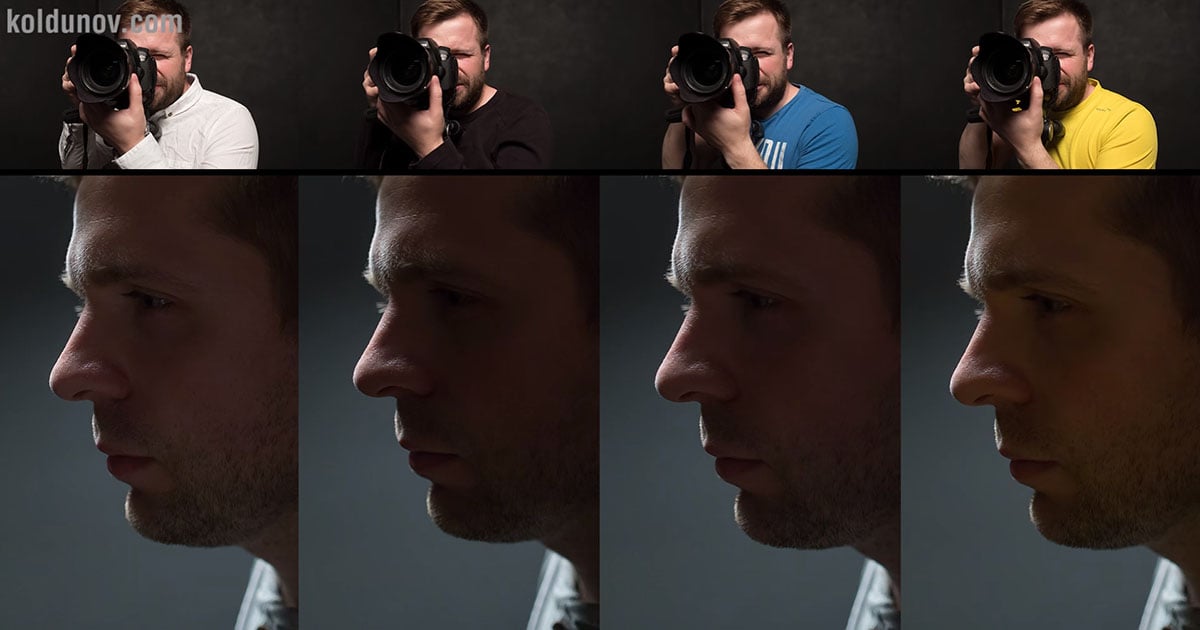
If shadows aren’t that bad but you need some fill light to brighten shadows then a reflector works well. Reflector kits normally come in white which is used for a subtle fill, silver for something stronger, gold for warmer tones, and a silver/gold stripe (called zebra by some) to achieve a mid-point of warmth between silver and gold.
Other options for fill light are flashguns like speedlights, or studio strobes, though the latter usually requires mains power. The middle of the day is normally too bright for continuous lighting to help much, which is why we turn to flash lighting which can output much brighter light.
Photographing in Evening Light
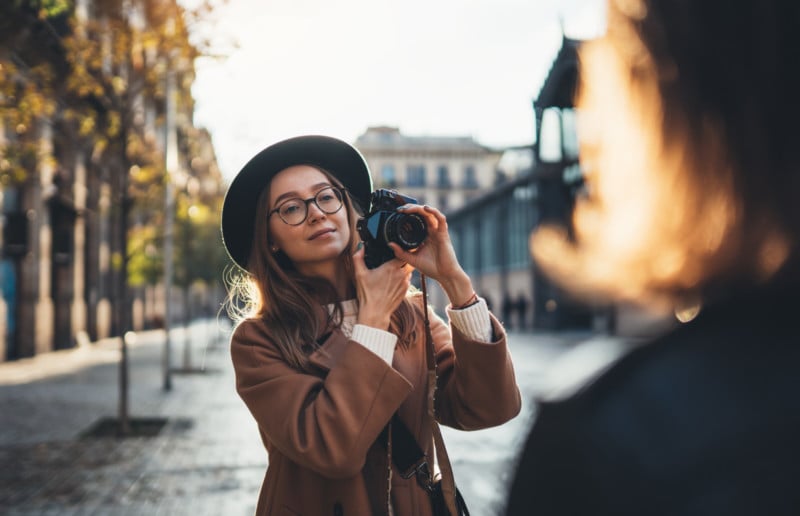
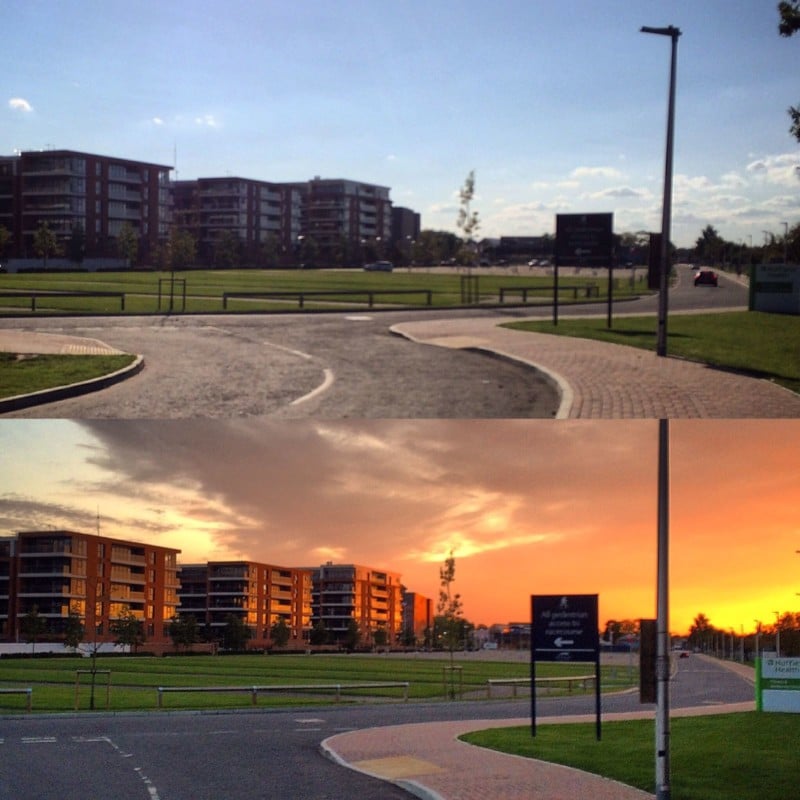
Sunset light gives the same effect as sunrise except that it occurs on the western side of the sky (location dependant). So we can achieve the same side and backlighting as with a sunrise, except now we have the added benefit of capturing larger cloud formations in the sky behind our subject due to the convection from a warmer landscape.
The time around sunset tends to be busier too, as more people are up and about compared with early in the morning. That means more possibilities to capture outdoor portraits with people and traffic. This can be good for street scenes, especially when wanting to capture more of the hustle and bustle of everyday life.

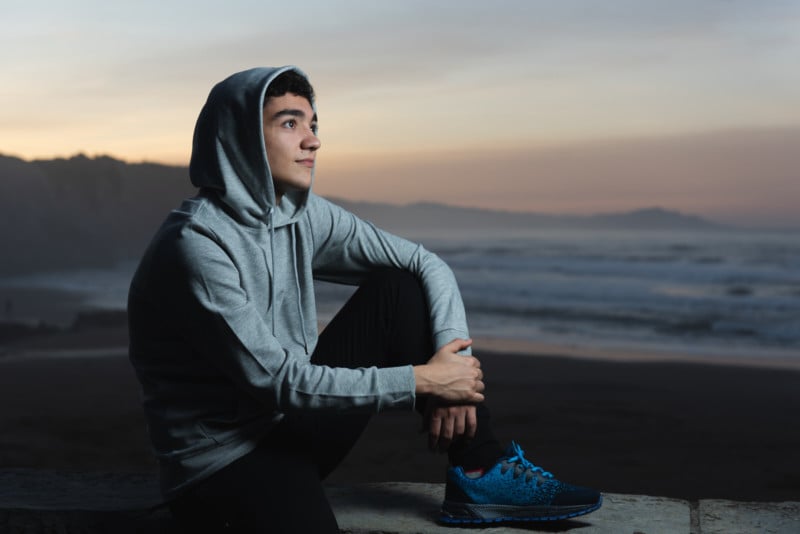
Twilight and Night Photos
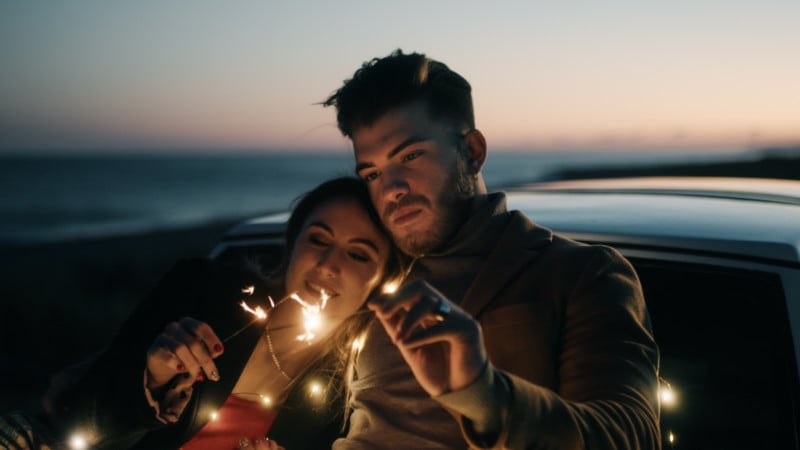
As the night creeps in after sunset we’re met with the blue moment, a time where the sun’s direct light has disappeared but the scene is still affected by the ambient light as it scuttles across the atmosphere. The entire landscape is now in shade and as such has a lower color temperature (measured in Kelvin) and so looks bluer.
With dwindling light levels it’s a good idea to adjust camera settings to compensate. A wider aperture can be used to brighten the image, but this will also create a shallower depth of field. If the depth of field needs to stay the same, then we can change the ISO sensitivity or shutter speed to brighten the exposure. ISO sensitivity increases the image sensor’s sensitivity to light but the higher it is set, the more image noise is introduced, so we want to keep this to a minimum, if possible.
A longer shutter speed means that the image sensor is exposed to light for a longer duration. However, unwanted blur can creep in if the shutter speed is too long, this can be down to camera shake blur (if shooting handheld) or subject blur, where the subject can’t keep still enough. But this can be used to our advantage by deliberately capturing motion such as traffic trails, or deliberate camera movement when paired with a pop of flash to freeze the subject in the foreground.
Lighting Subjects While Outdoors
Lighting our subject is almost as important as setting up the shoot in the first place. After all, photography is about the interplay between light and shadow. So it’s important to consider how to light outdoor portraits.
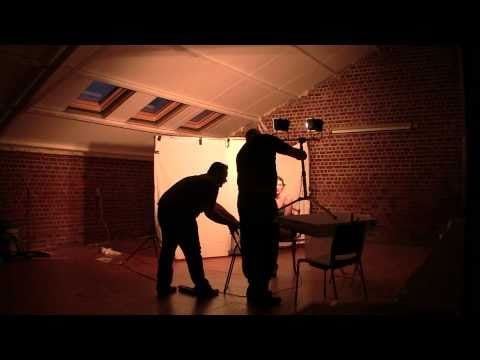
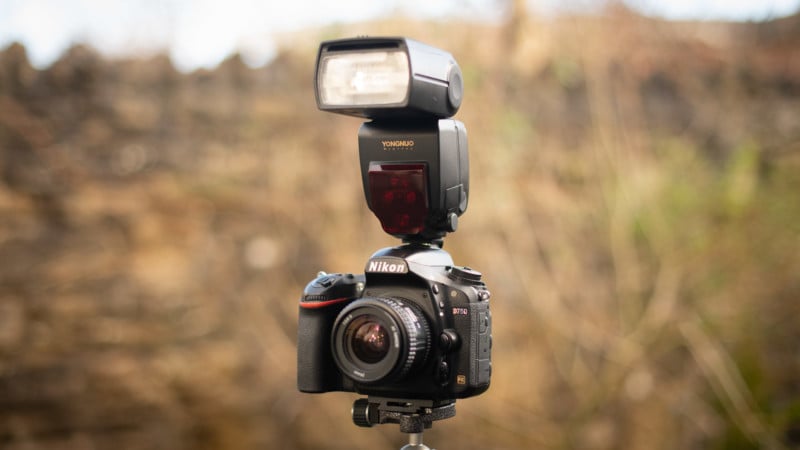
During the day, when the sun is shining brightly, flashguns and studio strobes are probably the best way to introduce light to portraits outside. That’s because they output a huge amount of light in a short burst to fill, or even overcome the sunlight. Speedlights are a good portable option and often run on AA batteries making them inexpensive and accessible to many. Studio strobes, while more powerful generally, often require mains power so are only good for shoots close to a power source, though there are some that run off batteries.
Continuous lighting is better for beginners because they can see the effect the light has on the subject and the camera settings can be changed without any restriction in place such as shutter speed synchronization. Continuous lights are also useful for shooting video where flashguns are not. However, this lighting is often much dimmer when compared with flash lighting and is better for low light photography such as at sunset, twilight, or at night.
Kit Choice Makes a Difference
Lenses play a huge part in how any image looks, and it’s especially important in outdoor portraits. Of course, focal length plays a role in how the photo looks, with longer lenses isolating subjects more against backdrops and seemingly compressing perspectives to flatten facial features. But also lens coatings impact the photographer’s ability to shoot into the sun, with better coatings reducing flare and ghosting.
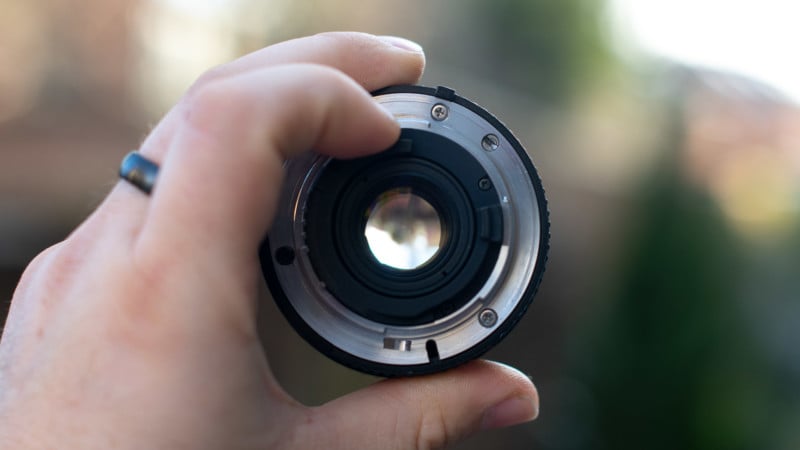
The shape of the aperture blades directly influences what the bokeh (out of focus areas) looks like. A higher number of blades and more circular shapes will produce circular and smooth bokeh. However, we can influence this by purchasing or making our own custom-shaped lens covers to transform the little circles of bokeh into hearts, stars, or anything else.
Camera bodies on the whole are less influential to outdoor portrait results unless capturing action portraits such as the movement of a runner or other athlete where continuous shooting burst speeds must be high. However, a camera’s ability to link with a lens and focus in dim situations can be important for low-light portraits. Entry-level DSLRs and mirrorless cameras usually focus down to -3EV or so, with some of the most sophisticated cameras able to reach -6.5EV with ever-increasing performance.
So there you have it: an explanation of the best times of the day you can shoot portrait photos outdoors and some advice on doing for so optimally-lit pictures. As with any genre of photography, the best way to gain knowledge in this area is by doing, so be sure to go out with your camera, lights, and a portrait subject at various times of the day and in various lighting conditions to gain first-hand experience in how to best tackle each one.
Image credits: Stock photos licensed from Depositphotos.