How to Shoot Professional Portraits Using 3-Point Lighting
This handy 7-minute lighting guide from Aussie music photographer PJ Pantelis shows how you can use 2 lights and a reflector to create a professionally-lit headshot. Even if you’re not shooting portraits, the video is a great tutorial on working with light.
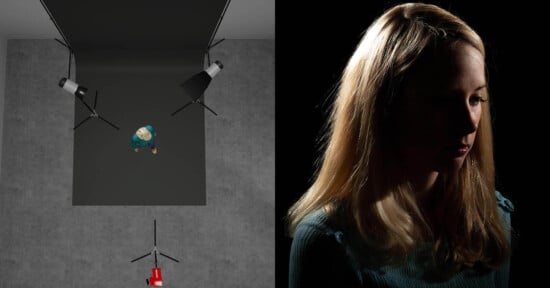
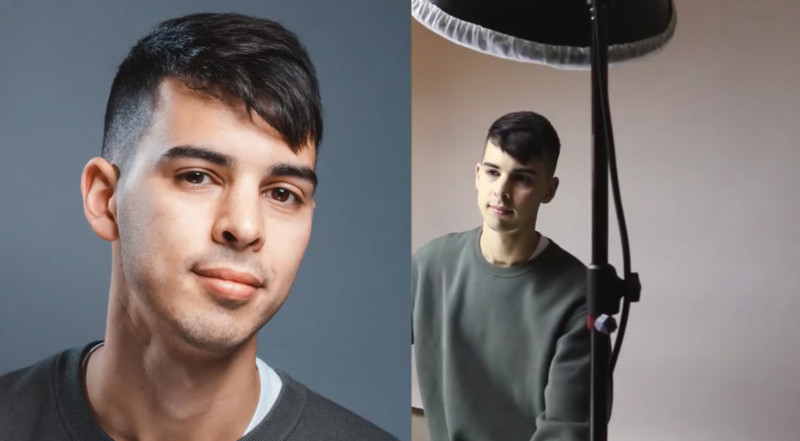
The basic 3PL setup involves a key, a rim light, and a fill. The key is placed in front and to the right of the subject, acting as the main lighting for the portrait; the rim is positioned to the left and back, helping to add some dimension to the image; and the fill is a silver reflector in front of the subject, which can be adjusted to remove or control the shadows cast by the key light.
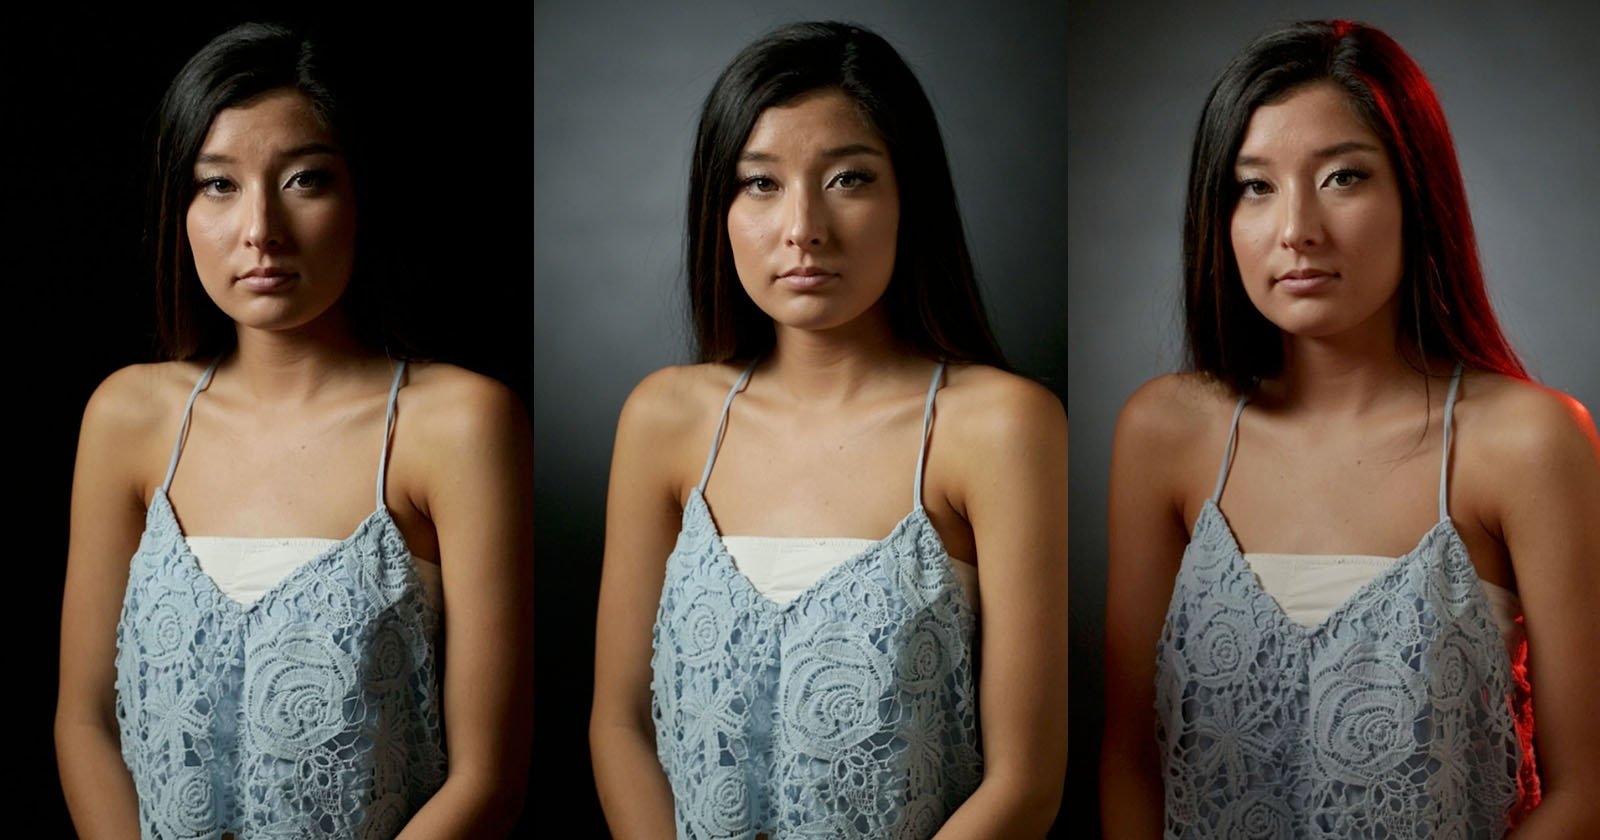
Pantelis shows how these lights are layered by first showing how a portrait would look with ambient lighting only, then with only the key, then with the rim light, and then with both lights combined:
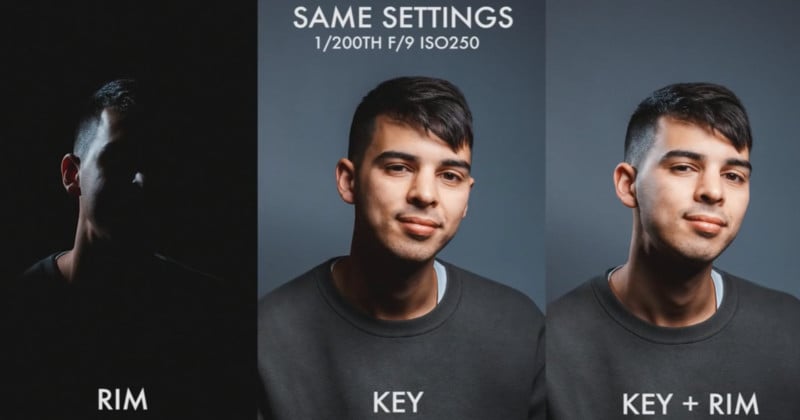
The final shot shows the reflector filling in the shadows under Pantelis’ face, creating a beauty or glamour style image.
This type of effect is not for everyone, but simply understanding how these elements can be combined to change the lighting in an image is an excellent step towards using light effectively in your own work. And if you DO shoot portraits, this is a ‘bread and butter’ setup everyone should have in their back pocket.
Check out the full walkthrough up top, and then head over to Pantelis; YouTube channel for more.