PowerVision PowerEgg X Drone Review: What In Tarnation Is This?

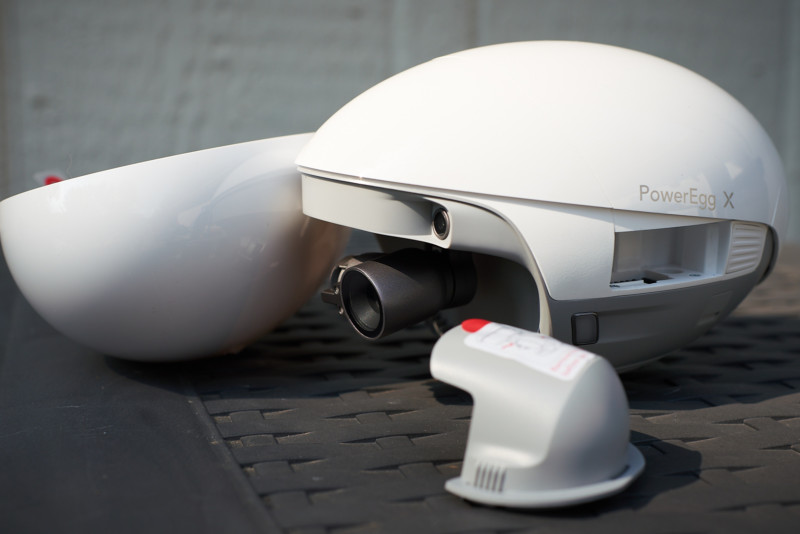
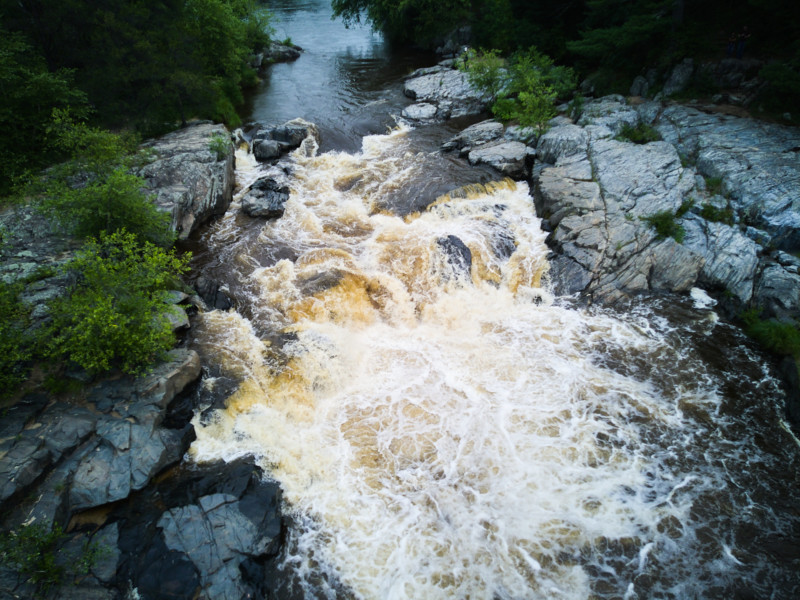
Picture an egg. Now picture an egg with a camera on it. Now picture an egg with a camera on it that can fly. Now picture an egg with a camera on it that can fly in the rain. Now picture an egg with a camera on it that can fly in the rain and land on water. You are now picturing the PowerEgg X.
In this review, I’ll be taking a look at the $1,250 PowerVision PowerEgg X Wizard kit which is the version that comes with the most accessories like a spare battery and three sets of propellers, plus the waterproof housing and water-landing floats. There is an $800 kit with just the basics called the PowerEgg X Explorer, however you should know that the water-landing floats are not sold separately to add ion later: if you plan to use the drone for watersports, you have to make that decision at the initial point of purchase.
Design and Build Quality
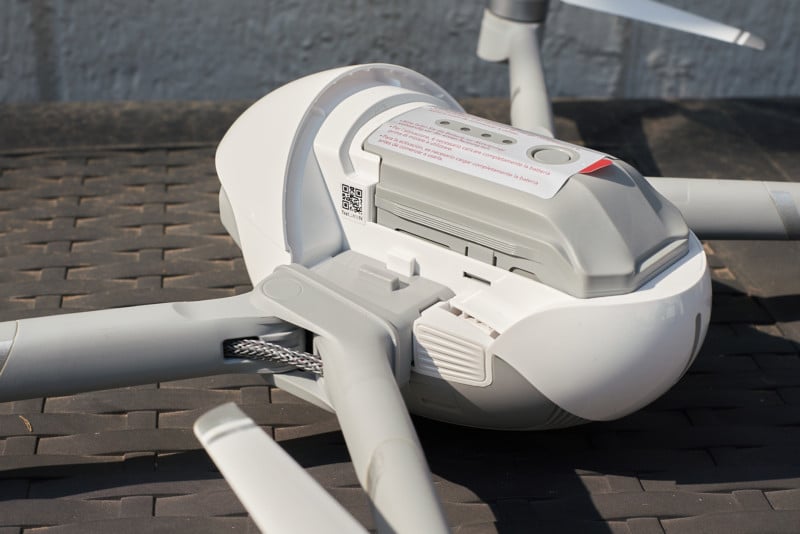
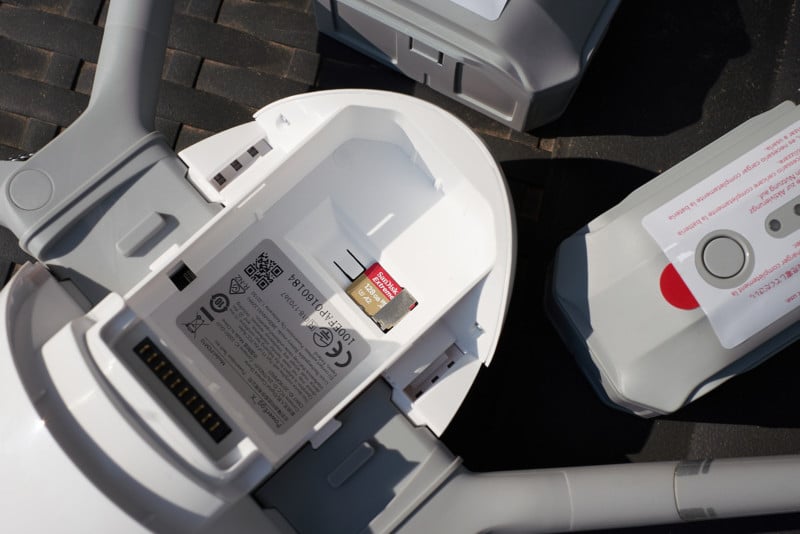
The PowerEgg X is quite literally in the shape of an egg when its two removable covers are attached. The top cover gets opened up to access the battery, micro SD card slot, and connections for the drone’s rotor arms or other accessories. All of these parts get put on before use. The bottom cover is for protecting the camera and stays off when the PowerEgg X is in use. Additionally, there is a removable collar for the camera’s gimbal so that it cannot move when not in use.

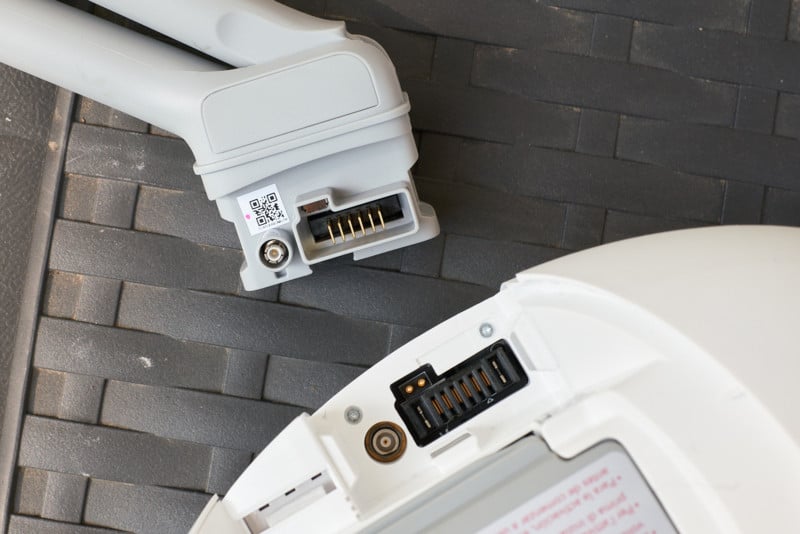
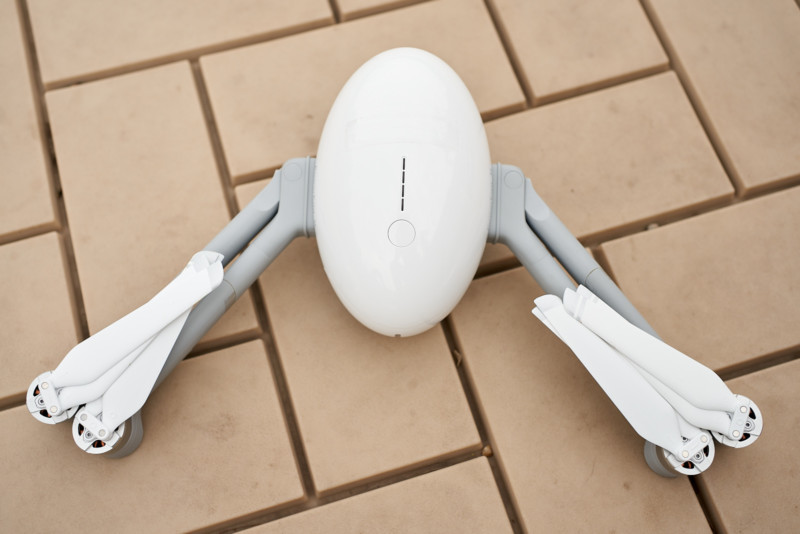
Attaching the drone arms is not difficult, but it does take a little time to pop off the cover and slide on. Unfortunately, while each side’s rotor arms do collapse into themselves, it’s not very compact and the two collapsed arms do not fold into the drone in some neat fashion like seen with DJI’s products. This means that for most people transporting their drone around in a backpack, it’s going to be optimal for space savings if it’s disassembled and reassembled each and every time which I find somewhat tedious.
There are a few more aspects of the design that are annoying such as the fact the bottom camera cover can’t be installed when the arms are attached. Also, in order to take off the top cover of the PowerEgg X to get to the battery or memory card, I need to take off the bottom cover first. Lastly, if and when the propellers need to be changed, it requires a tool to do so as they are held in by two screws.
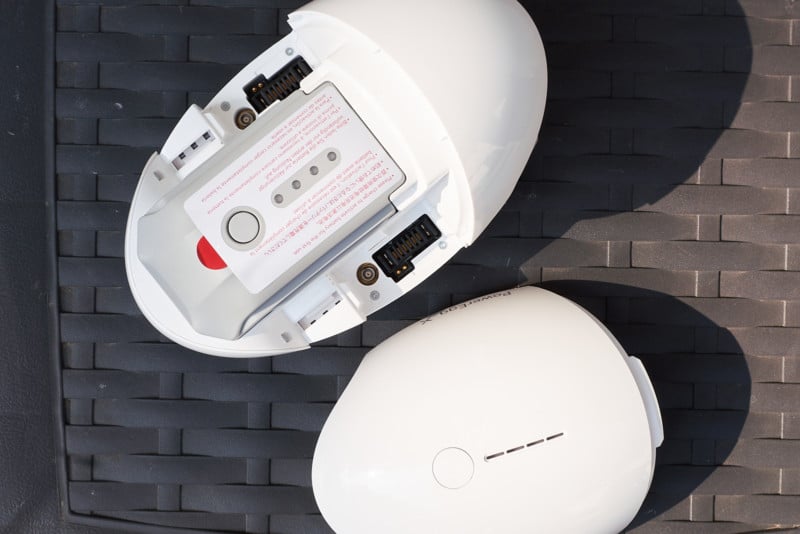
As mentioned, the PowerEgg X takes micro SD cards and requires a Video Class 10 rating (V10) in order to support its data rates while recording. The maximum storage capacity that it accepts from a micro SD card is 128 GB. There is also six gigabytes of internal storage onboard. In the PowerEgg X’s required iOS and Android app called Vision+ 2, users can select which storage to use and also format the micro SD cards.
Controller
The controller is a smooth glossy white plastic that covers all of the areas that my hands touch. I find it to be conducive to hand sweat and would have liked there to be some more thought put into the handling. Another issue I have is with the smartphone mount. The stiff, double-hinged design makes it extremely awkward to pull out from the controller body and the bottom jaw of the phone holder has no rubber whatsoever to softly come into contact with my phone.
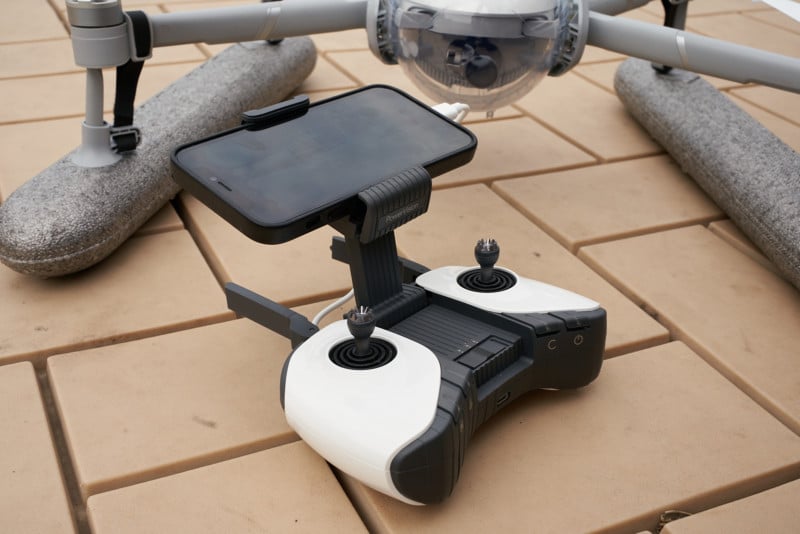
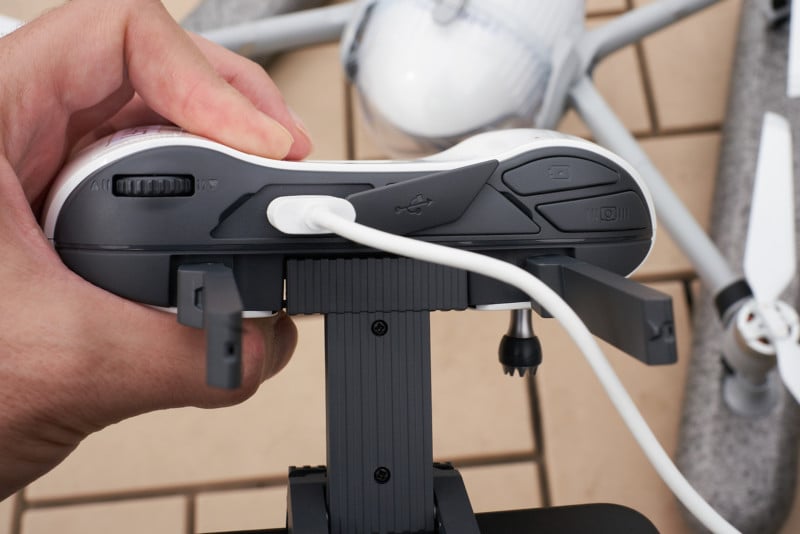
On the plus side, there are ample physical buttons for quick access. On the frontside bottom, there’s the stop button, return to home button, a customizable button, the power button, and a three-stage switch for choosing the flying mode. At the top, there are independent video recording and photo taking buttons which can work regardless of if the Vision+ 2 app is in video or photo mode. There’s also a dial for controlling the tilt angle of the camera.
I found it useful to have important controls like the stop button at my fingertips because there are times when I’m diving in the menus mid-flight to change some settings around. Being able to switch from recording video to snapping photos by using the appropriate button is also preferable to switching in the app.
Waterproofing
The clear plastic waterproof housing slides on after the propeller arms are installed on the PowerEgg X. It secures down with three latches and is easiest to install before putting the water-landing floats on. There are two waterproof baffles on the underside that lets hot air flow out without letting water in, and there is also a large heatsink to deal with the buildup of hot air as it cannot ventilate at near the same capacity.
At the front of the housing where the camera peers out, there is a different, less cloudy plastic used here and it does seem like there was some sort of attempt at making the plastic as optically pure as possible in this critical area. From what I can tell from testing, it’s not any more or less hydrophobic or anti-fog than the rest of the plastic housing, just clearer.
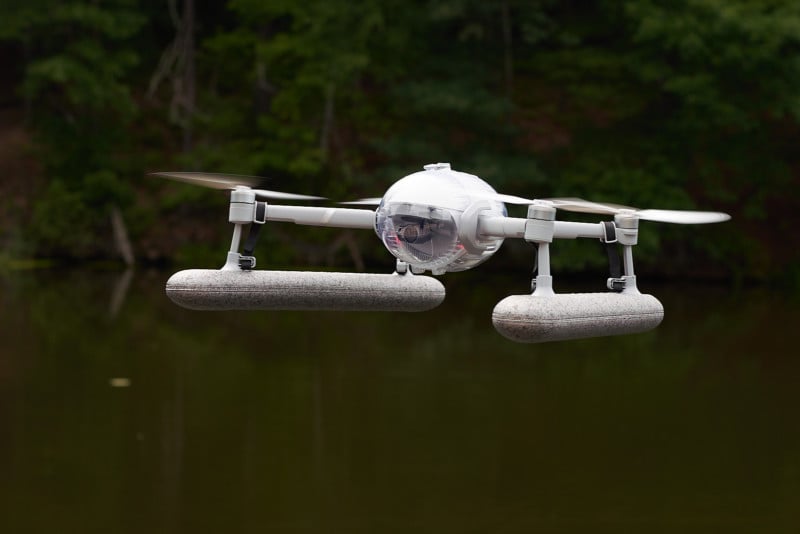
The water-landing floats are about 15.5 inches (39.4 centimeters) long and feel quite dense despite being lightweight foam. The attachment is quite easy as the rotor arm’s landing gear slots perfectly into the float. After that, a hook and loop fastener attached to the float is wrapped around the arm to secure it in place.
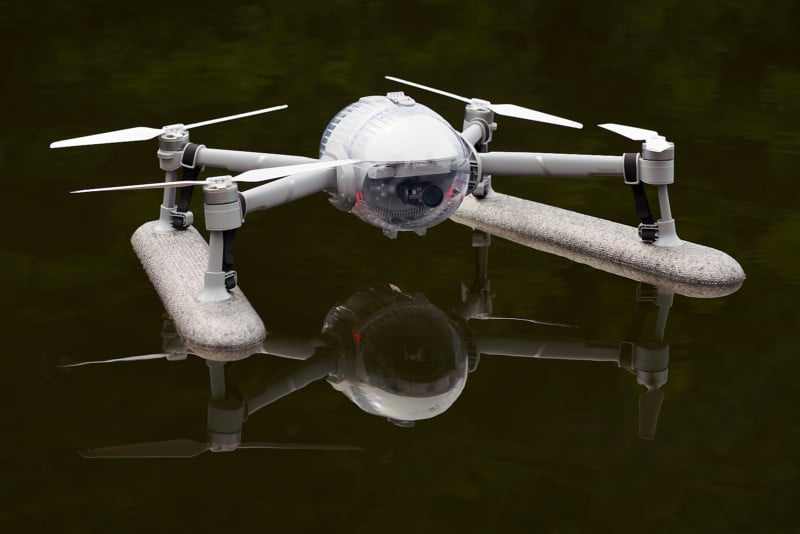
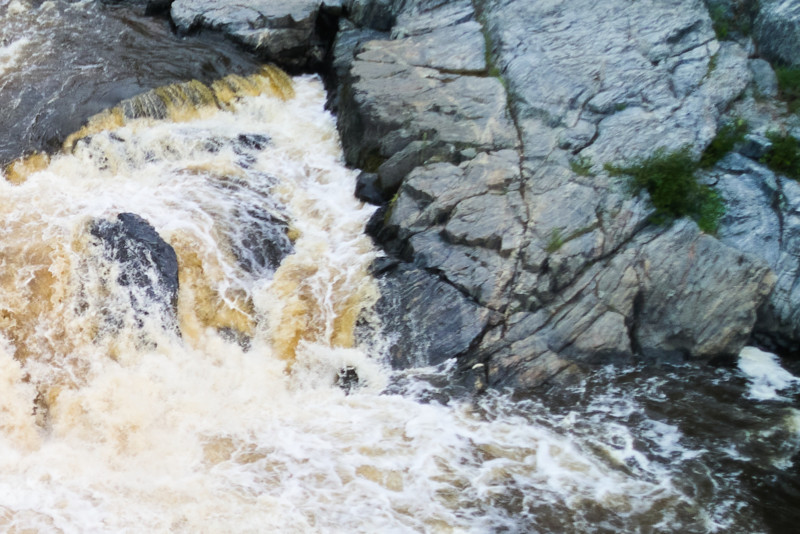
Between the housing and the floats, the whole process takes a couple of minutes to get on. That said, the benefits of that time spent can either be deliberate — like flying in the rain — or preventative — like emergency landings over water. One downside to the PowerEgg X when it comes to water landings is that if the drone comes down wrong, say it catches a wave and flips, it will be unable to right itself to fly away. So while the drone will probably be ok, it still requires that you physically retrieve it somehow. You don’t necessarily want to land it far off into a lake just because you can, as you may just end up having to swim out there to pick it up.
Batteries
Flight times are inherently going to be all over the place depending on the weather conditions and how the aircraft is being flown. PowerVision claims the PowerEgg X is capable of up to 30 minutes of flight time, so we can take that as being true only with the most optimal of all conditions. For me, I would come to expect around 15 minutes of flight with the full water kit installed or 25 minutes without before I felt that I should land it.
I had a disappointing experience with the PowerEgg X batteries because it seemed like they drained when left stored in the drone between flights. Turned out, it’s even worse because they will drain regardless if they are left in the drone or left alone in the bag. One of the batteries I let sit for a week on its own and during that time it drained more than 50% of its capacity. This puts more burden on me to remember to “top off” before heading out to shoot.
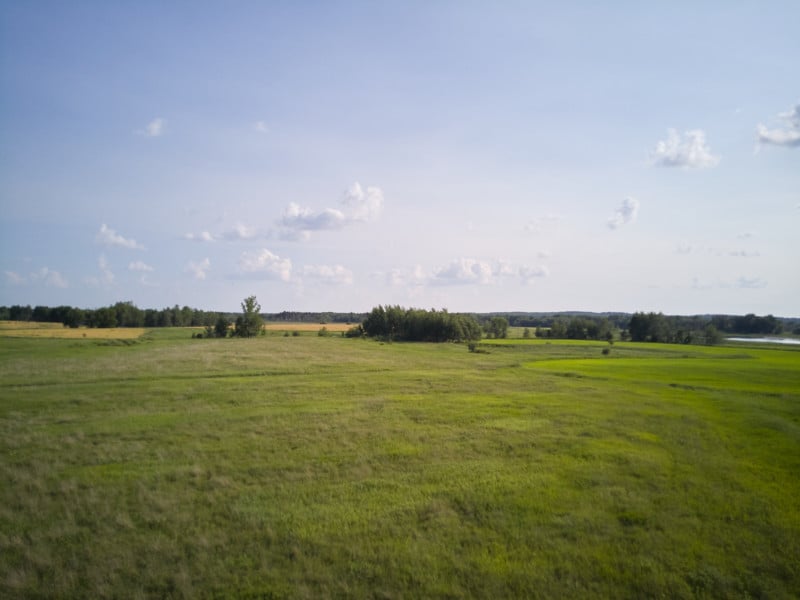
In-Flight Stability
The stability of the PowerEgg X falls somewhere between being a challenging flyer and being downright dangerous. Nearly every time I went out to fly, I’d run into trouble from the drone. It will constantly drift and change altitude while idling, it almost never flies straight and steady, and at its worst, it will straight up try to launch itself into something like the nearest tree branch.
Even when it’s acting relatively safe, it is very difficult to have any sort of finesse with its movements. It seems like the controller is either not responsive enough to the thumbsticks or it’s pushed too far and the movements are too exaggerated. I found it hard to hit the middle ground for a clean “cinematic” shot.

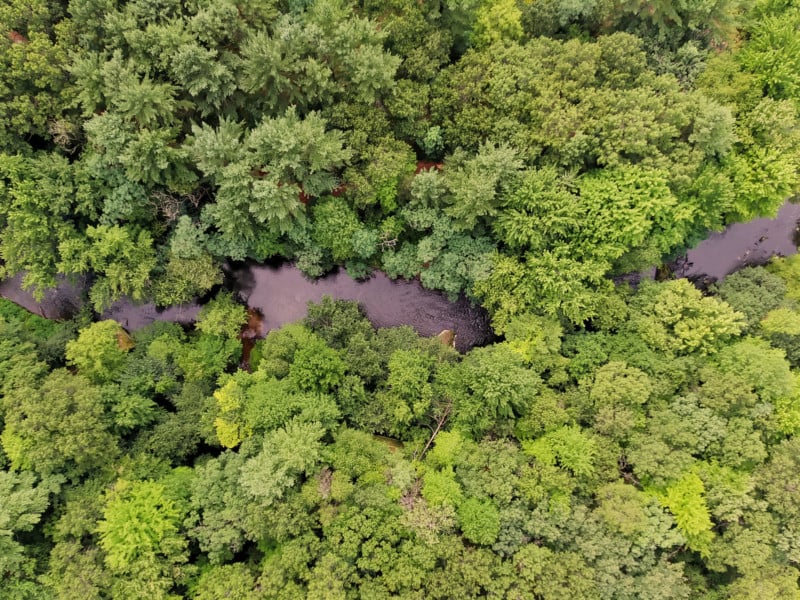
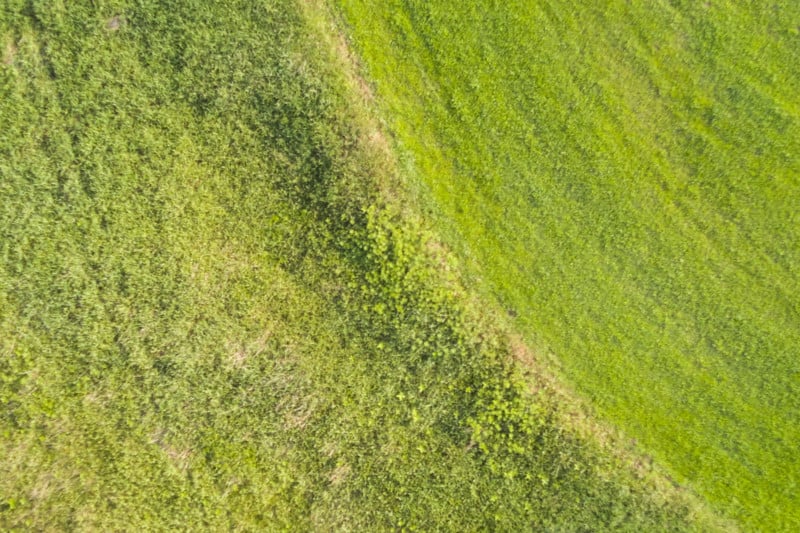
Image Quality
The camera uses a 12-megapixel 1/2.8-inch CMOS sensor that outputs a 4,000 by 3,000 pixel 4:3-ratio image rather than the 2:3 typically seen with digital stills cameras. It’s capable of shooting shutter speeds as low as 8 seconds to as fast as 1/8,000 seconds in JPEG and RAW formats, depending on the shooting mode used. The lens is a fixed 27mm f/1.8 (full-frame equivalent).
Overall, the photo-taking experience is subpar. Many times I found that after pressing the shutter button with the controller it could take as long as five seconds or more for the photo to actually be taken from the drone. In flight, the drone is prone to drifting quite easily which compounds the problem by its propensity to lose framing while I waited for a photo to be taken.

The photos themselves are also not good. It genuinely feels like I’m looking at photos I shot with my Blackberry Pearl phone back in 2007. Using the JPEGs is out of the question when shot with the PowerEgg X and is problematic since picture modes like HDR only output as JPEG. Adjustments to contrast and saturation can be made in the app, but I had no luck in getting pleasant results.
Shooting stills in the RAW DNG format improves the quality slightly only by doing away with the wild processing straight out of the camera. It gives a softer image which to me is preferable to the attempts of over-sharpening fuzzy pictures, but nothing is really looking great here considering the money it took to take the photos.
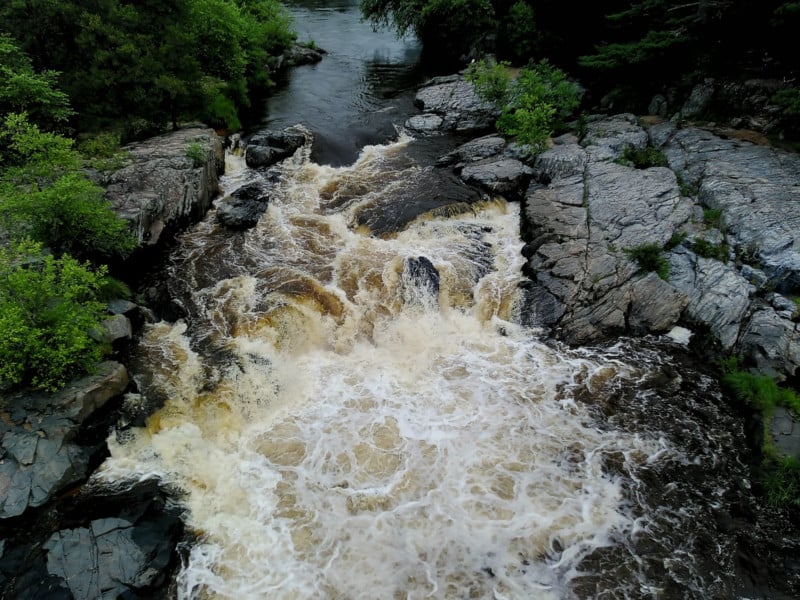
Video Quality
The PowerEgg X can record 4K video up to 60 frames per second and 1080p video up to 120 frames per second. PowerVision claims the maximum bitrate is 75 Mbps, yet the highest I was able to achieve was through 4K 60p pushing data at 62 Mbps. Files can be saved as H.265 or H.264. Unlike the photo side of things, there are no picture settings here to fine tune the look.
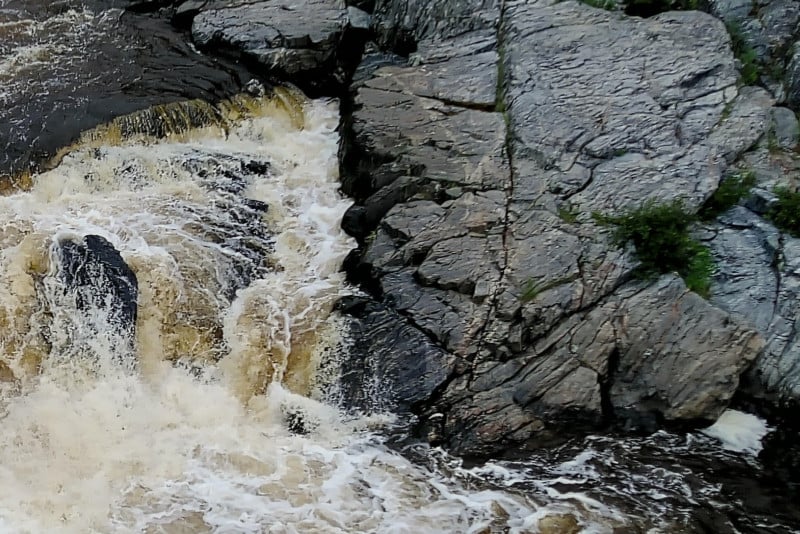
Much like the photo side, video quality generally does not look very good. Once in a while, things can look passable depending on the circumstances, but it’s largely not going to be worth the price. The small sensor is not forgiving with ISO or dynamic range, and there are deeper problems with stuttering video and slowdowns.
Further, the drone’s gimbal seems to have trouble with keeping a level horizon. It can lean too far one way and then before I know it it’s leaning the other way. More gimbal woes come from trying to track subjects where it will often use a stepping pattern that jumps up and over to catch up rather than smooth diagonal maneuvers.
Even though I was able to set the drone to record 120 frames per second in 1080p, there’s no good reason anyone should ever do that. The video quality here makes it not worth the time to shoot it. After recording the clip, the PowerEgg X throws the 120 frames per second video onto a 29.97 frames per second timeline so the resulting file is already in super slow motion. In the end, this is a 4 Mbps bitrate file, and it shows.
Waterproof Shooting
Shooting with the waterproof housing installed means shooting through an additional piece of plastic, and that’s exactly what it looks like. Using the housing blurs the image, lowers the contrast, adds a haze, and clearly shows the drone’s reflection. Hovering shots with the camera pointed straight down are off the table as the casing is seen and the sharpness hits an all-time low.
Not the Drone You’re Looking For
I did not even touch on how the PowerEgg X can be used as a handheld camcorder, but really at this point it hardly makes a difference. The camera was honestly no fun at all to use because I’d go out knowing that anything I captured would essentially be used in this review and have no value to me thereafter. It’s tough to fly, and the waterproofing is essentially a gimmick for anyone capturing photos or videos.
Ultimately, I respect that the people at PowerVision made a lot of effort in many different facets of the PowerEgg X Wizard and brought a new fully featured challenger to the market. Having competition will always benefit the buyers, but in this case, it just doesn’t stack up in any category.
Are There Alternatives?
As of publication, there’s really no reason to look further than the DJI Air 2S. It’s the gold standard for anyone looking for the highest image and video quality at an enthusiast price. Comparing the price of the Air 2S Fly More Combo to the PowerEgg X Wizard package, it’s a $50 difference. No, the Air 2S isn’t also a handheld camera or a water-lander like the PowerEgg X, but after what I’ve seen, does that even matter?
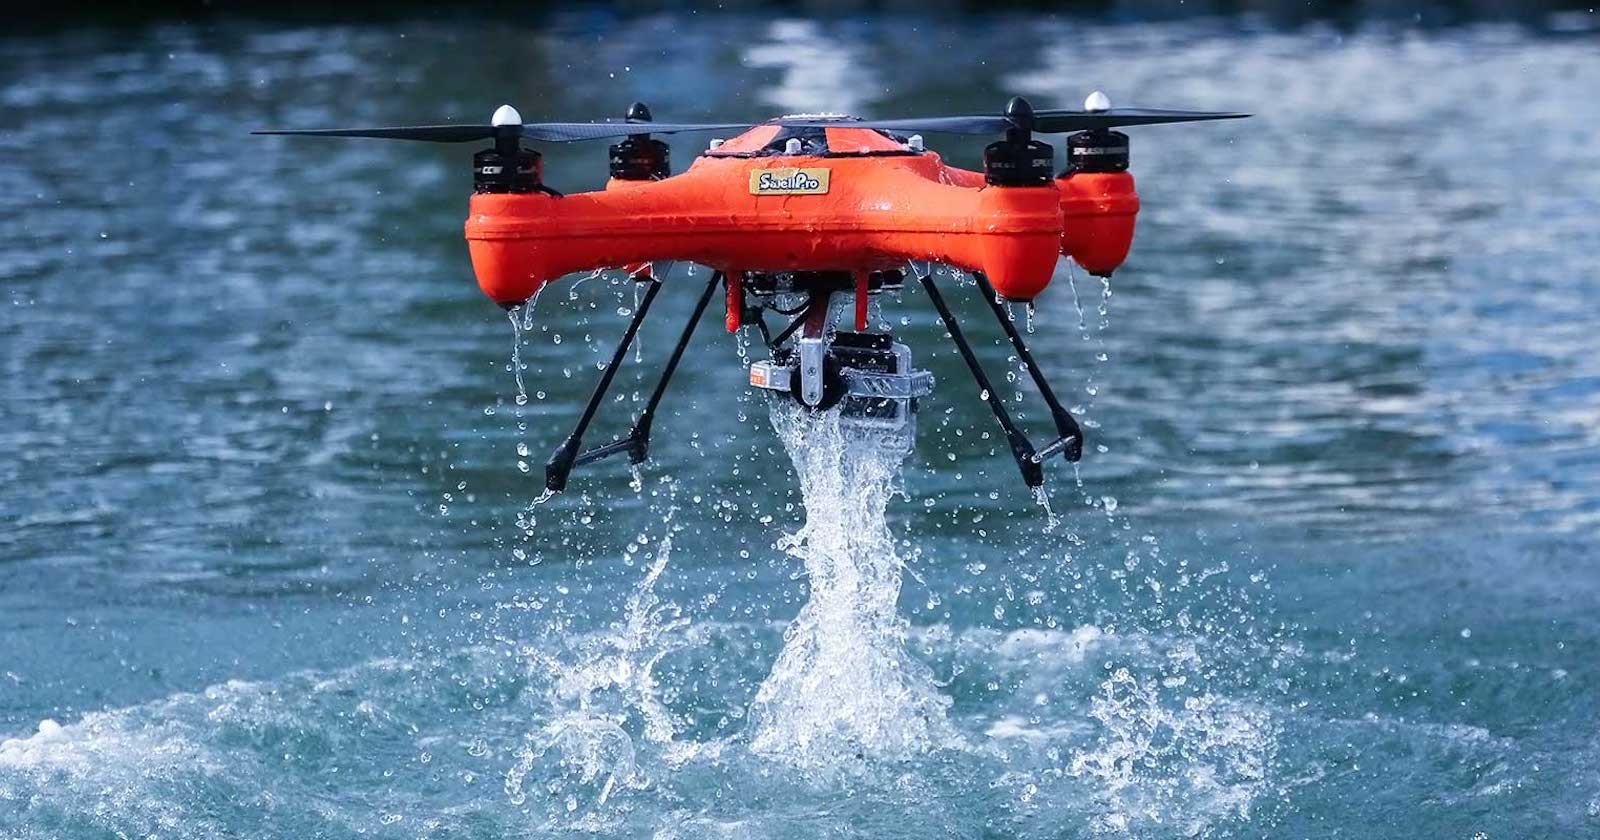
If you still insist on using PowerEgg X and you expect to almost always do so with the waterproof housing and water-landing floats, I’d take a hard look at the $1,000 Swellpro Spry since it’s built from the ground up to be water friendly. The Spry is specced to take off from water, even do little dives into the water, and its camera is functional pointing down into the water, unlike the PowerEgg X.
Should You Buy It?
No. For most people interested in taking drone photos and videos, I would not recommend the PowerEgg X due to its unrefined handling and poor image quality.