How I Adapted an f/0.75 X-Ray Lens to E-Mount for Use in Portraiture
For years now, industrial super-fast lenses have been on the back of my mind. But one thing always held me back, and that was the fact that most images I could find were frankly uninspiring, boring, fuzzy macro shots at best. So I couldn’t justify spending hundreds of dollars on unpractical medical equipment.
I am a self-described “bad photography gear head” who is obsessing with lens manufacturers and specs. I spend more time searching for good deals on lenses than actually using them. This is why I always wanted to try adapting these somewhat affordable fast monsters.

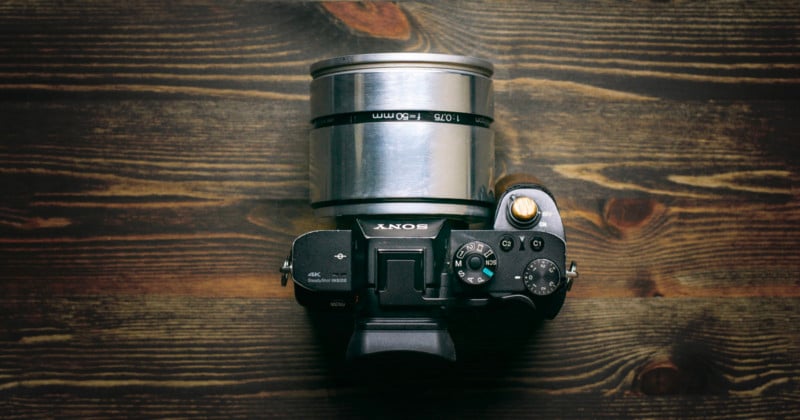
One day last year, I got the chance to buy two X-ray lenses for around $200 from a local camera enthusiast that probably had the same hope as me. This was cheap enough for me to give them a chance and see what I could do with them. The first lens was a Rodenstock XR-Heligon 75mm f/1.1 and the other was a Rodenstock TV-Heligon 50mm f/0.75. I quickly found out that with my Sony a7R II I could not use the 75mm lens to achieve infinite focus (max 3 to 4 meters) because this copy had too large of a back element for it to get past the shutter blades.
That left me with the 50mm f/0.75. This optic has a back lens that is tiny enough to get close to the sensor to achieve infinite focus. The problem was in order to adapt this, I had to make an adapter that was no thicker than 4mm, and do so without any specialized tools and a low budget. If you think you can free-lens this lens, forget about it — you will scratch your outer sensor filters (I am speaking from experience).
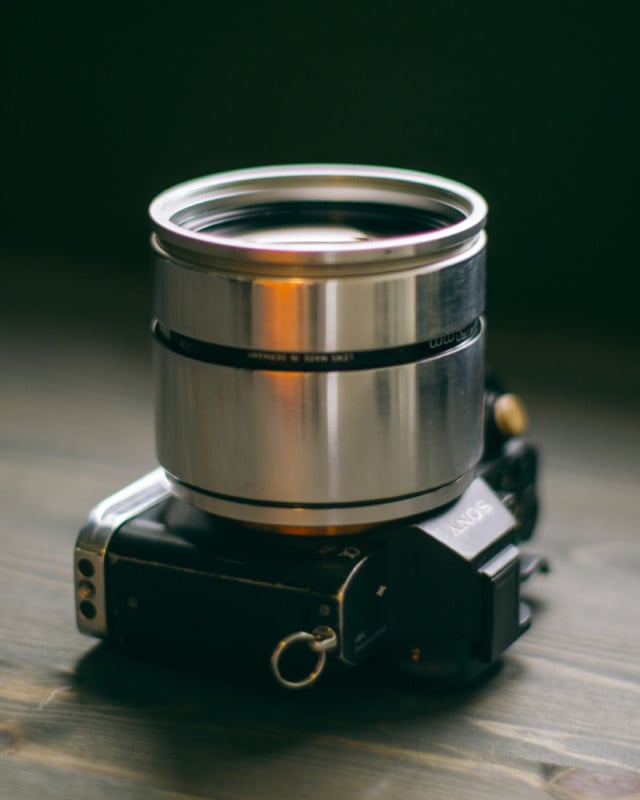
I found out that one of the standard 82mm metal lens hoods for telephoto lenses that can be bought on eBay fit the lens exactly. With this, I could make an adapter. Unfortunately, there is no one at this point that mass produces step-up rings that are 42 – 82mm, with the closest being 43 – 82mm. I could combine a 49-82mm step up-ring, a 42-49mm step-up ring, and then a slim M42 to E-mount. The only problem with this was I could only get to about 2 meters of focus.
Not good enough.
My only solution to this was to force the slim M42 adapter and the 43-82mm step-up ring to fit each other. I did this by grinding the threading down on each piece. Then I could squeeze these with force to make them fit. I was surprised I didn’t need glue or epoxy, and my solution is only held in place with friction. I’ve tried to take them apart again, but I simply can’t do it. To achieve infinity focus with this setup I had to remove a small amount (about 1-2mm deep) of aluminum at the end of the lens threading which I did with hand tools and sandpaper.
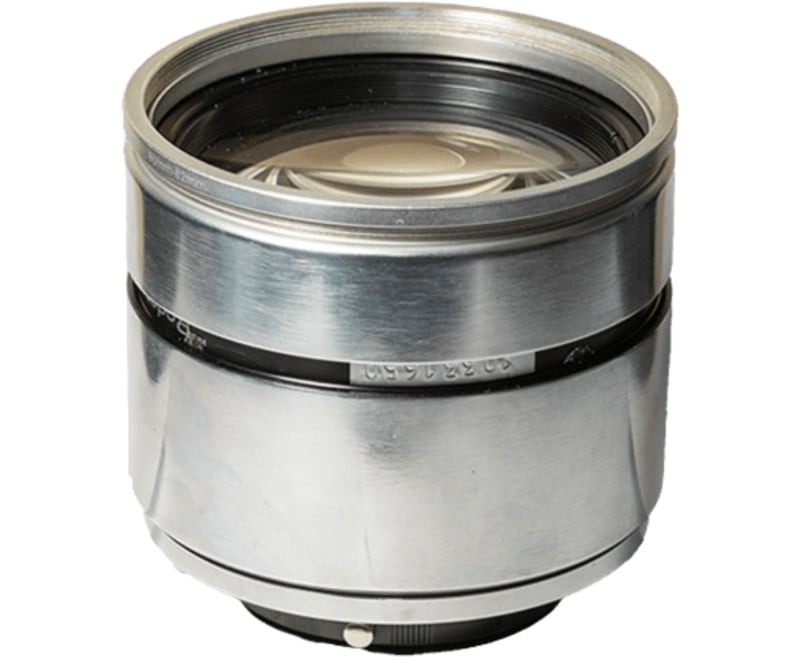
The last problem to solve is how do I focus. It could be done either with 3D printed parts to make a basic helicoid, but from previous experiences, this is not ideal (nor is it pretty). I noticed that with the 75mm f/1.1, I could not use had a big threaded piece that was most likely used to screw the lens inside the X-Ray machine, and found that this could also be used on the 50mm f/0.75. By grinding the diameter down, I could easily fit this piece inside the 82mm lens hood, again held in place only with friction. Now I had focus and it could also do infinite focus. I also wanted an actual lens hood for my lens, but it had no threading on the front to do so typically. I used the same method as when making the adapter: by using a shorter, reversed 82mm lens hood and some tape to hold it in place. To reverse the threading, I used a 86-82mm step-down ring. Now I had a good and secure way to add filters of my choosing, a front lens cap, and a lens hood.
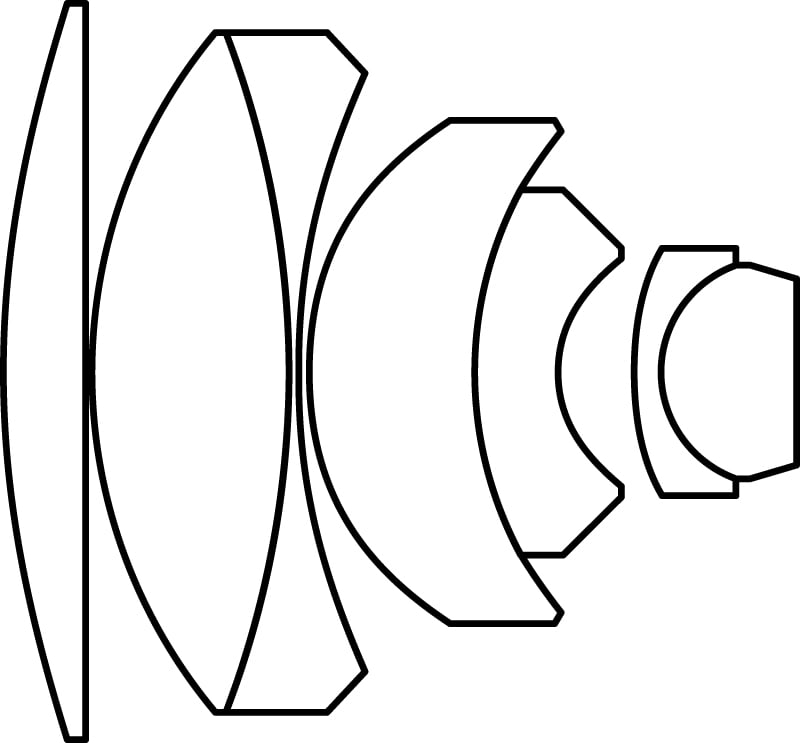
Below is a visualization of how I adapted this lens and how it focuses:
Lens and camera compatibility issues
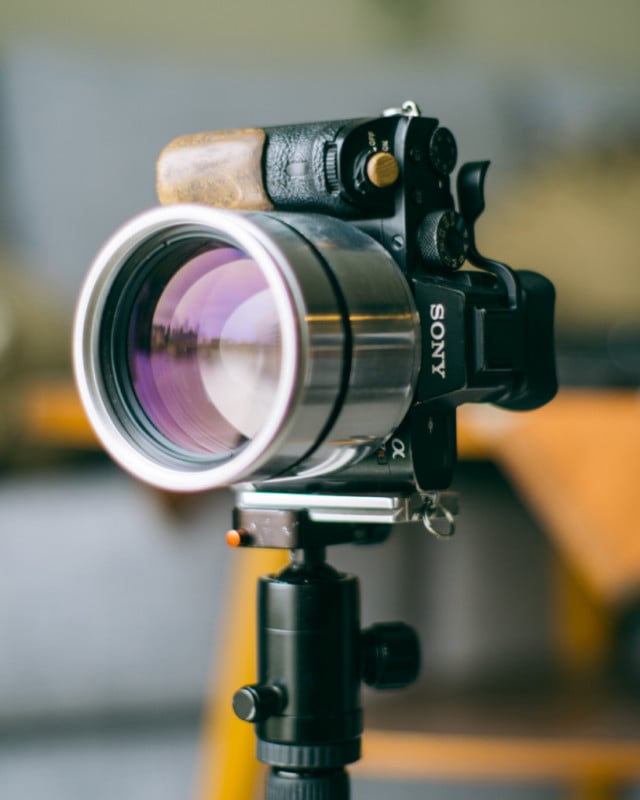
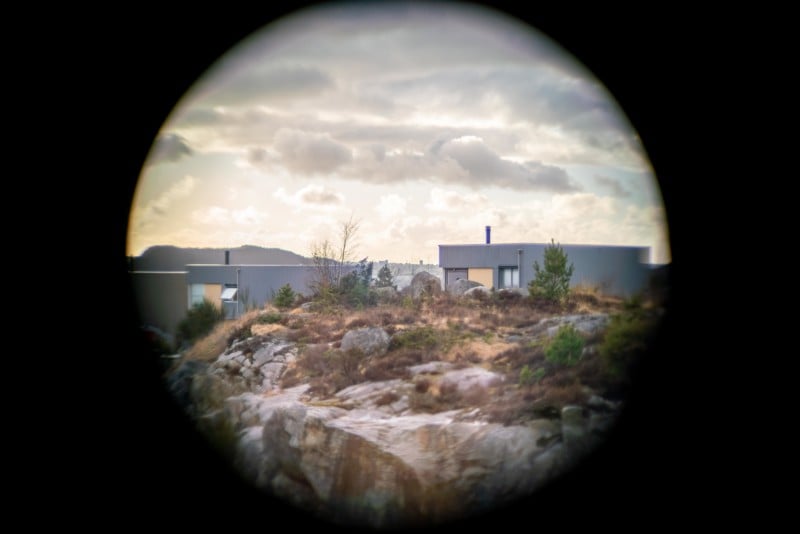
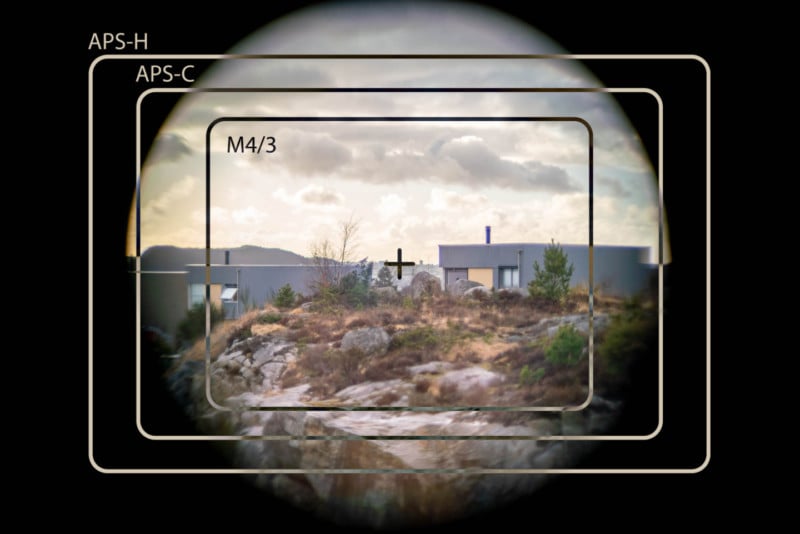
Finally, I could actually test out the lens. If you are just after the blurriest bokeh ever, this is not the lens for you. It may be f/0.75, but because the image circle covers only at best APS-C, it is more like a 75mm f/1.0.
It’s also a tense experience using this heavy beast and as a result, I always use a battery grip to have enough room to hold the camera with my hands. The main drawback is the flange distance. To use this lens you have to shoot in silent mode — this means that the shutter blades don’t move. If they were to move, it would destroy my cameras because the shutter blades would smash into the back element.


Sometimes when turning off the camera, or if it runs out of battery, it may in some cases shut the shutter blades for a “timed” pixel remapping session. That means every time I turn off the camera, there is a slight chance the shutter blades will fire. I wish there was a way to disable this feature, but after consulting with some other Sony a7R II users, I found out that it’s unfortunately not possible. The only solution I could find was that you could force a pixel remapping session to take place. This is done by changing the date one month forwards. So every time I go out with this lens, I force this session to occur to prevent the camera from doing it automatically at the worst time. This gives me a bit of peace of mind, but there is always a slight chance it will fire the shutter and damage the camera.
When I want to turn off the camera, I focus as close to minimum focus distance as the lens lets me which makes the back optics move to a more secure position, hopefully enough to be a safe distance from the shutter blades. One other small thing to note is that in order to dismount this lens I have to use a tool of some kind to push down the lens release knob on my camera as there is no room for fingers between the optic and the camera body.
Lens characteristics
As you might have guessed from the text above, this is not an easy lens to handle, and it doesn’t help that the actual focus plane is wafer-thin. But this is not the biggest issue if you are used to shooting manual and you take advantage of the benefits of a digital viewfinder.
After using this lens for a good month, I am still perplexed about its characteristics. One thing of which I am fairly certain is that the lens is sharpest when the subject is between 1.5 and five meters from the camera. Anything less than 1.5 meters will become very blurry and makes highlights glow. This is quite funny to me when thinking about almost all other images I could find that people have taken with lenses like these using them in the extreme macro range. It’s no wonder why I and other people think of these lenses as nothing more than novelties or even pieces of garbage from a photography perspective. When used differently (read: correctly), it is just like any other manual focus lens.


The edges of the images will never be in focus. This seems to be a design feature as I think these parts of the image circle were never meant to be used and I suspect the actual format this lens should shoot at is MFT or smaller. It gives a weird circular effect; not like swirly bokeh, it’s something completely different. It reminds me of some of the images taken with old Helios-44-2 lenses with the back elements reversed, only the Rodenstock is sharper in that regard. In some shots, the bokeh is more bubbly — almost like one of those mirror telephoto lenses.
For those people who are wondering how this lens performs at low light, it’s about the same as any other fast lens, nothing groundbreaking. You still have to bump up the ISO, just a bit less than you would with slower lenses. What I mean by this is that there is little benefit in buying an f/0.75 lens for its low-light capabilities alone. I am no expert in optics, so I don’t know how to measure the T-stops, maybe the actual T-stop number is far less impressive than the F-stop number.
If you have some advice, information, requests, or questions about this lens please don’t hesitate to contact me: I want to learn more.


In Conclusion
I will most likely never fully understand this lens, but that kinda makes it more fun to use as I will never quite know how the final results will be. All in all, it is totally impractical, hard, and sometimes stressful to operate. But there is something that draws me back to it. Maybe it is the sense of discovery and fascination that this industrial lens can actually be used for modern image capture.


About the author: Espen Susort is a graphic designer, motion designer, and front-end developer from Western Norway. He is also a photographer and has a passion and fascination for vintage lenses. He only owns and uses vintage lenses and enjoys building custom adapters for projection lenses that do not have any focus or aperture control. This article was also published here.