Building a 16×20 Camera with a Giant Aerial Lens and Cardboard
![]()
A few years ago I built an ultra-large-format (ULF) camera that is 24 inches by 24 inches. While it was a pretty huge camera, it was a simple build it was just two square standards, one for the front and one from the back that were connected by a big bellow.
Then a while back, my friend passed me a big lens and it got me thinking of rebuilding an ultra-large format camera again.
Lens

The story was that my friend came across a camera collector near a local market during one of his walks and spotted this big lens. Money changed hands and he brought over the lens.
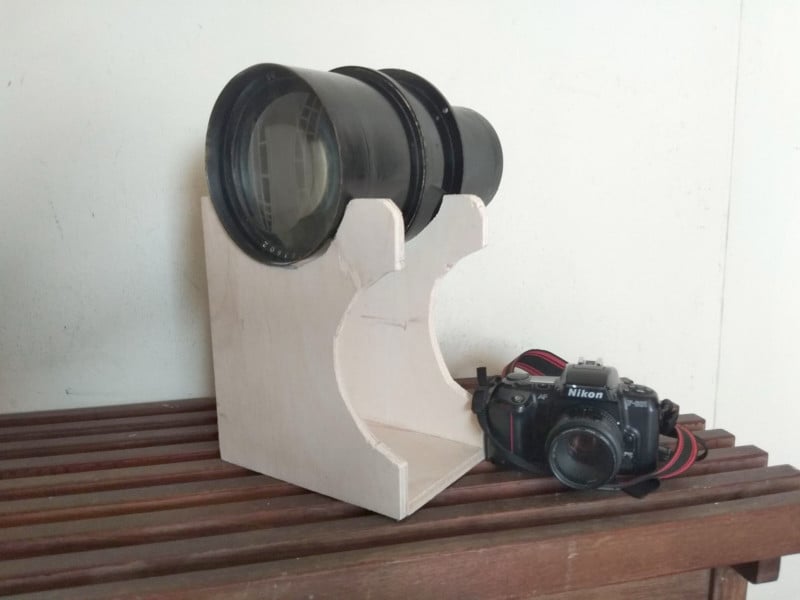
After some research, I discovered that it is an aerial lens. It was used in an aerial camera mounted on aircraft for surveillance photos, probably during World War 2 or later. The lens weighs 8 kilograms (17.6 pounds) and the focal length is 36 inches and has the biggest aperture at f/6.3. However, no brand or maker’s mark can be found on it. It may be one of the few lenses that were made by different companies during the war.
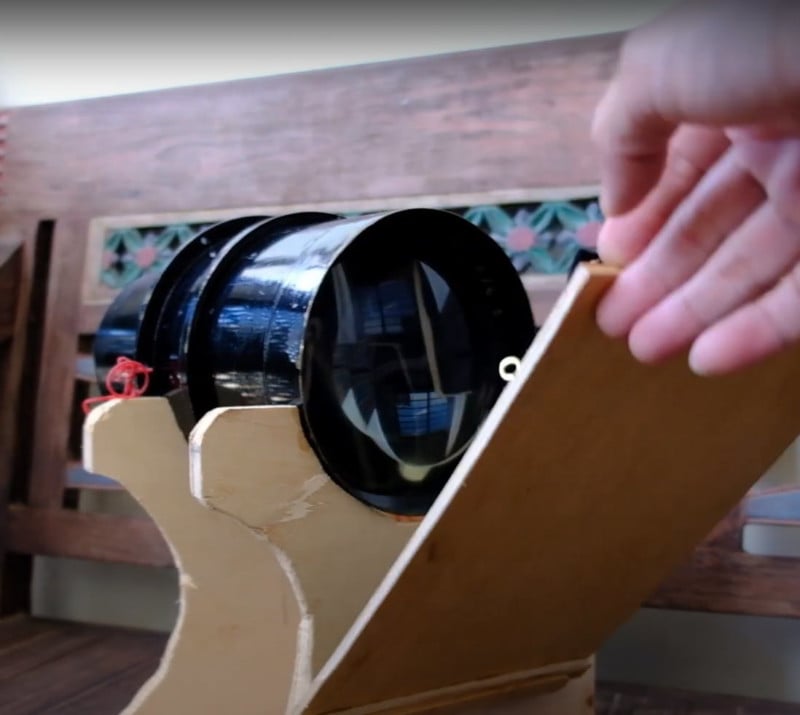
As the lens is so heavy, I built a wooden lens support for it. It is made with a few pieces of wood and I cut some curves that will fit the front part of the lens. I also designed it so that there are two height adjustments as my camera design will be of a rectangular shape and there may be a need to mount the camera at different heights for landscape and portrait orientation.
Watch the video about the lens here:
Camera
As I do not have the space for a ULF camera, I decided to just make one from corrugated cardboard boxes. I opted for a sliding camera design but with a twist in the back design. It has 2 sleeves holes cut out at the sides so that I can put my hands inside to load the paper. The “dark slide” would be at the back of the camera covering up the ground glass when I need to load the photo paper and doing exposure.
With no removable film holder, I would load the paper would by sticking it on the ground glass using magnets. I am not sure this is considered innovative, but I must say I have never come across a similar design in other cameras.
Watch the video about the camera building here:
Shutter

While the camera has a working aperture, there is no shutter control for it. Initially, I built a simple cardboard lens cap for it and use it to control the exposure. You “remove and place back” the lens cap for exposure. This is a common method to control exposure in barrel lenses. However, this method will not work if I were to take my own self-portrait.
As the lens is so big (diameter ), it is hard to find a commercial shutter like the common Packard shutter for it. Again I built a flap shutter for it. Then I just use rubber bands (or elastic bands for longer-lasting elasticity). I tied a long string to it so to open the shutter just pull the string to pull down the flap. When the string is released, the flap will be pulled back by the elastic bands.
![]()
Watch the video about the shutter building here:
Samples
Here are photo negatives shown next to a Nikon F2 for a perspective of scale:
![]()
![]()
Here are positive photos after digital conversion:
![]()
![]()
Conclusion
Overall this is a successful prototype build that helped me to test (1) the lens itself and (2) the camera design.
Hopefully I will have the resources to build a more permanent ULF camera in the future.
About the author: Cheng Qwee Low is a (mainly) film photographer based in Singapore. In addition to using cameras ranging from 35mm to ultra-large-format 8×20, Low also enjoys alternative processes such as kallitype and albumen printing. The opinions expressed in this article are solely those of the author. You can find more of Low’s work on his website and YouTube. This article was also published here.