How to Straighten a Photo Perfectly Using Lightroom and Photoshop
Photographer Demas Rusli has created a helpful tutorial that’ll benefit beginners and pros alike. In just a few minutes, he shows you how to straighten even extremely mis-aligned photos perfectly using both Lightroom and Photoshop.
The video was inspired by Rusli’s background as an architect. He’s been working as an architect for 5 years, and studied architecture for 5 years before that, so after 10 years, vertical and horizontal balance is extremely important to him. Let’s just say he’s no fan of the Dutch angle in his photography.
In this tutorial, Rusli covers two different methods.
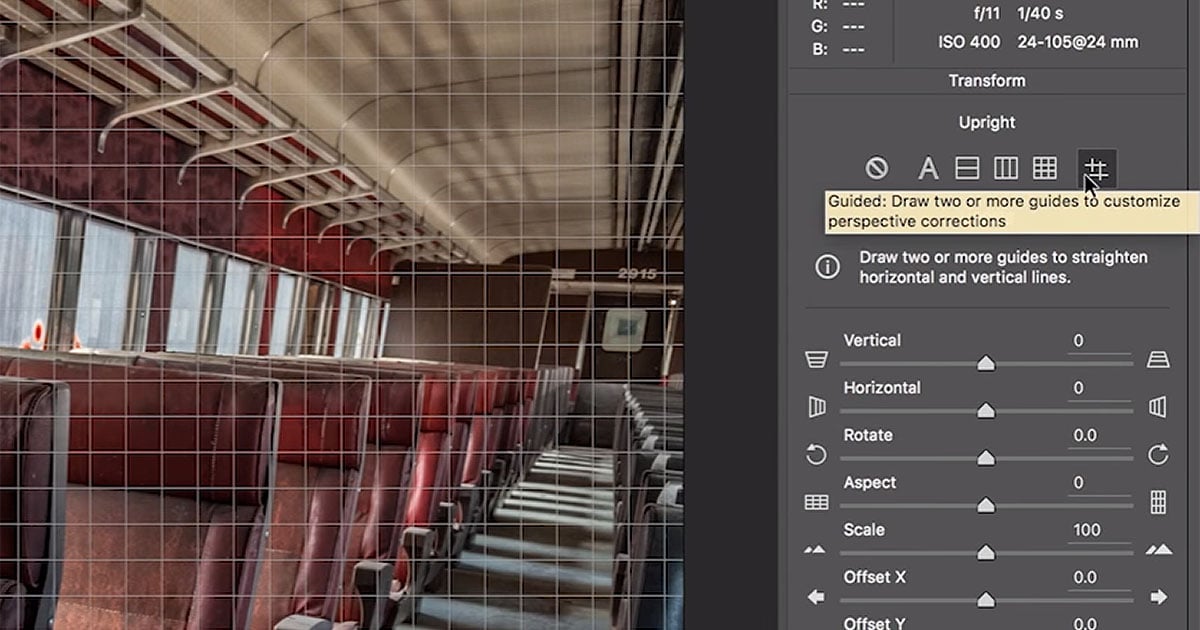
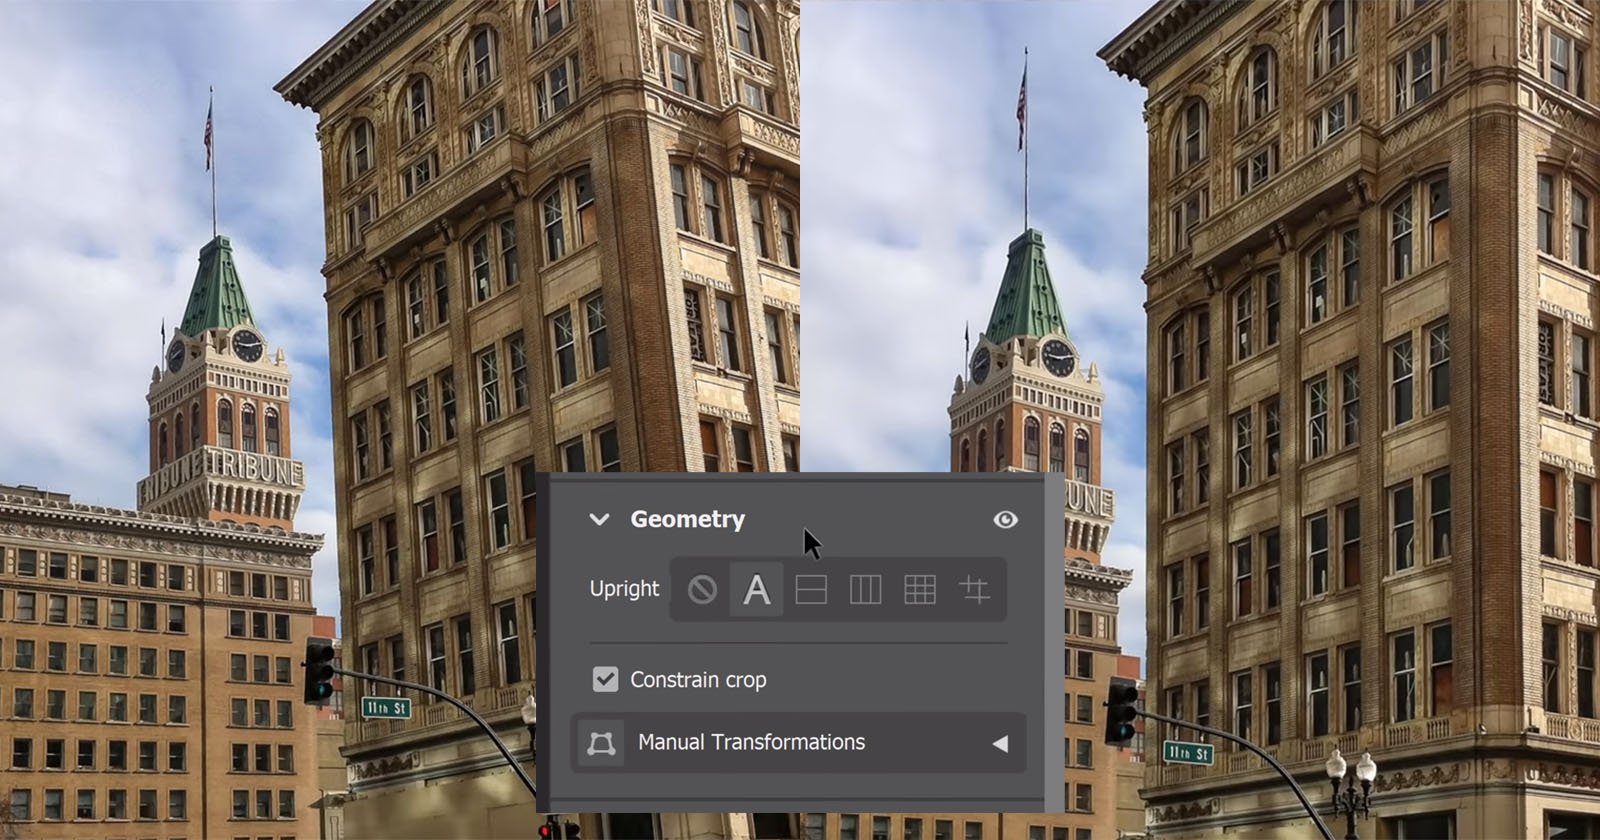
The first, easier method, is to use Lightroom’s Upright tool to draw two horizontal and two vertical lines that indicate what the straightened scene should look like. Lightroom does the rest of the work for you.
In the second method, Rusli dives into Photoshop where he drags in some guidelines from the rulers at the top and bottom (press CTRL/CMD + R if you don’t already see them). He then uses the Free Transform tool to adjust Perspective, Distort, and Skew until his image is dialed in exactly how he wants it. Finally, he uses Content Aware Fill to fill in any empty areas created by the extreme correction (where possible).
This is Rusli’s preferred method, because it gives him so much more control over the results, but it does take longer than Lightroom’s automated option, and may be a headache for beginners.
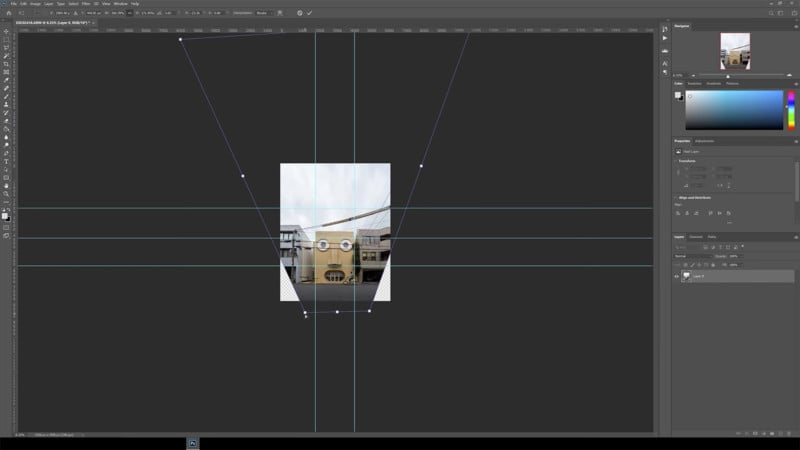
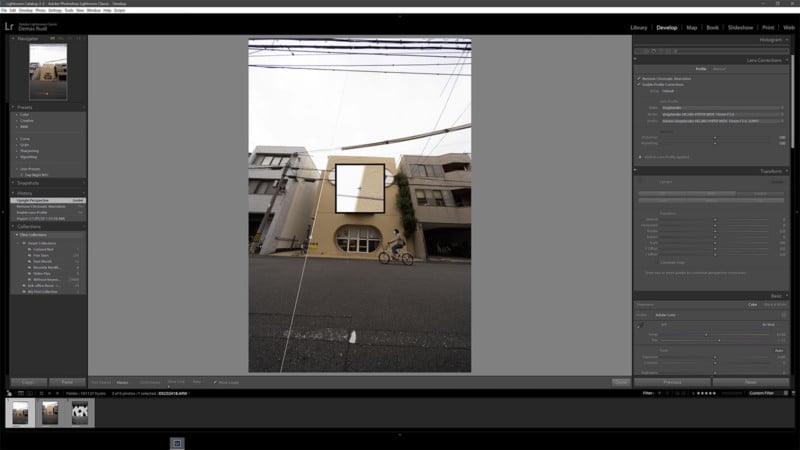
Now, obviously, the photo he uses is an extreme example—but that’s the point. If even this low-angle shot taken with an ultra-wide-angle lens can be straightened to look like it was captured straight on, then you can tackle just about any photograph and make it look right.
Check out the full video above to watch both methods in action, and then dive into Photoshop and Lightroom if you want to give it a shot for yourself.