How to Shoot Handheld Focus Stacks for Macro Photography
Handheld focus stacking is a brilliant solution for many scenarios. It saves you all the troubles of using a focusing rail in the field and provides a maximum of flexibility. Whenever you need more depth of field than you can get with trading off image quality, this is the way to work around it.
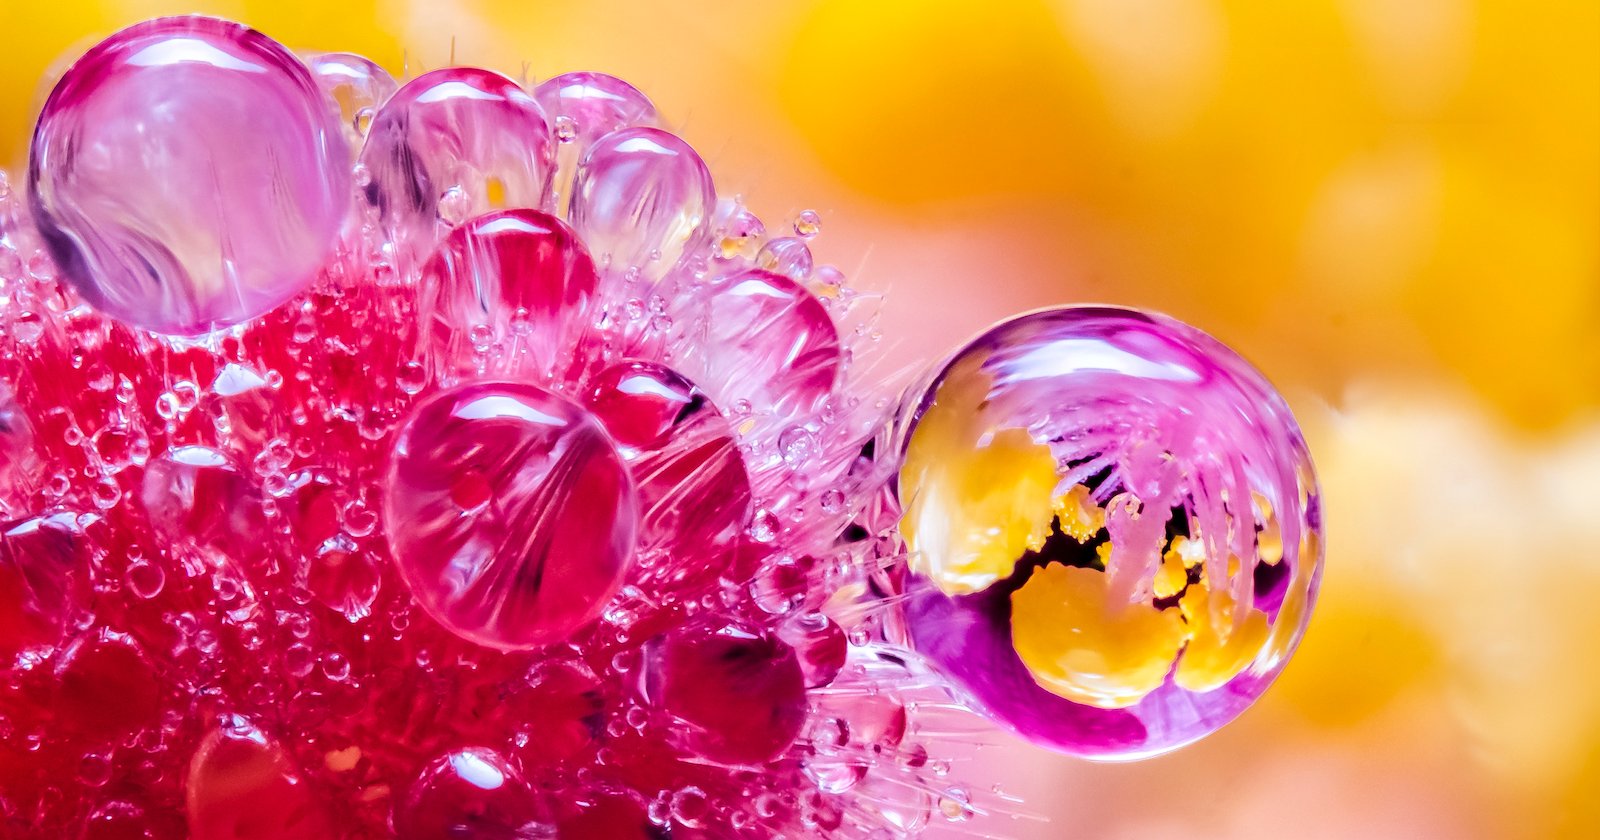
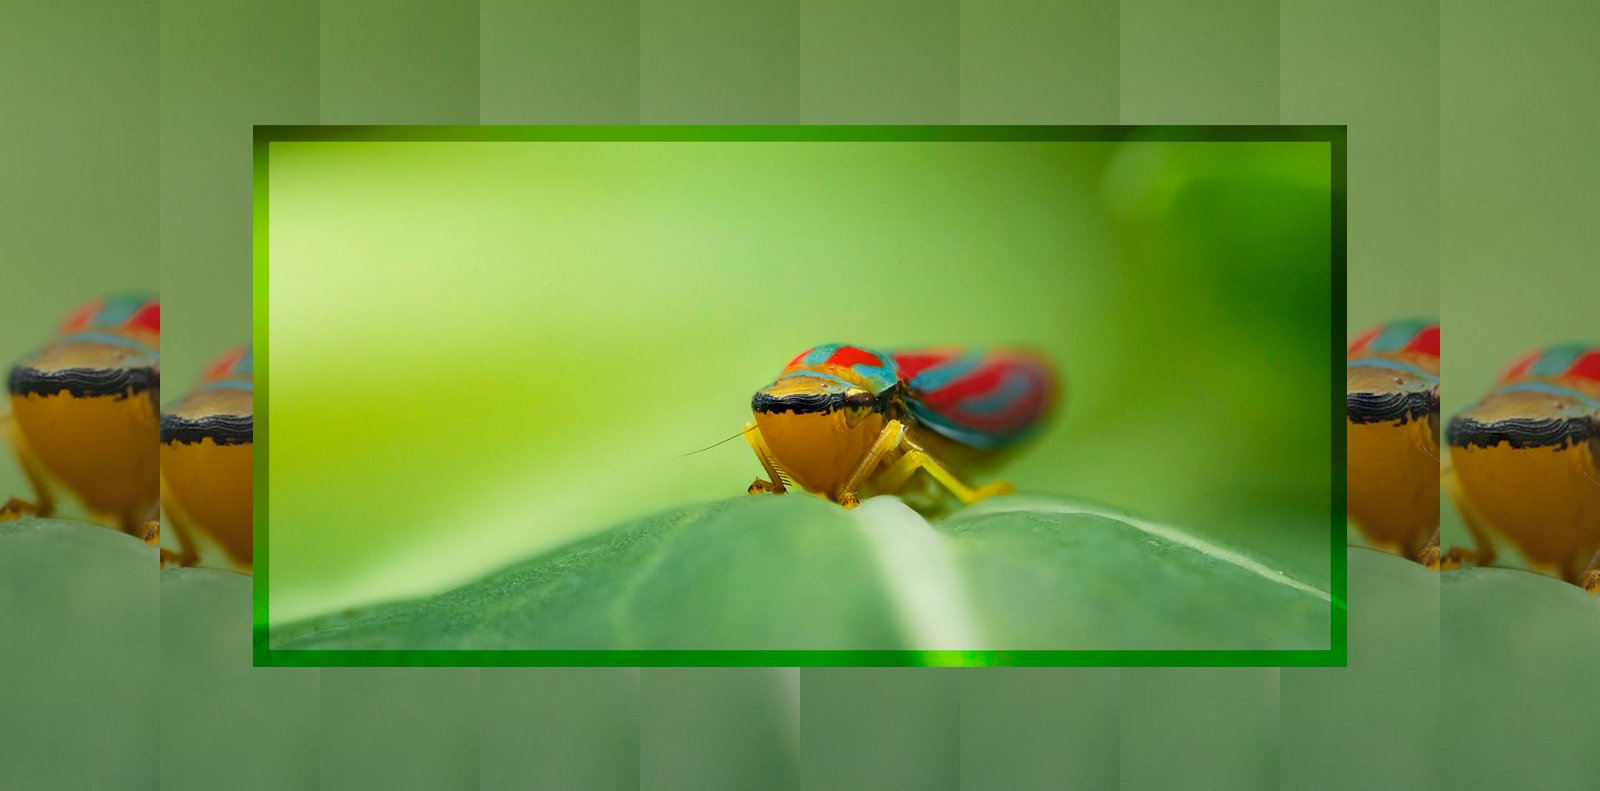
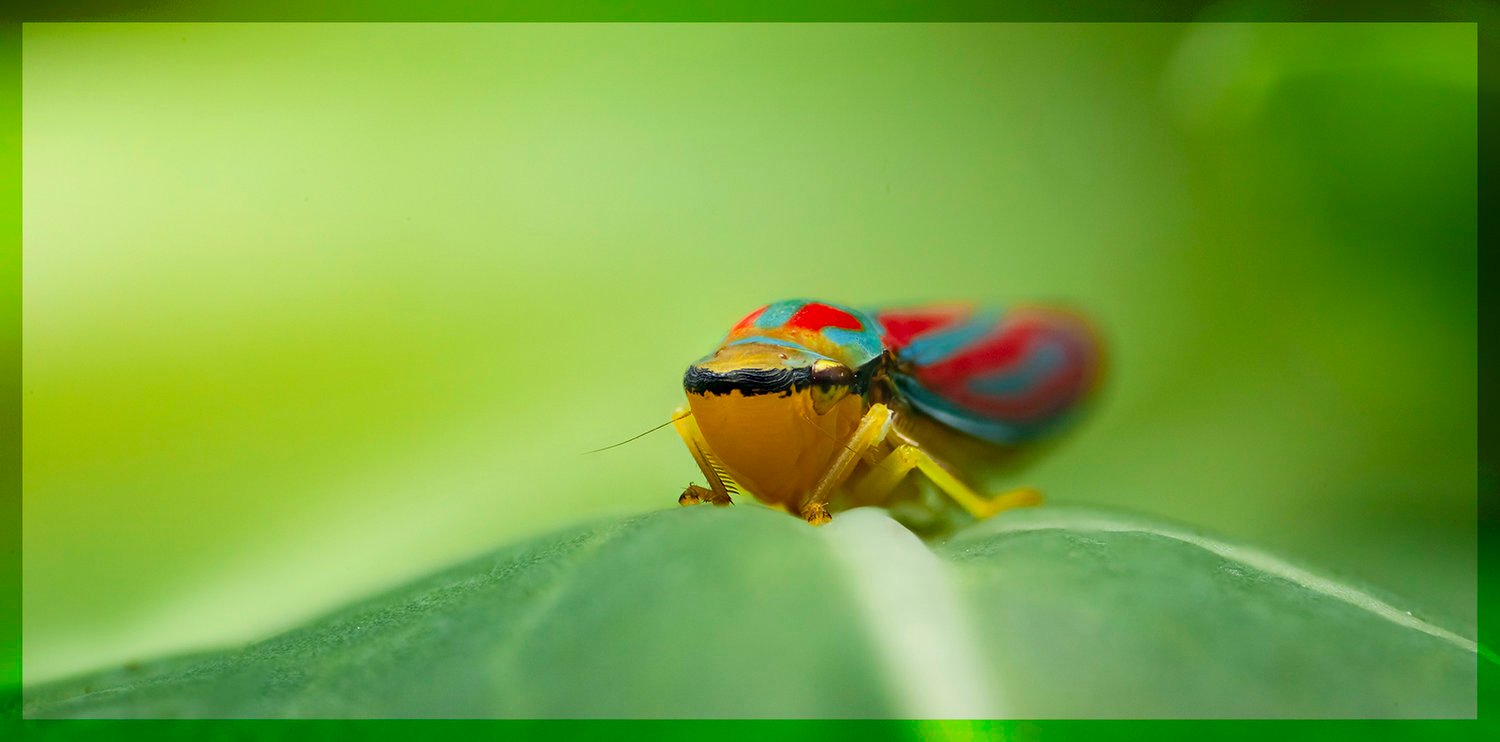
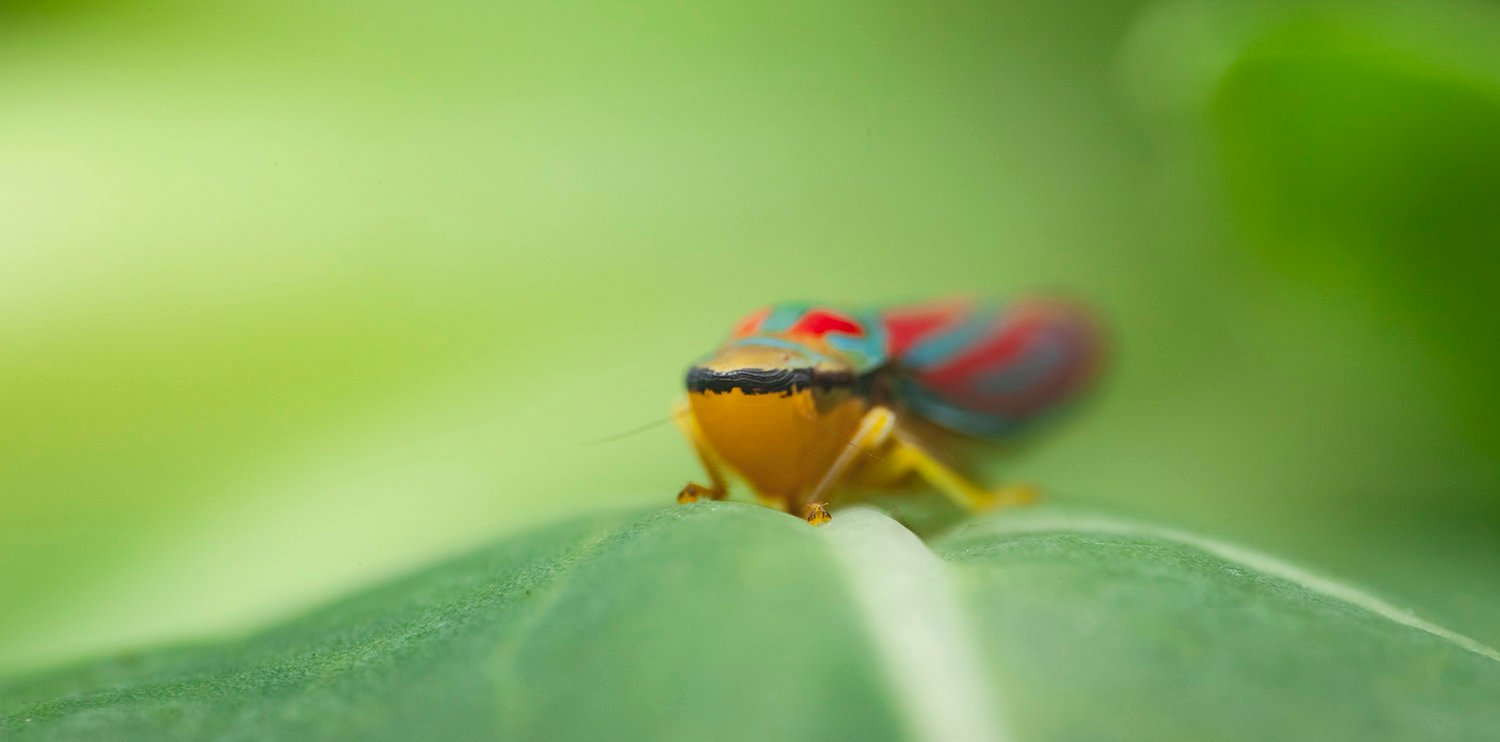
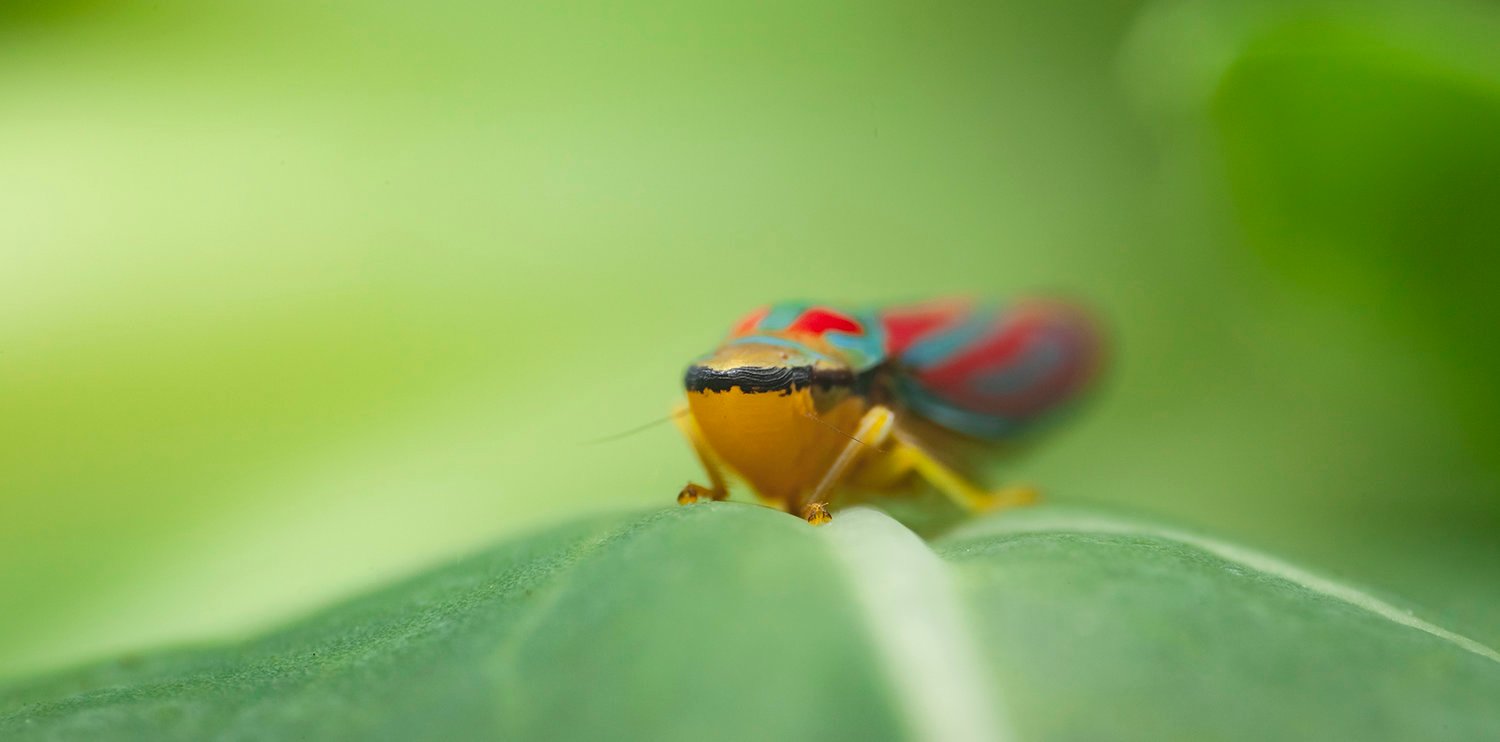
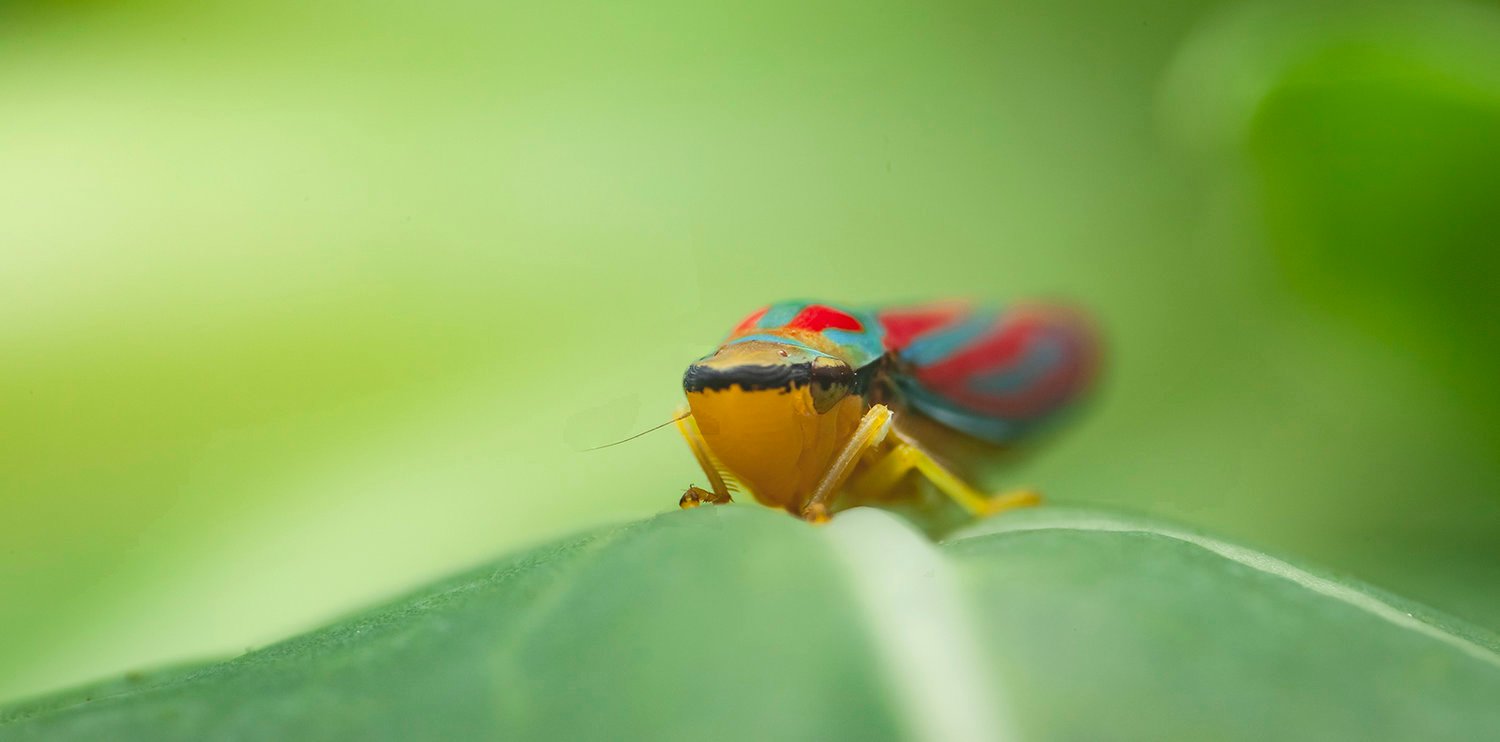
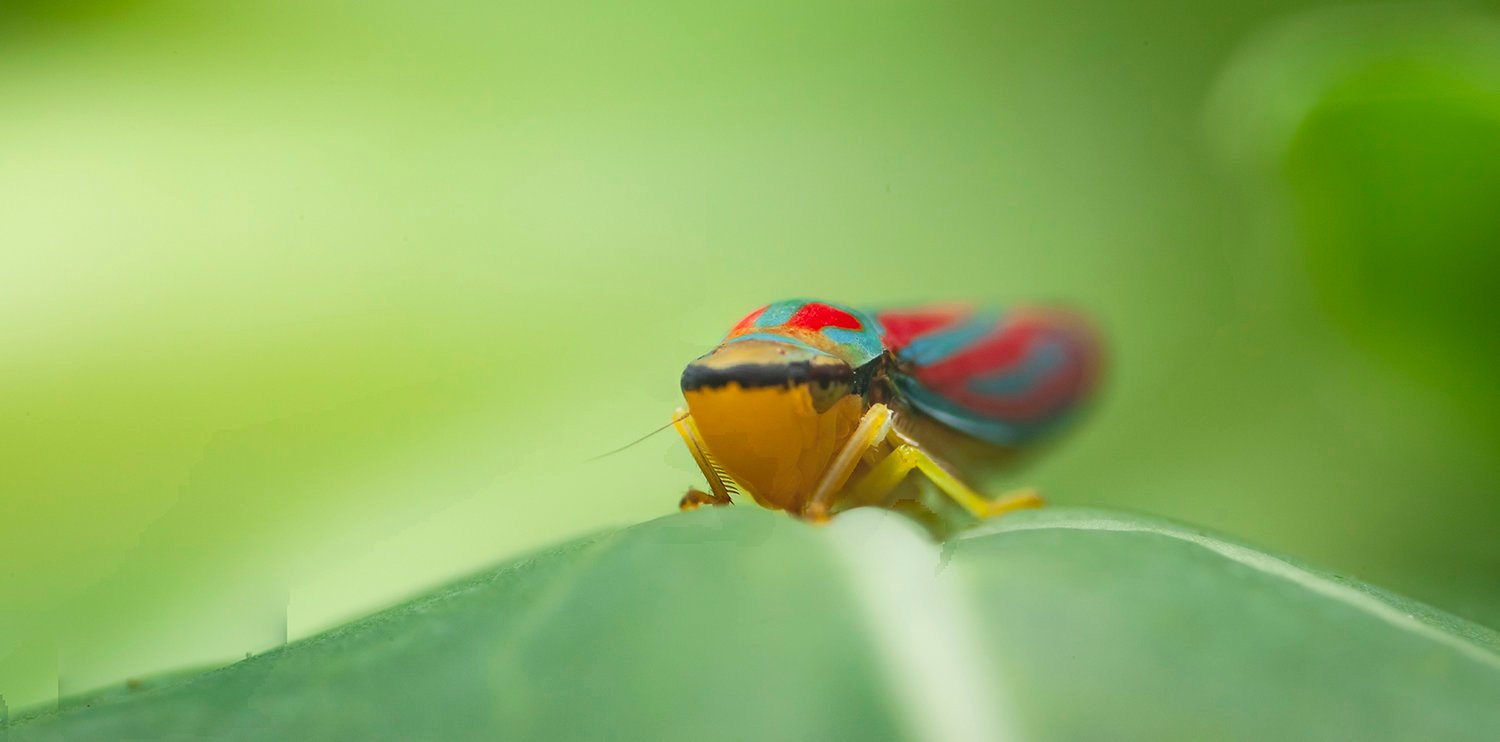
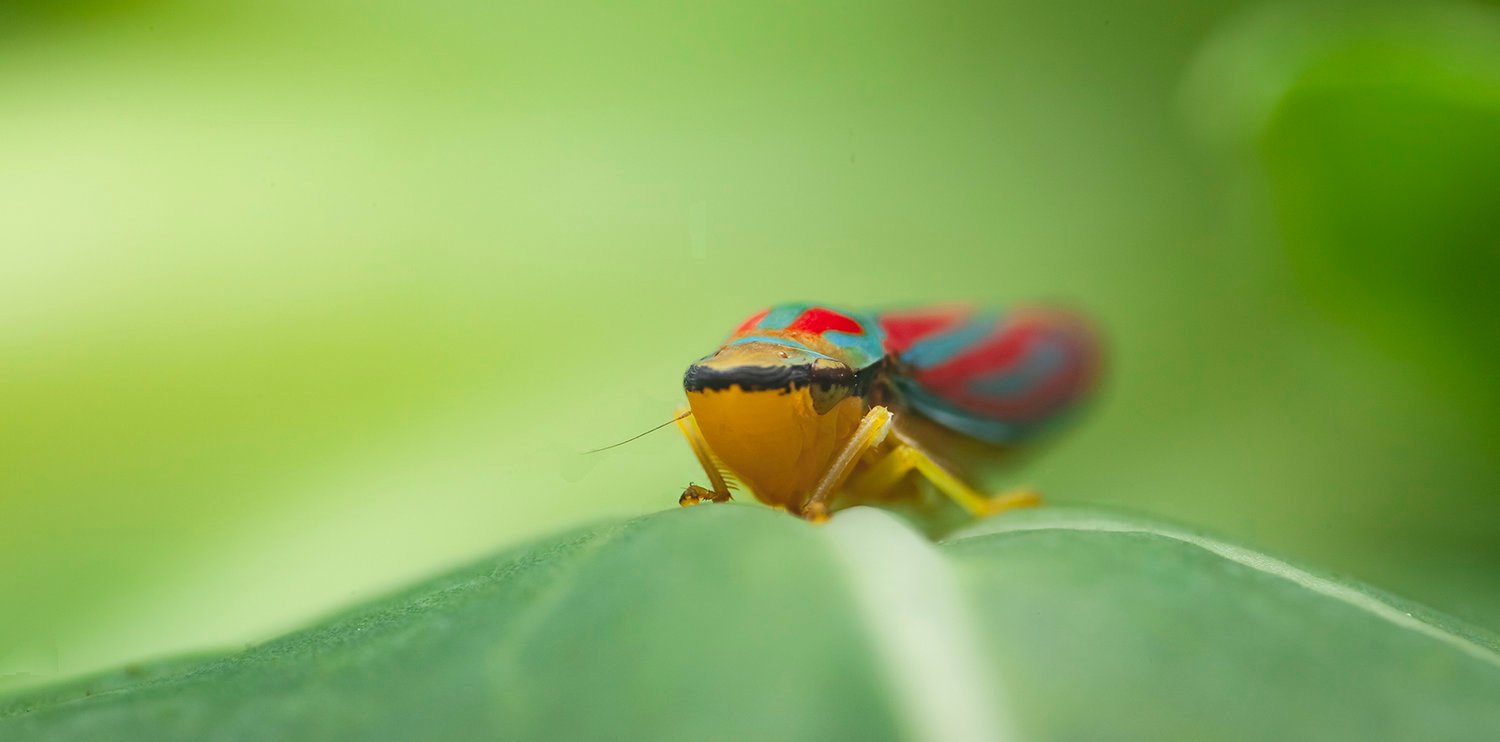
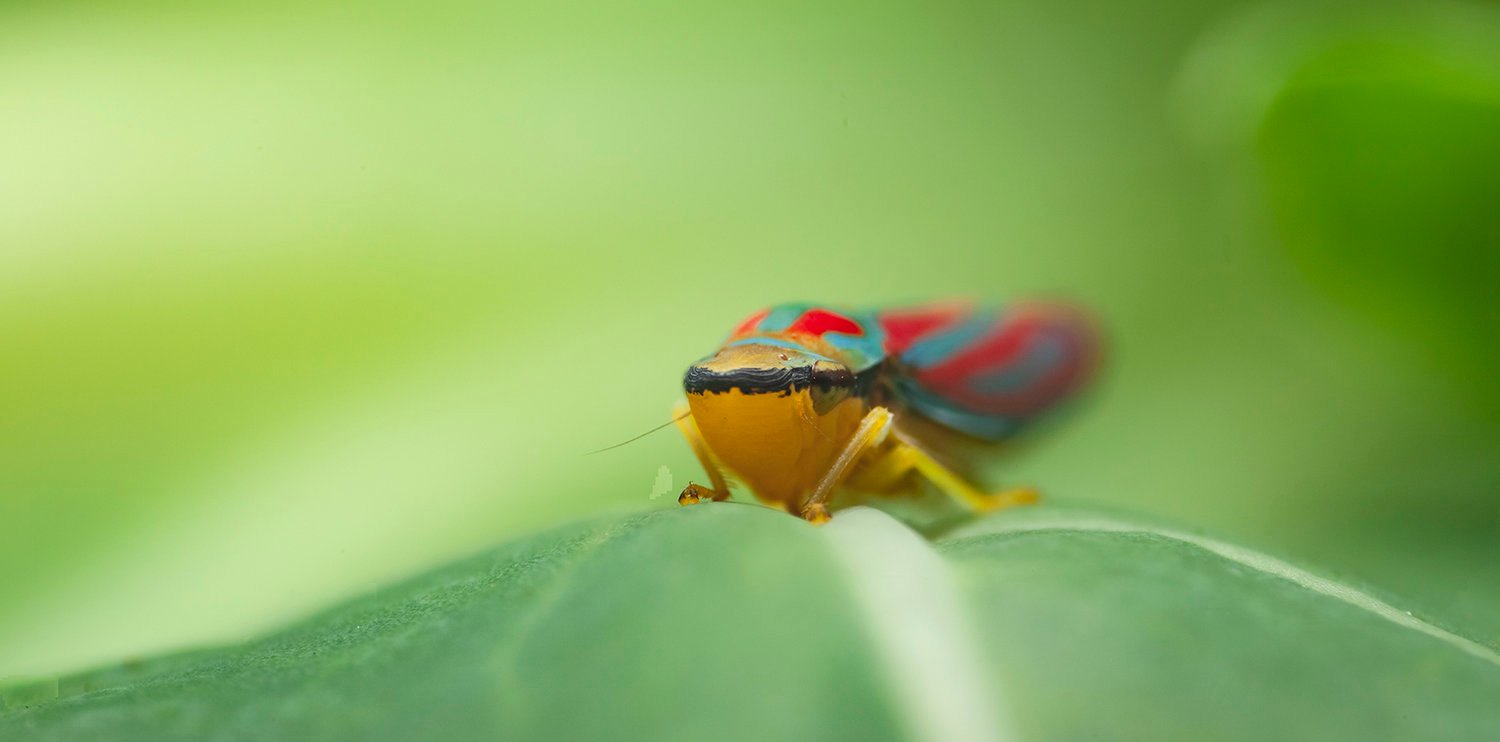
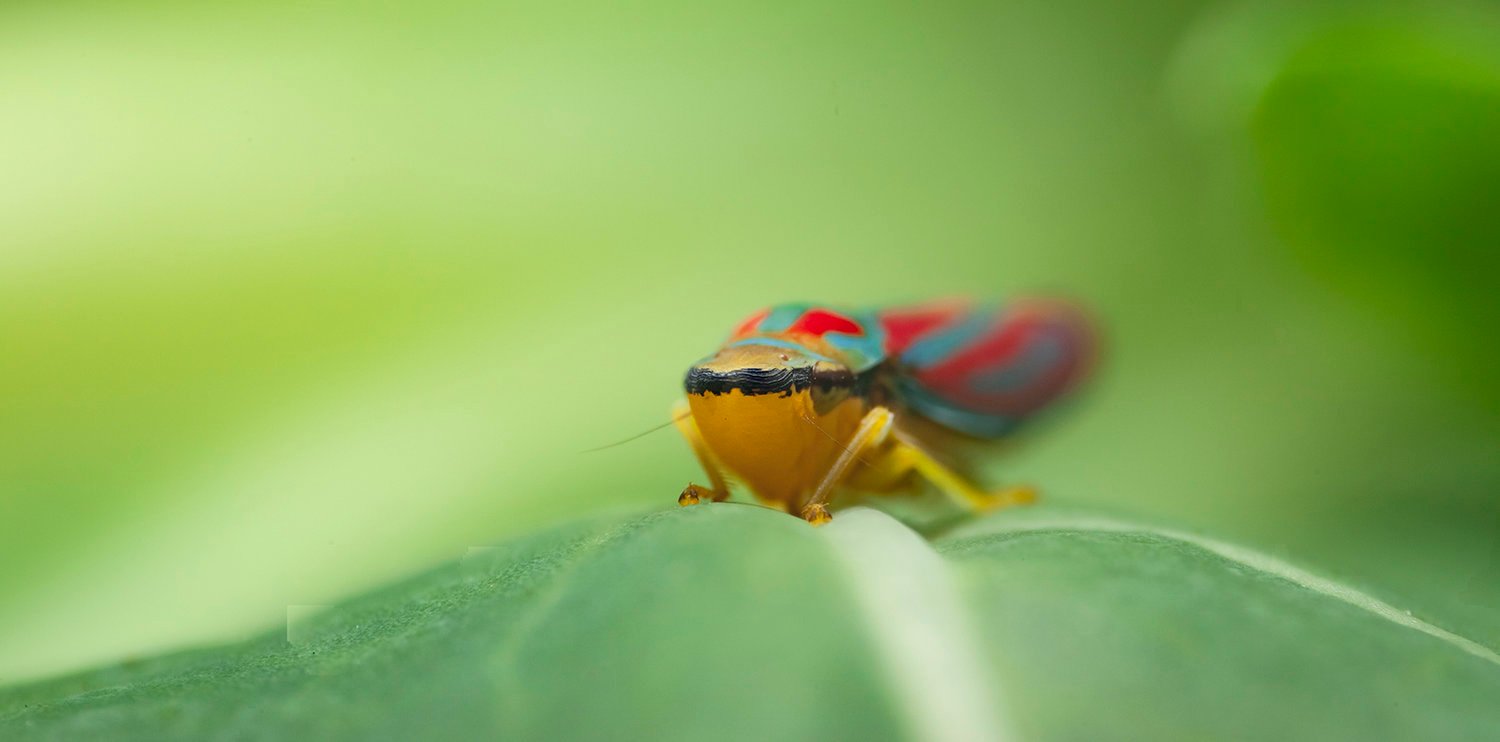
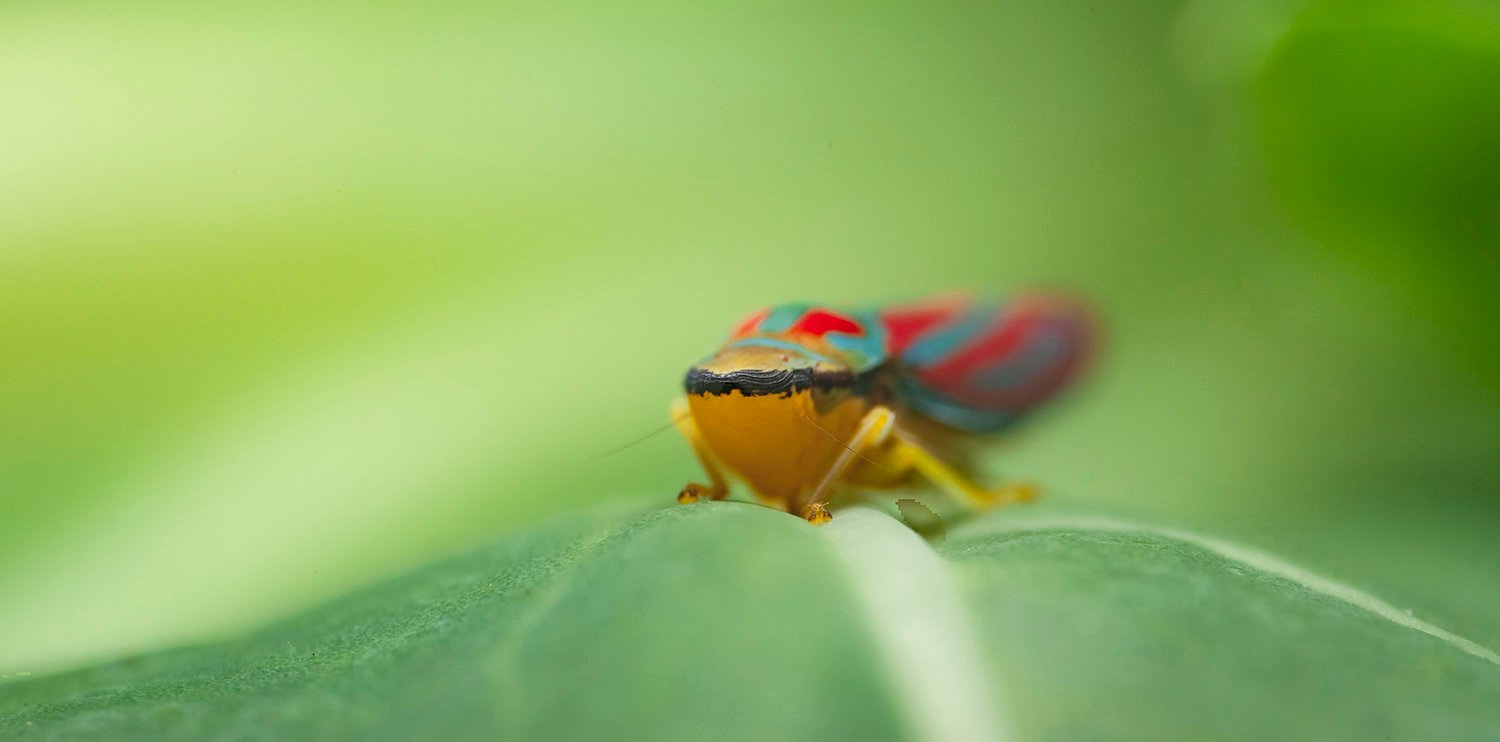
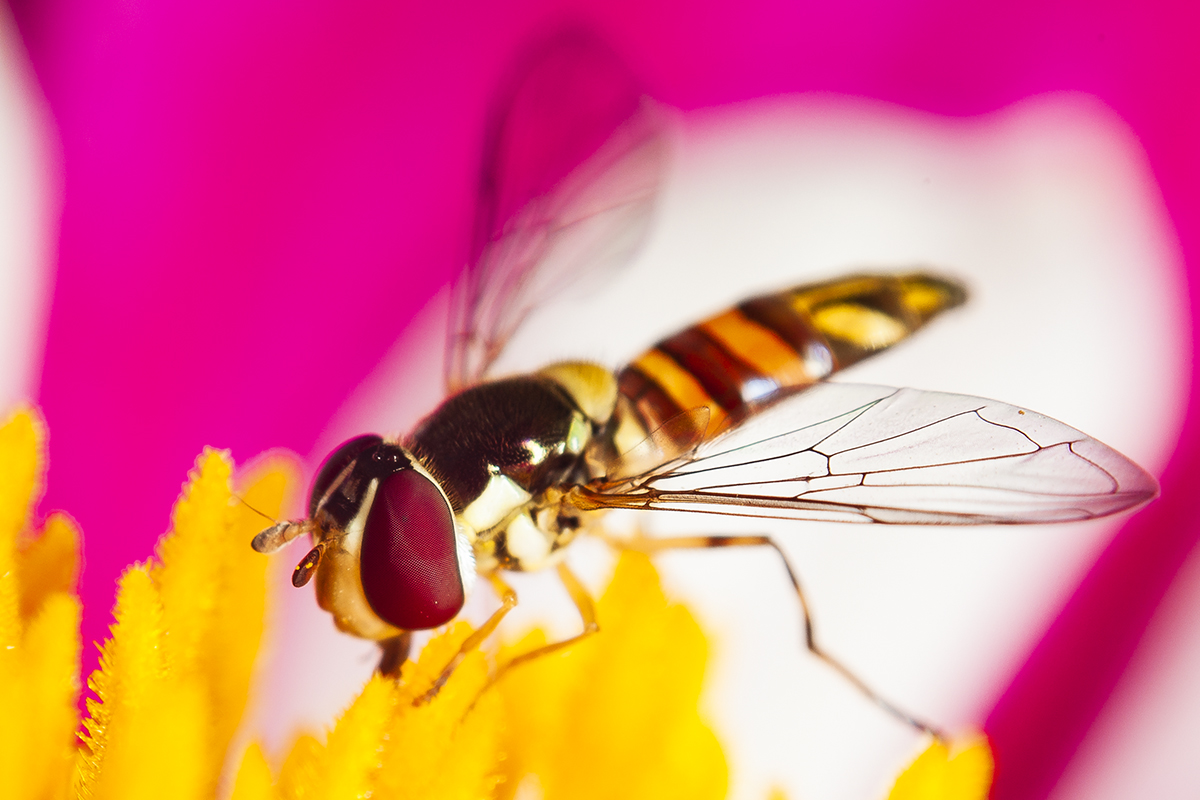
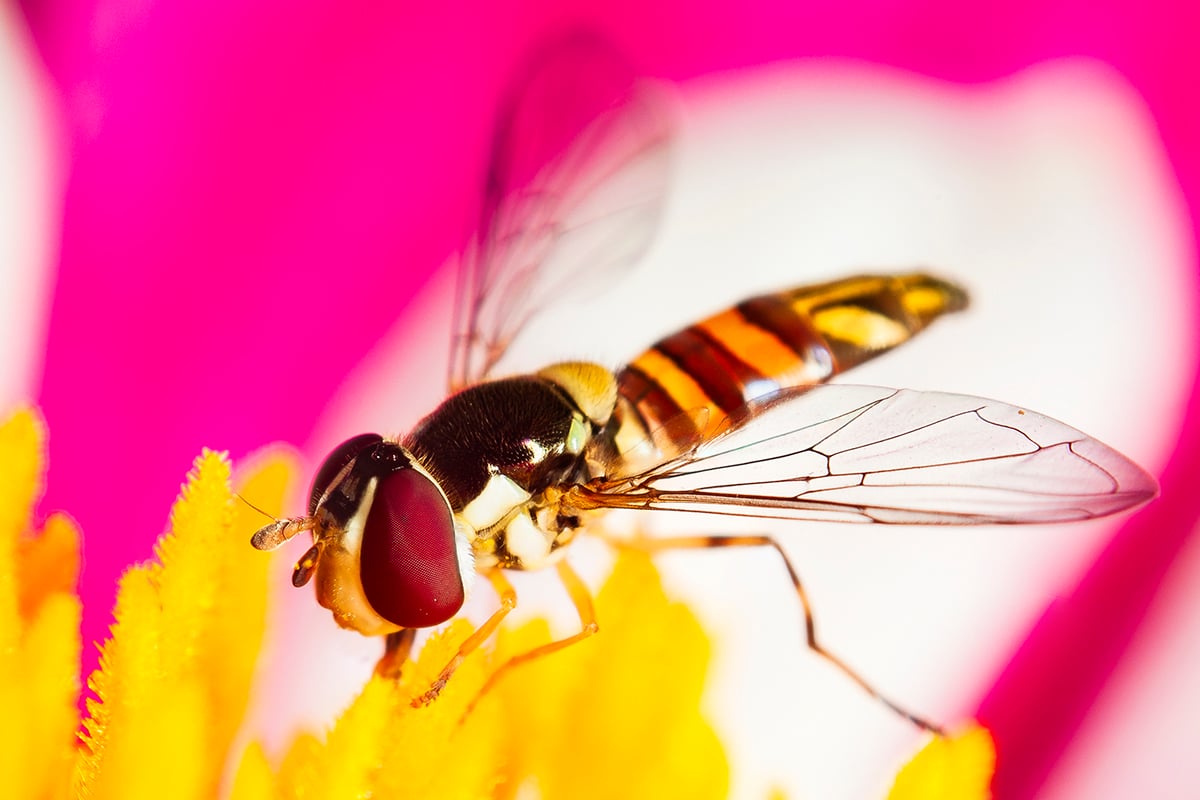
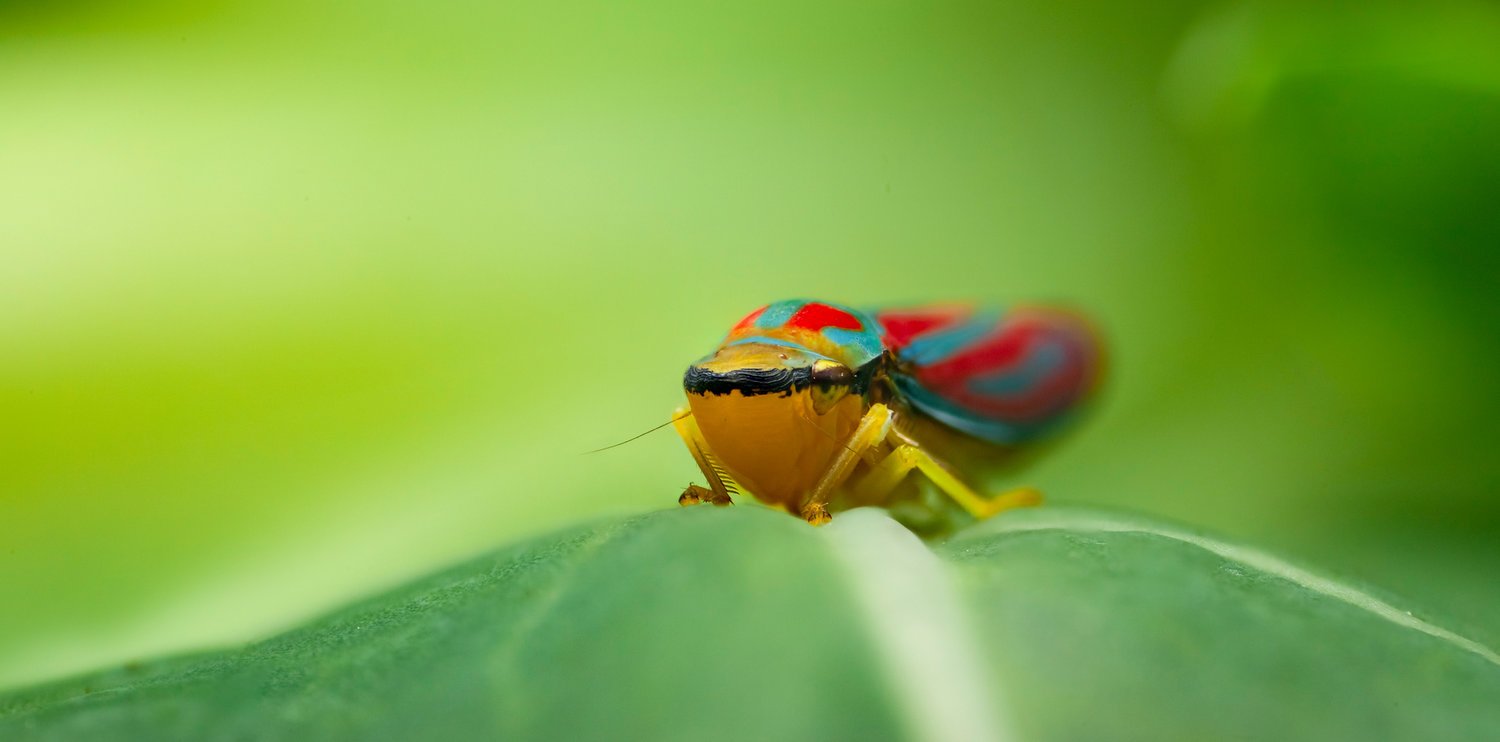
Have a look at the following set of images: the stack was shot handheld. Although it shows some minor shifts in perspective, you wouldn’t know by the final image. The first image in the sequence is the stacked result, followed by the single photos of the stack.
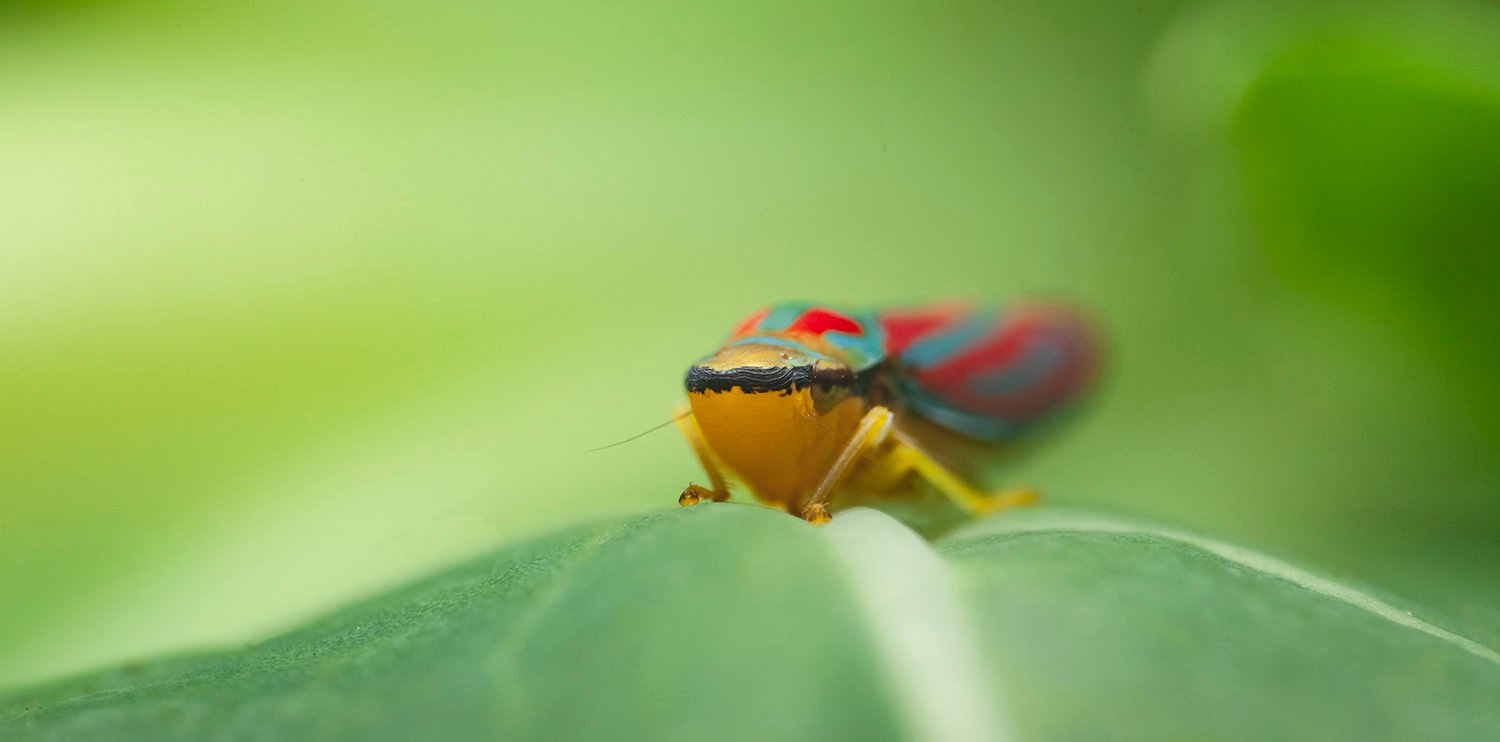
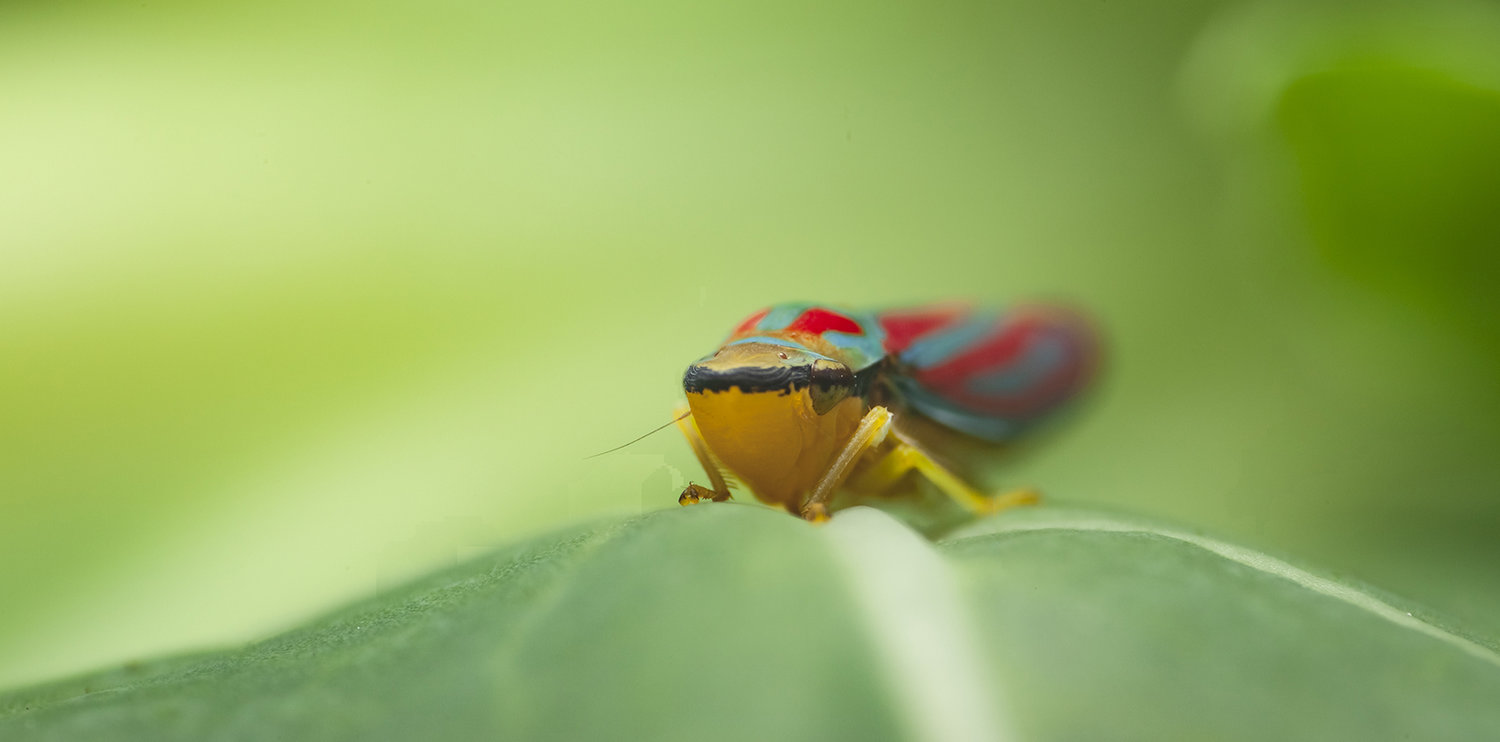
Of course, it’s ambitious to compete with an actual focusing rail, but with a bit of practice and the right technique, creating a good handheld focus stack becomes a simple task that works well, even at extreme magnification ratios.
1. The Equipment
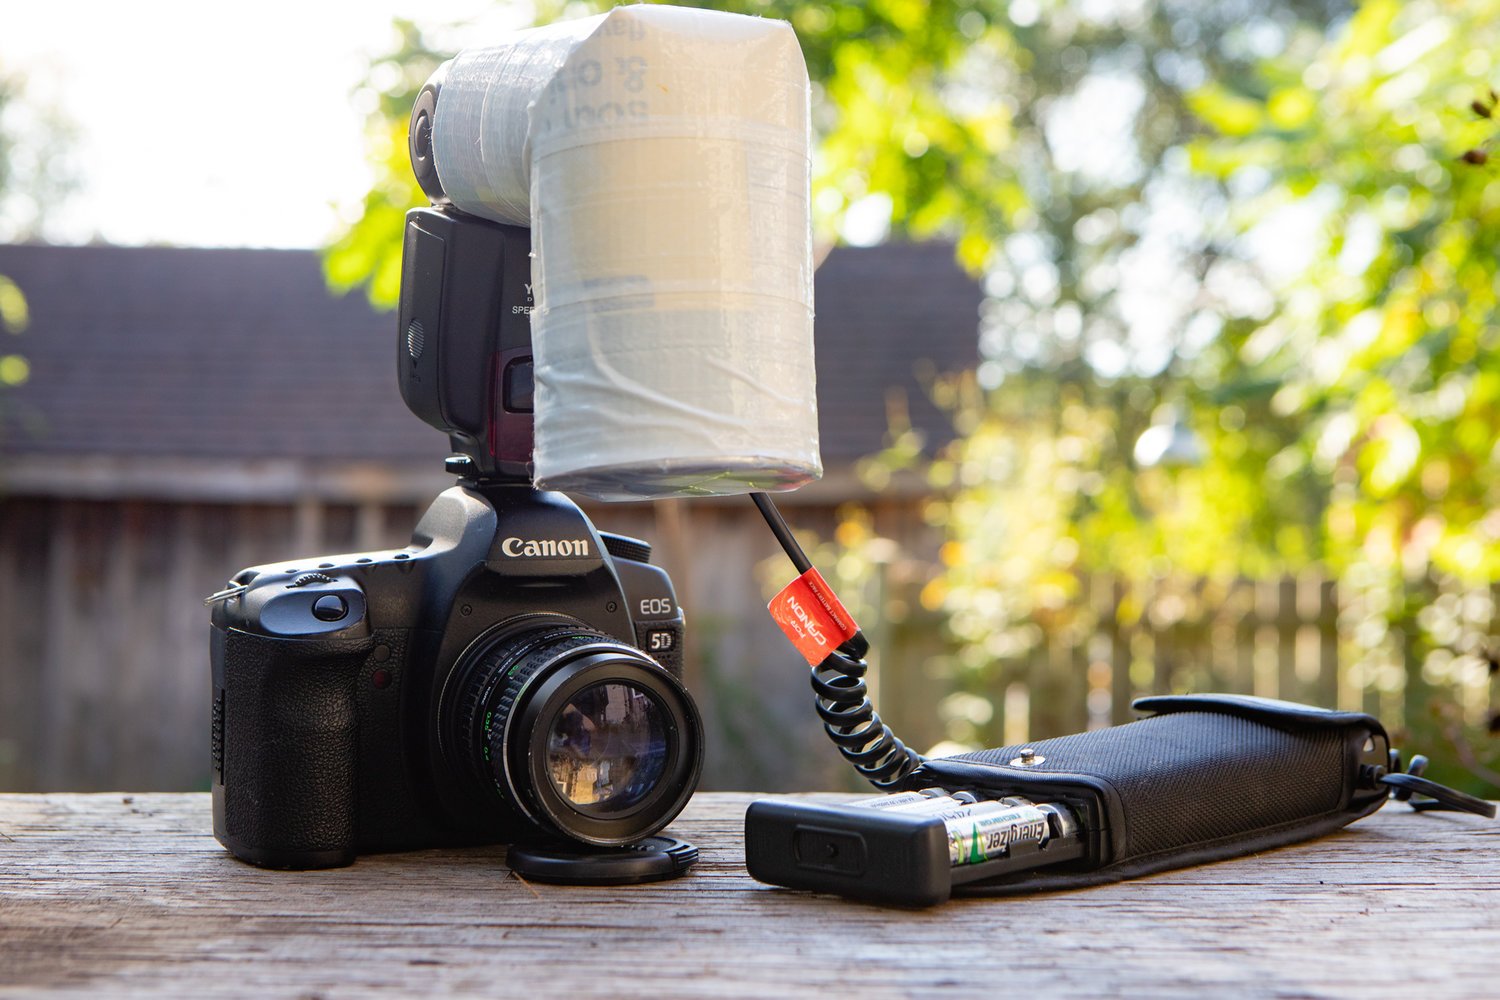
The typical setup I use for stacking in the field is camera in high-speed continuous mode and an on-camera speedlight with a slim modifier.
The flash ensures proper lighting and helps to eliminate motion blur. All ambient light should be cancelled out as we will move the camera back and forth, so take a test shot without flash and make sure it is black. Ideally, the flash power should be set to 1/16th or lower to keep its recharging time short—an external battery pack that holds eight additional batteries helps with this. The camera should be set to the sync-speed of your camera, typically 1/200th or 1/250th of a second.
If you dislike black backgrounds, you can use a larger light modifier to shine some light on the background and try to find a composition with a background that is either close to your subject or has a lot of natural light, such as the sky or sun-lit foliage.
2. The Technique
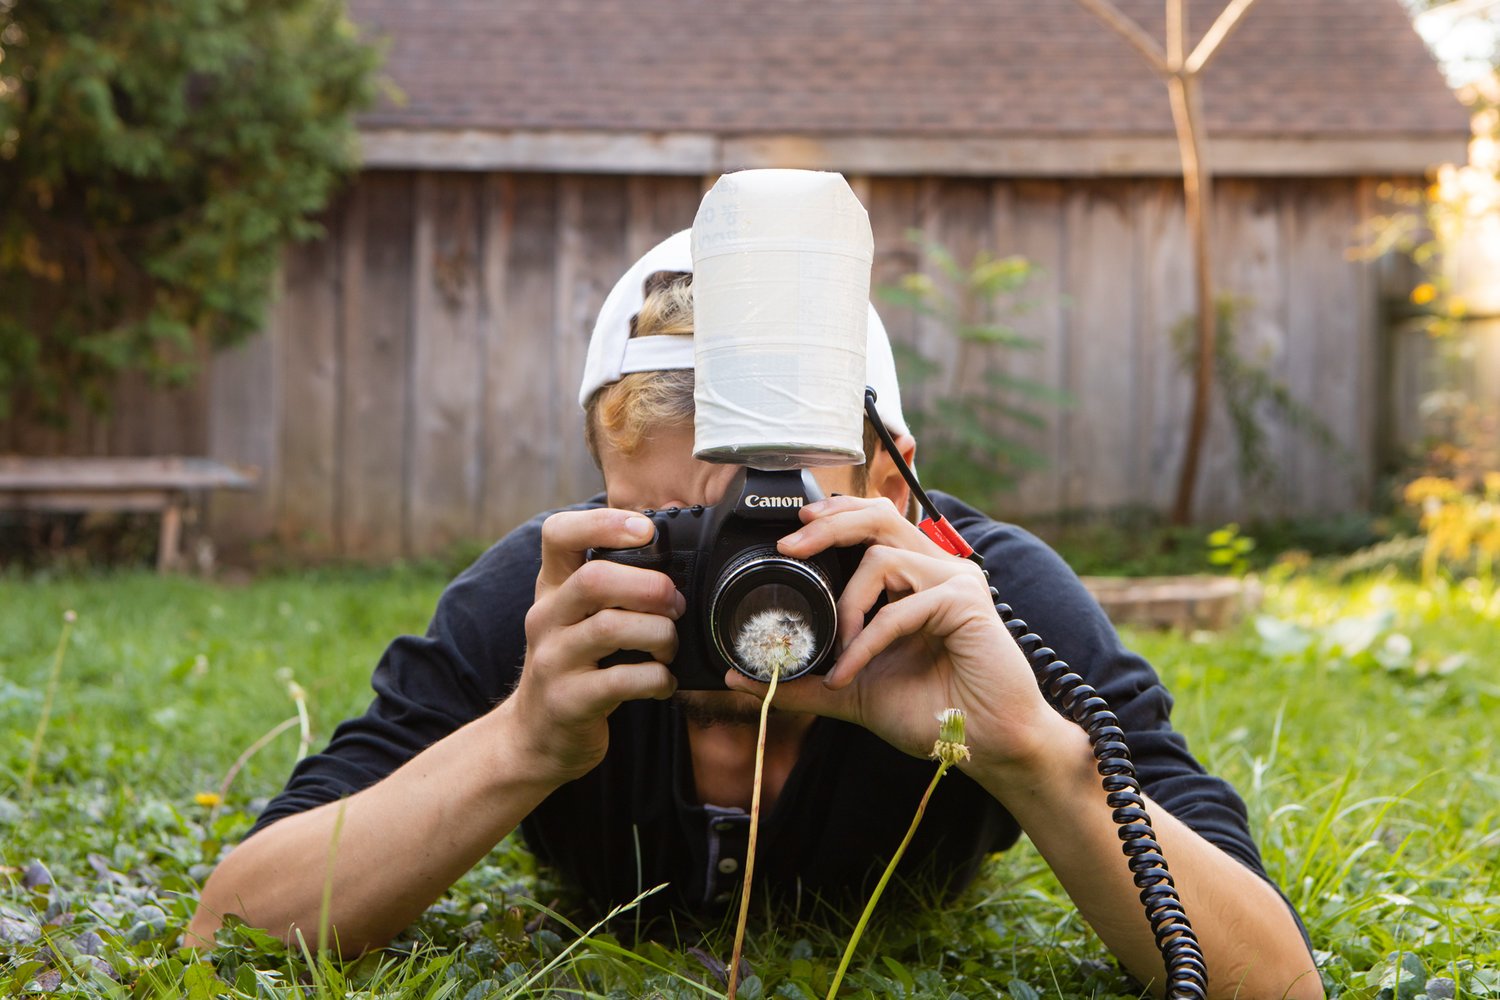
Performing a handheld focus stack is all about a physically stable body position. In order to create a stack that is easy to merge, we need to align the single frames as perfectly as possible. Ideally, the camera moves on only one axis: back and forth.
As we slowly move the camera through the zone of focus, we hold the shutter button down and take as many shots as possible. If the buffer fills up or the flash needs to recharge, hold your breath and try not to move the camera or your body until your gear is ready again. Shifting the perspective too much within a stack will ruin it.
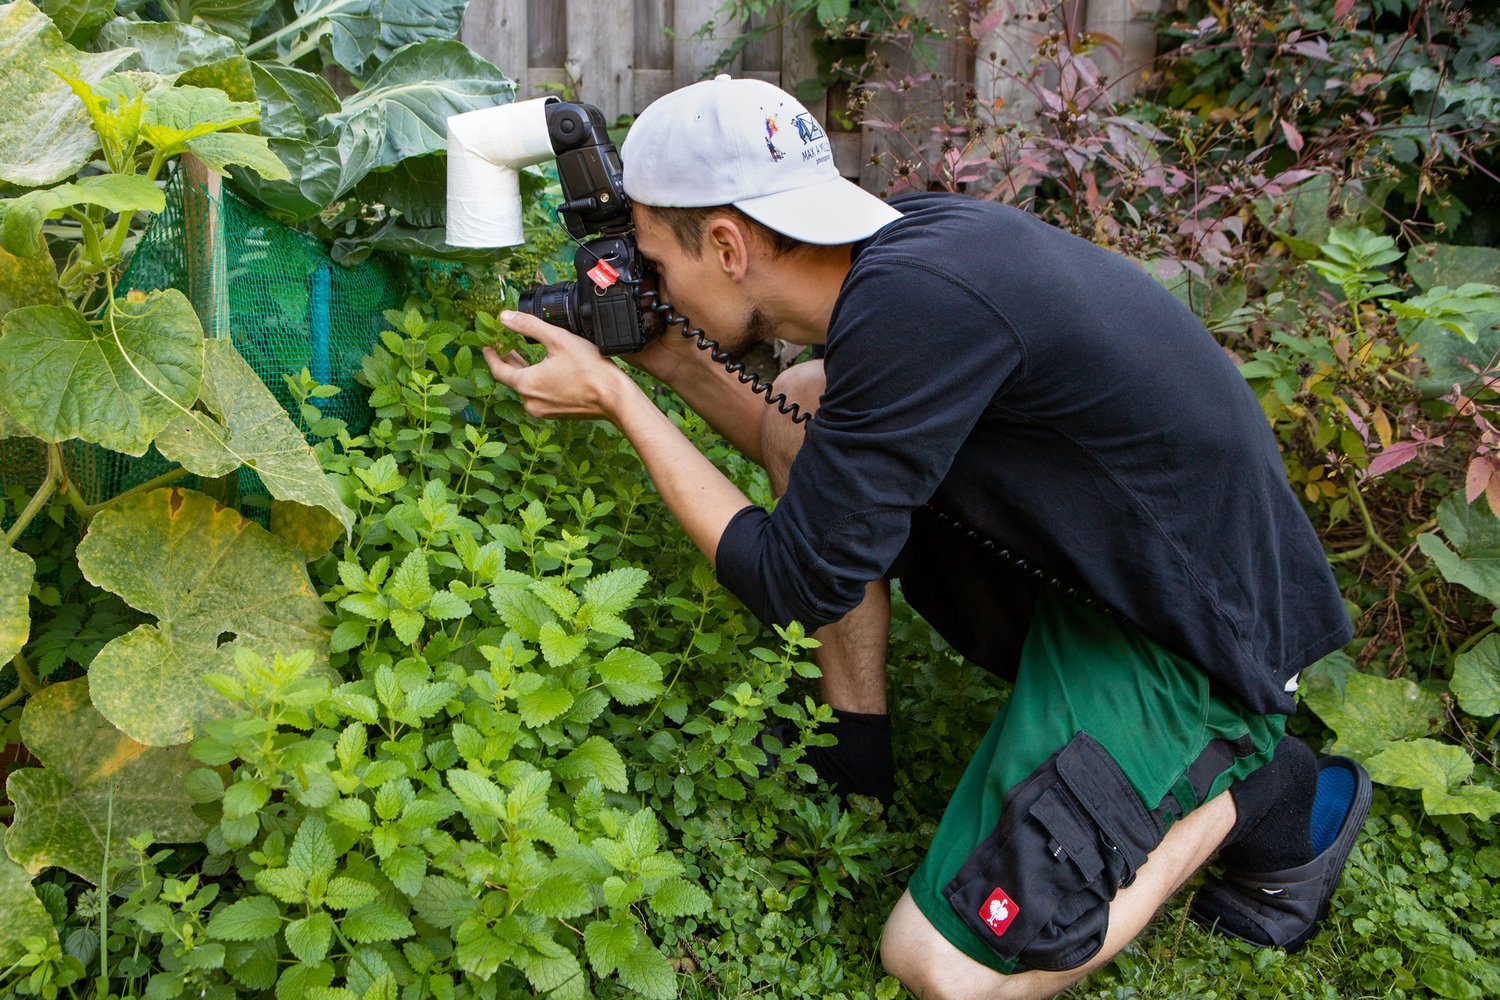
To ensure this doesn’t happen, use your body as a tripod.
I typically kneel down or lean against a tree (if possible) and hold my elbows close to my body or rest them on my knees. If the subject is low and the ground is dry, I will lie down and rest my arms on the ground. Then I hold the camera firmly against my face with both hands to hold it steady. I use only my neck to push the camera through the zone of focus, trying my best to move on that one single axis.
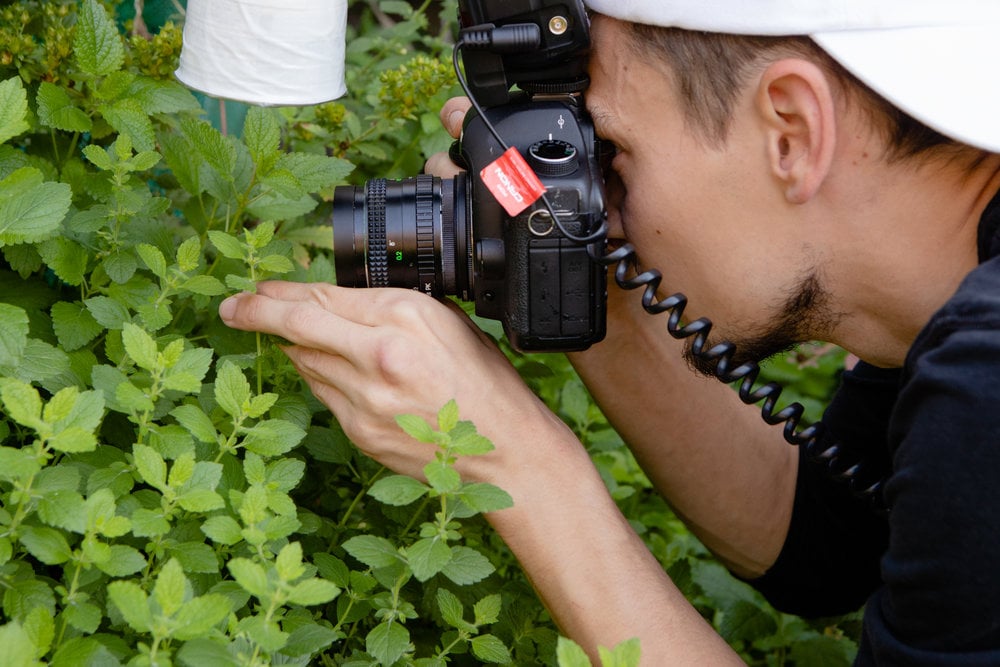
Most subjects in nature are subject to motion blur unless you are lucky and it is windless. Although we made sure this won’t affect the image quality thanks to the high shutter speed and flash, it can still interfere with our focus stack. If the subject moves between frames, you will have to start over. A good technique to avoid this is to hold on to your subject (or their home, if your subject is an insect) with the hand that’s not holding the camera.
To stabilize both camera and subject, I will hold the stem of a plant between my fingers and rest the lens on either my wrist or the gap between index finger and thumb.

Now there is only one last thing to mention before you get started, and that is: overshoot. You can never be sure that you have every slice of DOF that you will need to complete your stack. The best way to minimize this risk is to take 100 shots instead of ten.
Of course, the amount of images you’ll need in order to get it right depends on the magnification ratio and the aperture you’re using, but you will get a feel for that as you review your stacks. And even if you just get two images in sequence before your subject flies off, that is still going to double the depth of field in your image:
3. Post Processing
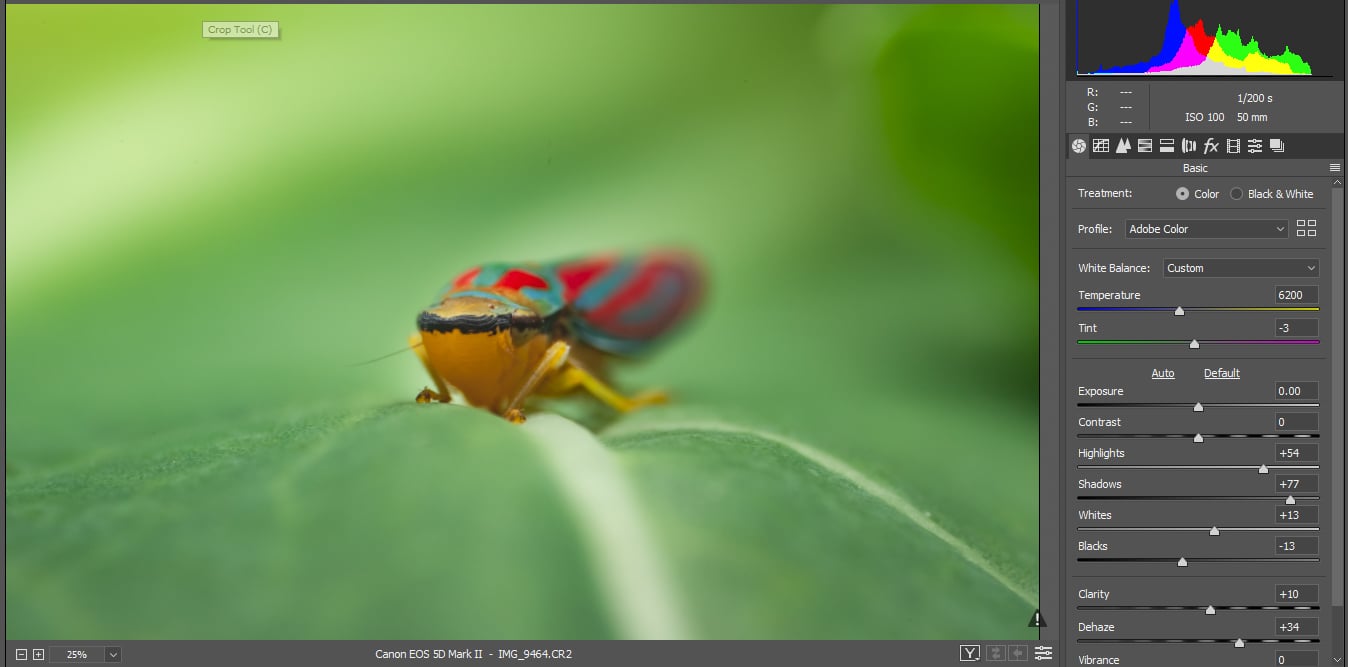
Before you start the actual stacking, I recommend that you develop your RAW files in Camera Raw and save them as JPEGs. This way you are sure to get the best image quality and it will speed up the process.
Load Files into Stack
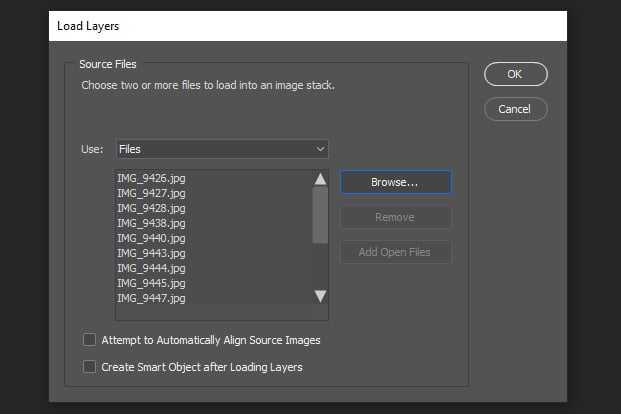
In the next step, we are going to load all the files of our stack as layers into one new document. To do so, go into the “File” tab in Photoshop and select “Scripts” → “Load Files into Stack…”
Unless you have a completely black or blurry background, leave both boxes in the dialogue window unchecked. Sometimes Photoshop gets confused by structures in the background and gets the alignment wrong.
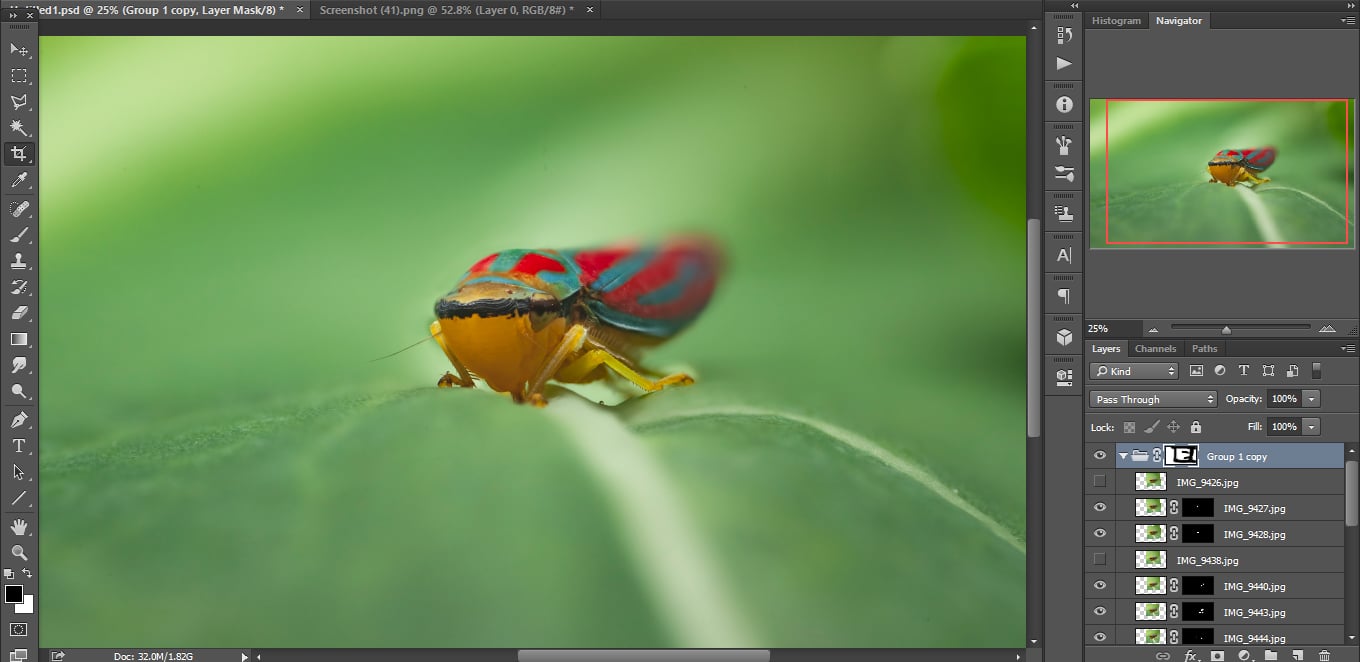
Once all of the layers are loaded, we are going to put them all into a new group. Then we will duplicate this Group folder (Ctrl + J) to create a back-up, just in case we need to fix something later in the process.
Auto-Align Layers
Before we use PhotoShop to align our layers for us, we’re going to make sure that the background won’t confuse the software.
Create a rough selection around your subject, and make sure that it contains the whole subject in all of your layers. Then invert the selection (“Ctrl”+”Shift”+”I”) and delete it in all layers of the group.
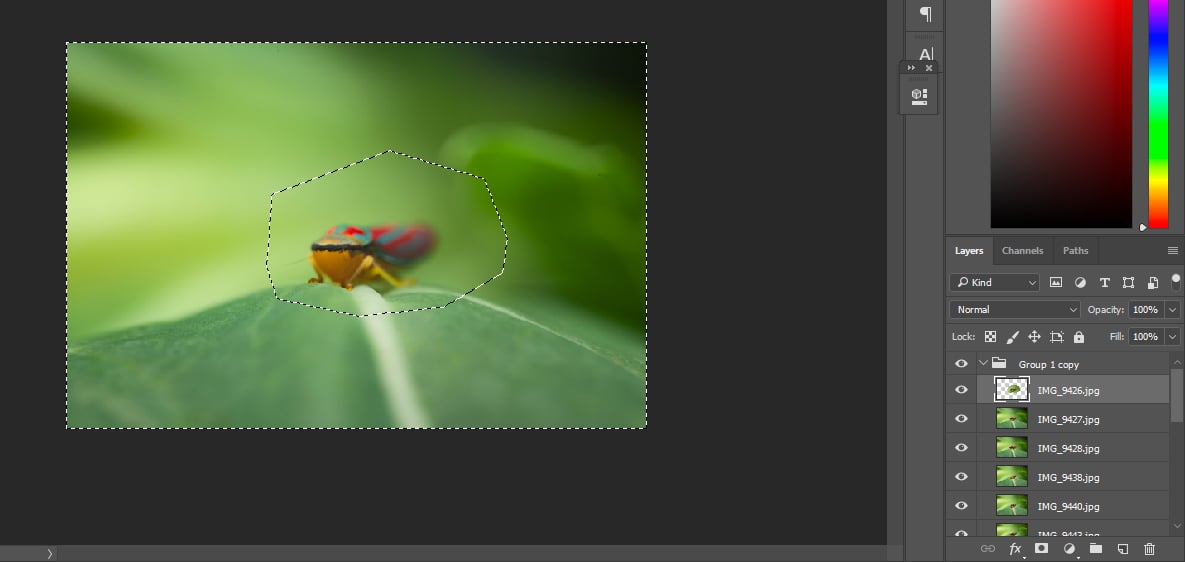
Once finished you should have two groups: the original “Group 1” on the bottom and its duplicate “Group 1 Copy” with the isolated subject up top.
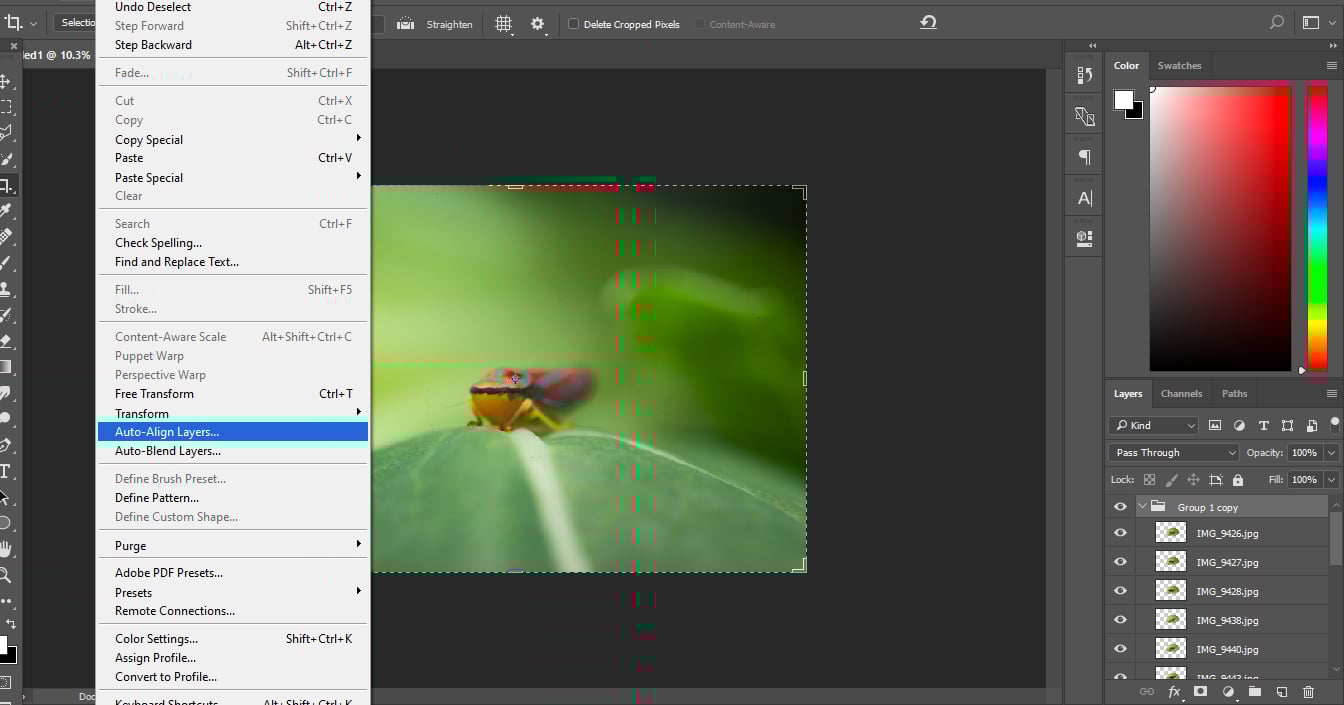
Select the group that we just worked on and go into the “Edit” menu. Select Auto-Align Layers and choose the Auto-mode in the following dialogue window.
Photoshop is going to move the freshly aligned layers into the top left corner of your document. To move them back, select the whole group and press “Ctrl”+”T”. Then turn down the layer opacity to 50% and move the group back where it came from.
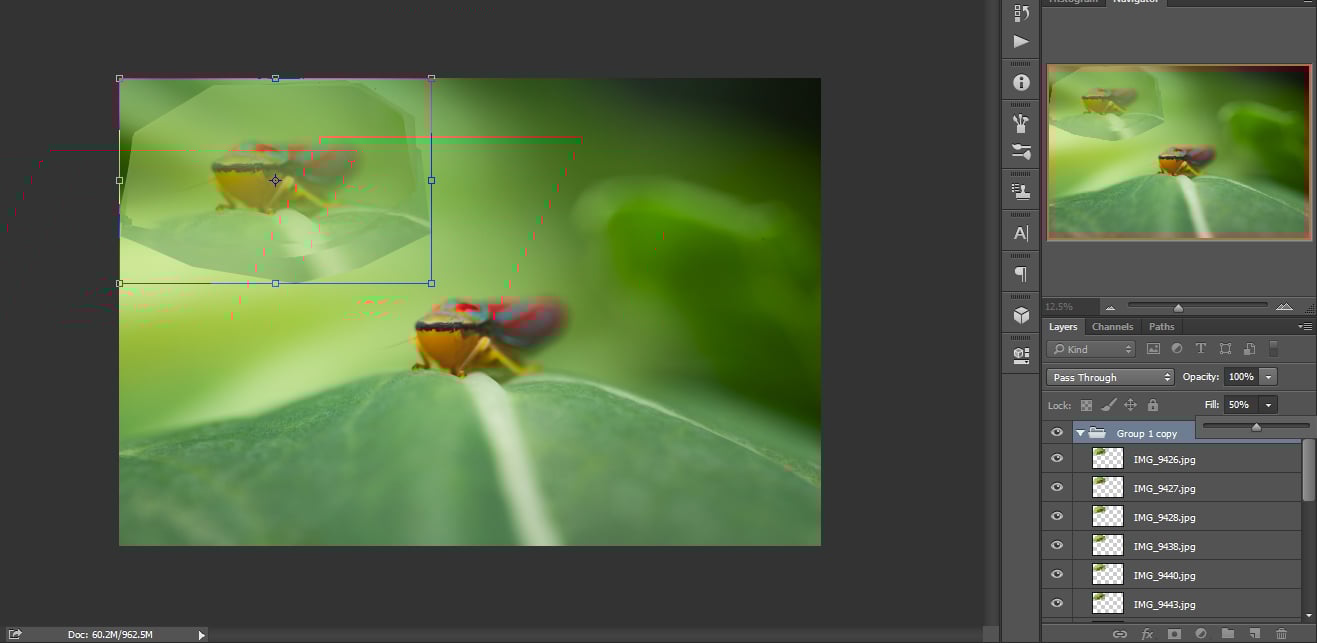
Turn the opacity up again and look through all layers to ensure they are aligned well enough. Some slight shifts are acceptable, but the cleaner your stack, the easier the next step will be.
Blend Layers
Duplicate the group once again. Then deactivate the new copy and select the group named “Group 1 copy,” go into the “Edit” menu and click “Auto-Blend Layers…” In the following dialogue window, select “Stack” and make sure “Seamless Tones and Colors” is checked.
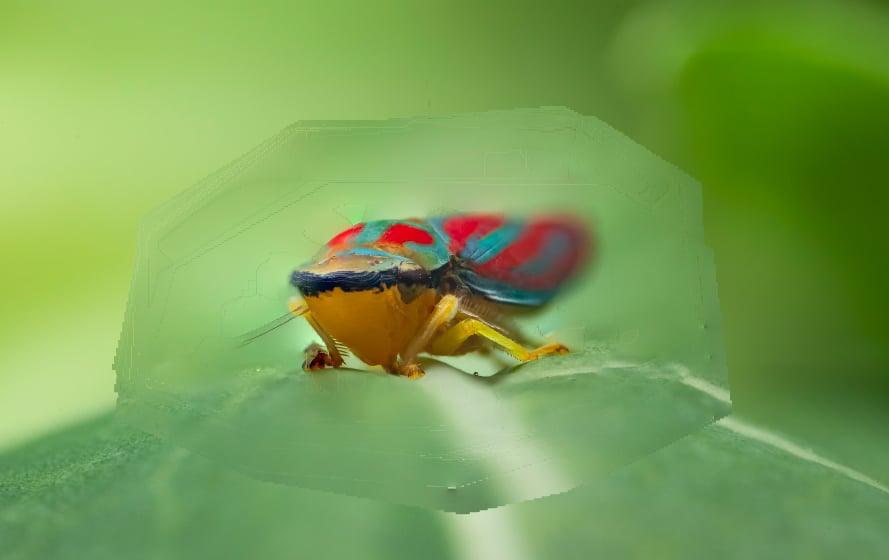
Once Photoshop is done, merge the group into one layer and zoom in to inspect the result. There is a good chance that the Photoshop got some things wrong, and they’re not always obvious, so be thorough. If everything looks good, you can skip the next step; if there are glitches or artifacts, we will need to touch them up manually.
Touching up
Now it’s time to touch up the image. To do so, we will paint in bits and pieces from our back-up group by using layer masks.
Select “Group 1 copy 2” and deactivate all layers in it except for the very bottom layer. Add a black layer-mask to this layer by holding the “alt”-key while clicking on the layer mask symbol.
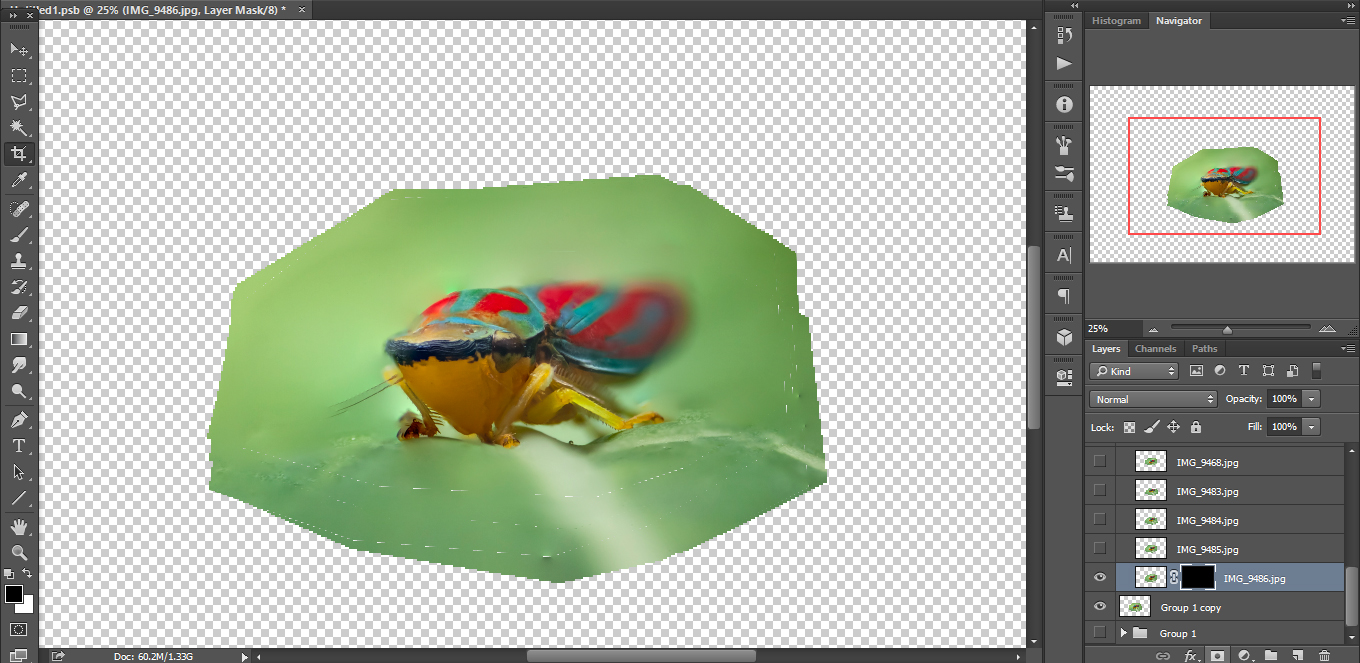
Use “Ctrl”+”I” to switch between a black and white layer-mask and determine the parts of the layer that should be in the final image. Then set the layer mask back to black and use a the eraser tool at about 50% hardness to paint in the missing pieces. Move on to the next layer and repeat the process until you’re satisfied with the result.
Once you are done with this, all that’s left to do is to get rid of the hard edges around your subject. To blend it in, create a white layer-mask for the entire group and paint over its edges with a soft black paint brush.
Before exporting the image, I typically delete unwanted layers, such as “Group 1” in this case. Then I duplicate all layers and merge them into one layer that I convert into a smart object. Lastly, I will finish the image off by applying the Camera Raw filter in Photoshop and performing some slight adjustments.
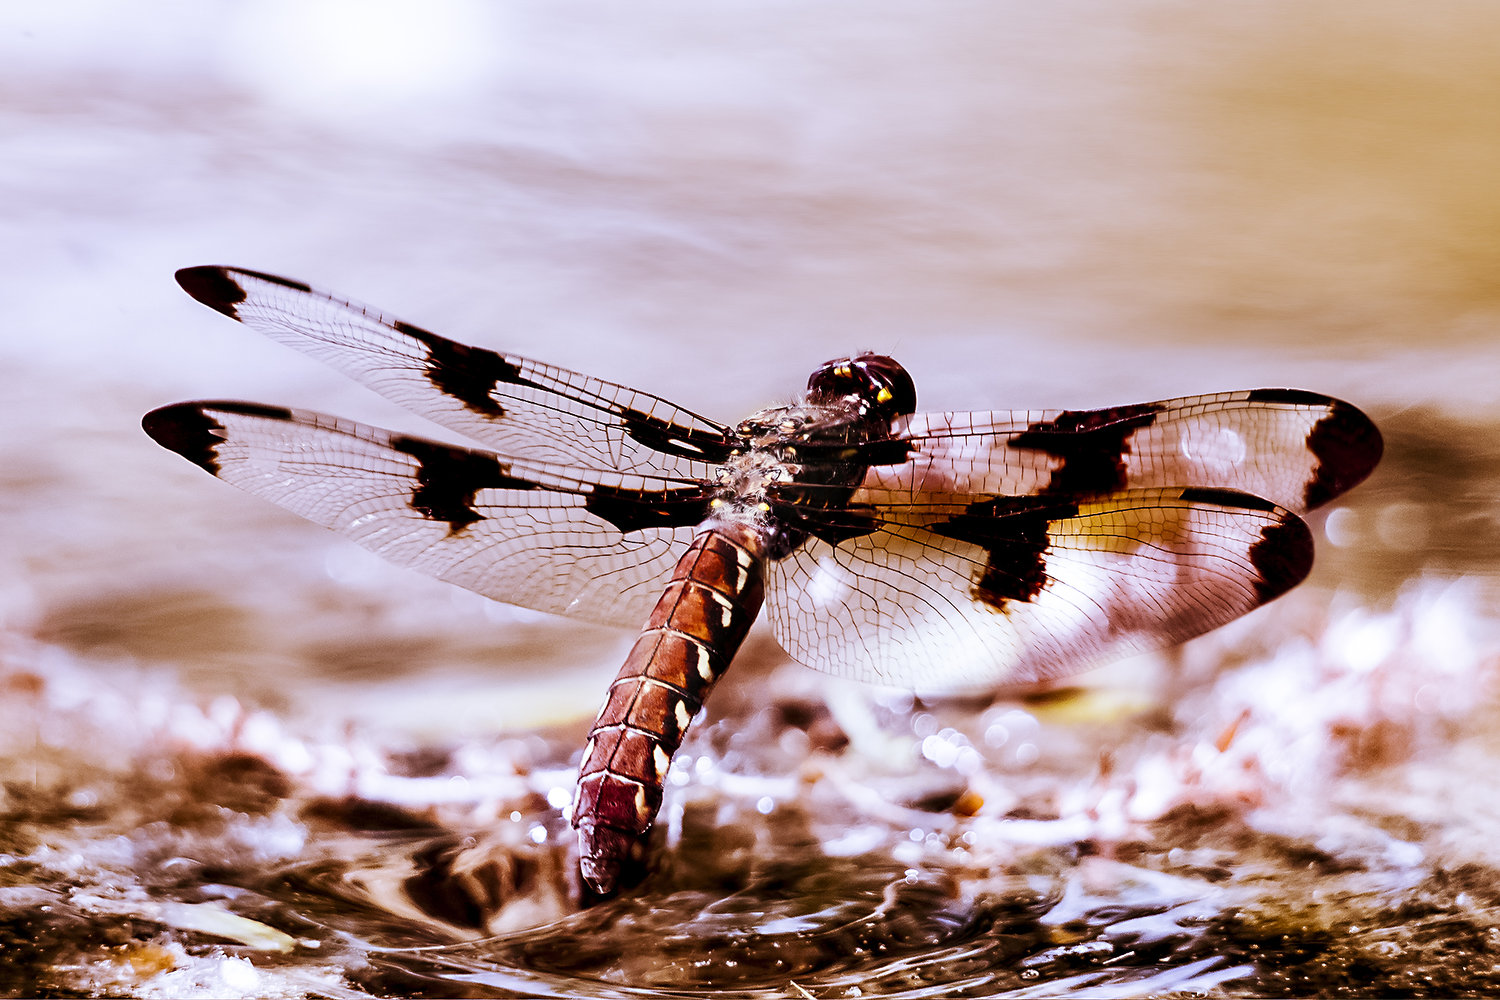
Done!
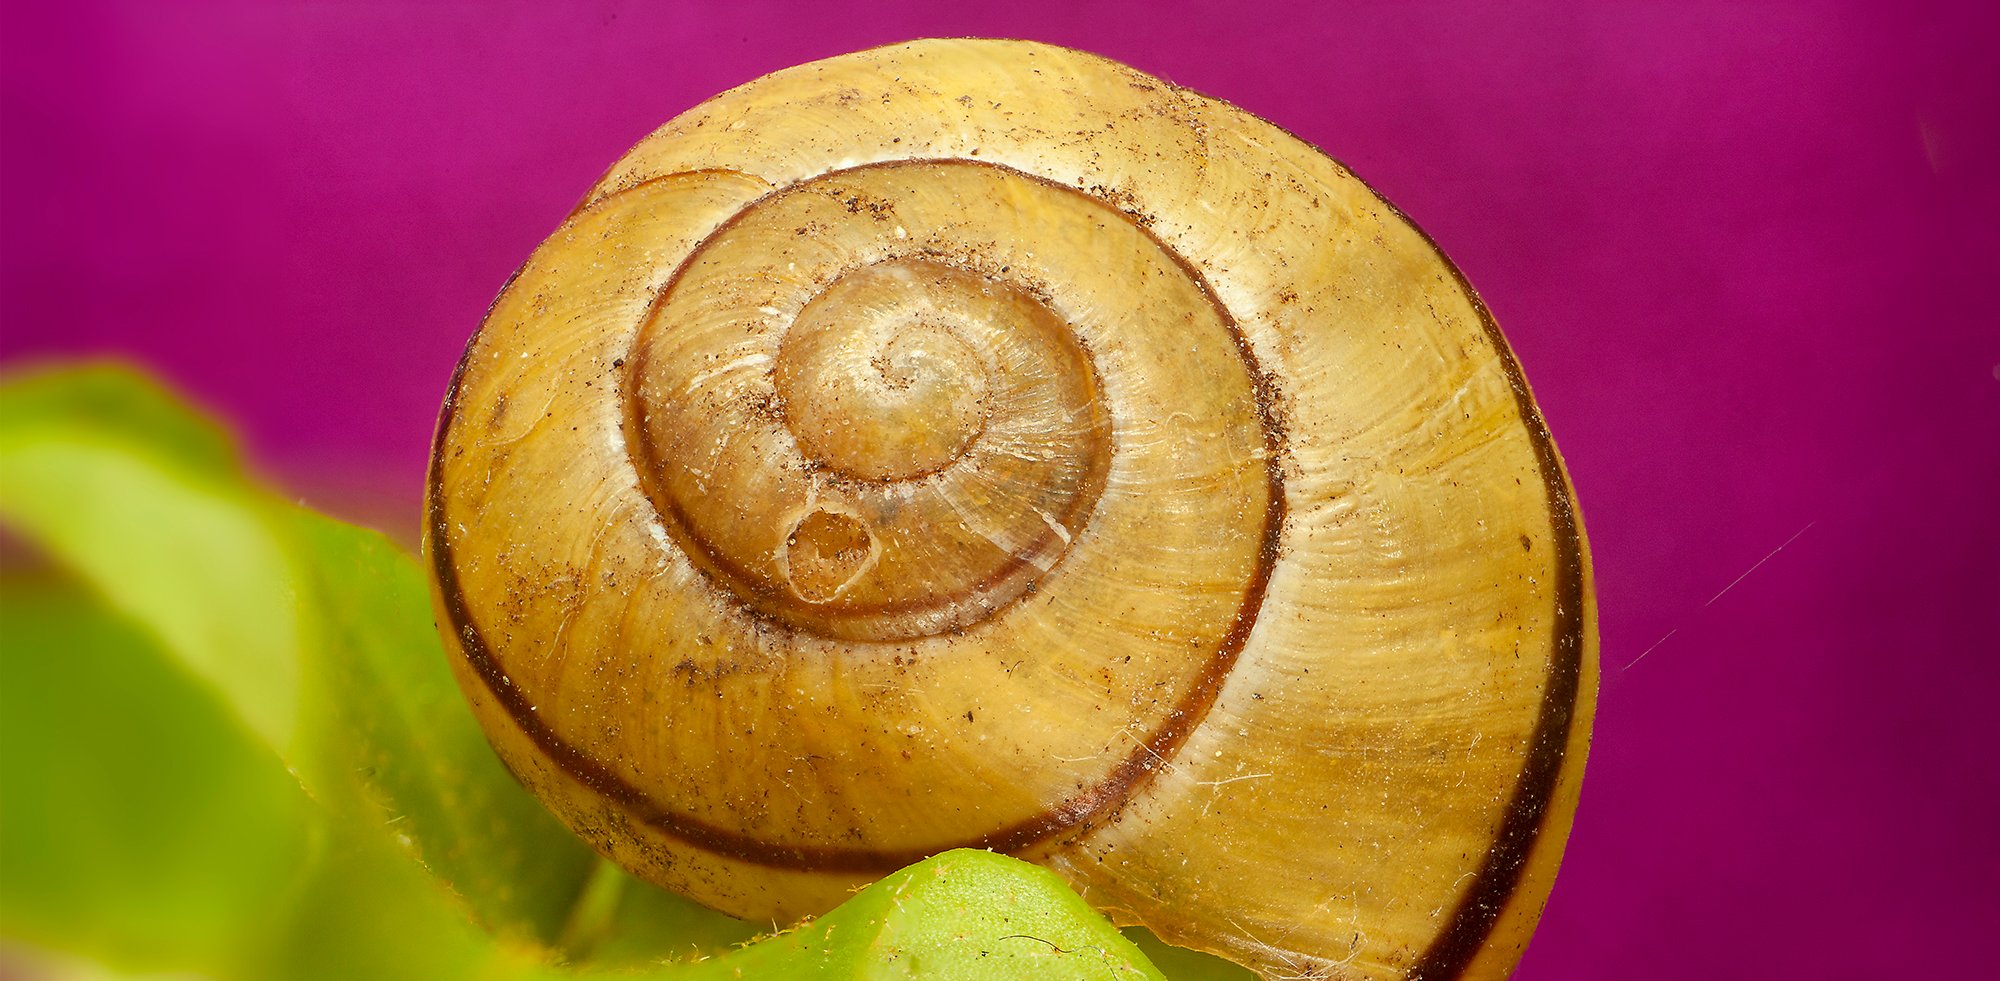
And here you see the final image. This would have been tricky to shoot with a focusing rail—the long set up time, wind in the environment and the limitations of using a tripod make it challenging to use rails in the field. In terms of flexibility and required gear, handheld stacking is a lot more practical.
The only downside to this technique is some extra work in post processing. A fair trade, I think.
And with a bit of practice, manual focus stacking is an easy technique that will open up new possibilities for your photography.
About the author: Maximilian Simson is a London-based portrait and event photographer who also shoots fine art and macro photography. To see more of his work, visit his website. This article was also published here, and is being republished with permission.