How to Create a Focus Stack in Photoshop
Did you know that Photoshop has a built-in focus stacking function? This article explains about how it works and how to make the most of it.
The reason why Photoshop is a great tool for stacking images is the incredible amount of flexibility that it provides. Not only does it gives you full control over the entire process, it is also very forgiving in terms of alignment, which makes it the perfect software for handheld focus stacking.
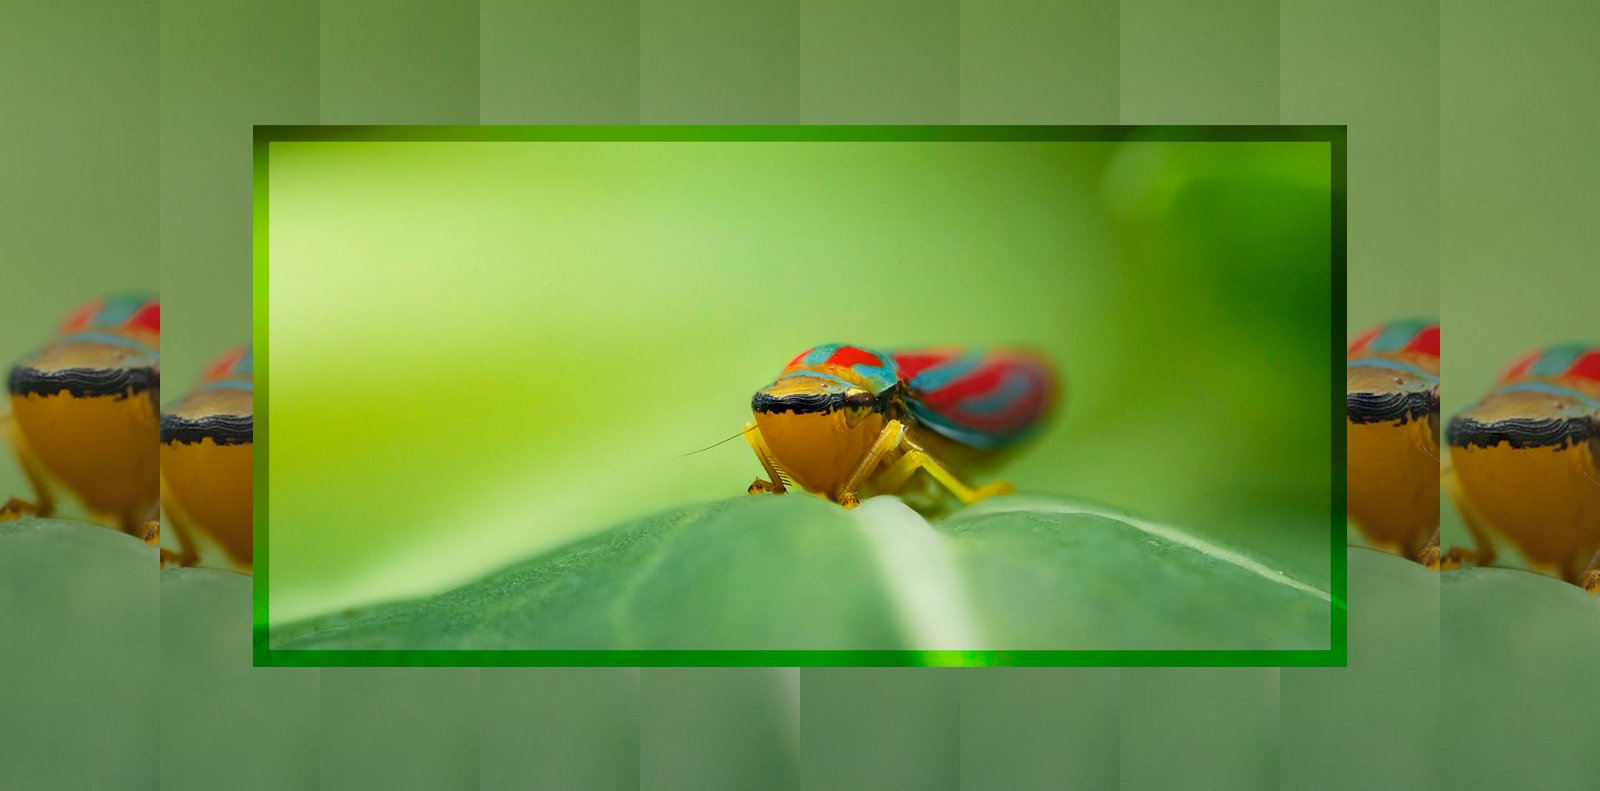
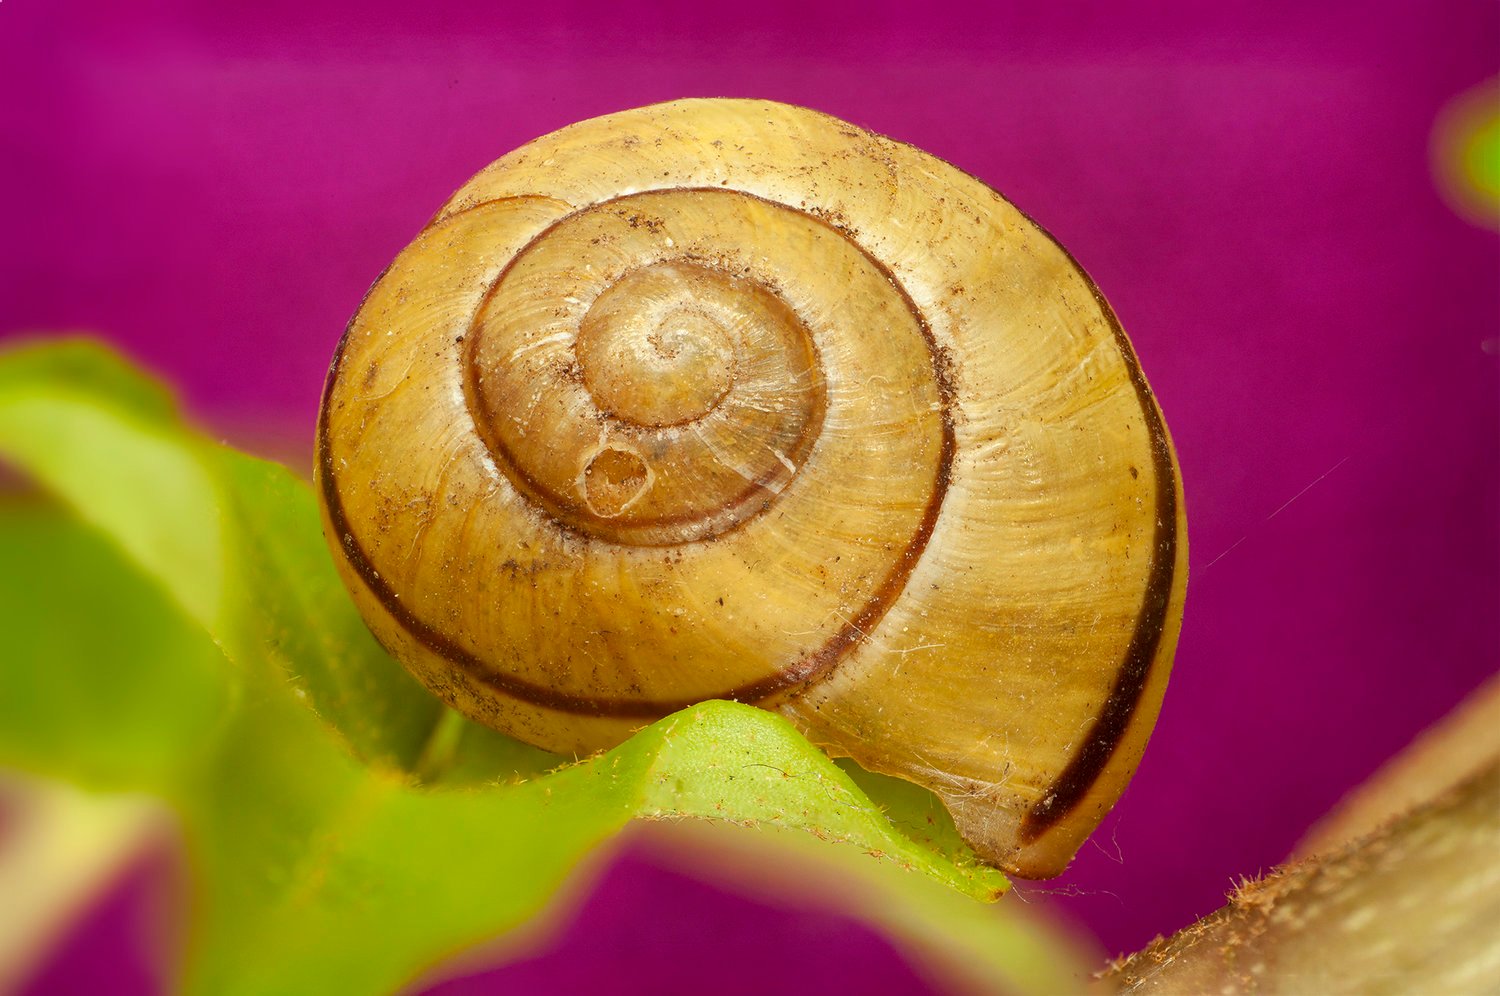
The following stacked image was shot handheld and manually merged in PhotoShop, in spite of slight shifts of perspective between 10 total shot:

Step #1: Convert RAW Files
Before you get started, I recommend developing your .RAW files in Camera Raw and saving them as .jpeg files. This way you are sure to get the best image quality and it will speed up the process. Especially with larger stacks, it can take PhotoShop a while to process RAW files. Open all images in Camera Raw, and adjust the develop settings the same way for all of them.
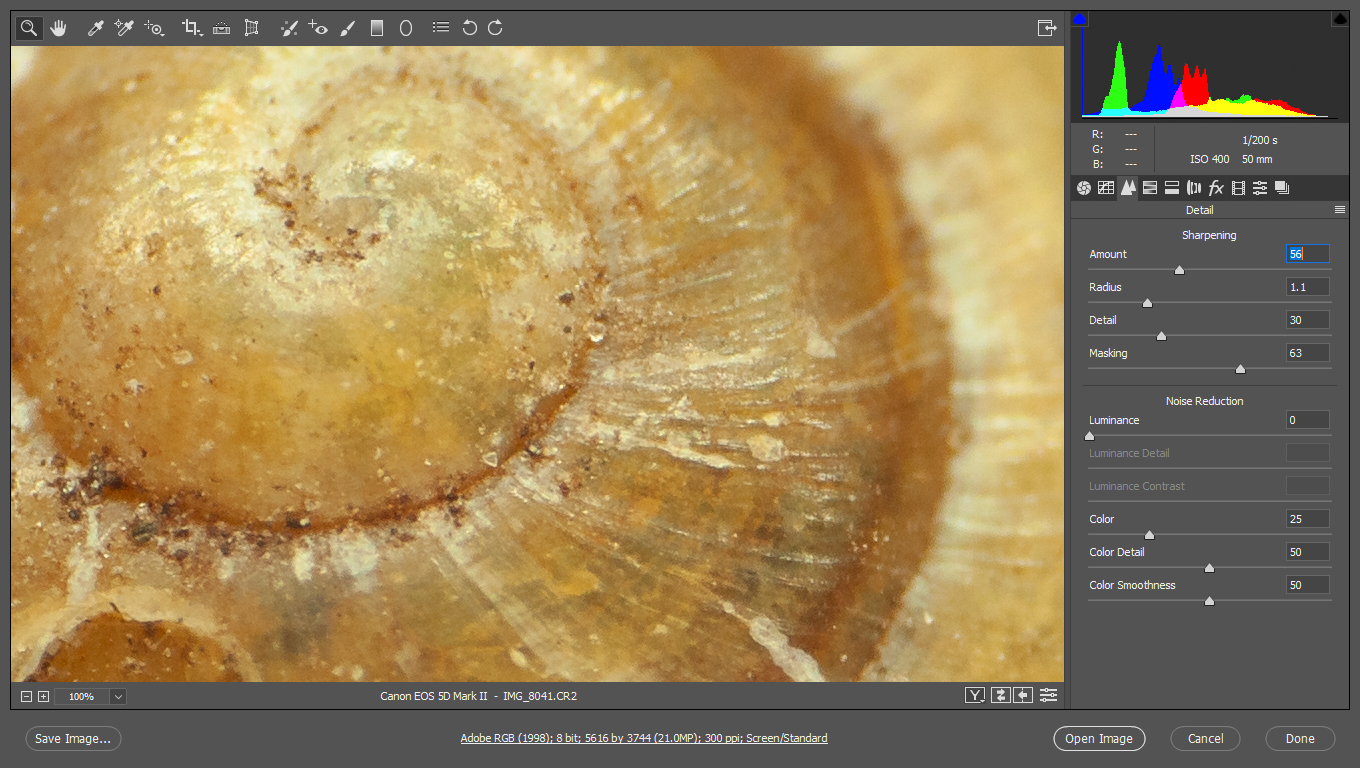
Tip: When you are sharpening in Camera Raw, zoom in to 100% or 200% and hold the “alt”-key while adjusting the sliders for the best results.
“Save Images” as JPEG files once you’re done.
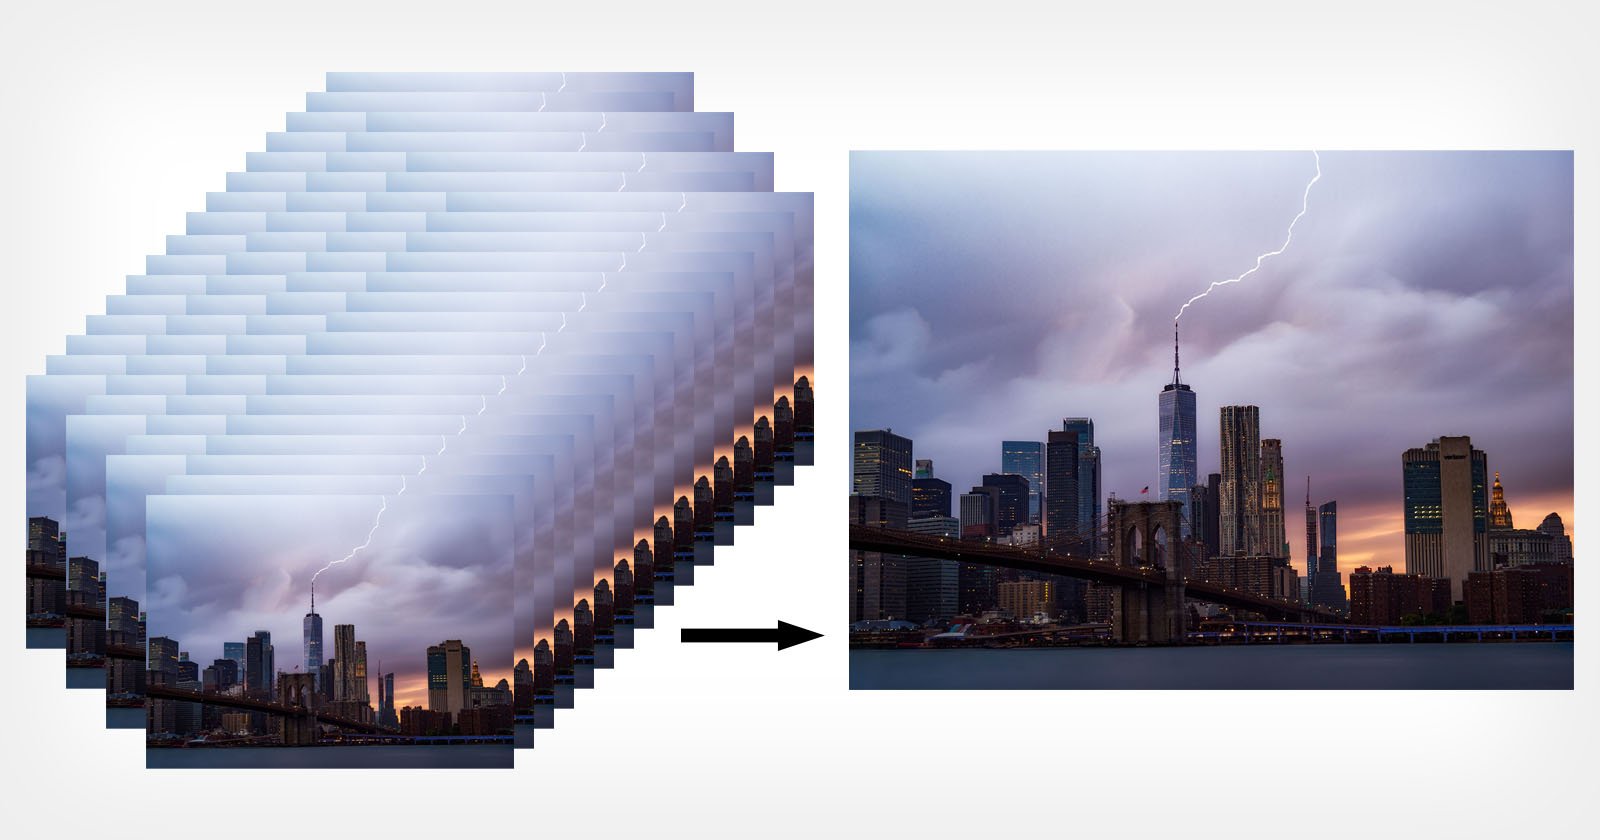
Step #2: Create a Stack
In the next step, we are going to load all the files of our stack as layers into a new document. To do so, go to Files > Scripts > Load Files into Stack.
Add all the images you need in the window that pops up, and tick the option to “Attempt to Automatically Align Layers”. By doing so, PS is going to try and align the layers and correct any shifts in perspective. Generally, this function works amazingly well, though PS might get confused if there is too much movement between frames with handheld stacks.

In the following step, we’ll put all the layers into a group. Then we’ll duplicate the folder (Ctrl + J) to create a back-up in case Photoshop makes a mistake in the next step.
Step #3: Auto-Blend Layers
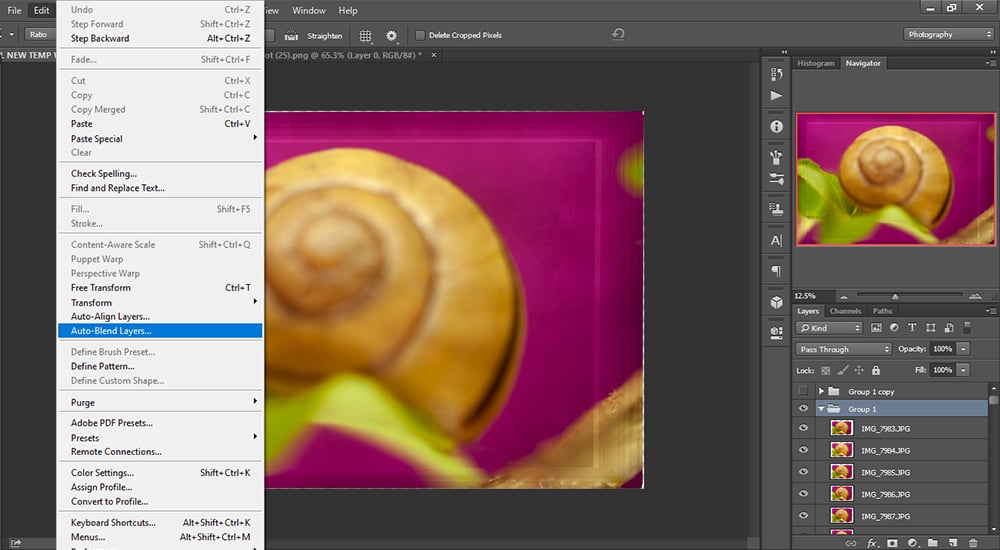
Deactivate the new group and select the original stack. Go into the “Edit”-menu and select “Auto-Blend Layers…”
In the dialogue box that pops up, select “Stack” and tick both “Seamless tones and Colors” and “Content Aware Fill Transparent Areas,” then press “OK.”
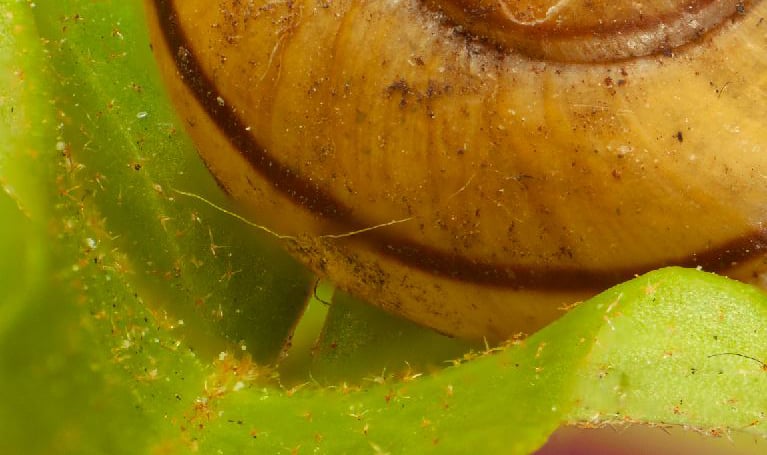
Once Photoshop is done, zoom in and inspect the result. Sometimes mistakes happen, so scan the stacked image thoroughly.
If everything is fine, congratulations! All you have to do now is remove sensor dust (if there is any) and maybe crop the image a little.
Step #4: Touch Up the Results
But in case something went wrong, such as in my case, we can fix it with our deactivated back-up group.
To fix this, we will use our back-up group, activating layer by layer until you find the correct bits that Photoshop missed.
To do this, activate the back-up group and open the folder. Select the bottom layer of the group and press “alt” while clicking on the eye-icon next to that layer. Now, only this layer is visible. Next add a black layer mask to it and activate the base layer called “Group 1 (merged)” in the example blow.
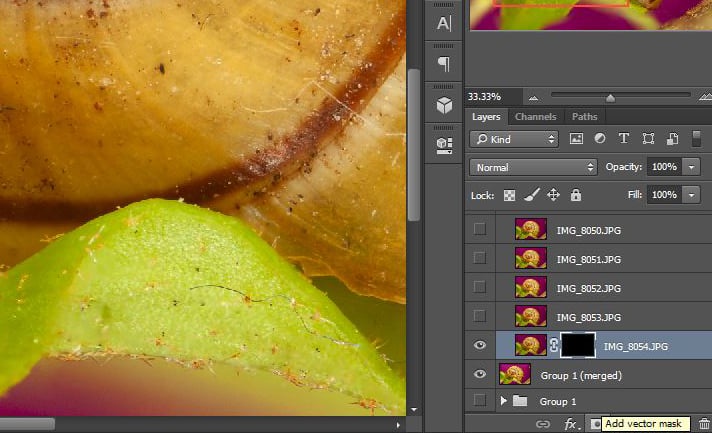
Now only that base layer is visible. Zoom out and invert the layer mask via “Ctrl”+”I” to detect if PS missed something in this layer. If not, set the layer mask back to black and move on to the next layer. Do this with each layer until you find the missing bit.
Once you do, set the layer mask to black and use a semi-hard brush on white to paint what PhotoShop missed. Repeat the process with as many layers as it takes.
When you’re done, you should have a perfect focus stack without any artifacts.
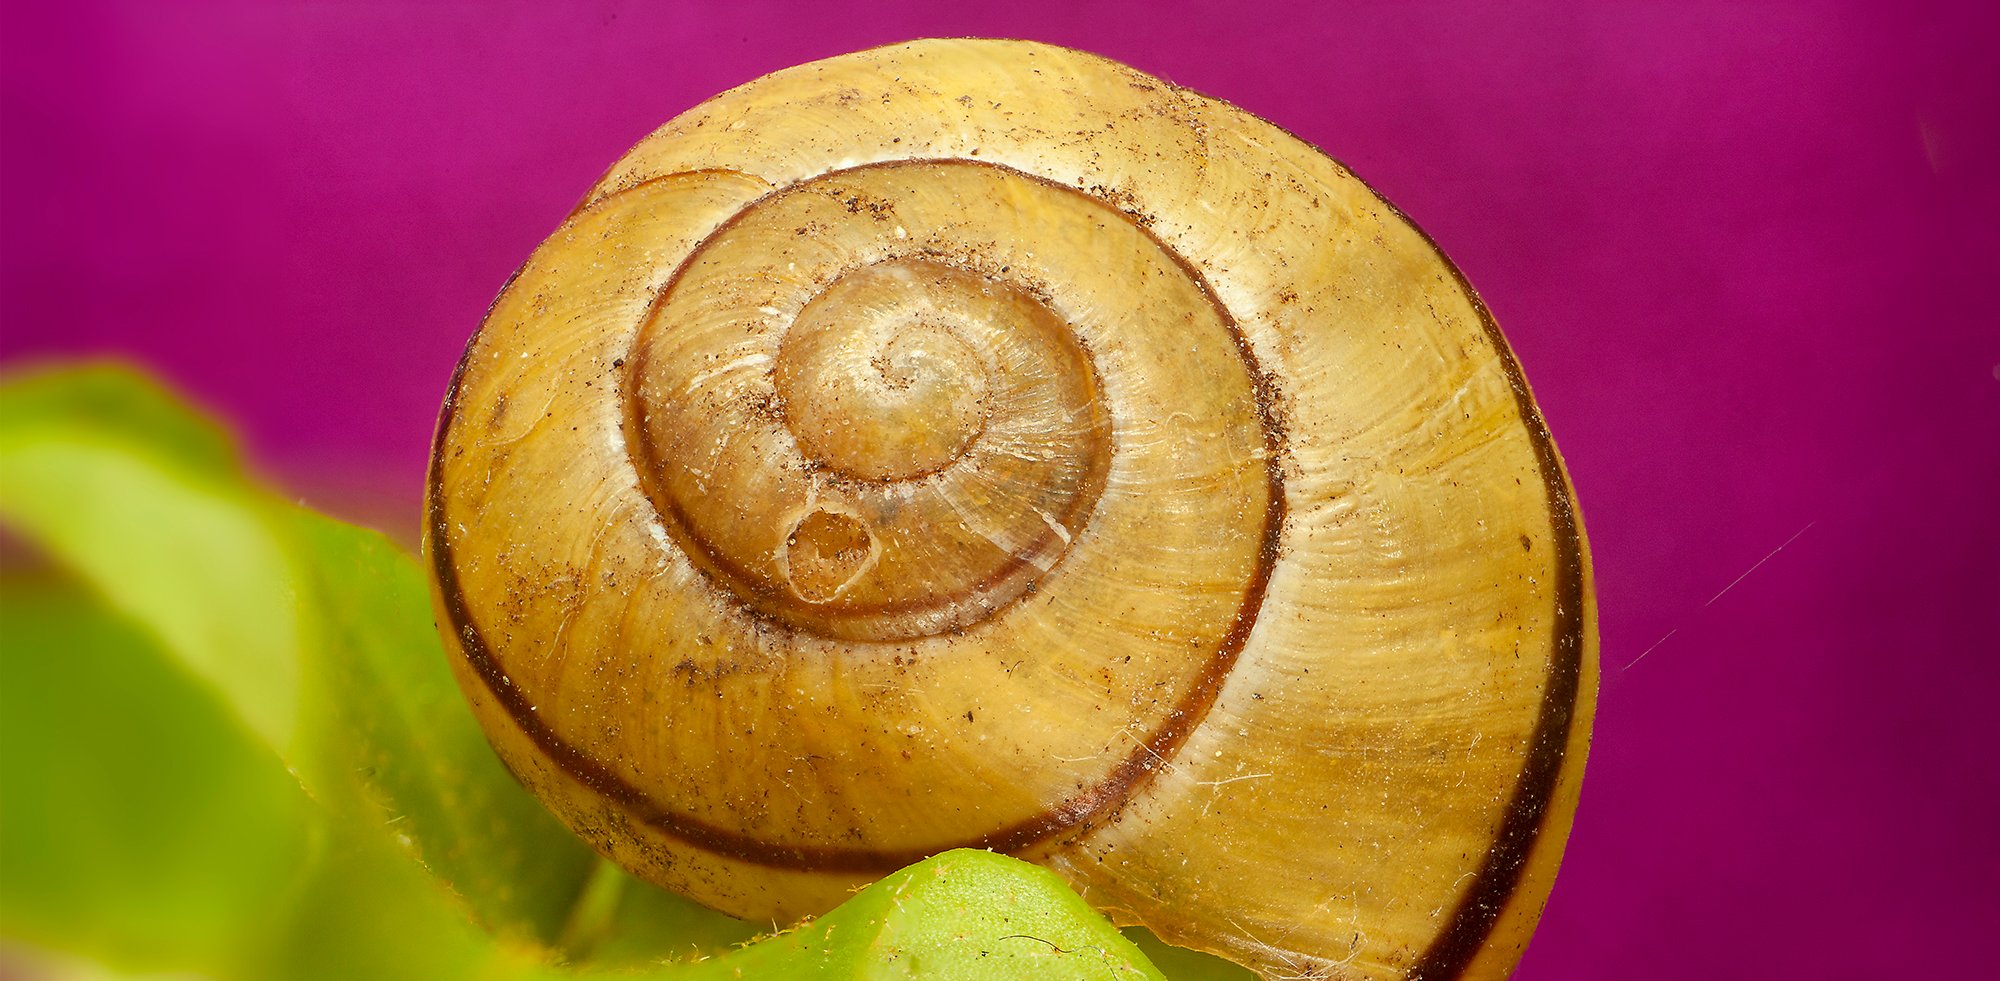
Step #5: Enjoy Your Focus-Stacked Image!
About the author: Maximilian Simson is a London-based portrait and event photographer who also shoots fine art and macro photography. To see more of his work, visit his website. This article was also published here, and is being republished with permission.