Stretching as a Photographer with My First Mass Headshot Photo Shoot
One of the great things about our jobs as photographers is that we get asked to do so many diverse things. To me, new and different assignments keep me fresh. Sometimes we get asked to do things that push our limits or are even beyond the bounds of anything we have done before. This is the story about how I approached a recent project that pushed me to the limit, and how I was able to tackle it and win.
My day job is shooting homes for sale for the MLS. This led to commercial property… which led to architectural photography and other commercial photography. But I still do MLS, because in a market like mine, you have to do everything. As I said, when someone asks for something new, my new job is to figure out how and (hopefully) become a better and more versatile photographer in the process.
Any property photographer has faced a realtor asking for a headshot. In my previous life as a news photog, I have shot a lot of heads, too. Shooting heads has, over time, even become something I have gotten good at, and have fun with. When a good client asked me recently to shoot over 100 heads, I knew I could do it; I just was not sure how.
My first step was to find out what the client expectations are. I asked and they showed me existing images they wanted copied. From the samples, it was pretty easy to figure out the previous lighting setups. One of their existing photographers in another city told me what background they used, so I just picked that up on Amazon and I was good to go.
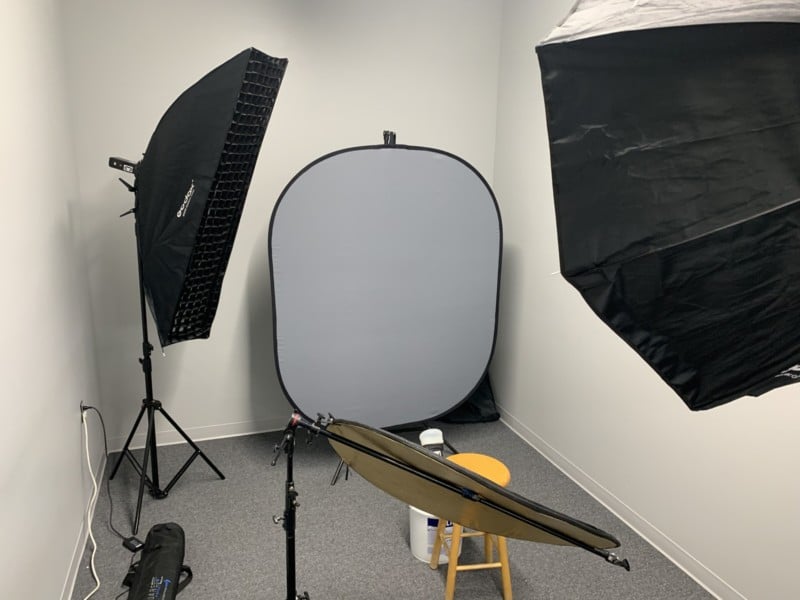
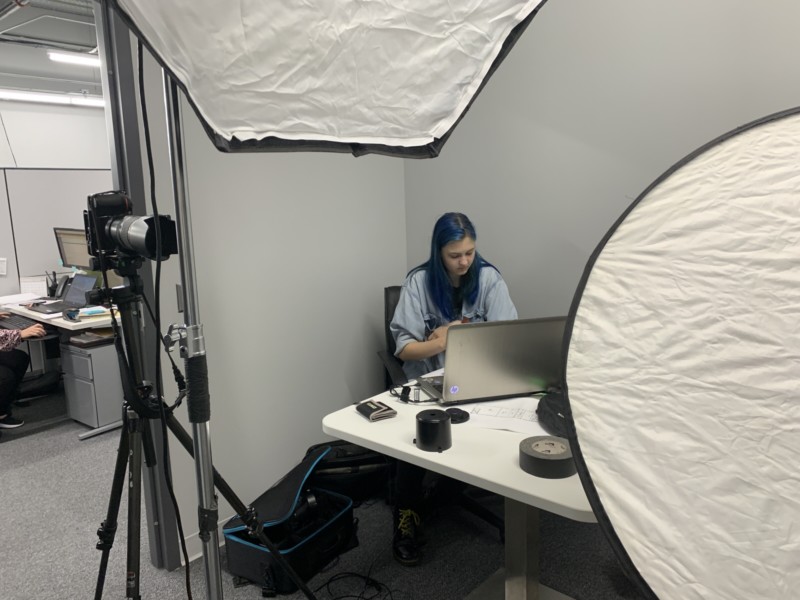
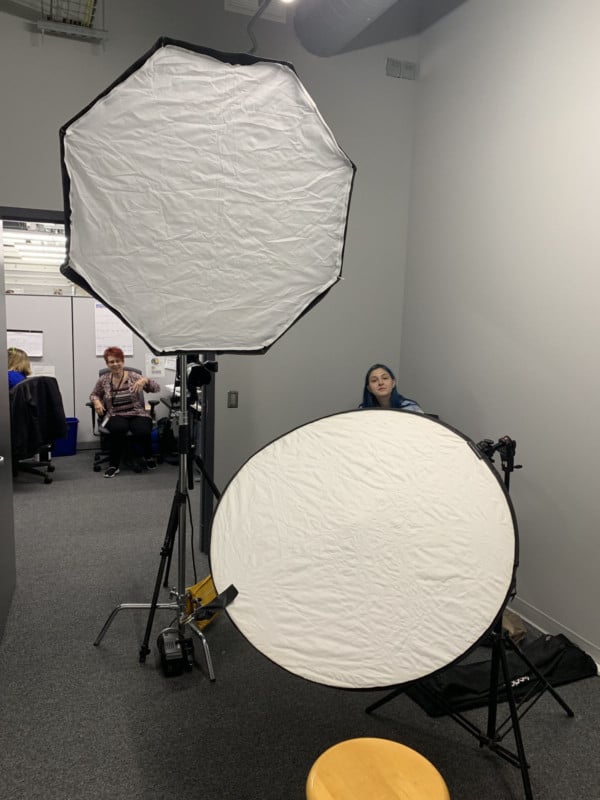
Next, I set up a test set up in my home and played with my lights until I could duplicate the company’s existing style. I just shot myself and turned around my computer monitor for feedback. The basic look was fairly flat lighting with no real shadows. I decided to go with a large octo above and reflector below, essentially a clamshell setup.
To aid getting people in and out, I set the reflector to one side to create a path in for the people on the other. The backlight would be opposite the key, with the reflector filling the in-between and beneath the chin. It was not too hard to work out the final lighting, but it sure helped me mentally to know I had a firm plan on where to go and what to do to get what I was aiming for.
On a normal day, I can shoot a full day with one set of batteries. I felt that if I could keep the power down — say, between 1/4 and 1/8 — on the flash, I should be okay for a full day shoot. As it turned out, that estimate turned out to be vastly over-optimistic. Because I just did not know, I took chargers for all my flash batteries and cameras.
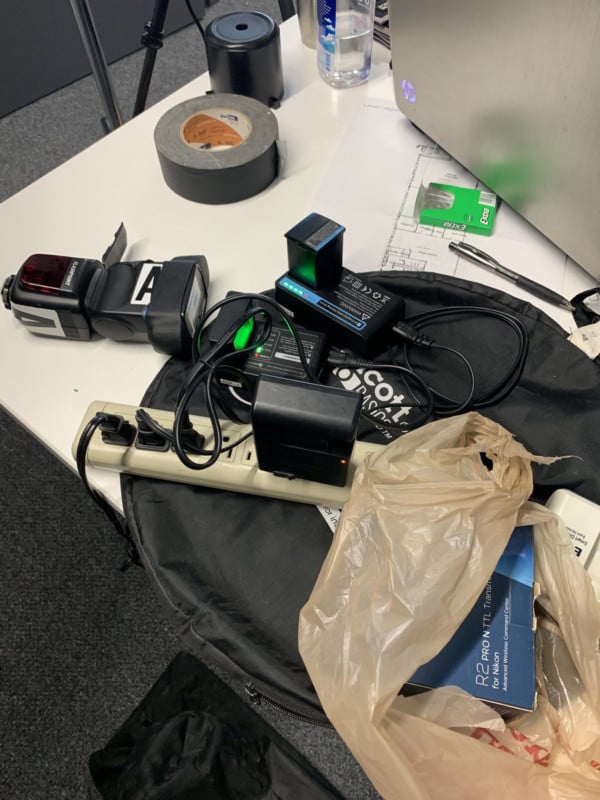
The night before, I went over everything in my truck. One of everything becomes none if anything breaks, so I always keep at least one more of everything I need, just in case. I always have two tripods, two of every flash, everything. Even still, I was nervous all night and sleep poorly. Had I covered everything?
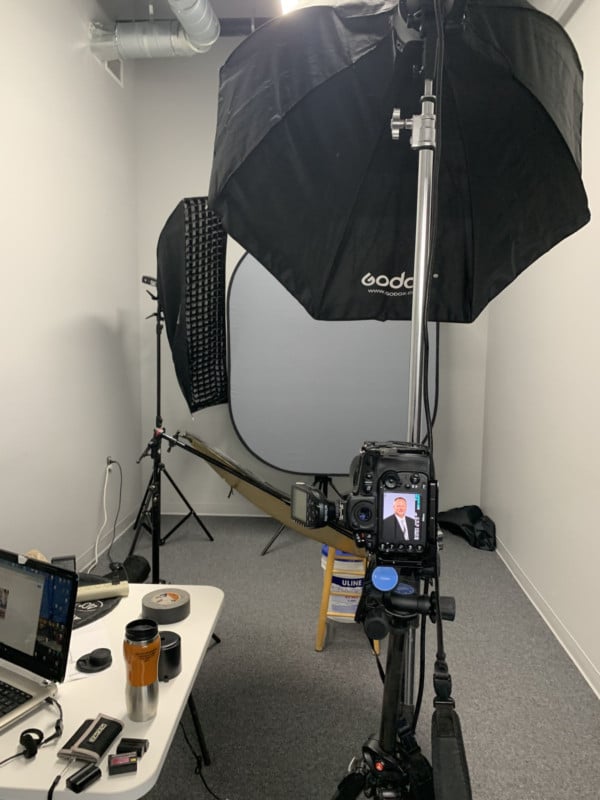
The next morning, I went through the truck again. Once everything was set, I picked up my assistant and headed to the shoot. We arrived 30 minutes in advance and started setting up. The company liaison was there, and my assistant compared her list to the final shoot list. The first person showed up 10 minutes early and I did my final light setup on him.
This is not a fashion shoot. Shooting the employees at f/1.2 was not in the cards. Based on my tests and what I know about the lens I used, I wanted at least f/7.1 for a decent depth of field with a max at f/11. Because I knew I would be shooting a lot, I wanted to keep the strain on my flashes down, so I decided to shoot with power settings of 1/4 to 1/8 power. In my tests on-site, I could hit these numbers with an ISO of 200, which is fine on a Nikon D810…
In practice, these numbers worked really well and proved to be realistic. I got super fine detail and full, crisp images.
Minor adjustments needed to be made for a few tall individuals, or for people with glasses. About the only adjustment I consistently had to make to the lighting during the shoot was the backlight. I like a kiss of light but did not want it EVER to blow out, be too strong, or loose definition. I found myself varying it from as high as 1/2 for very dark-toned or dark-haired people to 1/8 for very fair people. YMMV, of course, but that was where I saw me changing things up.
We allocated 5 minutes per person, and we never went over.
Because I had planned ahead, things went by and large well. That is not to say there weren’t problems — there were. But we could handle them and deal with them quickly and with no interruptions to the workflow, rather than look like incompetent newbies on their first shoot. Here are some of my takeaways:
My first problem was running through batteries much quicker than anticipated. What saved my bacon was two things. One was knowing batteries could be a problem, so I had all my chargers on hand. The other was having back-ups of everything, so I always had a back-up battery on charge.
Having an assistant was great. I could focus on photography while she took care of names and photo numbers and syncing that all up.
I bought a soccer-mon cart at Costco a few months ago, and I find that invaluable any more for big shoots. For this shoot, it would have been impossible. Get a cart!
Planning is all good, but things will always go sideways — be ready to call an audible. Have options and use them. Do not be tied so hard to any one idea or concept that you can’t change. And listen to everyone around you.
It’s okay to be nervous, it just makes you better. But be realistic in your self-assessments. If you can shoot good headshots, you can probably shoot 100 of them with good planning. But just because you once shot a good headshot doesn’t mean anything.
If you are asked to step out of your comfort zone, plan Plan PLAN! You may know how to do a room or shoot a portrait, but it WILL be different when you shoot 20, 50, or 138 in one fell swoop! And shooting MLS is not the same as for AirBnB or a corporate client. You have to learn the difference.
Watch videos, network and ask your friends questions. Look at what others in the field have shot, and use your brain to figure out how they did it. Then put it into practice. Set up similar shoots and see what you can do. It’s up to you to learn, and if you don’t, you won’t be called back.
About the author: Dave Koch is an event, portrait, and fine art photographer based in Salt Lake City, Utah. The opinions expressed in this article are solely those of the author. You can find more of Koch’s work on his photo website, real estate photography website, Facebook, Flickr, and Instagram.