Using Slow Shutter Speeds for Street Photography
As with any genre of photography, there is no “one size fits all” solution for exposure in any given situation. There are as many different means of achieving a “look” as there are photographers practicing those methods, and any can be adapted to fit into the kind of photography you want to be doing.
This included things like “f/8 and be there” and “sunny 16” both of which will usually mention 125th/s as the lowest “reasonable” speed to freeze motion. Exposing to freeze motion is the kind of exposure I see most often in street photography, and will usually lend itself to both classic decisive moment oriented street photography and “light-architecture”-based work.
I took this advice to heart and prioritized freezing motion in my images without really exploring the reasons behind it or experimenting with any other techniques. The majority of my early photography was low light; at night, on the underground, or of London nightlife. In order to achieve these fast speeds, I usually maxed out my ISO which wasn’t a massive issue as I’m not averse to grain in an image.
However, I feel like restricting myself and placing limitations around the way I worked a scene could have led to improvements in the way I work with a camera technically. I regret not being more competent in techniques utilizing slow shutter speeds, as it would have influenced my style earlier, and given me more tools to create an aesthetic.
As much as I found the sheer number of blogs, vlogs, and websites helpful when I look back a lot of the advice seems a little superficial, and echo-chamber-y. Don’t misunderstand: I think that the free resources that are available to newcomers in photography are truly incredible and that the majority who offer these resources do so out of respect for the craft and for their peers.
Nevertheless, I feel if I were addressing the hurdles I was facing alone, without turning to the internet for help, that I may have arrived at some different conclusions. Some of the best photographers I know never read into the academic side of things and still don’t really understand the intricate function of their tools — they simply use them in the way that best works for them to tell the story they want to tell. Without the voice of the Internet in their ear, they were never held back by things like “convention,” and were free to create their own aesthetic based on their own understanding of things.
As time went on and I became more comfortable with what the different functions of a camera could achieve I was able to experiment more with pushing the function of different options – seeing what could be done with extremely wide or small apertures, or — as this article is titled — extremely low shutter speeds.
In my mind, a low shutter speed belonged in landscape photography, to beautify the movement of water, or the clouds. I imagined you needed a tripod, filters, and other accessories to produce a worthwhile image. I really enjoy the work of Alexey Titarenko, but there was no way I could borrow his style and remain handheld.
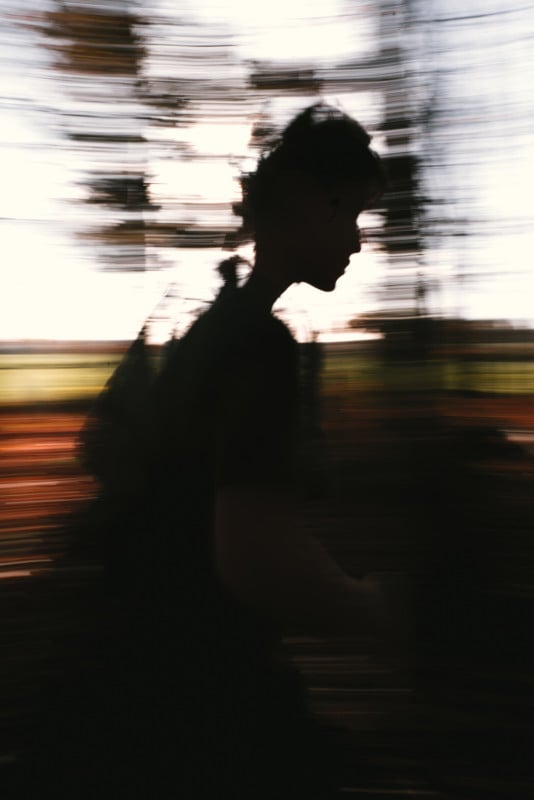
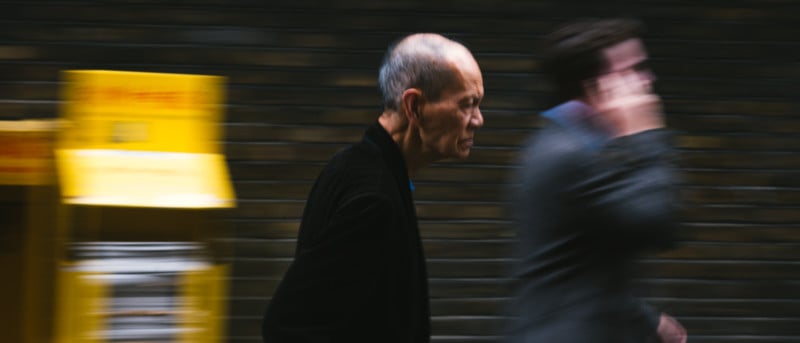
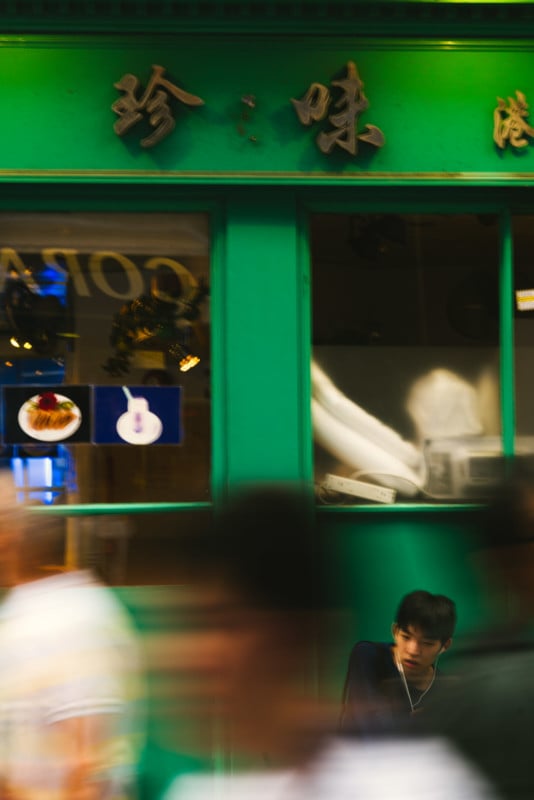
After exploring the different options I settled on a few techniques, which I have since been incorporating into my street photography. I have had to find the balance between scenes featuring “action” and scenes featuring “motion” as they are not always the same thing. I find that lowering the shutter speed can turn something ordinary and everyday into something full of energy and excitement. It really can offer a fresh set of tools to the photographer looking to switch up their aesthetic, and a great set of practice exercises to the beginner.
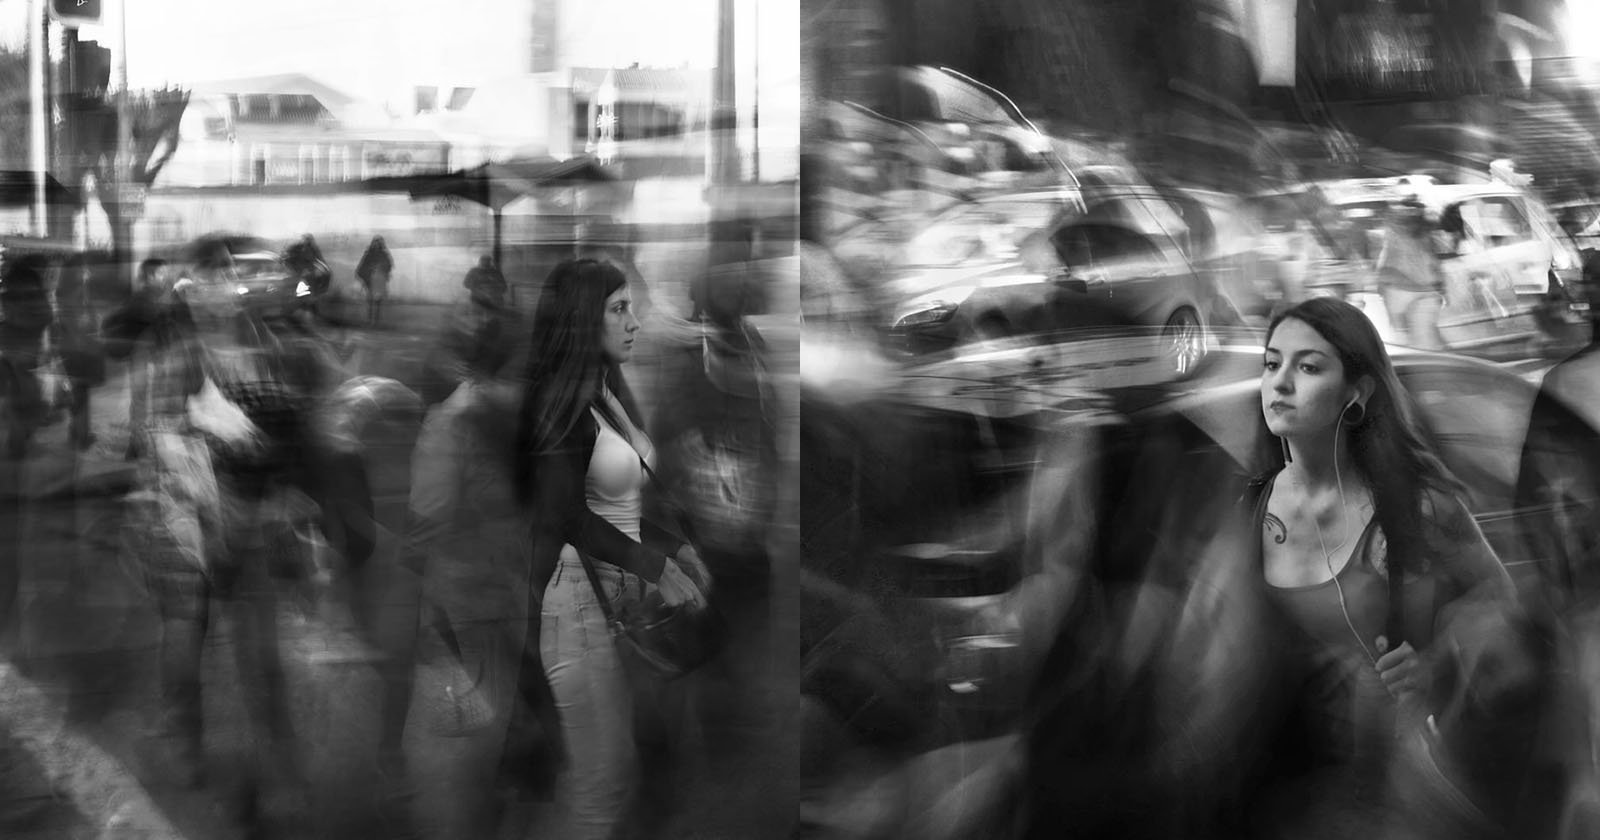
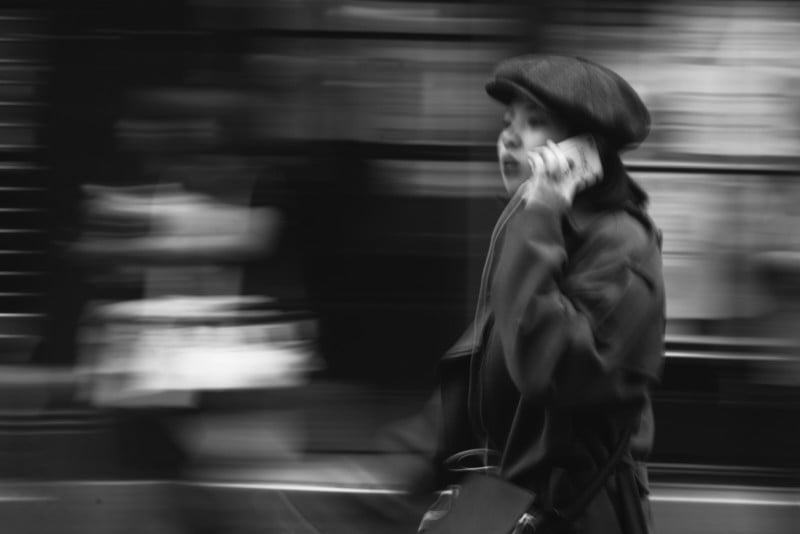
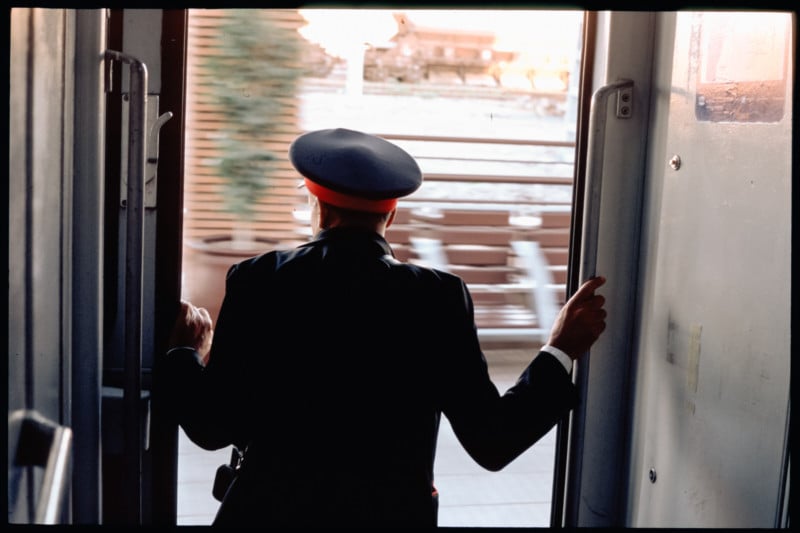
The best effect I’ve found is to pan motion in order to keep one subject “fixed” relative to the lens while blurring everything around it. I find that speeds from 1/8th/s to 1/30th/s work best for me, but I’ll gladly go lower or higher depending on what the situation requires.
When panning place your subject in your frame and track them as they move horizontally through the scene. Click the shutter and continue to track them, only stopping when the exposure is over. I find that early on you will overcompensate, and will move a little faster than required. Practicing is as easy as finding a busy square and panning every person who passes you by. When practicing this with my students during workshops it doesn’t usually take them more than a few attempts to get close, and then the rest is putting it into practice on characters they find interesting.
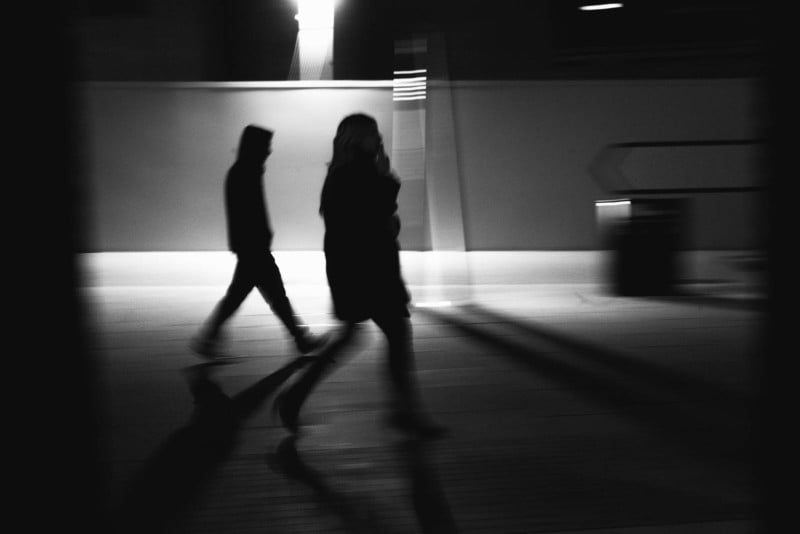
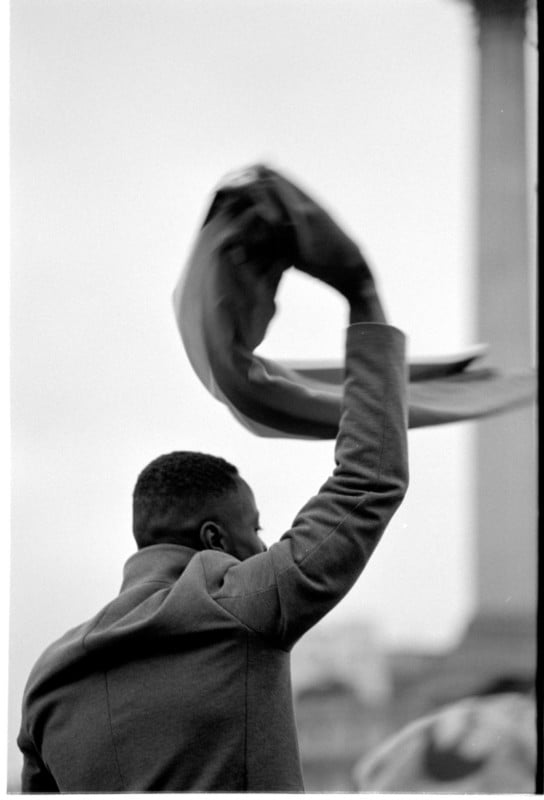
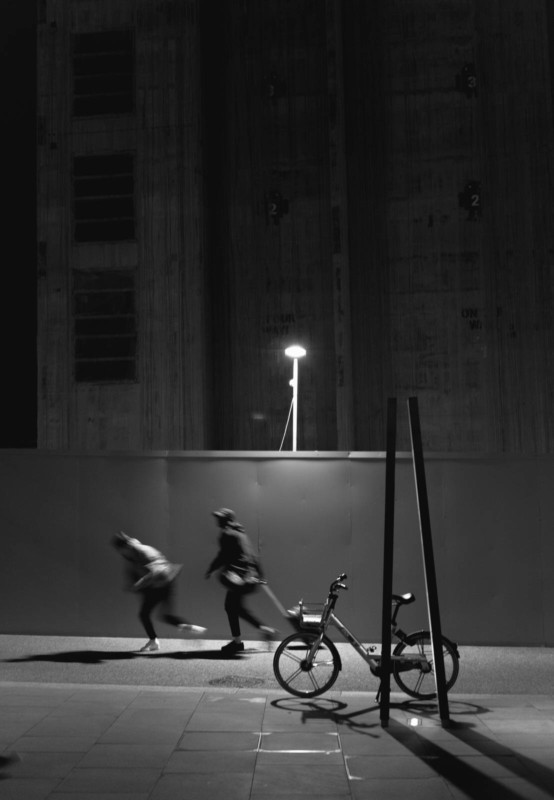
If you want the “opposite” effect, then you’ll need very steady hands. I find that tucking my elbows close and bracing my camera against my glasses means I’m able to handhold a shot down to around half a second. I know some photographers who will put their camera on the floor, and use the camera strap to wedge under the lens to get the perspective they want. This allows you to shoot blurred figures, but in a steady environment — usually good when you have a composition you particularly like, but find the subjects distracting.
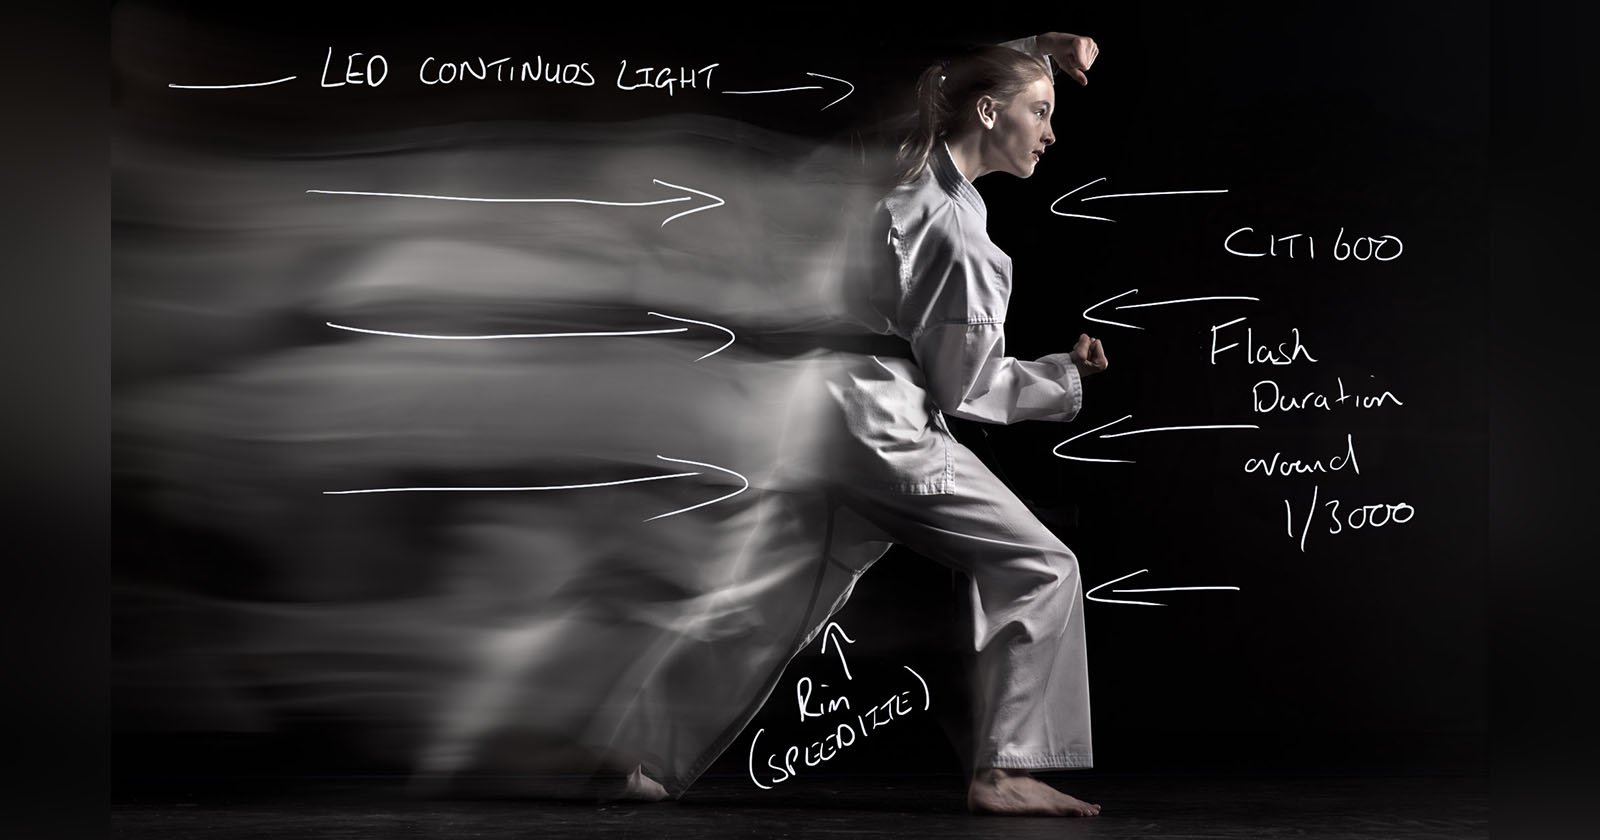
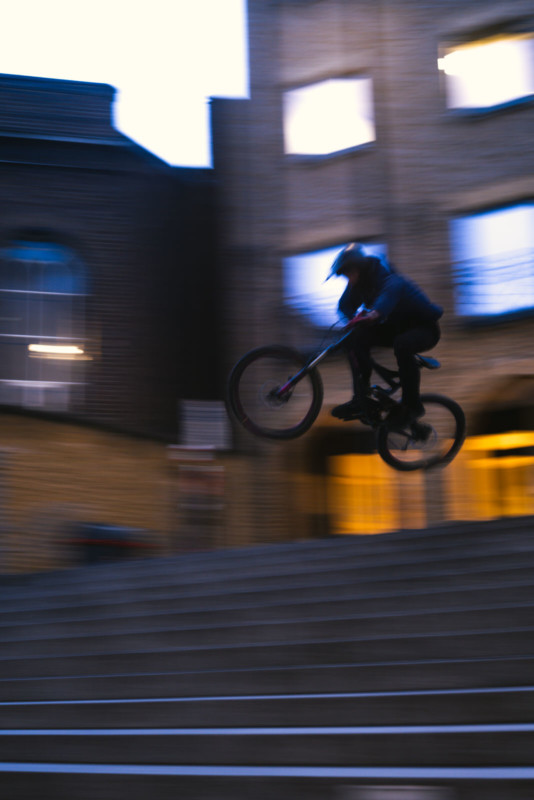
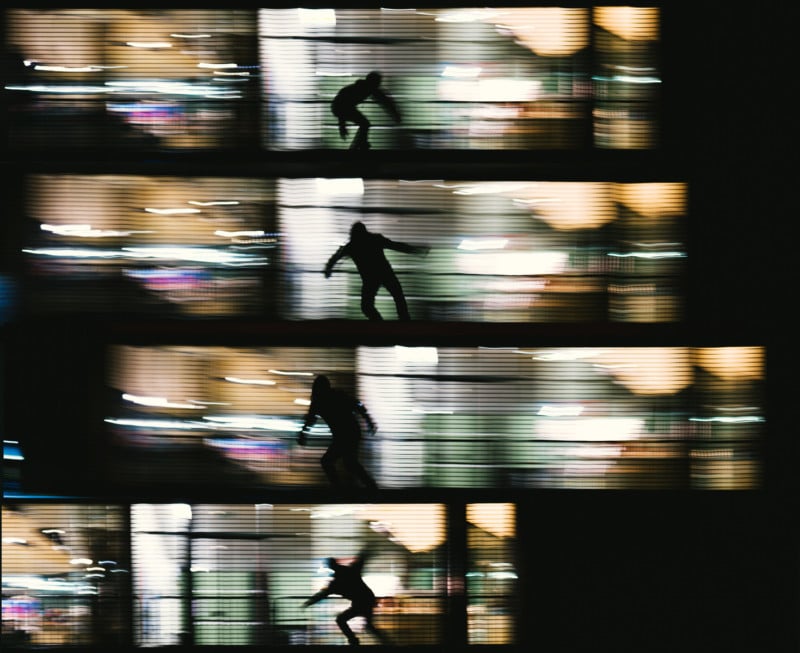
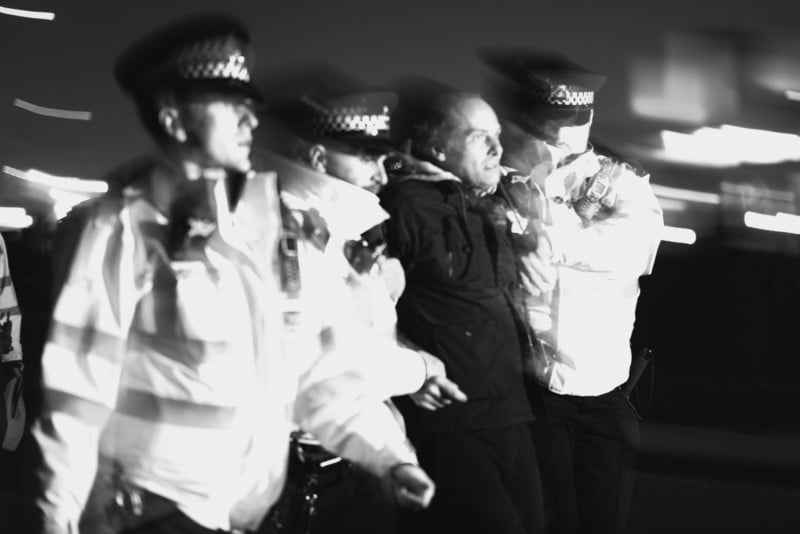
There is also a way to use a low shutter speed combined with flash – either yours or someone else’s, to capture a more surreal scene in motion. By slowing your shutter you can achieve a “dragged” shutter effect, which is popular in wedding photography. I don’t carry a flash while out and about, but if someone else is using one or if there is a flickering street light or any kind of inconsistent bright light, you will be able to use this effect.
There are so many different applications of the different techniques in photography. It took me a while to work out how some of these could be incorporated into my own photography, and I wouldn’t have put these to use without constant experimentation. I recommend trying these to see if any fit into your workflow, and also to look into any other methodology that may be useful in expanding your toolkit, whether you are a street photographer or not!