How to Shoot Milky Way Photos with a Crop-Sensor DSLR and Kit Lens
Can you shoot Milky Way photos using an entry-level crop-sensor DSLR and a basic kit lens? Yes, you can, but there are some tips, tricks, and techniques you can use to improve your results. Photographer Michael Ver Sprill (AKA Milky Way Mike) made this 16-minute video tutorial as a basic guide to doing this.
Here’s Ver Sprill’s method for crop-sensor Milky Way photos in his own words:
First, obtain focus by using a flashlight or headlamp and stand far enough away from your subject that your lens will be focusing at infinite to capture a sharp foreground and sky.
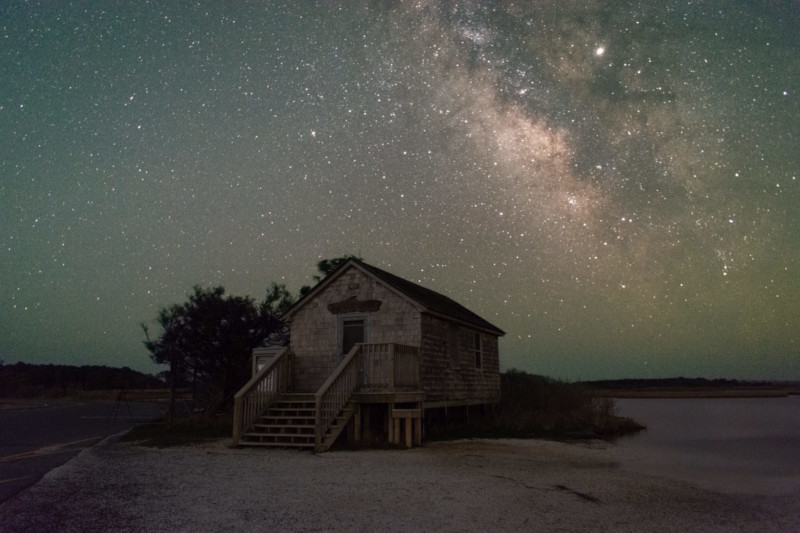
You can use apps like PhotoPills to help figure out the minimum distance you need to stand back to achieve infinite focus. For the Nikon D7100 and 18mm kit lens combo, the software recommended 15 feet or farther away from the foreground subject. To play it safe I stood about 20 feet from the shack. Next, I implemented these photography steps…
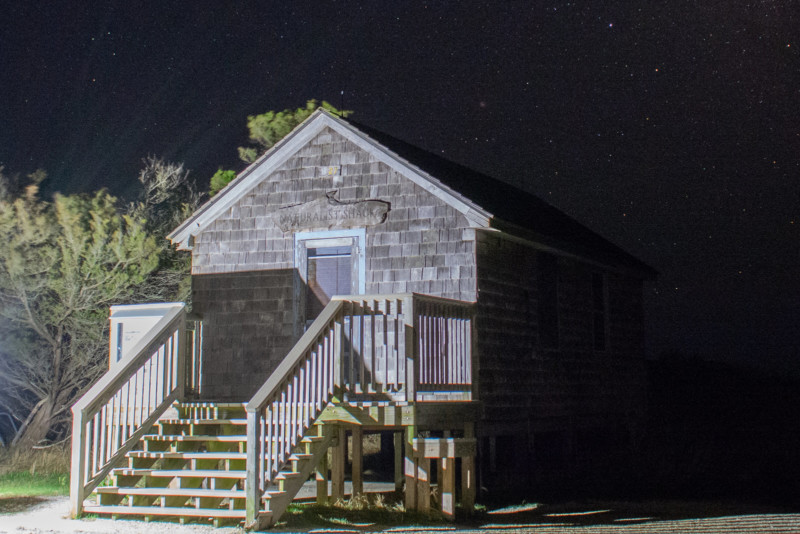
Step 1: While nightscape stacking software like Starry Landscape Stacker and Sequator do a great job in stacking your Milky Way and foregrounds, sometimes the foreground comes out a little too noisy for my liking. I like to use a shutter release cable, set my camera to bulb mode and lower my ISO to take a long exposure for the foreground only. In the first shot, my camera settings were 18mm, f/4, ISO 1600, and 120s.
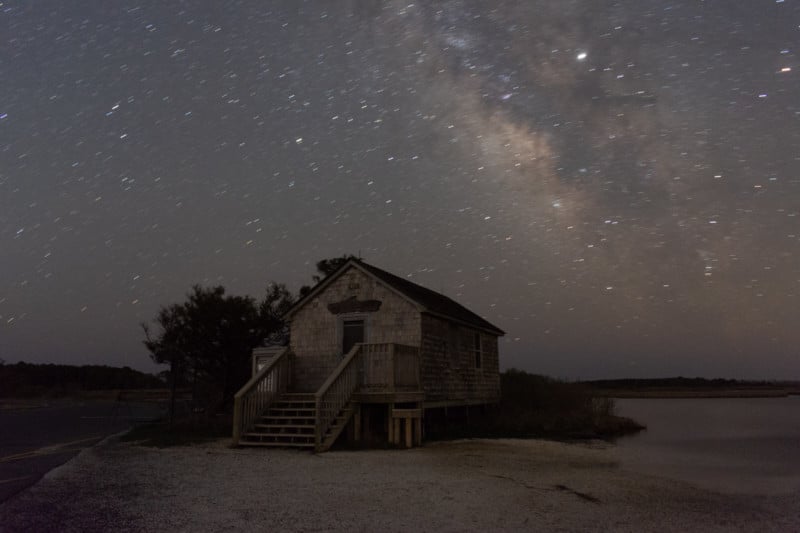
Step 2: You need to take 5 to 15 consecutive photos (1 right after the other), which will be used in Starry Landscape Stacker ($40 for macOS) or Sequator (free for PCs). These stacking programs separate the sky and foreground so the sky and track the stars and stack them. The foreground will also get stacked as well, which essentially averages the images together and in return reduces noise. You want to find a shutter that is short enough to capture sharp stars which means you may have to raise your ISO quite substantially (3200-25600). For this single exposure shot my settings were 18mm, f/4, ISO 25600, and 15s.
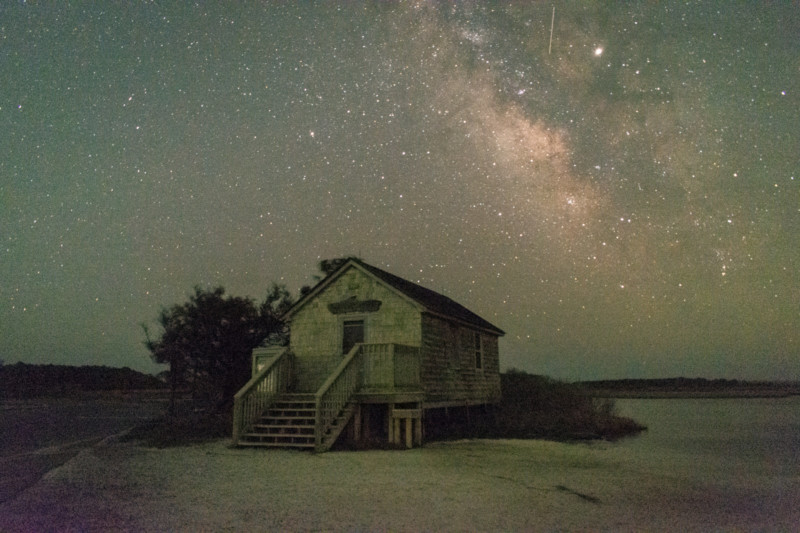
Step 3: Import your the photos into Starry Landscape Stacker or Sequator. For this test, I wanted to show how well only 5 photos at ISO 25600 would look stacked compared to a single photo. This photo is 18mm, f/4, ISO 25600, 15s, and a stack of 5 images.

Step 4: Whiles stacking looks good, the foreground can still be improved. I take the long exposure foreground and blend it over the stacked foreground creating an even cleaner nightscape image.
Blending can be done with any program that allows masking (Photoshop, Affinity, etc.)
You can find more of Ver Sprill’s work on his website and more of his videos on his YouTube channel.