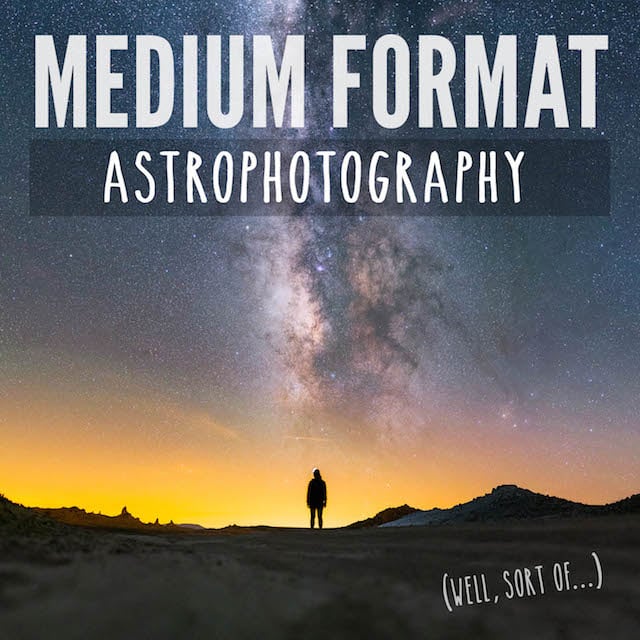
Tutorial: Medium Format Astrophotography Without a Medium Format Camera
In this tutorial I’ll show you how I use a standard 50mm prime lens to make medium format sized astrophotos with a regular small format camera.
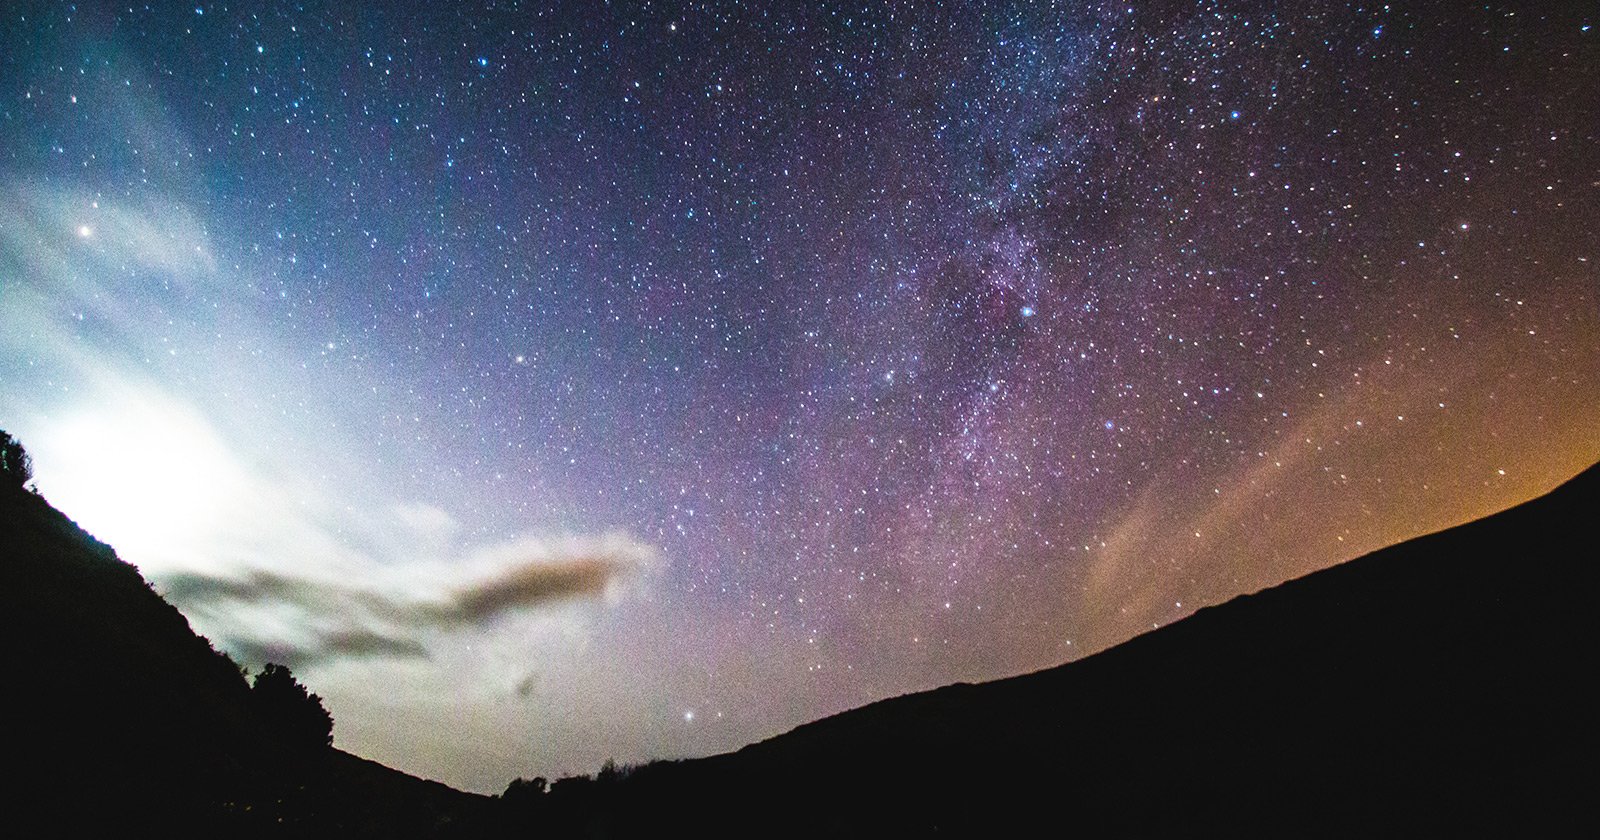
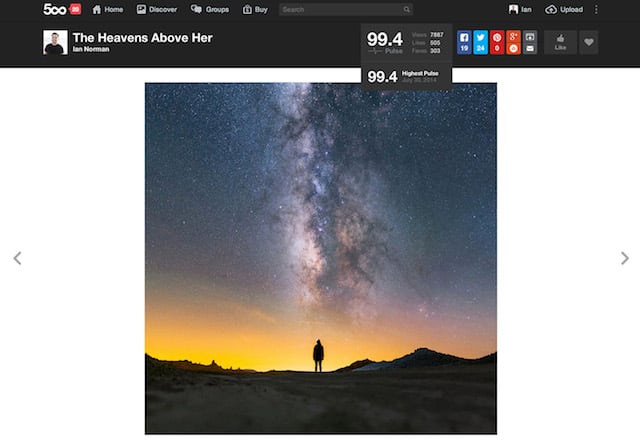
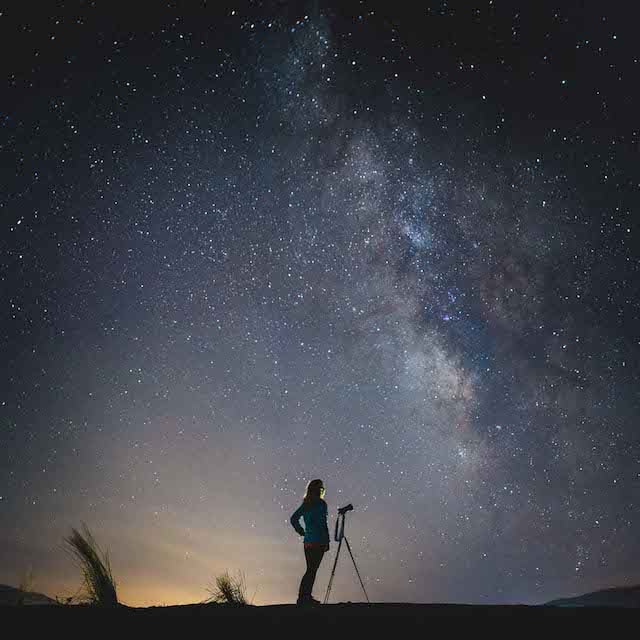
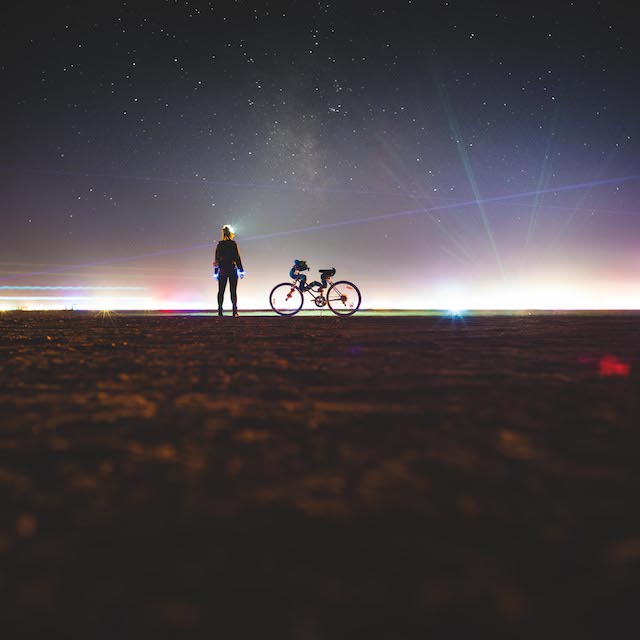
The example photograph for this tutorial is an image of my girlfriend Diana standing below the Milky Way at Trona Pinnacles, California. It’s one of my most popular images, was a top photo on 500px when it was released and it’s the title photo for my Astrophotography 101 tutorial series. What’s not immediately apparent from the image is that it’s actually a two row, 11 exposure panorama stitch made with a narrower 50mm lens to give a medium format look.
I usually don’t suggest using longer lenses like a 50mm because the field of view of a 50mm lens is narrower than we usually want for capturing the Milky Way: it can capture only a small portion of the night sky. Likewise, in my How to Pick a Lens for Milky Way Photography tutorial, I showed readers that the best lenses for astrophotography are typically fast wide angle lenses.
Panorama stitching can help us break from the typical convention of needing to use a fast wide angle lens for astrophotography. It’s more common to see astrophotographers stitching wide angle images together to create a large sweeping image of the Milky Way arching across the sky. This time we’ll use similar techniques using a narrow angle lens instead.
For the image in this tutorial, I wanted instead to create a medium format 6×6 look, reminiscent of the look of the square format photos from a Hasselblad 500 Series camera. Camera technology has not yet offered a digital 6×6 medium format camera so we’re limited to stitching together frames with a smaller format sensor in order to try and achieve the same look and level of resolution.
The Gear
Camera
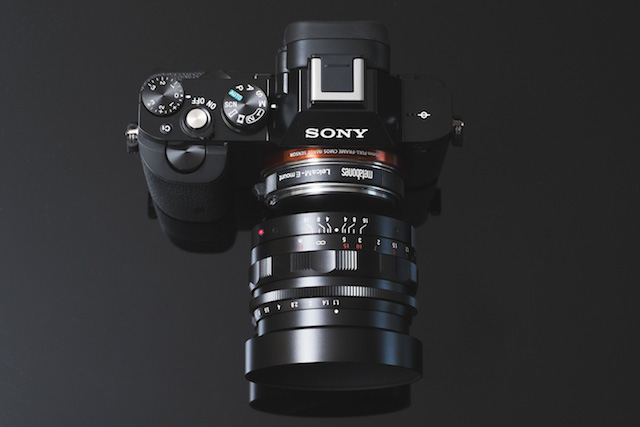
For this particular shot, I used the full-frame Sony a7S. It’s probably the best camera body I’ve used for astrophotography yet because it has a very high sensitivity sensor that makes it possible to easily frame the shot in pitch black conditions using fast lenses. In general, I recommend any digital SLR or interchangeable lens camera with an APS-C or full-frame sensor.
Lens
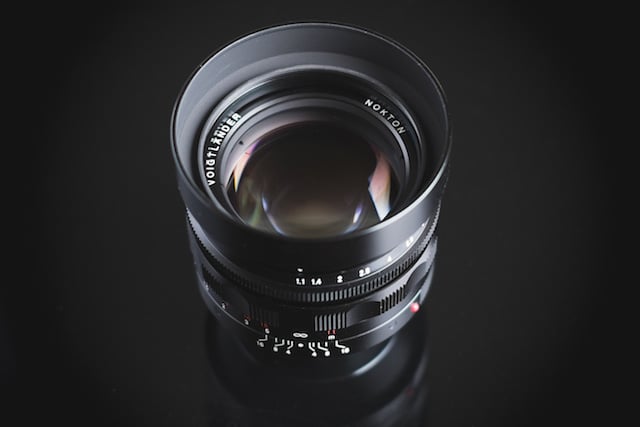
We’ll want to use a fast “standard” lens. For full-frame sensor cameras this is usually anything from about 40mm to 60mm. If you’re using a more common APS-C sensor camera you’ll want something in the 24mm to 40mm range. Results will be best with a “fast” lens that has an aperture f/number of f/2.8 or lower, the lower the f/number, the larger the opening in the lens and the more light the lens will be able to collect. For this example shot I used a Sony a7S mounted with a Voigtlander 50mm f/1.1 Nokton Lens. (Please note that I don’t actually recommend the Voigtlander lens for astrophotography as it has too much aberration for my liking.)
A few recommended “standard” lenses for astrophotography are below:
APS-C Sensor: Sigma 35mm f/1.4 Art, Rokinon 35mm f/1.4, Sigma 30mm f/1.4 Art, Canon EF 35mm f/2 IS, Nikkor AF-S 35mm f/1.8G, Sony 35mm f/1.8 OSS E, Sony 35mm f/1.8 DT A, Fujifilm XF 35mm f/1.4R.
Full-Frame Sensor: Sigma 50mm f/1.4 Art, Rokinon 50mm f/1.4, Canon EF 50mm f/1.8 II, Nikkor AF-S 50mm f/1.4G, Zeiss Otus 55mm f/1.4, Sony FE 55mm f/1.8 Sonnar T*, Sony A 50mm f/1.4.
Tripod
The final piece of the equipment is a tripod. I use a compact Sirui T-025X carbon fiber tripod which is great for more compact mirrorless cameras like the a7S.
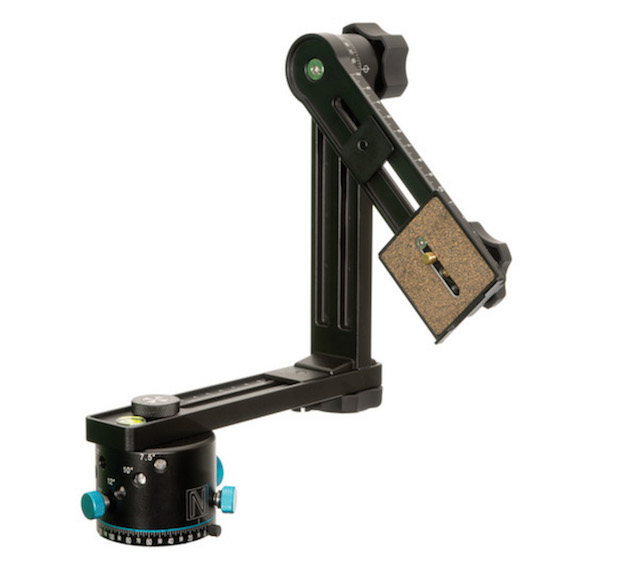
For panoramas I recommend a tripod with a ballhead that lets you use your camera in a vertical orientation or for the best results, a panoramic tripod head like the Nodal Ninja above will allow you to create the panorama without any parallax problems.
For some more recommendations on equipment if you’re just starting out, check out my Beginner Astrophotography Kit post.
The Shoot
Shooting a panorama is relatively simple but there are a few things that will help in the setup and execution.
First, roughly level your tripod. My tripod does not include a level so I just eyeballed it and made sure that when panning the head, the horizon did not shift up and down too much. The better the leveling job, the easier it will be to stitch everything together.
I recommend using the camera in vertical orientation and shooting the panorama in two rows, bottom row first.
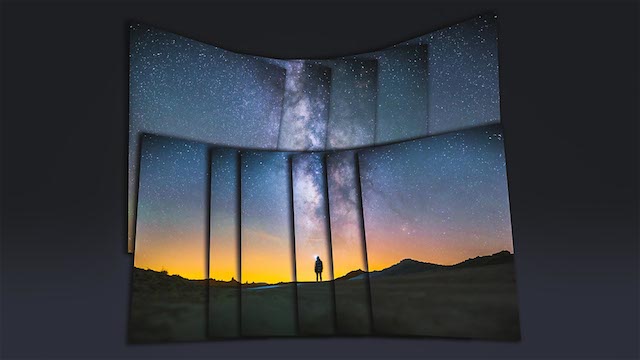
Make sure that you provide adequate overlap between each exposure. For the easiest stitch job, provide a minimum of 50% overlap between each frame. Adobe Photoshop requires at least 40% overlap to properly stitch. For a 50mm lens on a full-frame sensor camera, that’s just about 10-15° between photos in each row. For my example I shot 6 photos on the bottom row and 5 on the top for a total of 11 frames.
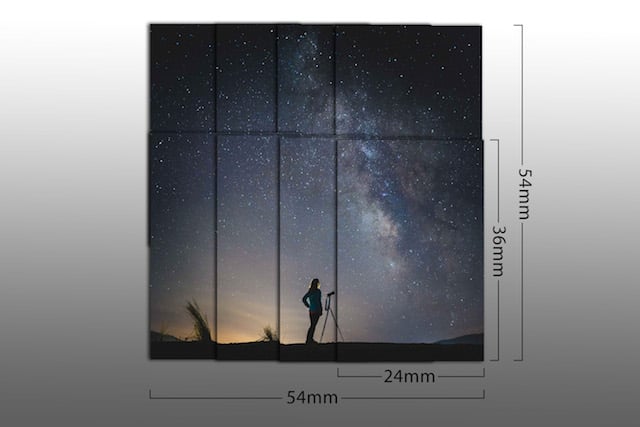
In order to try and roughly match the image area of a 6×6 film camera (approx. 55mm x 55mm depending on the camera) with the smaller full frame sensor (36mm x 24mm) we need a minimum of 8 images total with 50% overlap, (4 images in 2 rows) in in order to achieve an area of about 54mm x 54mm for our final “negative” size.
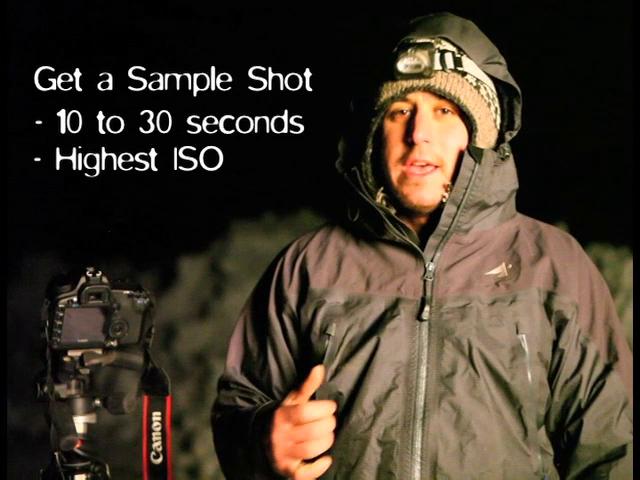
With a normal 50mm lens on full frame (or 35mm on APS-C) I generally recommend an exposure of about 10 seconds at f/2.8 and ISO 6400. 10 seconds should be long enough to gather lots of light but short enough that we won’t see any star trails due to the rotation of the Earth. Stopping down to f/2.0 or f/2.8 will help eliminate any aberrations that my blur and stretch the stars on the edges of the frame and ISO 3200-6400 will ensure that the camera is sensitive enough to detect the faintest stars.
Be sure to take a test shot and make any adjustments as needed. For more information about choosing an astrophotography exposure, check out my guide on How to Photograph the Milky Way and my Milky Way Exposure Calculator.
Post Processing
My typical panorama workflow uses Adobe Lightroom and Adobe Photoshop. There are lots and lots of tools that can merge photos into a panorama but I typically stick with Photoshop because of its easy integration with Lightroom. If I’m having difficulty merging in Photoshop, PTGui Pro does a great job of handling more complex merge jobs.
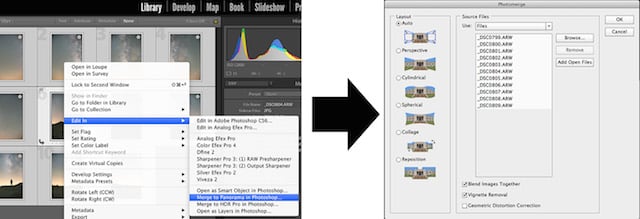
Once imported into Adobe Lightroom, I select all of the photos, right click and use “Merge to Panorama in Photoshop” or from Photoshop select “File>Automate>Photomerge…” to compile all the frames into the final panorama. Photoshop gives several options for combining all the frames but I usually use the defaults of “Auto”, “Blend Images Together” and I check the “Vignette Removal” checkbox.
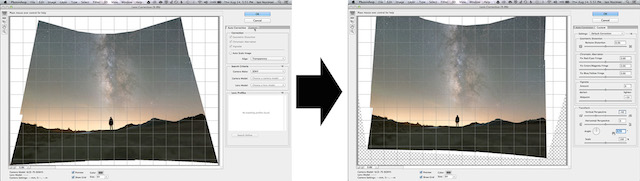
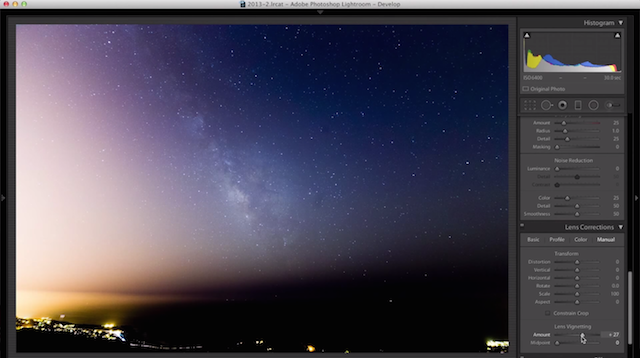
Once merged, I flatten all the layers and then use the Lens Corrections filter to level the horizon and transform the shape of the final stitch into something a little more square. This bit is optional but I like it so that I retain most of the image when making the final crop.
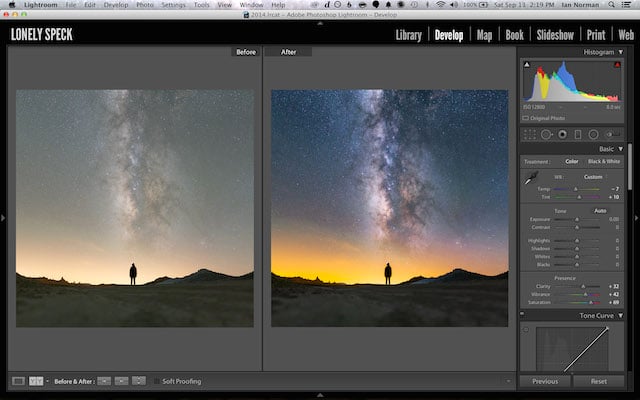
Finally, once I’m satisfied with the image, I’ll crop it, save it and return to Lightroom for the final edits. Check out the video walkthrough below for details on how I edited the photo in Adobe Lightroom.
Complete Video Walkthrough
Check out the complete video tutorial on astrophotography panorama stitching on my YouTube Channel:
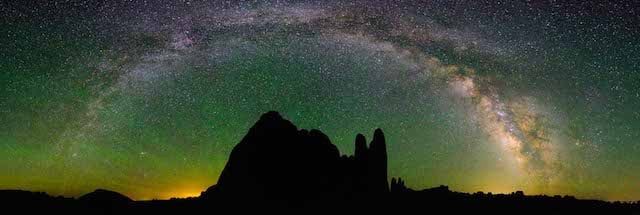
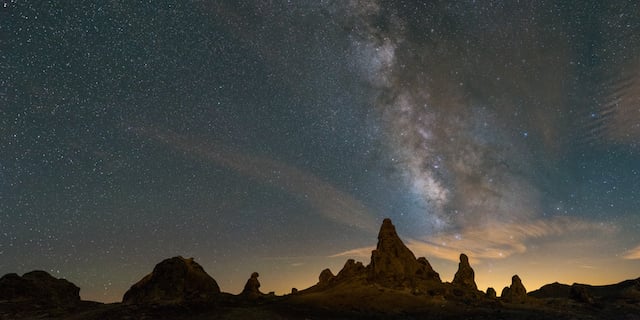
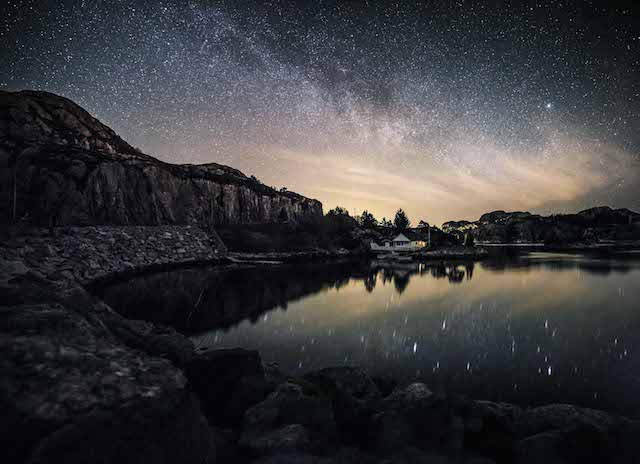
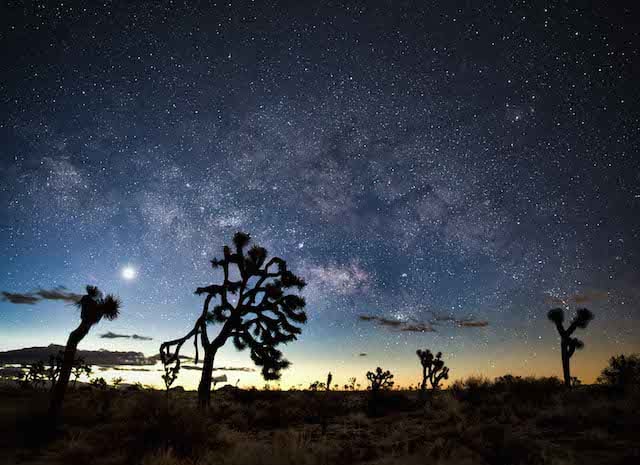
More Examples
All of the images below employed a similar stitching method as outlined in this tutorial. Try it out yourself and share your examples on our Lonely Speck Flickr Group.


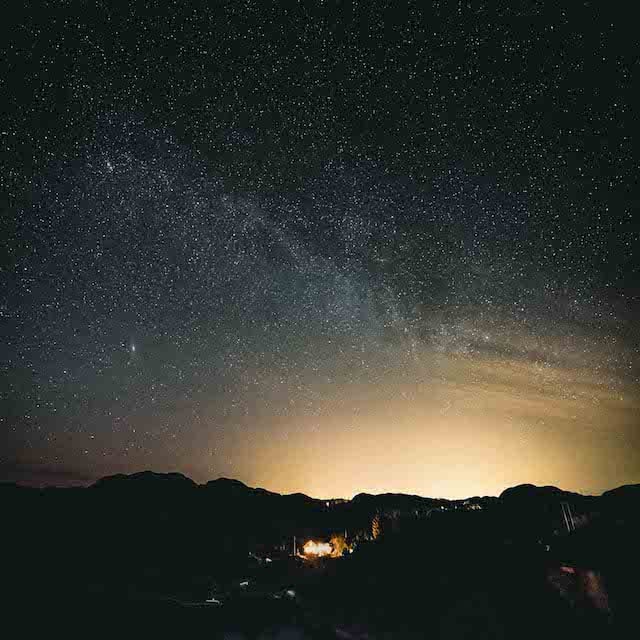
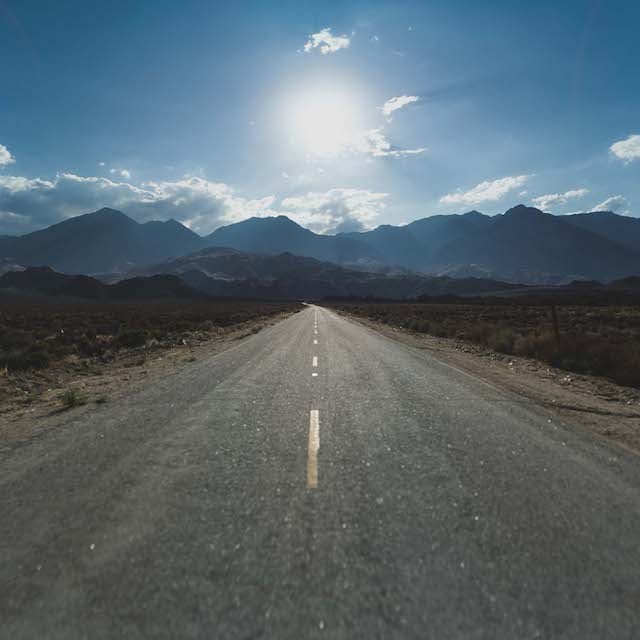
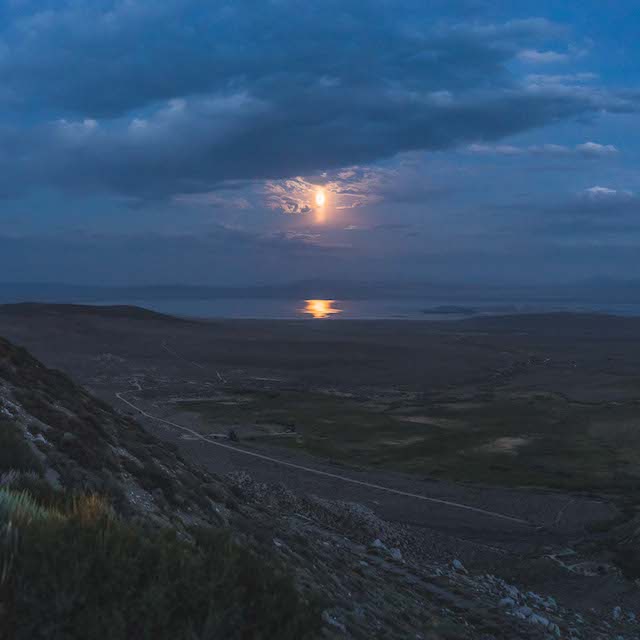
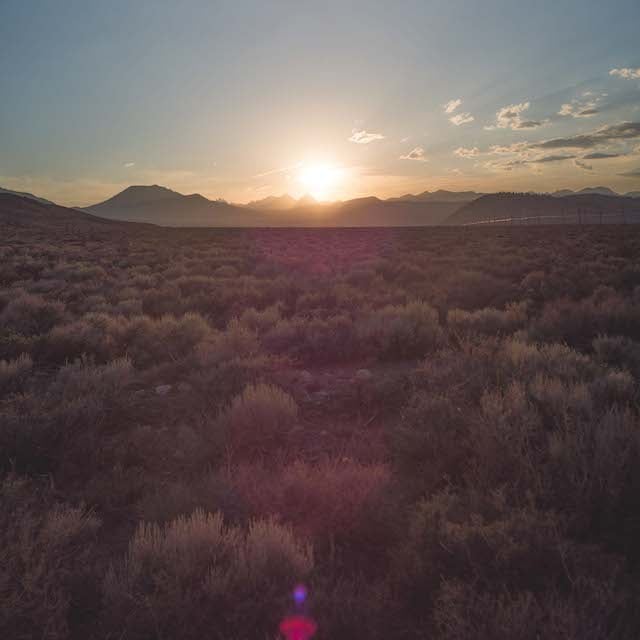
Remember that this technique works well for photos other than astrophotography too. Here are a few examples that aren’t astrophotography:
There are a lot of other methods to create panoramas but this is the way that I make all of my “medium format” shots. At this point in time, stitching multiple exposures is the only way to match the negative size of a 6×6 or larger camera with an off-the-shelf digital camera.
As of this writing the largest digital camera sensor available to consumers is that of the Phase One IQ2 and Mamiya Leaf Credo series of digital backs for the Mamiya/Phase One 645DF+ cameras. At over $30,000 for such a setup, medium format cameras are way out of reach of most photography enthusiasts. These medium format cameras also can’t compete with small format cameras in the low-light conditions that we encounter when shooting astrophotography.
The methods outlined here can produce results with more total image area and more resolution than any of these expensive medium format digital cameras can. It’s more tediuous and perhaps not akin to certain types of shooting (like moving subjects) but the results can be worth the patient process. It makes for a more methodical shoot and creates a new role for your standard prime or longer lenses.
I hope you enjoyed this tutorial. If you have any questions or comments feel free to chime in on the comments below.
About the author: Ian Norman is a photographer, engineer and entrepreneur based out of Los Angeles, CA. He is deeply passionate about photography, and takes great joy in teaching others what he has learned over the years. You can follow him on his website, Twitter, Google+, Instagram, Vimeo and Flickr. You can also support him by purchasing his online Skillshare class on photographing the Milky Way. This review originally appeared here.