I Already Shot the Supermoon Today, But Here’s How to Shoot it Tomorrow
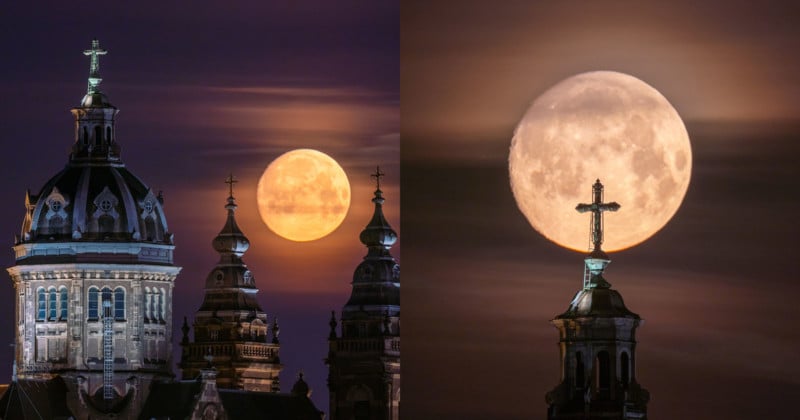
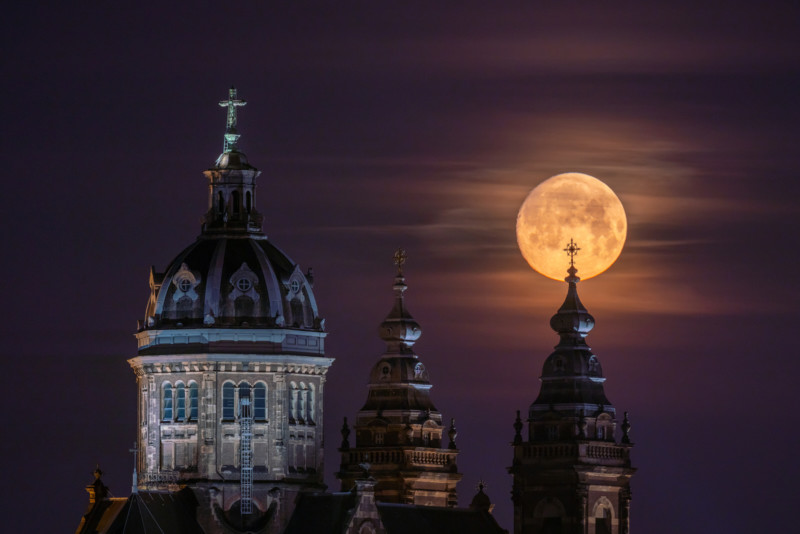
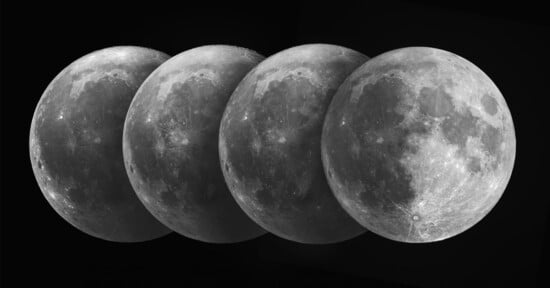
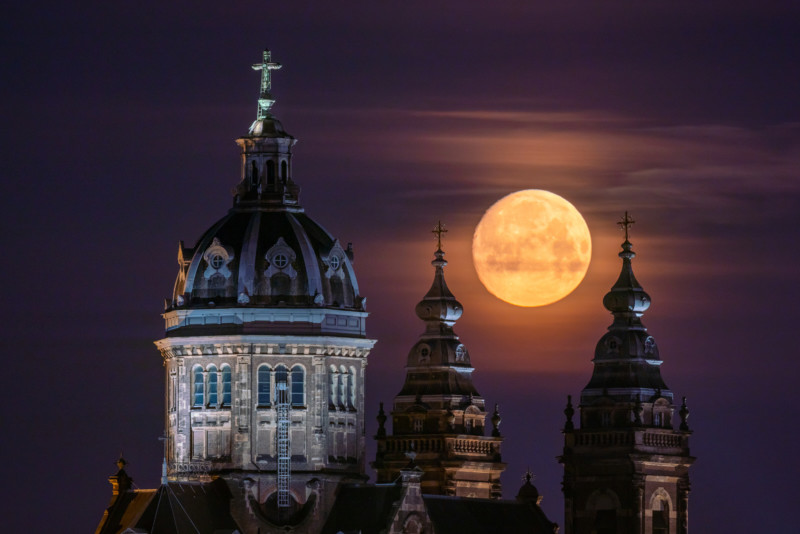
This morning I woke up early to photograph the descending supermoon on top of the famous St. Nicholas church in Amsterdam. But the supermoon was “just 96%” visible this morning as it is not completely full until tomorrow. Nevertheless, I love the slight shadow in the edge of the moon so I picked today as the day to shoot.
Today, the moon set at 7:20 in the morning here. I shot these around 7. Tomorrow there will be the full supermoon which will set around 8 in the morning (here in Europe) but you can also shoot it during the moonrise later the day.
If you are interested in shooting something like this, here is what you need to do:
Planning
The most important thing is planning. You need to know where the moon will set (or will rise, depending on when you want to shoot it). My good friends at PhotoPills can tell you all about it on their YouTube channel:
But to summarize it: in an app like PhotoPills, you can easily plan these moon shots by using the planner. You will see the line in which the moon will set and rise. I will not go into too much detail about the elevation but basically right before it sets or after it rises, you will have a good opportunity to shoot the moon with an interesting subject. Putting a subject inside your photo combined with the moon gives a nice perspective to your image.
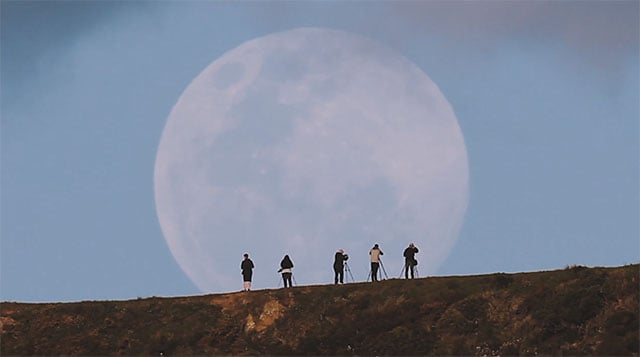
Things to consider is that you need a long lens to get the moon big in your frame. I would recommend using at least 400mm (full frame). For these shots I used a 100-400mm with 3x extender, giving me the range of 200-800mm. Obviously, when combining a subject with the moon and using a long lens, you need to stand at a far distance to make the perspective more epic. I would recommend anything between 700m and 2km, depending on how long your lens is. A church tower, cool building, or anything tall can be used as a subject. Just let your creativity flow.
Here’s a screenshot of my plan for this morning:
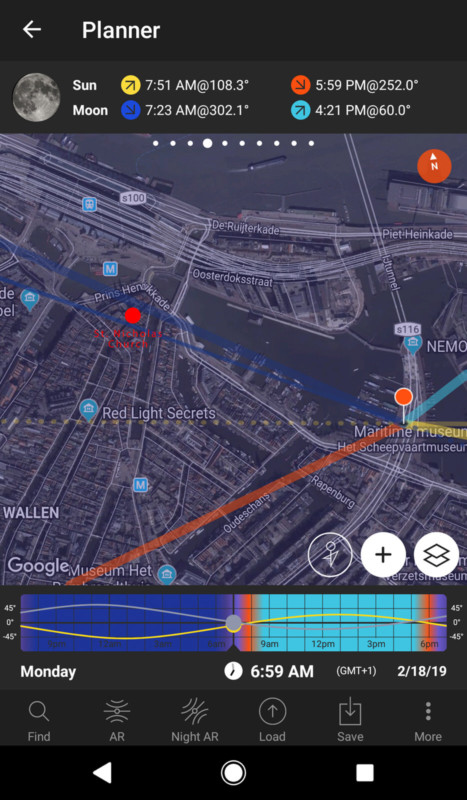
It’s important to scout your location beforehand. I went to this location yesterday to make sure I had a clear view of the church from the docks there. When scouting, you can use the AR (augmented reality) view in the app. Simply hold your phone in front of you and you can see the path of the moon on the day of your preference. It’s important that you have room to move on the shooting location. If you want to take a very precisely aligned shot, you often need to move your tripod on the spot to get the alignment 100% correct.
Taking the Shot
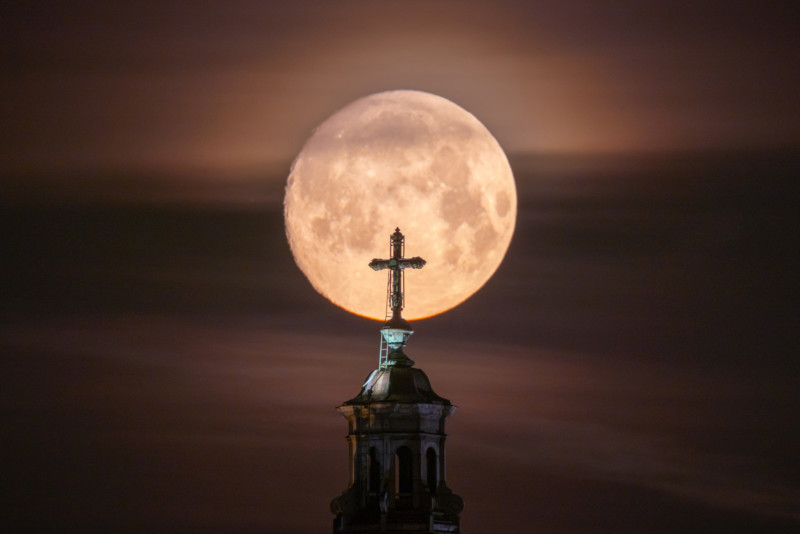
This morning I went to my planned location to take the shots I had in mind. It’s important to be there early. I was there about 1 hour before the moonset and I could see the moon setting above the church. I had time to set up my tripod and get a good alignment with the moon. With the AR view in PhotoPills, I could check the path of the moon again, making sure my alignment would be perfect. I quickly moved a few times on the spot, to get different compositions with the church. Speed is key here! Because the moon moves quite fast.
Rough settings: Aim for around f/8 for good sharpness. If it’s still a bit dark you can up the ISO a tiny bit, around 200-400. Use a decently fast shutter speed no longer than 0.5 seconds. The moon moves, so it will be blurry if you use a long shutter speed. You will probably not get both the moon and your subject 100% in focus, but it will look good enough if you shoot from a big distance. In my shots, especially the one at 800mm the moon is also slightly out of focus. Aim for focus on your foreground subject as this is most important in the shot.
Tip: Use a gear head on your tripod. This allows you to make very small adjustments (tilts and pans) with separate knobs. I normally use ballheads, but making quick accurate adjustments is not easy with most ballheads, especially not with a heavy setup.
And there you go, a quick and straight forward guide to planning your moonshots. These techniques can also be used to shoot a sunset or sunrise above an interesting subject. Panning these is very addictive, and a great passion of mine.