How to Create Rich Color Spots with a Speedlight in Product Photos
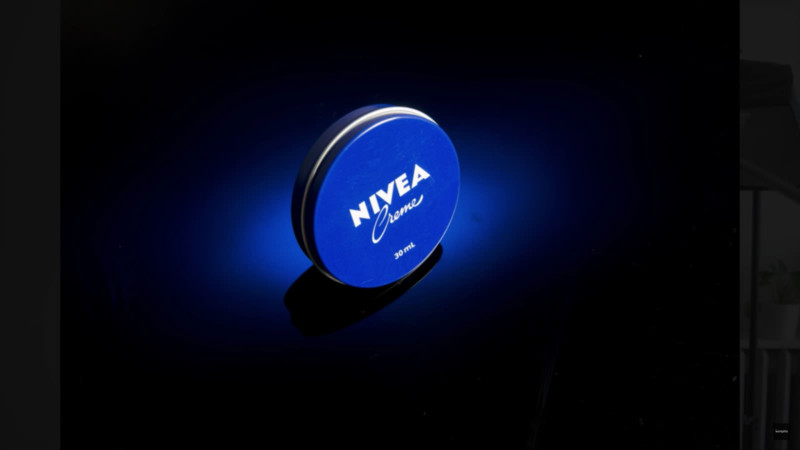
Color spots are a beautiful way to add atmosphere behind your still subject. By cutting out what would otherwise we a catalog black product shot, we can invoke a vibrant, moody look that has been popular for decades. The video above is a 15-minute exploration of this 2 light setup, and it’s colorful flexibilities.
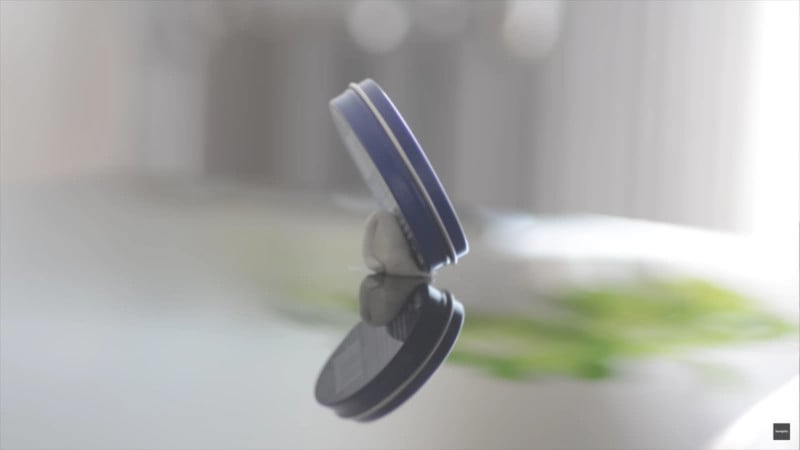
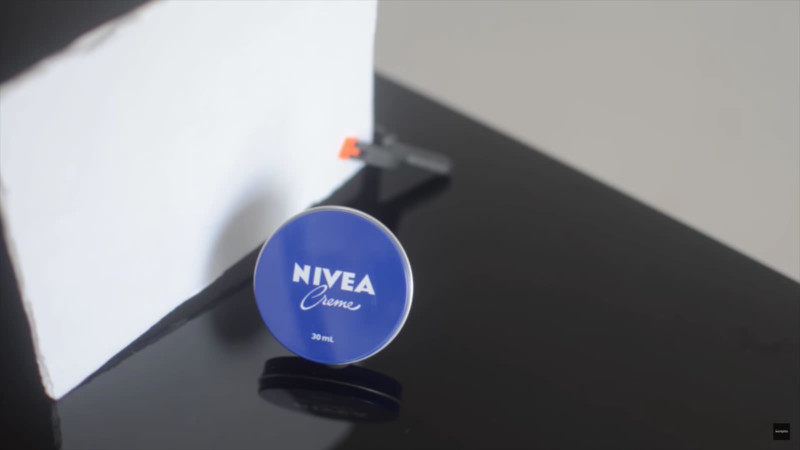
The Shooting Surface
I place my subject on a reflective piece of black acrylic using a piece of tac. Mounting the product this way helps keep it flexible for adjustment, yet sturdy.
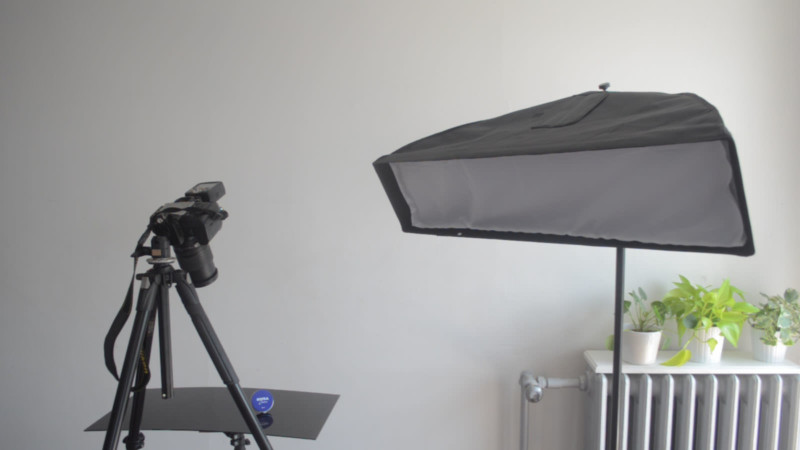
Primary Light
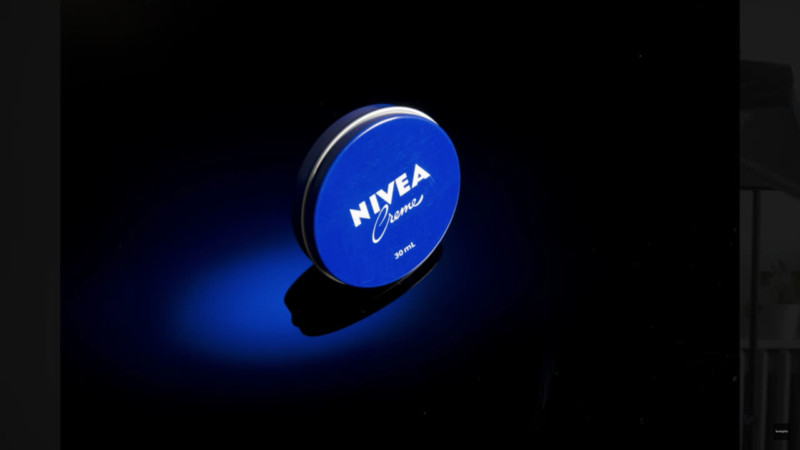
We light our subject fairly indirectly from the right, by placing a speedlight with an 8” x 36” stripbox, facing away from our background. This is essential for a colorful spot, as the darker our background becomes, the more saturation our color spot will retain.

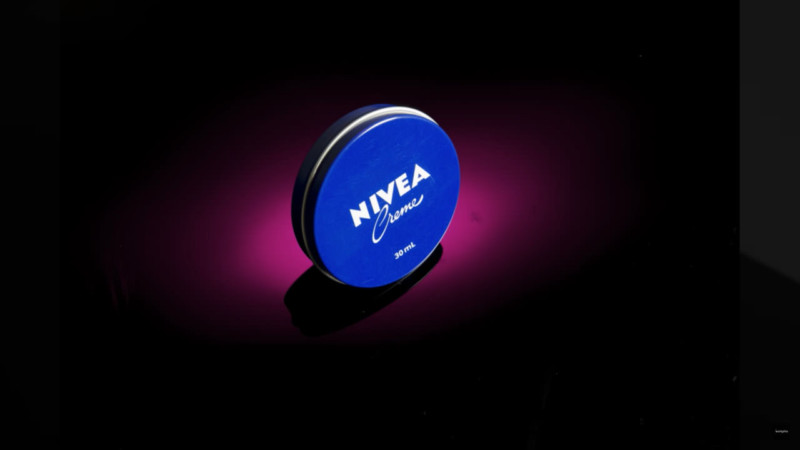
Adding the Glow
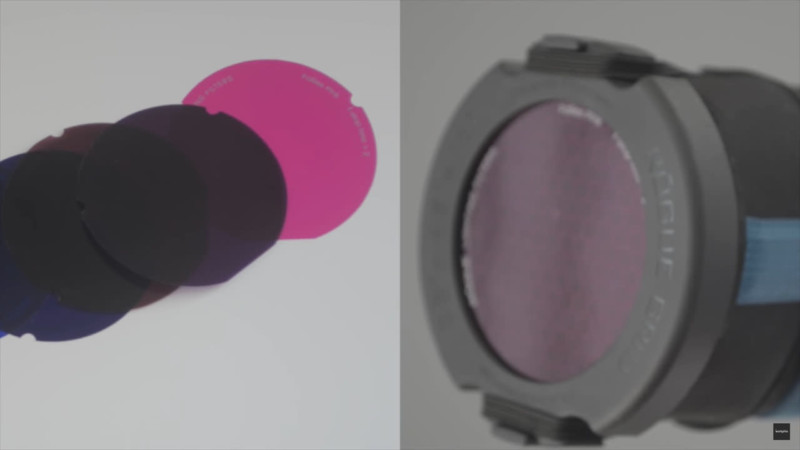
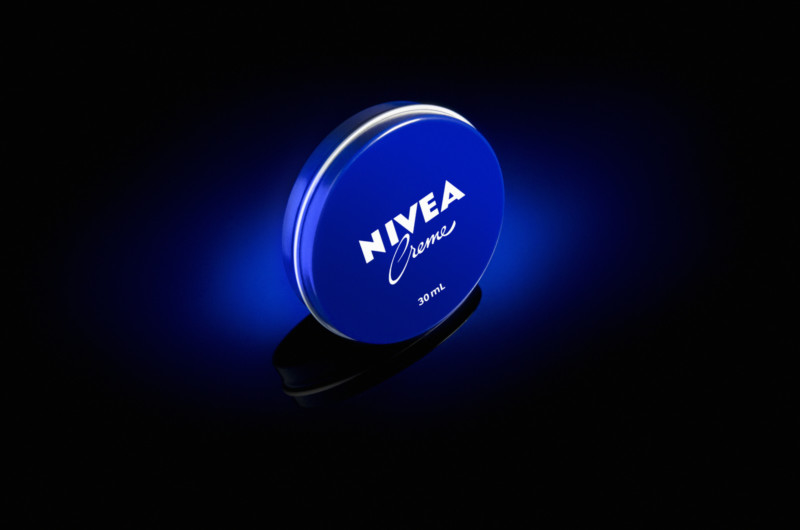
A grid is a beautiful way to modify light into a “spot”. The feathered fall-off of the light produces, is similar to a radial gradient. Modification solutions for speedlights are becoming increasingly abundant. Here we are using a Rogue 3-in-1 Grid with a blue gel.

By keeping our shooting surface near the wall, we can reflect light behind our subject. Just project the angle of incidence, from the lens to the subject position up to the wall. This area will reflect in our acrylic, giving us a large canvas to paint lighting effects like a color spot. It might take a few adjustments to find the sweet spot where the shooting table perfectly reflects.

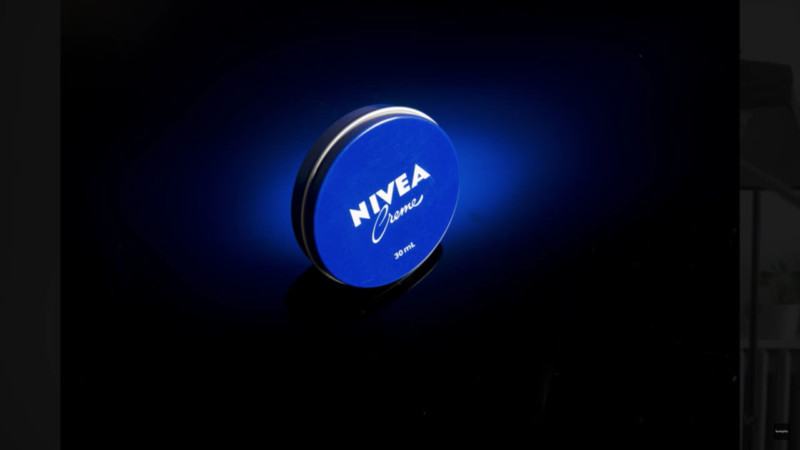
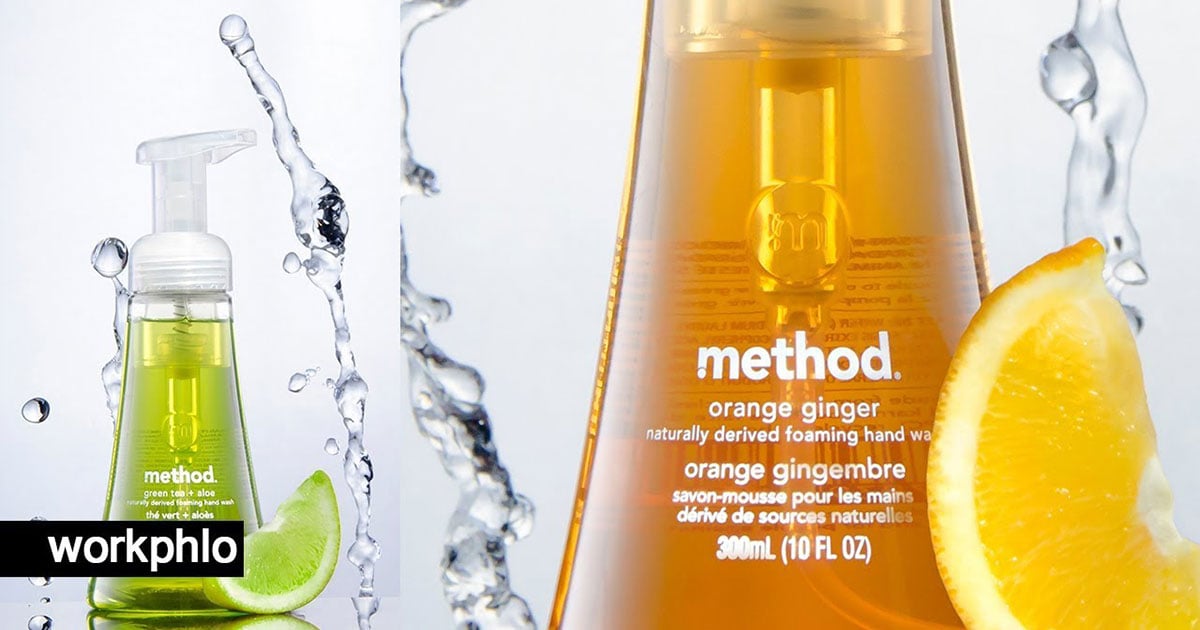
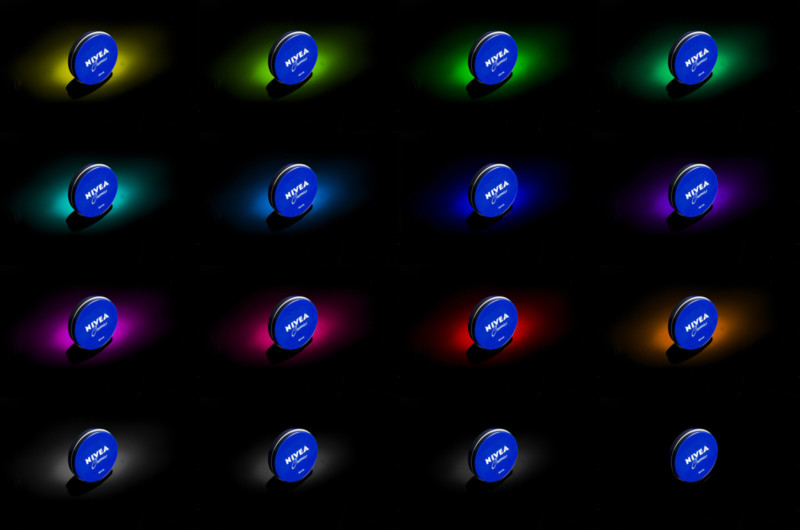
Color Options
Gels are a great way to capture multiple color options of a final look in-camera. Although this can alternatively be achieved in Photoshop, it is rewarding to produce looks in a RAW file format when possible.
Adding a Little Fill
Since our background is dark, I think it’s especially attractive to fill our shadows with another light or if you don’t mind compositing, a simple piece of white card.


And this is a very basic template of many different styles that can be implemented, with high-end studio flash or just a couple speedlights. Much like other studio photography techniques, these schemes are a bit of a puzzle. But once you solve the angles, you can create a really powerful canvas to complement your subject and add visual interest.
If you enjoyed this tutorial and video, be sure to subscribe to my YouTube channel to follow along with my future videos.
About the author: Dustin Dolby is a commercial photographer and speedlight enthusiast. The opinions expressed in this article are solely those of the author. Dolby teaches photography through his YouTube Channel, workphlo, where he breaks down studio setups using minimal gear and retouching techniques.