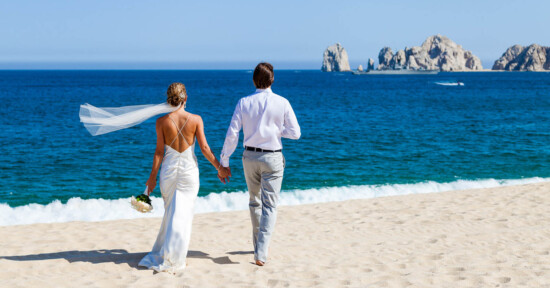
Destination Wedding Survival Guide for Photographers

Have you considered offering destination wedding photography to your clients but questioned the amount of work and risks involved? We will dive deep in this article, covering various topics to help you succeed on your first destination wedding assignment.
- Planning and what to bring.
- Scouting and how to use your time on location efficiently.
- Capturing the wedding day and beyond.
- Understanding the client experience and your role as photographer.
My name is Jimmy Chan, the wedding photographer of Pixelicious from Montreal, Canada. Readers of PetaPixel might remember my other articles on lighting and posing, so the goal is to apply everything I have shared previously in a much more challenging context (destination wedding in Jamaica’s Montego Bay), while explaining the thought process as we go along. As always:
- This article is loaded with tips for your upcoming assignment.
- It’s easy to understand, such that hobbyist and amateur photographers can learn from.
- Showcasing real client photos on location, not models in stylized shoots.
- Criticizing my own favorite shots, revealing what I could have done differently.
Think carefully before offering destination wedding photography to your clients
Does your insurance policy cover your equipment and liability in a foreign country (in particular the country you will be visiting)?
Are you able to execute with a minimal amount of gear?
Are you willing to work tirelessly for days, while being away from your family?
If you answer “no” to any of the questions above, then you shouldn’t be offering destination weddings until you are ready. Don’t be enticed by the scenic backdrops or the jet-setting lifestyle because it involves 10x amount of work, stress, and effort.
Don’t procrastinate, and start planning immediately
Whether the client is booking your flight and accommodation via the travel agency or you wish to do everything yourself, ideally you wish to arrive on location two days ahead. This minimizes the impact should you have to deal with flight cancellations and delayed/lost luggage. Also, it gives you the opportunity to attend important meetings with the venue coordinator, participate in the ceremony’s rehearsal and scout the area before the wedding day.
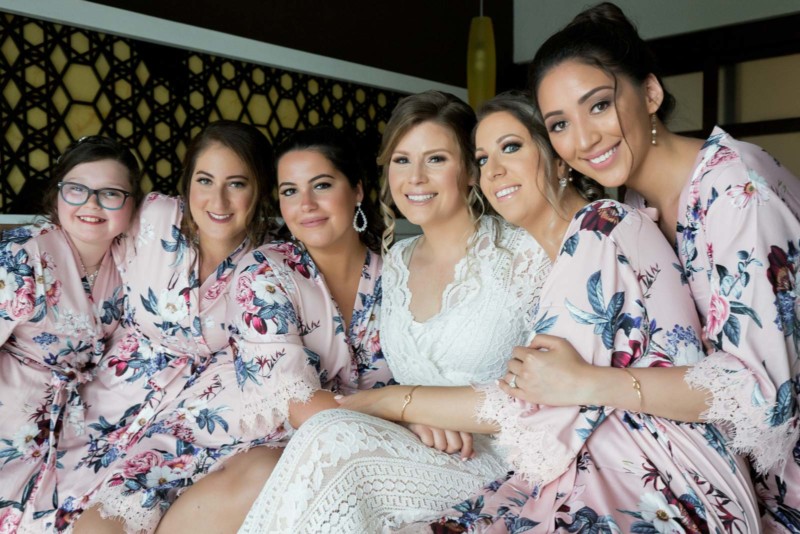
Furthermore, explore opportunities where you might take your client along for photo shoots. I plan them like my engagement sessions, where I elaborate on visual concepts, clothing, time of day and where to shoot.
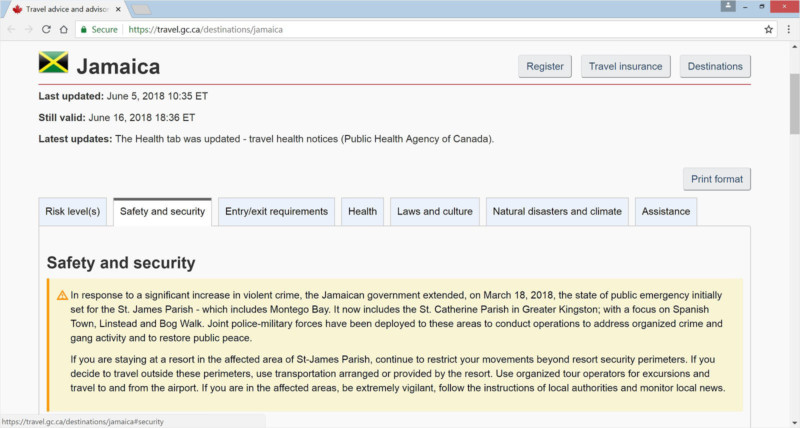
Double check if your destination requires special work permit or visa upon entry. Remember that you are visiting for work, as a photographer and not as a tourist. This sounds like a no-brainer but many underestimate the amount of time needed in getting all documentation ready. For Jamaica, a work permit isn’t necessary but I had e-mail transcripts from the Jamaican embassy (in Canada) printed anyway, in case I run into problems with the customs.
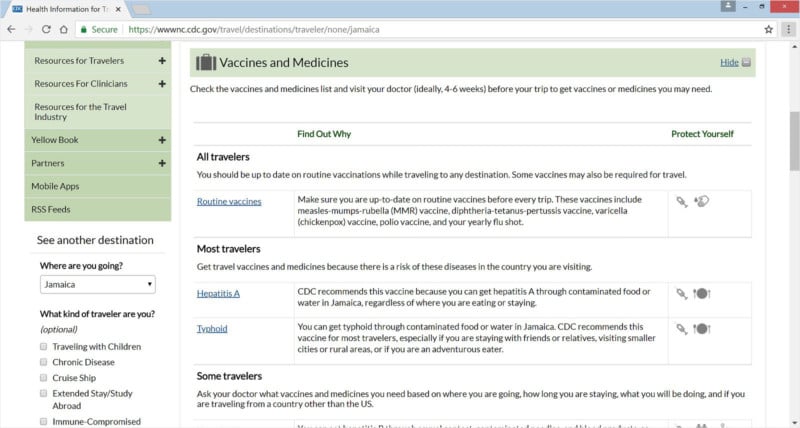
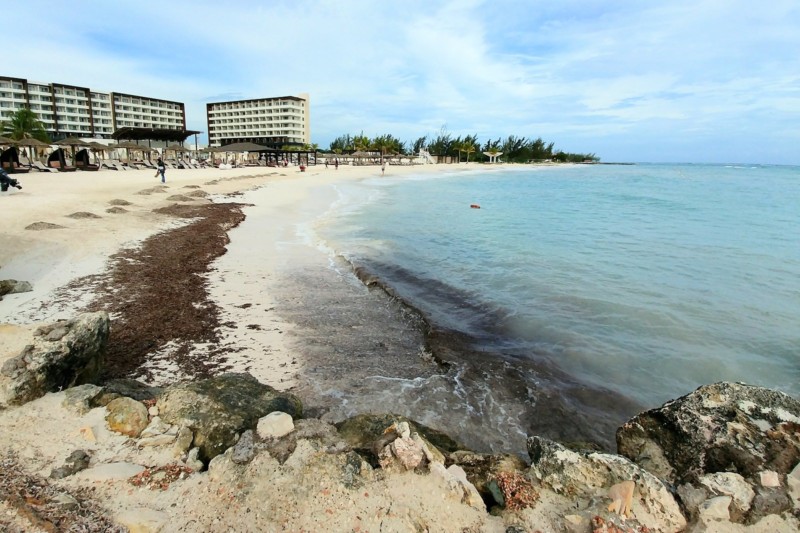
If you are heading to the Caribbean, consider bringing other essential items such as sunscreen, mosquito repellent, bandages, sunglasses and a hat. You will thank me later once you get to experience the blazing Jamaican sun on the beach where there’s no shade.
Let’s talk about gear
Is your gear durable enough to withstand the summer heat, sand, rain and occasional salt water splash? Trust me that I am no gear snob but this isn’t the place (or time) where you can drive to the local camera store for rentals. Equipment failure or not having adequate backup is suicidal.
Under no circumstances should you check in your photographic equipment. The staff at the gate will always attempt to reassure you but we all know this is a disaster waiting to happen. Look no further than PetaPixel for horror stories, both from Delta Airlines and American Airlines.
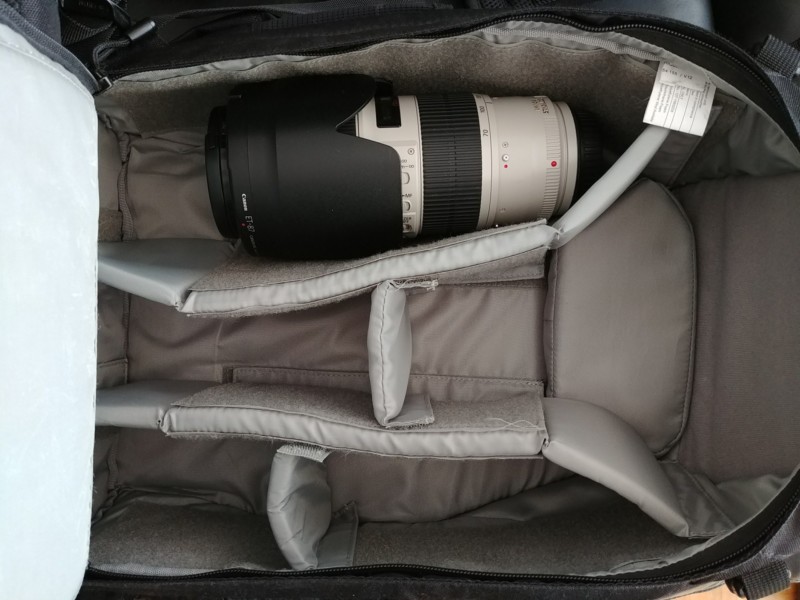
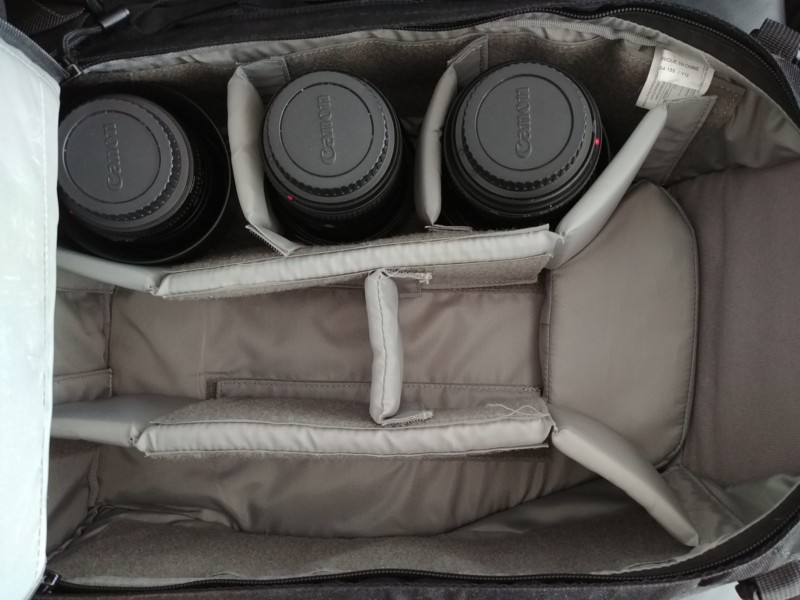
Flight carry on baggage restrictions seems to be getting worse as the years go by. My recommendation is to drastically limit the amount of gear you will be bringing, such that everything fits into a moderately sized backpack. The backpack offers some advantages versus the rolling case:
- To free my hands at the airport.
- I only need to drag one suitcase when traveling (gear on my back).
- More discreet, less chance of being targeted at the gate for forced check in.
Dropping a lens is the rite of passage for any photographer. Don’t worry, if you had yet to experience the pain, your time will come.
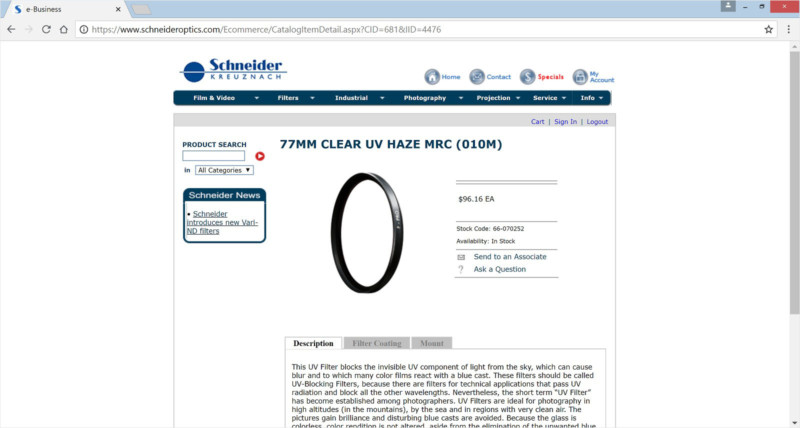
I strongly recommend the usage of clear UV filters for your lenses at destination weddings, why?
- For weather sealing purposes.
- It gives me one more chance after screwing up.
If you drop your lens and crack the front element, then it’s game over. Even when I am not careful, allowing water to be splashed onto my lens, I just don’t have time to clean it during a shoot. With a UV filter, I just need to remove it, put it away and keep shooting. Stop worrying about lens sharpness as long as you pick a reputable brand such as B+W or Hoya. Give yourself that peace of mind and insurance when you have no access to rental equipment.
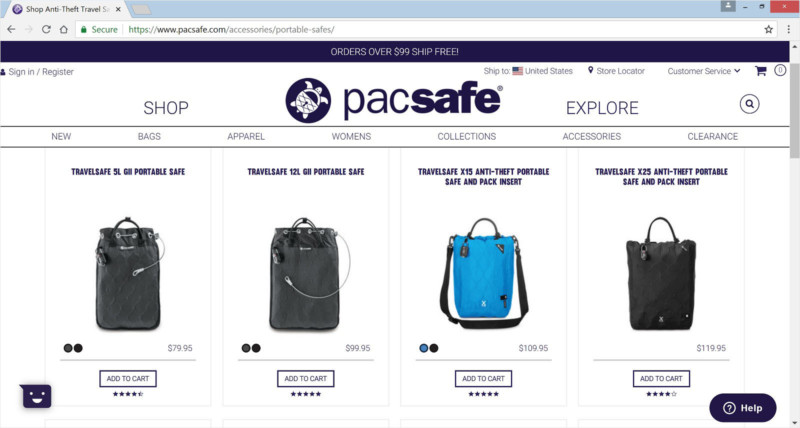
Another accessory that I recommend is your own portable safe. The goal is to secure your gear but also to discourage thieves from running away with your backpack (or rolling case) too easily. It is essentially a large pouch where you can tether it against any fixture such as the closet’s metal rod, plumbing pipes or bed frame, wherever you deem difficult enough to access. In order to steal your equipment, thieves must bring specialized tools such as wire cutters or saws.
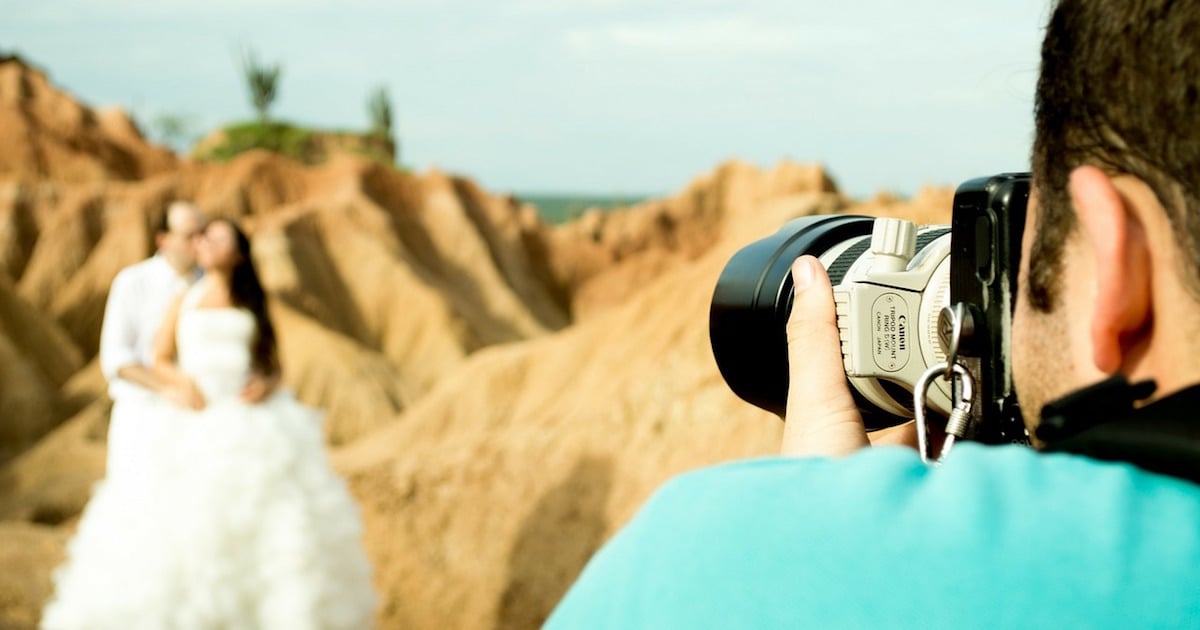
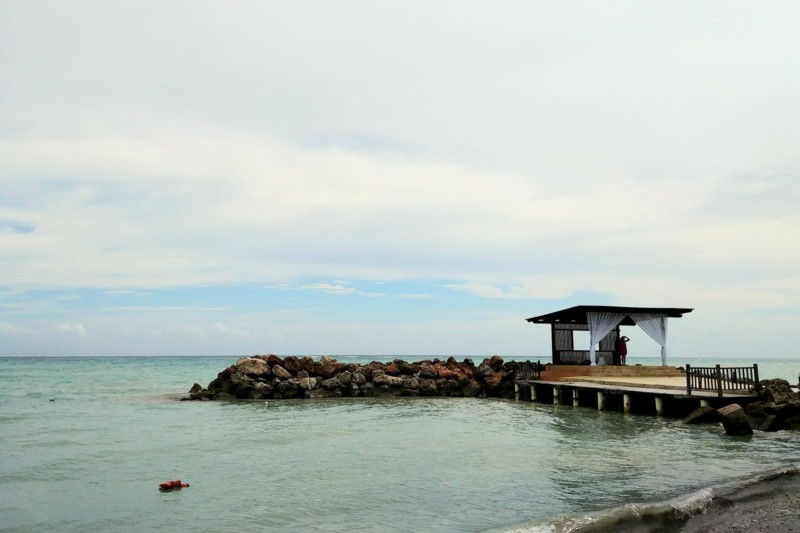
The importance of scouting
With the exception of the wedding day where I shoot with dual cameras, I make a conscious decision to separate my equipment as soon as I step outside my room.
In other words, I carry one camera body during my off hours, when scouting or shooting on location. For any reason I get mugged, my backup is available at the hotel as opposed to losing everything. Similarly, if someone raids my room, then I still have one camera left. Deal with insurance later, never put yourself in a position where you can no longer shoot when that’s your job!

Understand your role as the wedding photographer
If you think that your job is to show up with a fancy camera, take some pretty pictures and spend the remaining days drunk, then you are coming in with the wrong mindset.
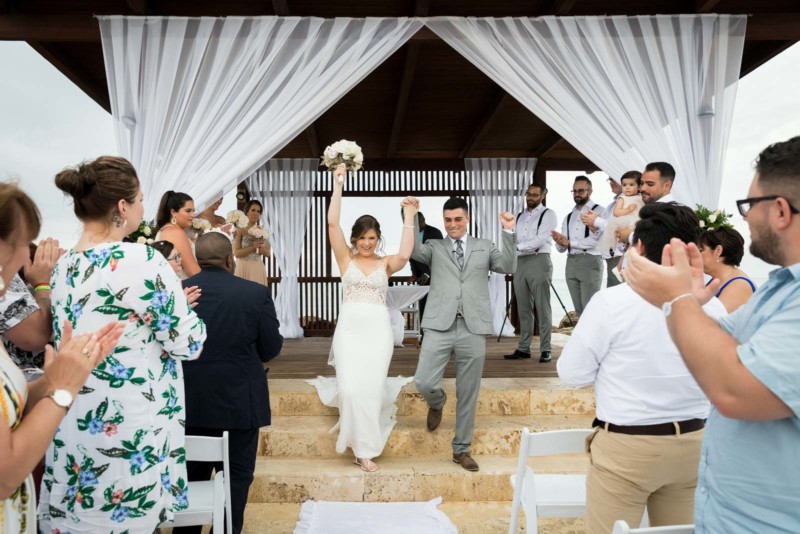
You are here to act as their guide, to reassure them that moments will be captured beautifully no matter what. The pictures won’t reveal everything that went wrong at this wedding. The morning downpour alone was enough to cause panic, the bride was in tears as soon as I walked in. She was about to cancel the outdoor ceremony, something she had dreamt for years but I checked the forecast enough to reassure that the rain will stop 30 minutes before starting.
Just stay cool, everything falls apart when you panic.
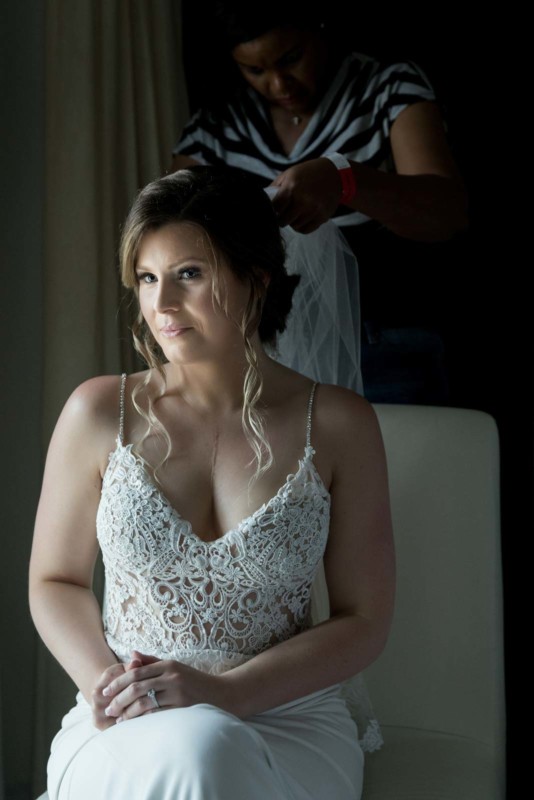
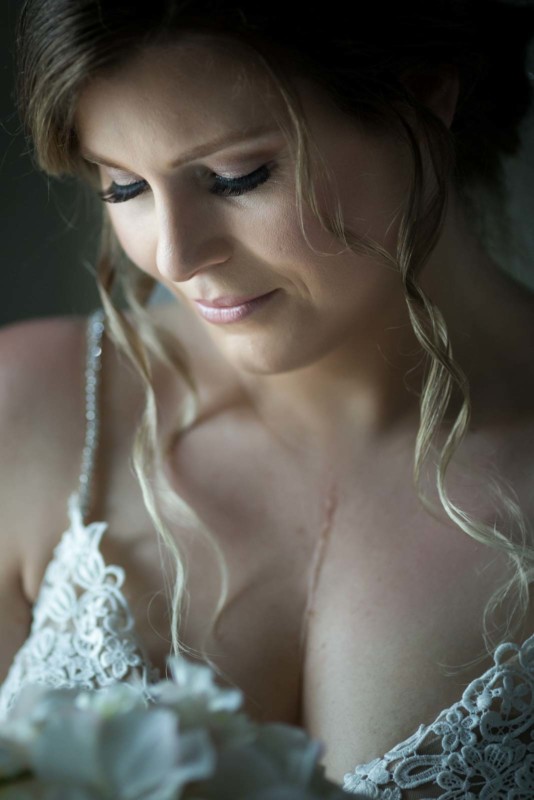
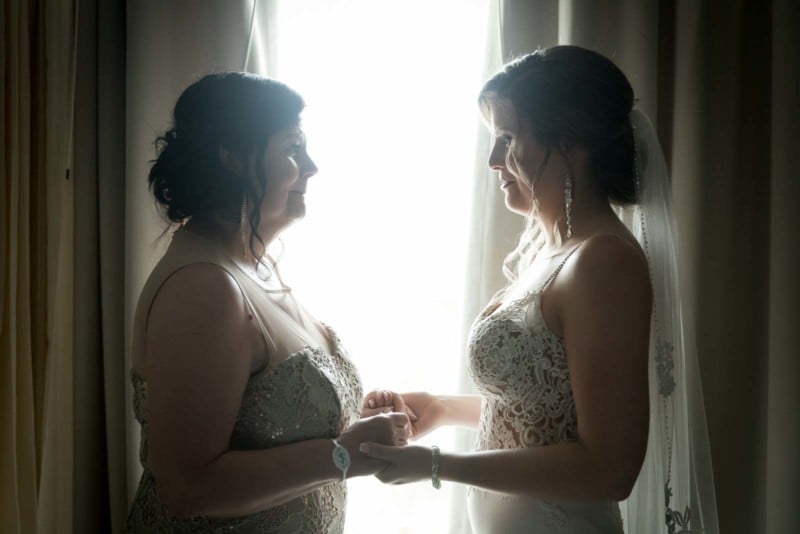
In my previous article on wedding lighting, I talked about how to capture front-, side- and backlit images using one light source such as a window simply by changing your position:
Have some fun while you are there
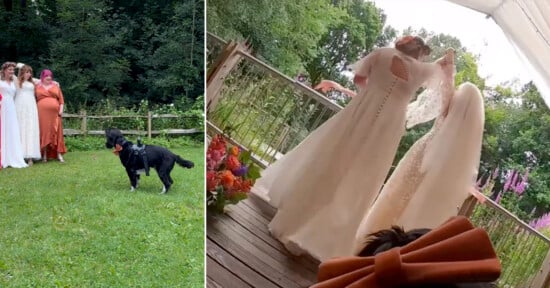
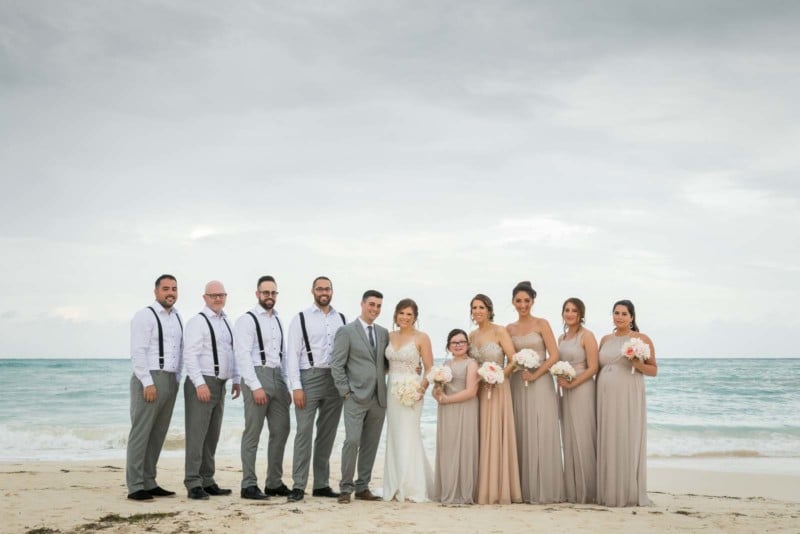
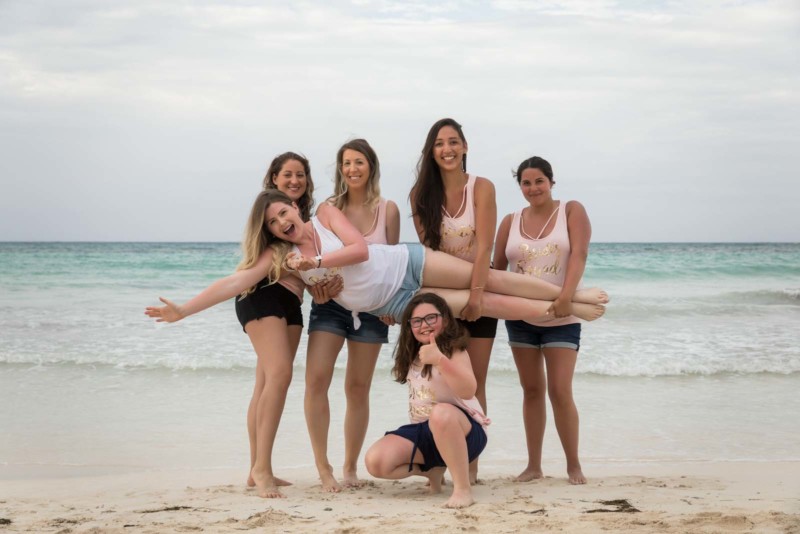
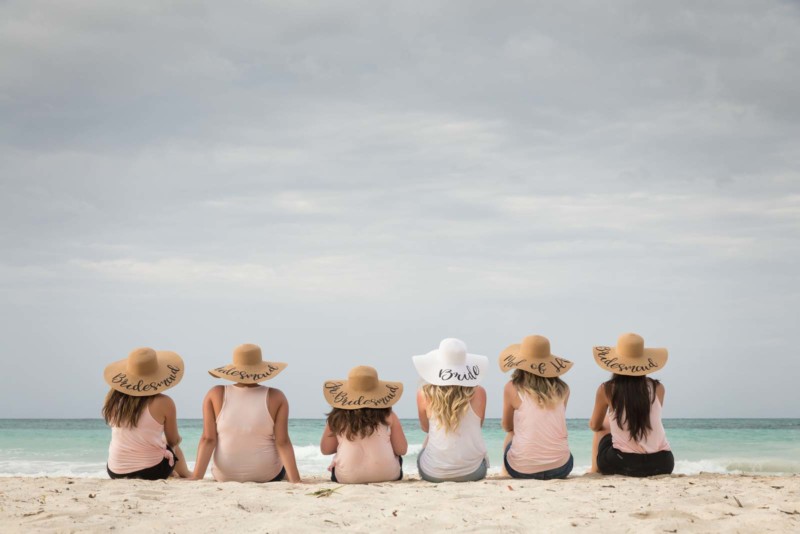
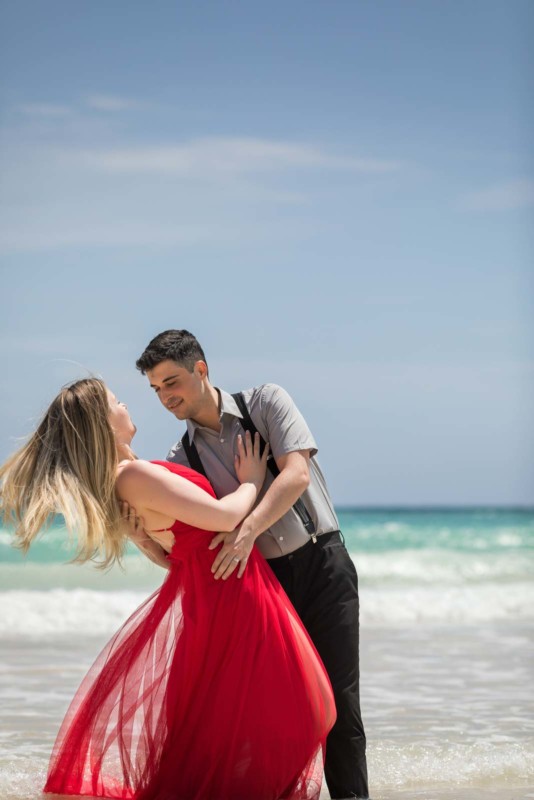
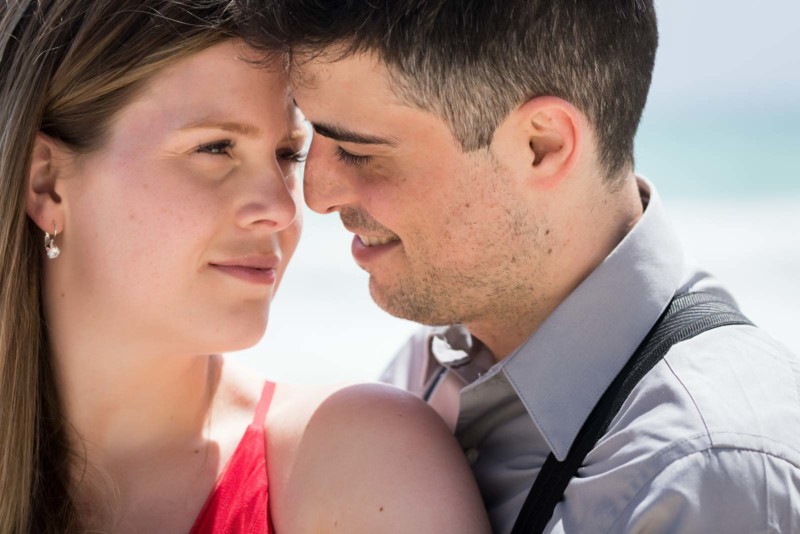
Weddings are fast-paced, so it’s refreshing when you get to spend quality time with the family and guests throughout the trip. The more you know about your subjects, the better the images and this is true for all genres of photography.
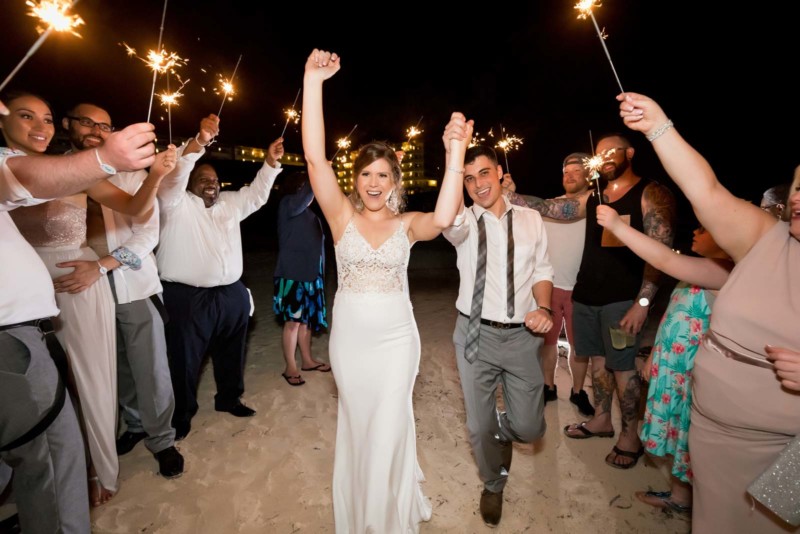
Go ahead and let loose once in a while, especially when the bridal party is willing to tag along.


Have faith and execute when you get the opportunity
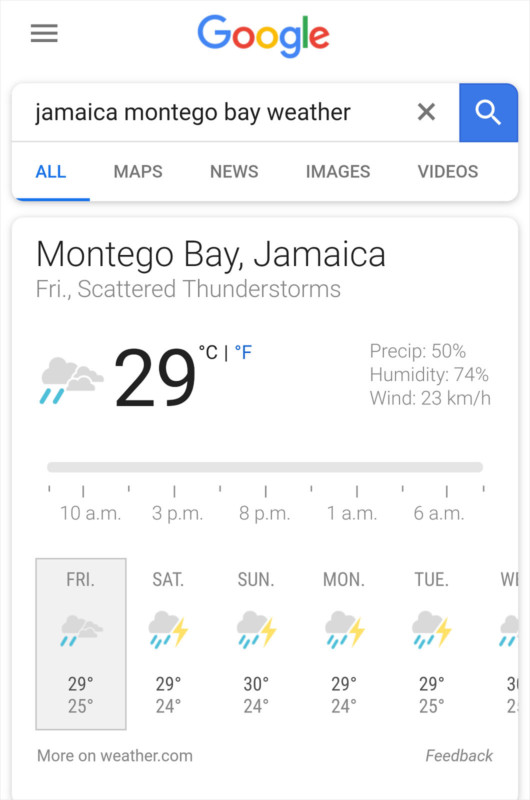
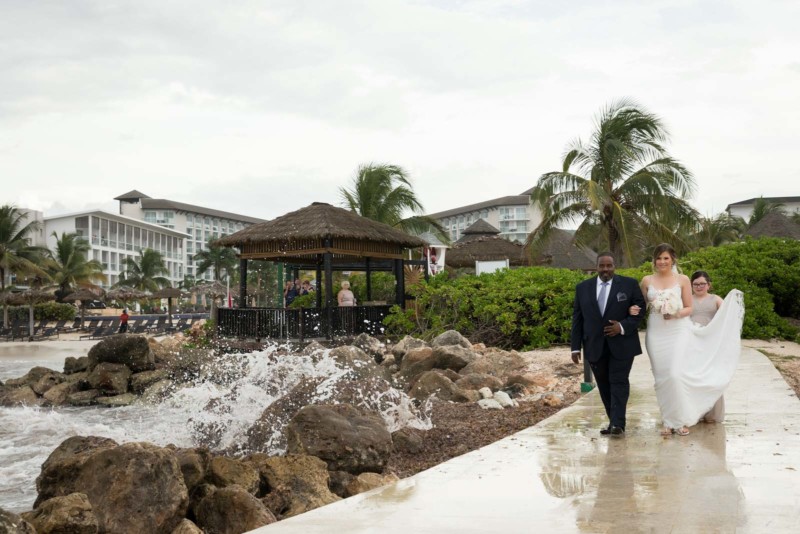
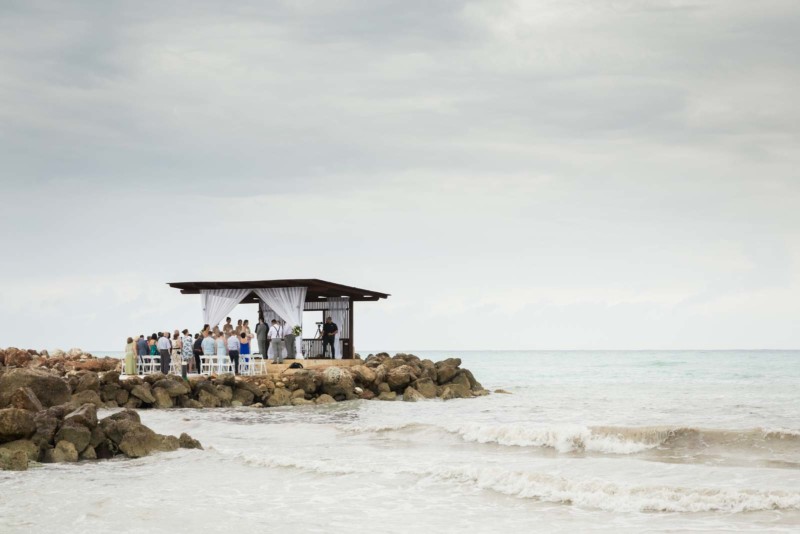
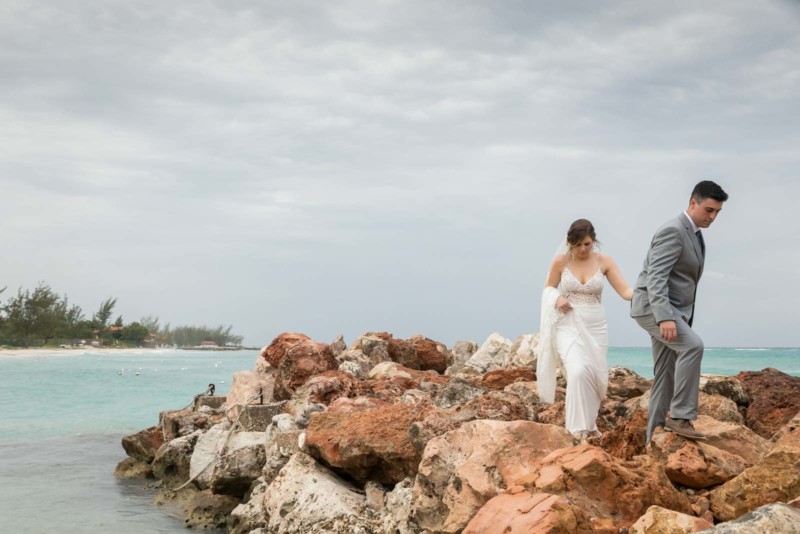
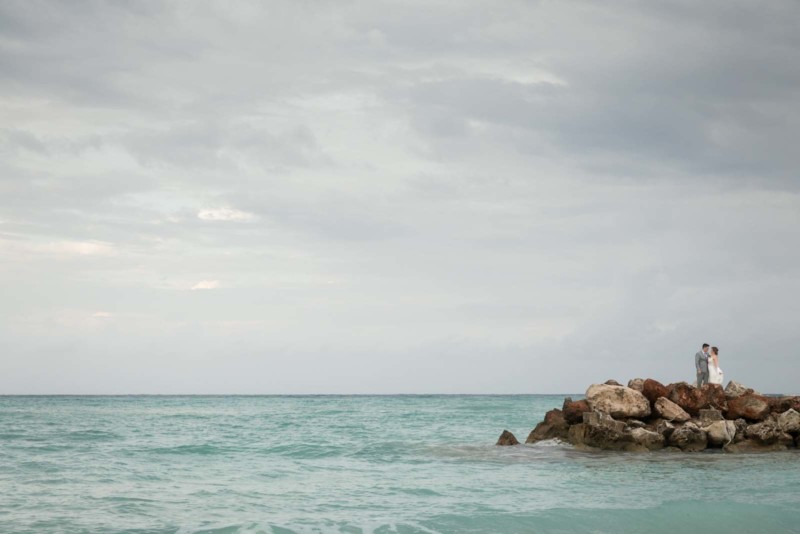
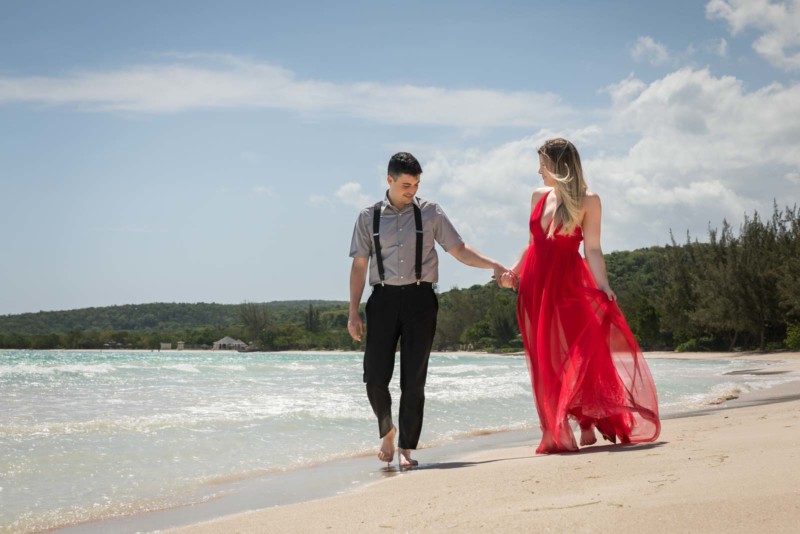
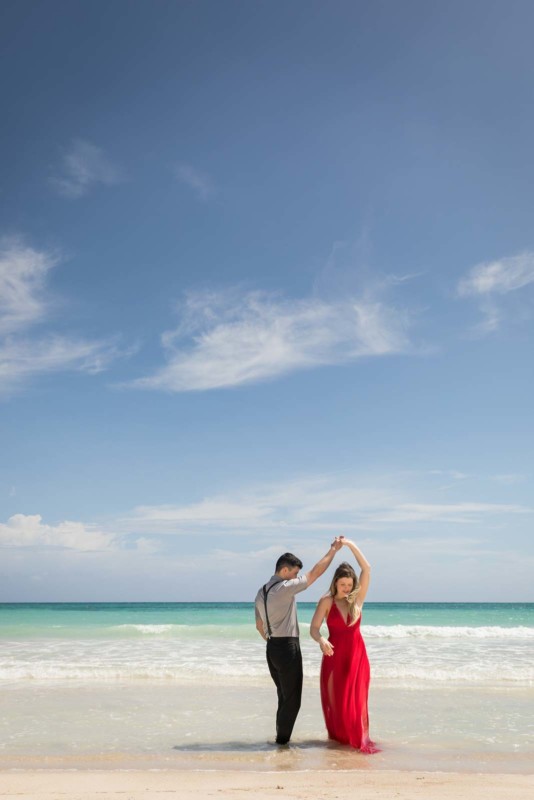
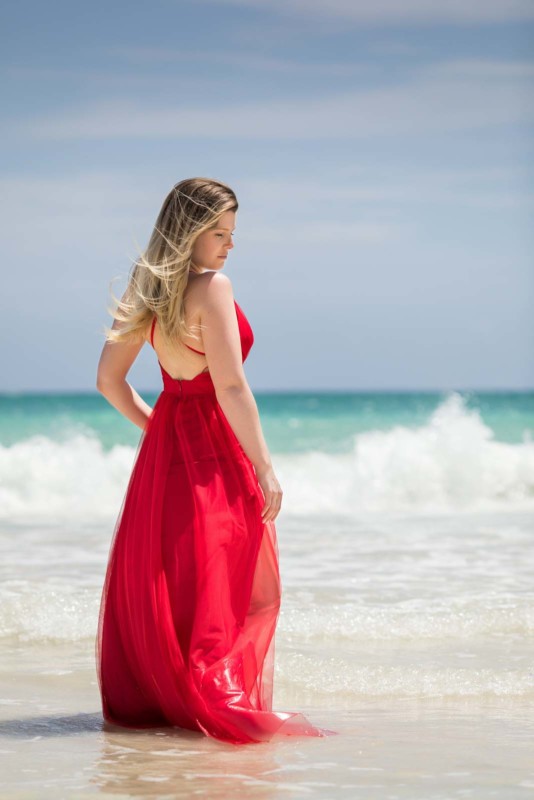
The plan was to shoot during sunrise or sunset for the best light but it ended up being overcast or raining the whole week. The interesting thing about the Caribbean weather is that it changes quickly, often from downpour to sunny, then rain again. Luck is indeed a factor, but you can only execute quickly when you have a plan in place. All the scouting, visualization and wardrobe discussion might end up being useful in the end.
In my other article on wedding posing, I described how to combine focal lengths and orientations to capture a high number of keepers, fast.
I also talked about being mindful of the horizon, here are some examples where things didn’t work out as planned:

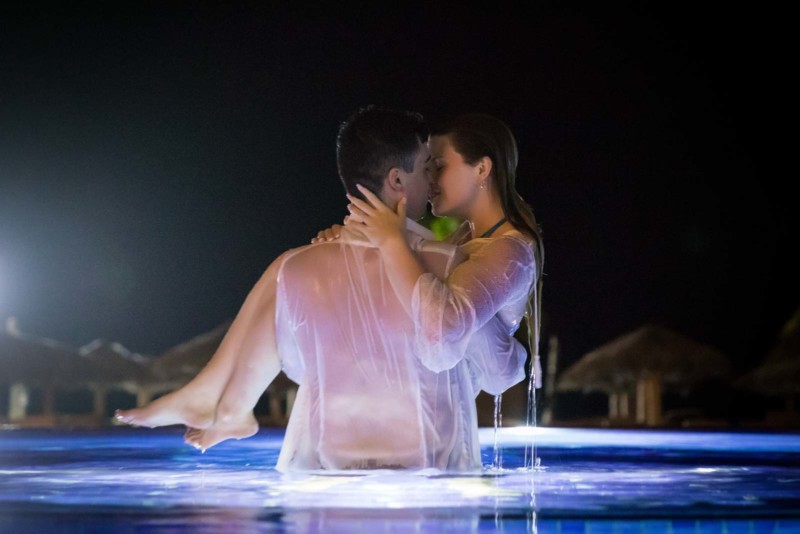
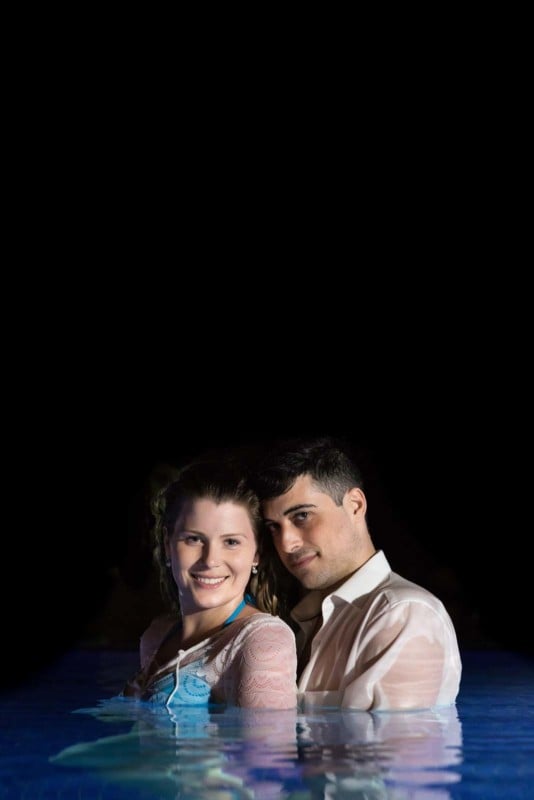
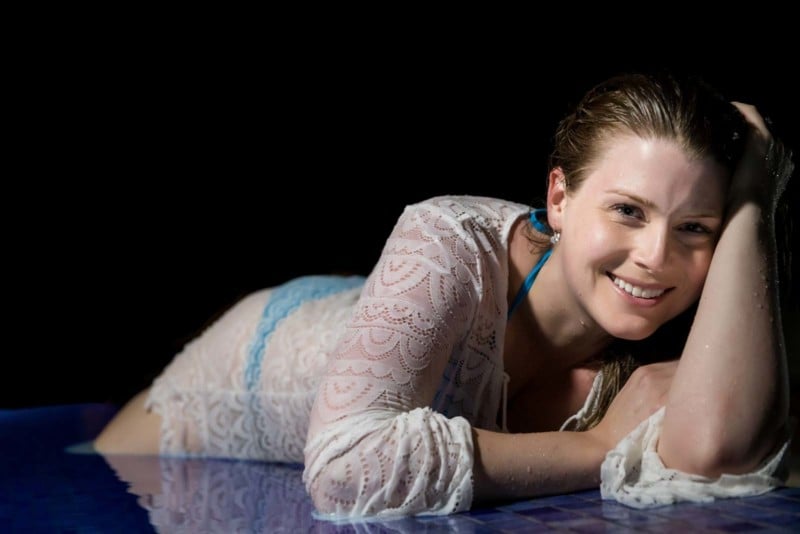
Join the dark side and embrace the darkness
We come full circle by revisiting the swimming pool at night. Don’t be intimidated by the darkness, even if all you have is one flash. Not dropping my gear into the water was a bigger concern as opposed to lighting.
Now over to you! Shooting abroad always involves challenges and risks — how did you manage to get the job done? Any close encounters to share in the comments or am I the only person paranoid for losing my gear? Perhaps you are about to shoot your first destination assignment, drop us a line and see if we can help.
About the author: Jimmy Chan is a wedding photographer based in Montreal, Canada. The opinions expressed in this article are solely those of the author. You can find more of his work on his photography wedding business website, Pixelicious.