How to Mix Flash and Ambient Light
Mixing ambient light with flash is a tough technique to get around. I can do it no problem, but when someone asks me to explain it I draw a blank. There’s a very good reason why it’s hard to understand: you’re smashing two distinct schools of lighting an image together.
You could be the best studio photographer in your area yet don’t dabble with daylight pictures. Likewise, you could be a natural light photographer who has found flashes to always be super overpowering and look “flash lit”.
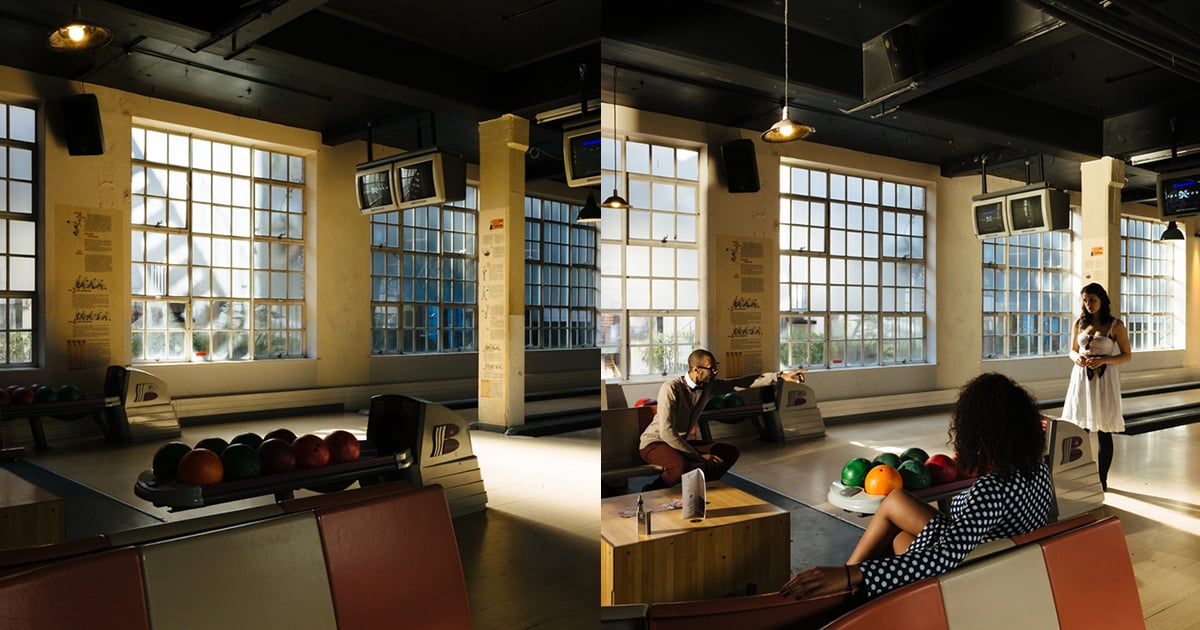
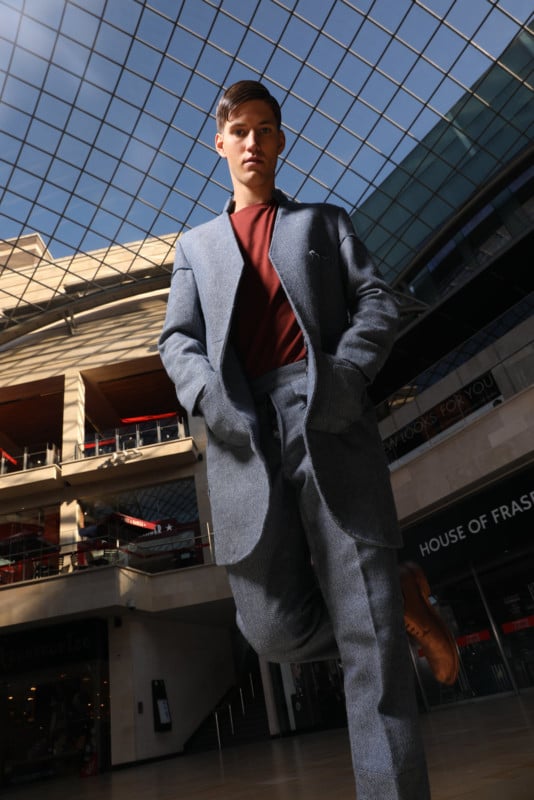
I’m going to break down a great shot I lit for my photographer friend Andy Hoang. We gained special permission to shoot at 5 am in Cabot Circus in Bristol, a large shopping center which a giant suspended glass roof. Our goal was to get the blue sky of the morning to mix perfectly with the flash, and not one look more powerful than the other. We also didn’t want to edit it much in post (because, if you have the knowledge to light properly, you can save time by not messing about in Photoshop correcting the mistakes).
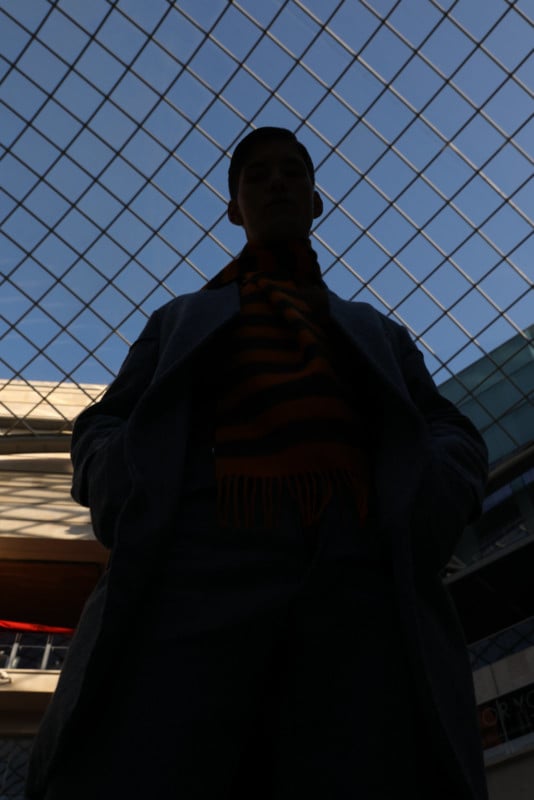
Let’s start with the basic image first off. We got down to our shooting angle, beneath the model shooting upwards so the sky is behind him. Our initial goal here is to get the ambient level to how you want it, within parameters that flashes can work in. That means we wanted our ISO to be pretty low ish, somewhere between 100-400 ISO (any higher and the flash on even its lowest setting will be too powerful). Our shutter speed needed to be somewhere between 1/30 and 1/125 sec (any slower and you’ll get blur, any faster and some flashes might not fire). Aperture can be whatever it needs to be to let in enough light to expose properly. I guess you could say the easiest way to get this is by using shutter speed priority, taking a few test shots, and transferring those settings into manual mode.
To recap: we only want to get our ambient exposure sorted at the moment, so keep the flashes off. Stay away from slow shutter speeds and high ISO. You’ll probably end up with your subject as a silhouette or darker than you’d like, but focus on getting that sky exposed. If you want the sky to be more saturated and deep blue, you can underexpose it a little to get that.
So we’ve got our ambient down. The next thing we need to know is that ambient can be controlled by nothing but the shutter speed. If you see that sky starts to get a little too bright, change from 1/100 to 1/125. If it’s looking way too dark, change it from 1/100 to 1/60. You know how to do this part – if you don’t refer to the exposure triangle articles on the web and learn how to increase or decrease light coming into your camera.
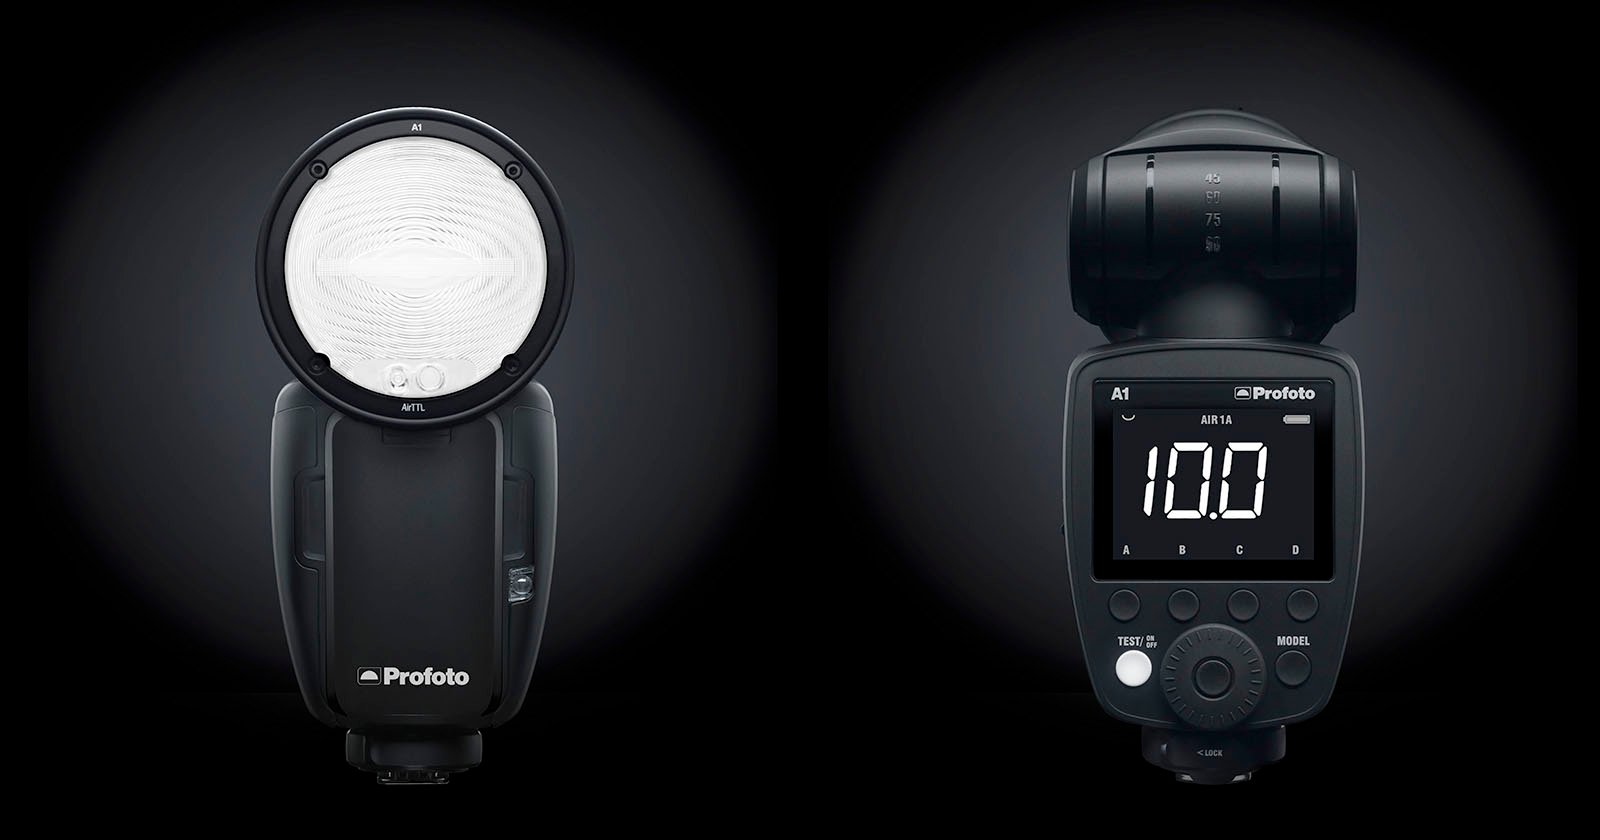
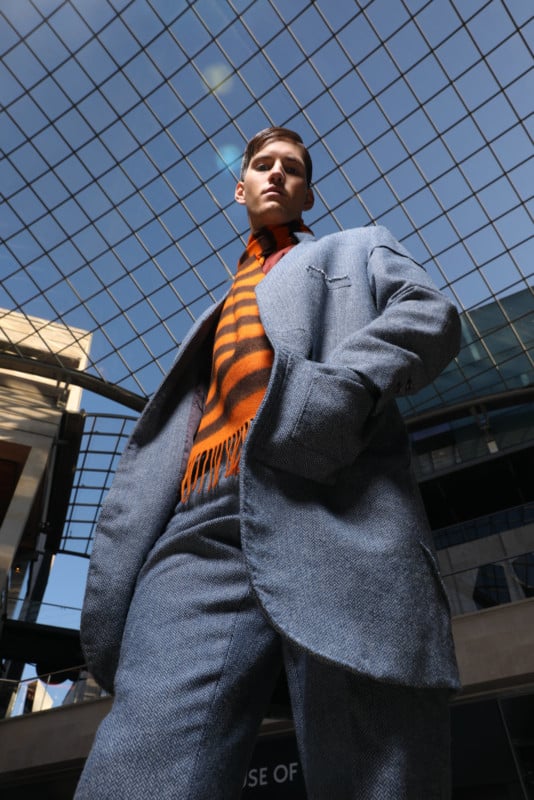
Right. You can now take silhouette-y shots all day with this setup – but let’s bring in the light. We used a Profoto B1 on a stand, with a small portable beauty dish. As we were shooting about 30m from any power port, we needed a battery-powered flash unit. The beauty dish was used as it’s small, gives direct light with no hotspots (if you need more advice on which modifier you need for a job, there are millions of videos online.) We stuck the flash pretty close to the model on camera left side, aiming down so we get a side light.
So we were lucky and the flash was spot on from the first shot of turning it on. But what if your shot the flash is too dark or too bright? Don’t change camera settings just yet – use that flash power adjustment! This way you don’t end up in a whole world of confusion by tweaking the camera, going back to change the ambient, then flash, forever and ever.
If you’ve exhausted your flash’s power capabilities, and it’s still either too bright on its lowest power or too dark on its highest, then I’m sorry, you’ll have to change those camera settings. I’d suggest tweaking that ISO first – using any ISO setting up to about 800 ISO nowadays is completely fine. Failing that, change the aperture. Just be aware that changing either of these will have an effect on the ambient light level, so you need to go back and get that adjusted with the shutter speed.
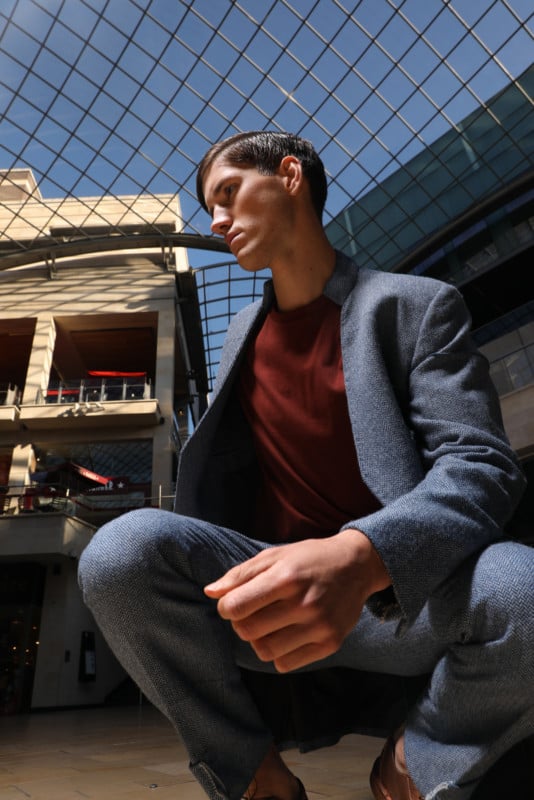
It really is that straightforward. As long as you remember the method and which bit to adjust first, you should never have an issue with mixing your flash with ambient. Shooting outdoors will need more powerful flashes, indoors you can get away with less powerful, like just little standard flashguns.
One last time:
- Get your ambient
- Add your flash
- Adjust flash to match
- Adjust camera if the flash is out of usable range
- Go back to step one and repeat.
I understand a lot of photographers out there will know this already — if you do, that’s great! This is more for the intermediate photographers who struggle with the process of mixing light, much like I did when I first started trying it out.
Image creditsHeader strobe icon by Martin Chapman Fromm and sun icon by MGalloway (WMF)