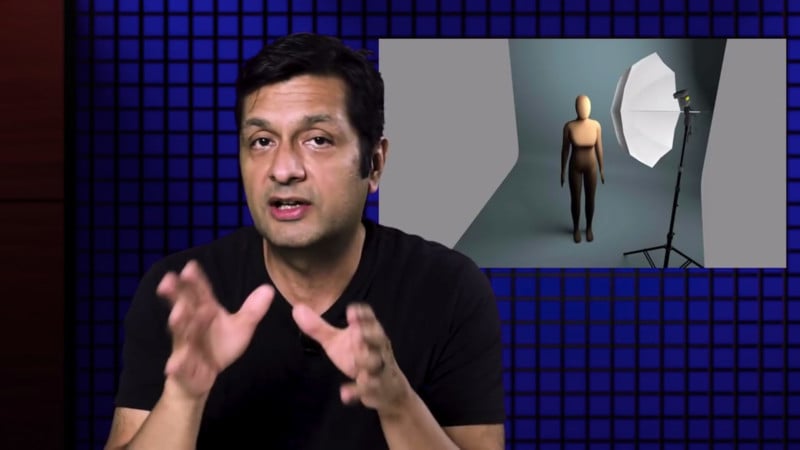
Video: Top 5 Portrait Lighting Tips For Beginners
Here’s a short 5-minute video from photographer Ed Verosky focusing on lighting portraits. In 5 minutes, he walks through his top five tips to help beginners improve their portrait lighting.
1: Start with one light
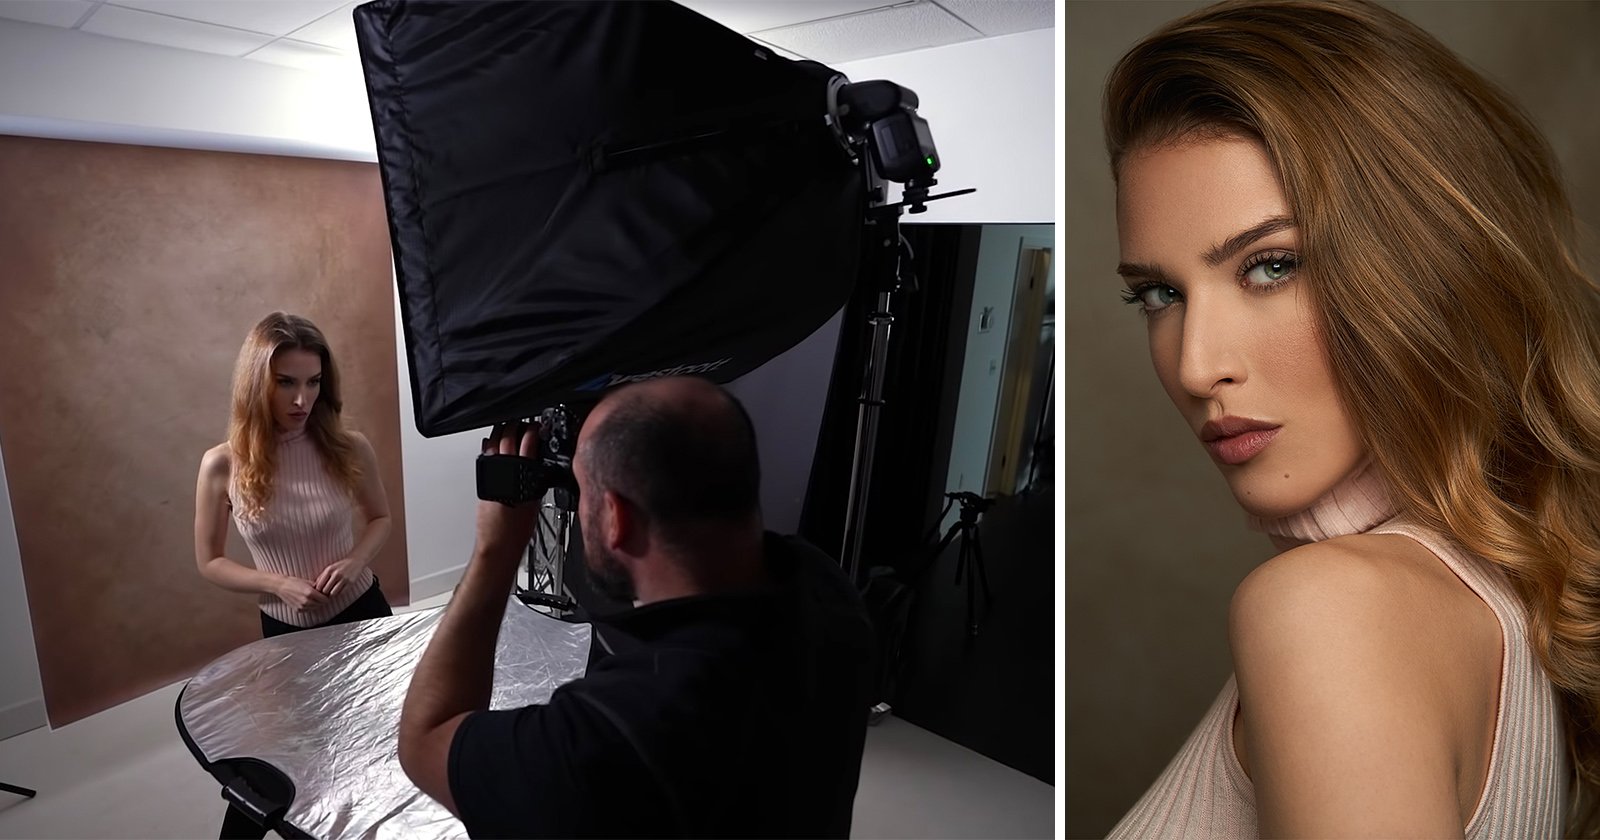
As the name implies, the key light is vital to your portrait. This sets up the whole foundation for how your subject is presented. Rather than thinking about all of your lighting at once, start with one light and build up, adding lights as needed.
2: Get your flash off your camera
The on-camera flash has its uses, but for professional-looking portraits you are going to want to use an off-camera flash. The 45/45 position is a good start – this involves placing your flash 45 degrees in front of and to the side of your subject, and angled down at 45 degrees.
3: Use constant light when you can
Flash is just another light source, and it’s not always the best option. Constant light sources like natural light or interior ambient lighting often give us the most natural, real-world looking light for our portraits. You can also see the effects of constant light in real-time, making it easier to work with.
4: Use manual camera and flash settings
For most indoor flash portraiture, manual is the way to go. By using manual settings, you can take full control and assure consistent results.
5: Keep the light above the subject’s head
No matter what kind of light you’re using – whether it’s on-camera, remote, or ambient – try to avoid strong underlighting unless you’re going for a particular look. Shadows that are directed up the face usually do not flatter the subject.

For more concise tutorials and tips from Ed Verosky, especially on portrait photography, check out his YouTube channel. You can also find him on Facebook or on Instagram.
(via Ed Verosky via ISO 1200)