A Look at Film Washi V, The Handmade Film on Japanese Gampi Paper
Film Washi V is probably the most unusual film announced in 2017, and I had the privilege of being present when Lomig, the founder of Washi Film, introduced it at the Salon de la Photo in Paris last year. Since then I have always wanted to try it and see what it’s like to shoot with this very special film.
It’s an ISO 100 film and the process is identical to the original W film (which uses Kozo paper). However, the paper used for the V offers a higher transparency. Once enlarged, you can clearly see the paper’s fibers, which makes every picture unique. Depending on the situation, this can really add to an image and give it a special character.
As you can imagine, the processing of this film is a bit different and requires some extra equipment. The paper film base will not load onto normal reels, which leaves you with only two options:
1. Send your rolls of Washi film to Nation Photo, which has received the equipment and training to process this film.
OR
2. Roll-up your sleeves and follow my tutorial to do it yourself.
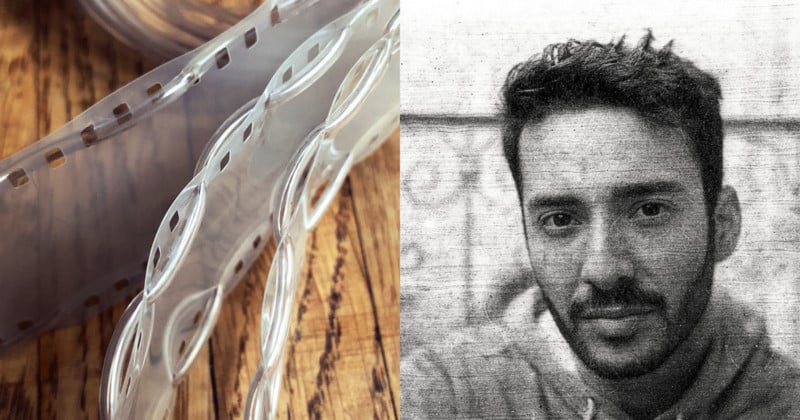
If you have decided to go for the DIY solution, you will need the processing kit from Film Washi. This kit allows you to develop the films V and W into your Paterson or Jobo tanks. What’s special about it is that it will separate the film to help it avoid sticking to itself once in the tank.
Here’s my 8.5-minute video tutorial:
In this article, I will show you how to finish assembling the kit and how to load the film onto the reel, which can be pretty intimidating, I must admit. However, after seeing it and with a bit of practice, anybody can do it.
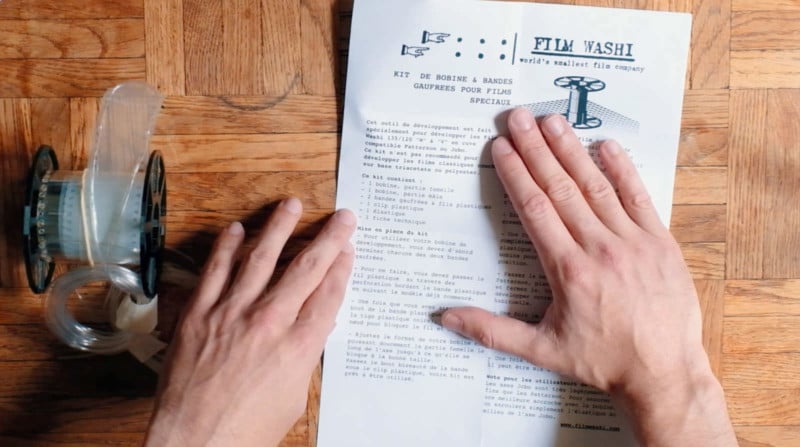
Unboxing the Processing Kit
The kit includes the following:
- 1 processing reel (male+female parts)
- 2 plastic separating strips (135 and 120)
- 2 plastic strings
- 1 rubber band
- The film data sheet
Assembling the Kit
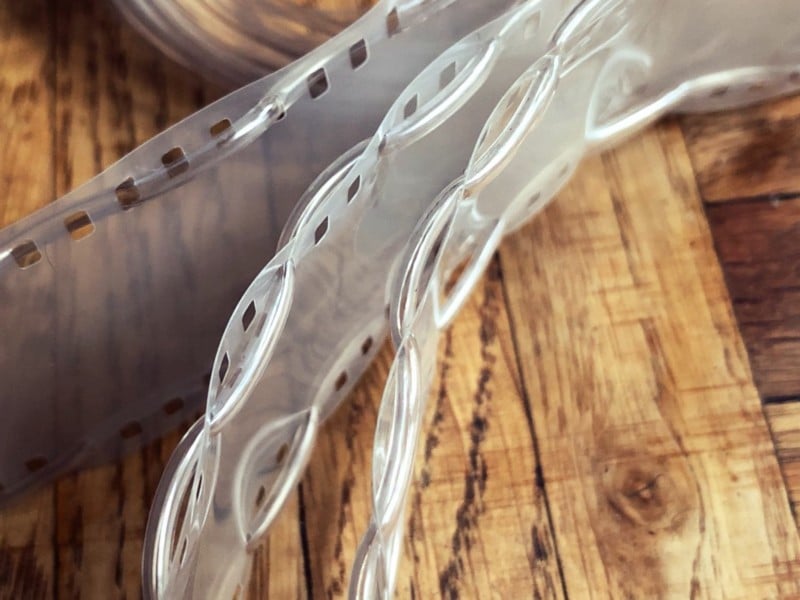
After unrolling the two plastic separating strips, you will see a plastic string already attached to each of them. The only thing you have to do it pass the string through the holes following the existing pattern. This is very easy but it does require a bit of patience.
It took me about 30 minutes to finish both strips. This step only has to be done once and then it will be ready for all your future developments.
Loading the Film Onto the Reel
This is where the fun begins! From here you’re supposed to be in complete darkness so I recommend practicing a little before playing around with the real film.
My suggestion is to prepare the film beforehand. For the 35mm, put it out of the canister and roll it onto itself. When you reach the end, cut it from the spool. For 120, it’s the same thing except that you also have to remove the backing paper. In the video above, you see me loading the backing paper. Keep in mind that this for demonstration purpose only and you are supposed to load the film instead!
On the strips, you will see one side two cuts. This side has to slide into the slot that’s on the reel. To slide it in, you will have have to align both parts of the reel and then slide the strip into it. Then firmly hold onto it and to a full turn with the strip to cover the starting point.
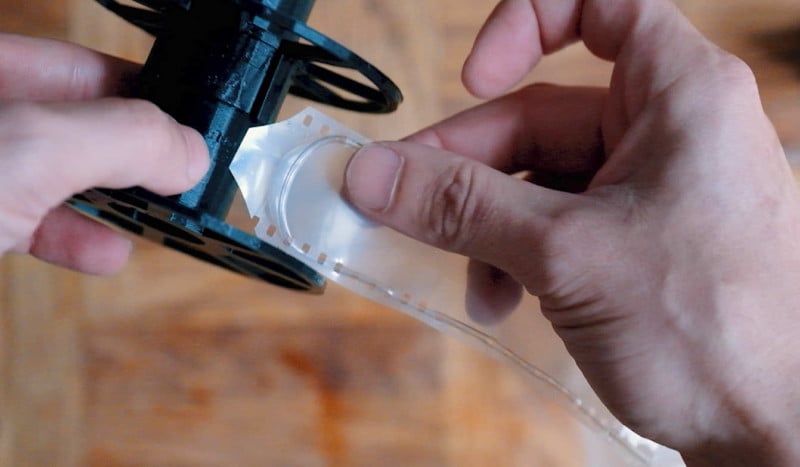
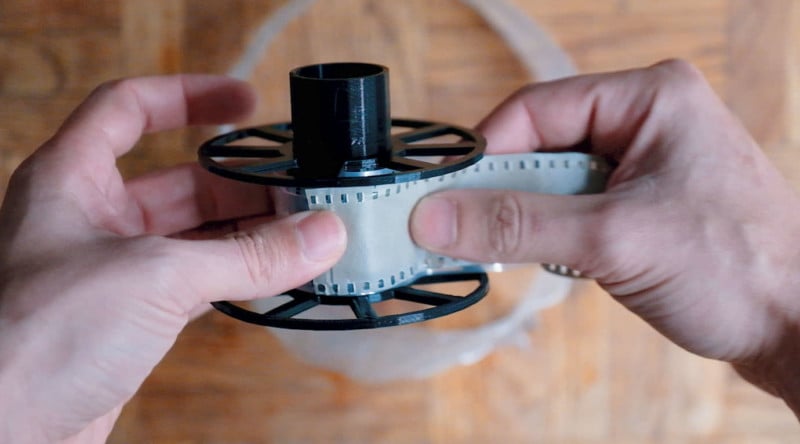
When you have done a full turn around the central axis, grab the film and place under your thumb onto the strip. Now roll them both together until all the film and strip have been rolled on the reel.
At the end of the strip, you will see a tiny black bar. Place it between the reel’s bars so it stays in position. You can also use the rubber band if you feel like it’s not locked properly (I recommend it on the 120).
Then put it in your tank and you are good to go for the development.
Developing the Film
The development of the film V is relatively standard. On the documentation, you will find processing times for the most common developers. In my case, the Ilford DD-X was not listed so I followed the advice given and sticked to the developing times of the Ilford FP4. I went for a 1+4 dilution for 10 minutes.
I won’t go too much into detail about the development, as there are plenty of resources for developing film online.
Sample Photos
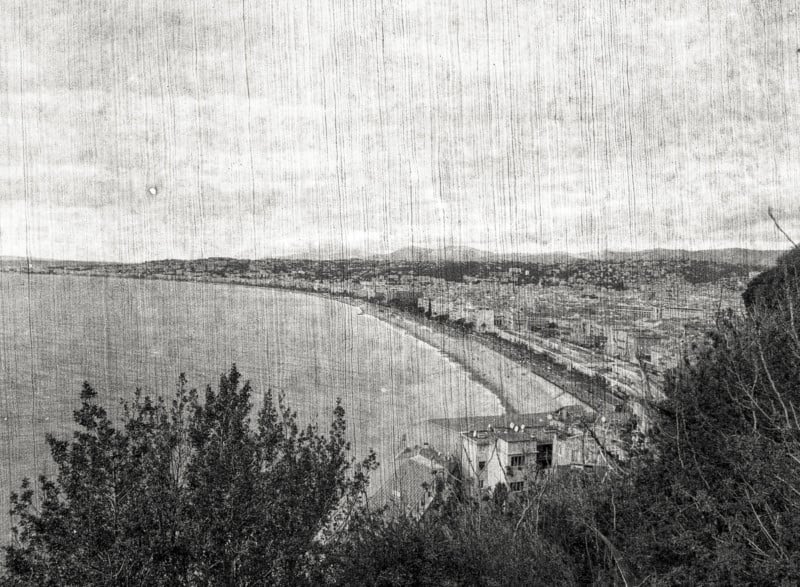
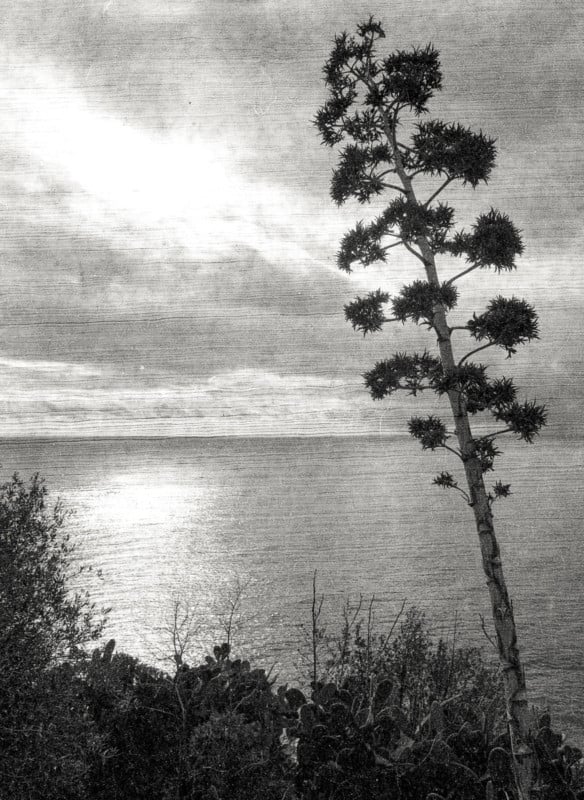
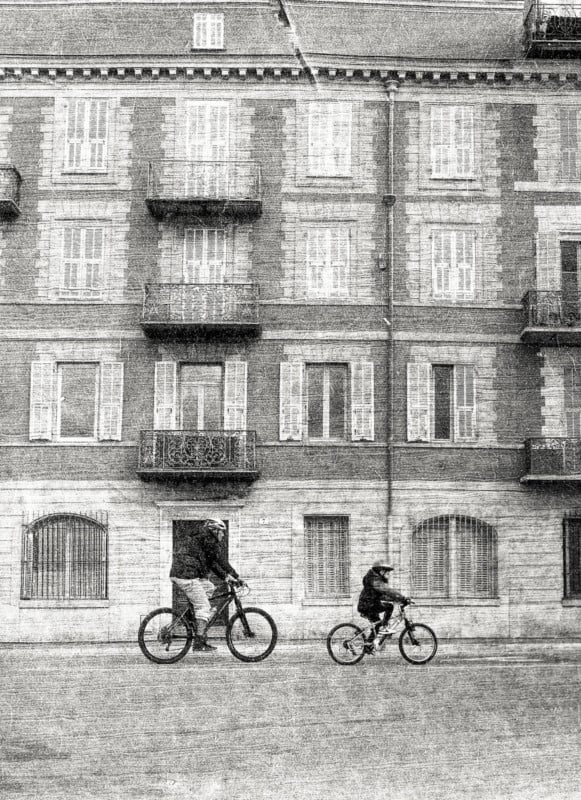
I’ve had the chance to try both the 35mm and the 120 versions of V film. On some shots, you will see that the fibers aren’t perfectly horizontal or vertical. This is because I had to the straighten the horizon (I’m terrible at having picture leveled!) so it’s good to keep that in mind while shooting as it will be impossible to correct.
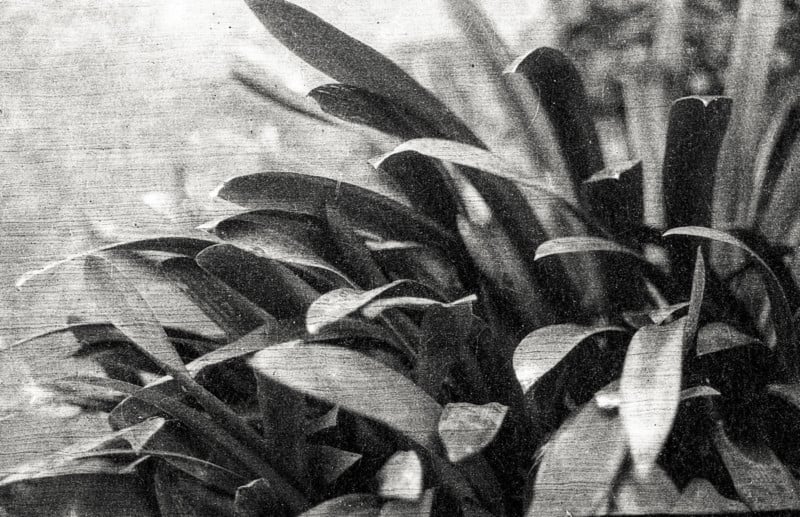
We are going to look first at the 120 that I shot on the Mamiya M645 1000s with a Sekor C 35mm f/3.5 and a Sekor C 80mm f/1.9.

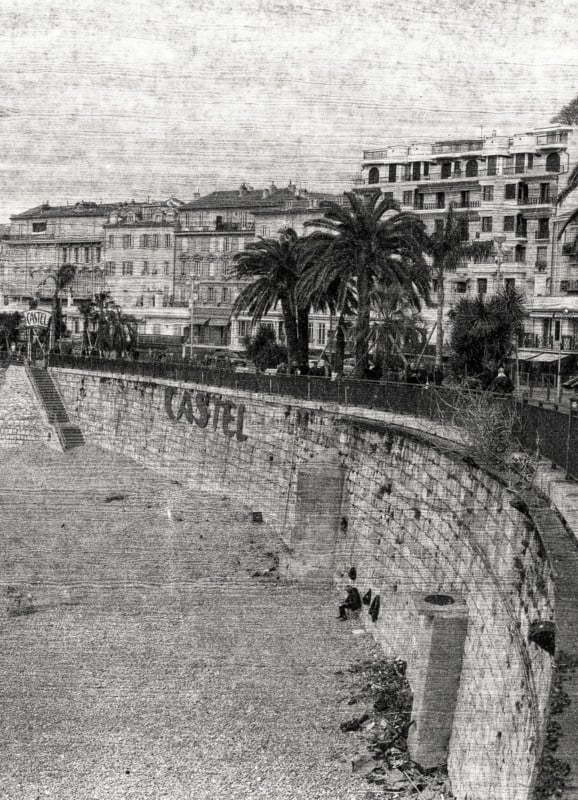
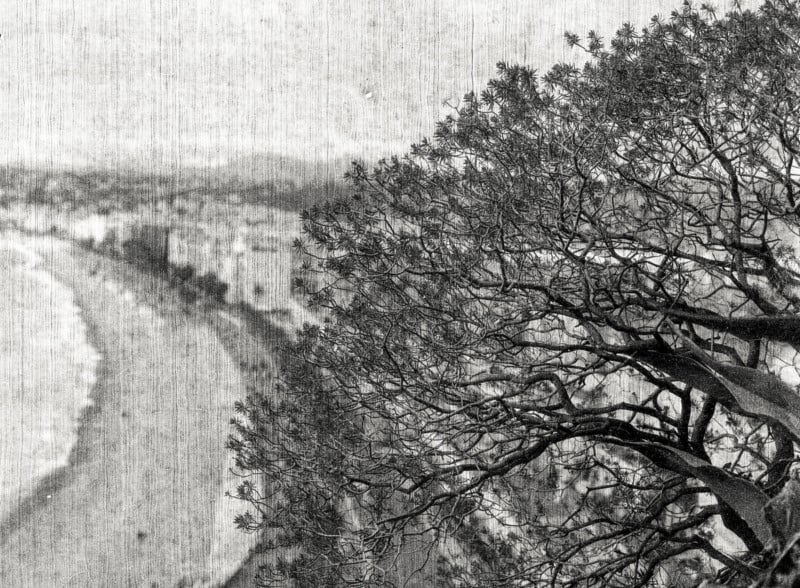

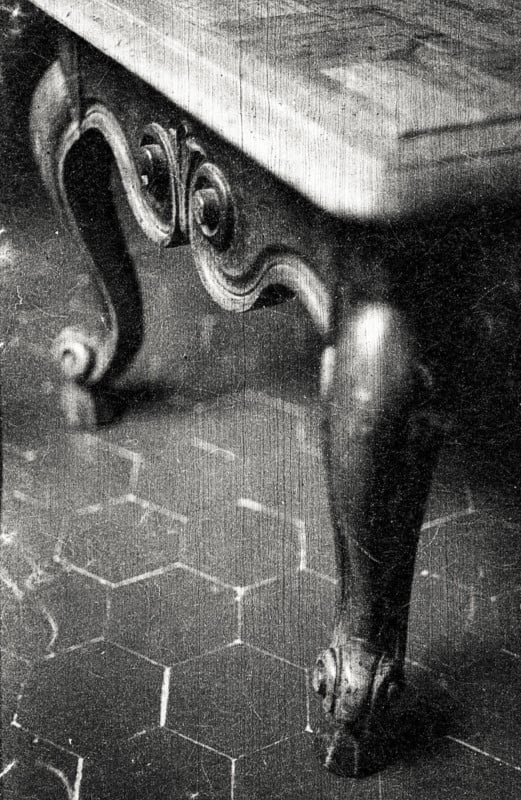
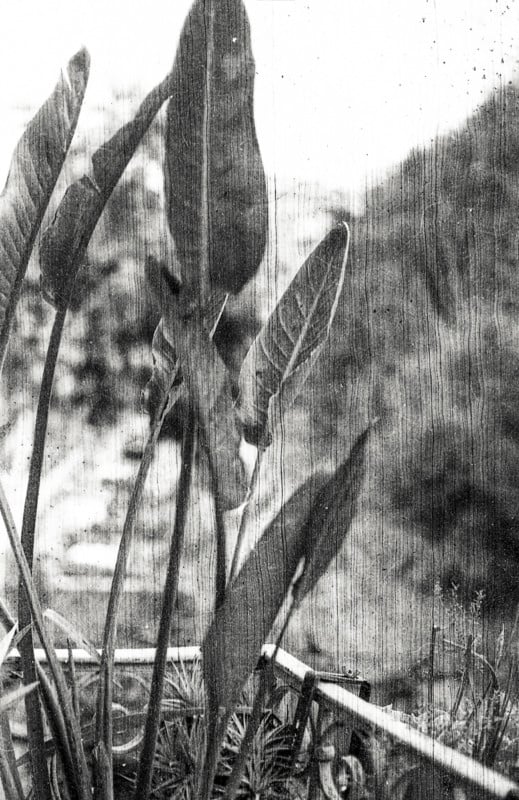
From here you are looking at samples of the 35mm version shot on a Nikon F2 and Nikkor 50mm f/2.0.


I hope you have enjoyed this introduction to the Film Washi’s V film and that you will give it a try too! You can find more information on the company’s website.