How to Dodge and Burn to Retouch Skin in Photoshop
Here’s a 14-minute tutorial from photographer and retoucher Zoë Noble that shows you how you can use dodging and burning to retouch skin in Adobe Photoshop.
First, Noble applies a Curves adjustment layer, increases the brightness of the mid-tones, and turns the mask to black. This is the Dodge adjustment layer. Then she does the same again, but darkens the mid-tones slightly, to create a Burn layer.
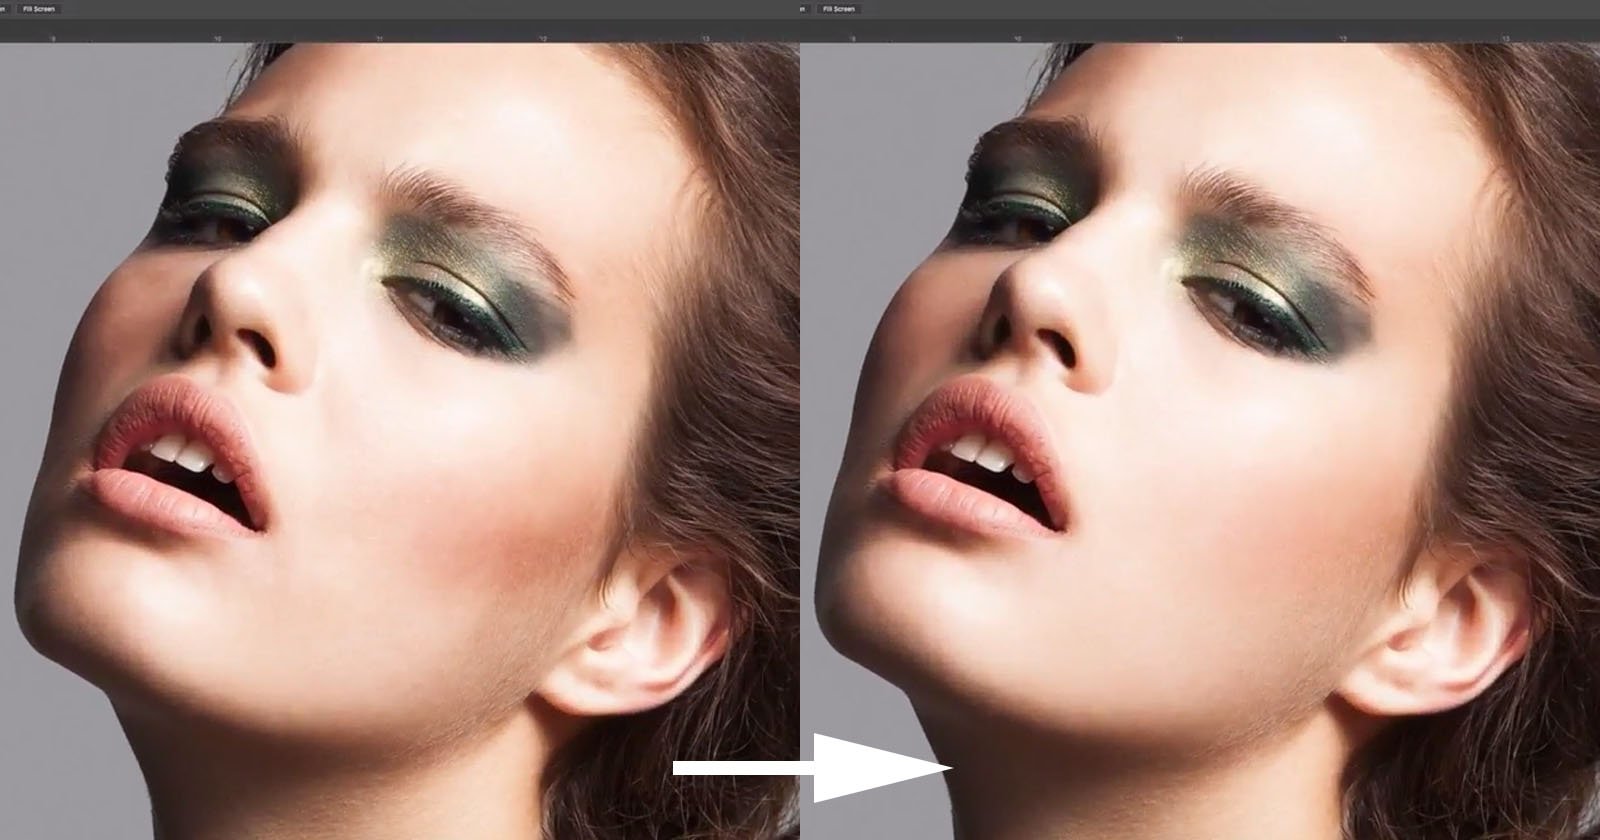
After correctly setting her brush settings, she works on removing unnecessary shadows and highlights. But Noble notes that it is important to not “unstructure” the image, and instead be aware of which shadows and highlights are crucial to the shape of the face. Otherwise, things will look very fake.
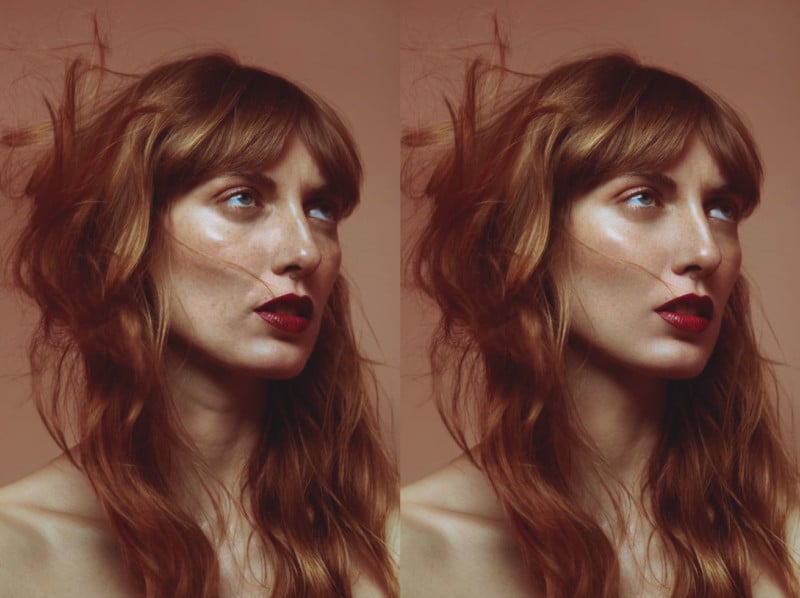
This before and after comparison shows the differences Noble’s edits with the dodge and burn tools have made: