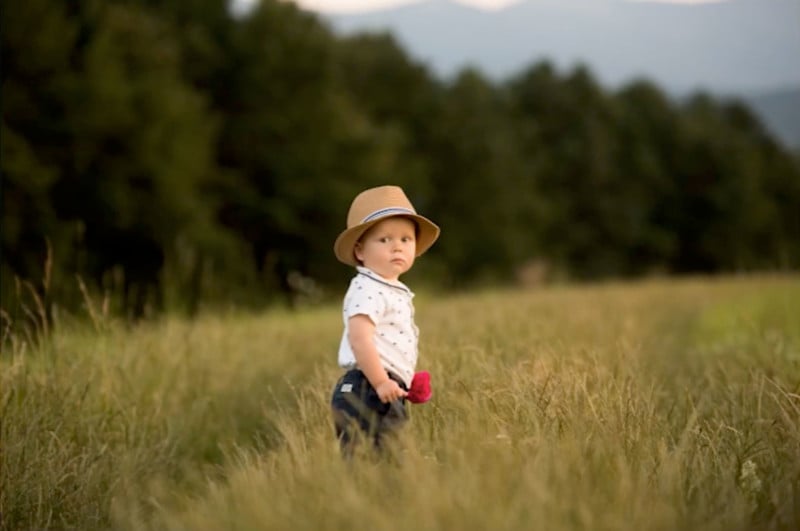
How to Post-Process Soft and ‘Dreamy’ Portraits of Children
Here’s a 47-minute tutorial from PiXimperfect about how to create those soft, dreamy portrait photos of children using Photoshop.
Adjust the Structure
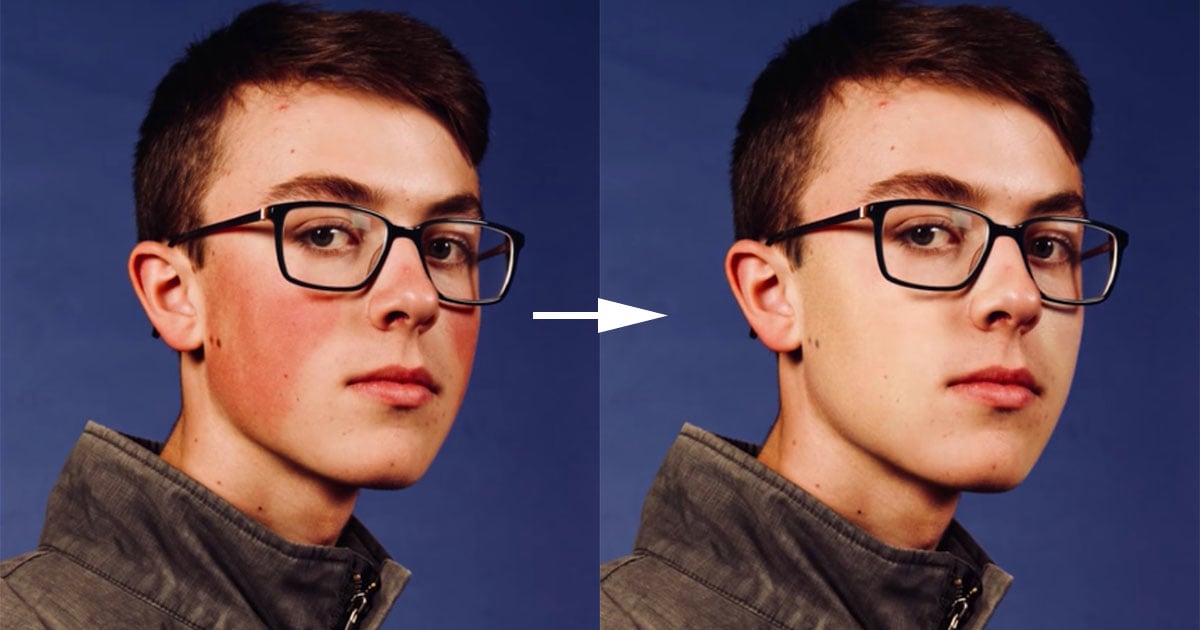
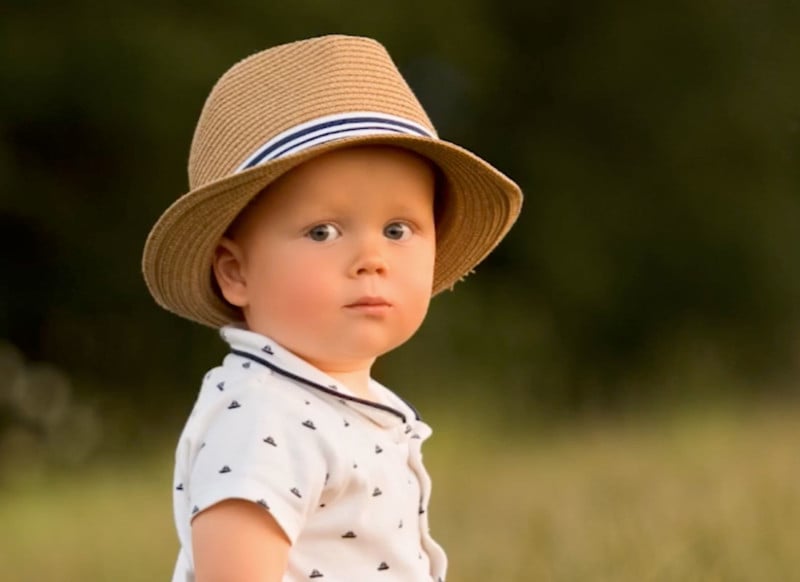
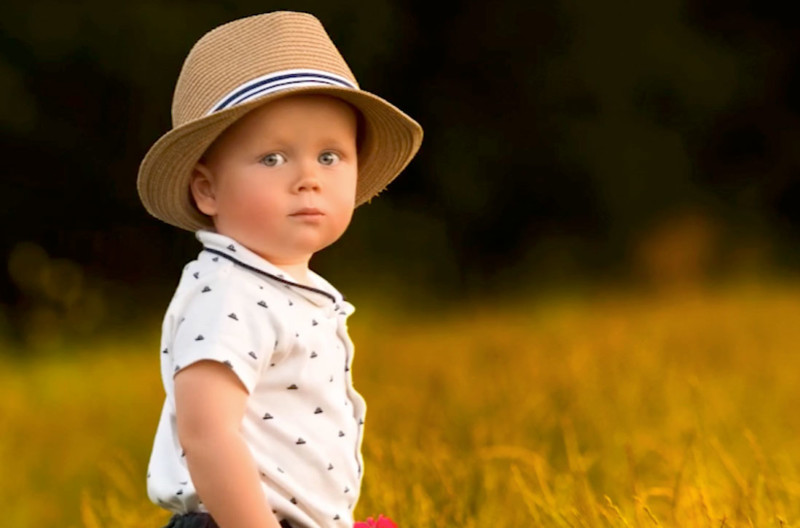
The first major step you have to do is to get the structure right. That’s all the details in the face and skin. For example, for images of children that look pretty displeased about getting their photo taken, you can remove that grumpy frown.
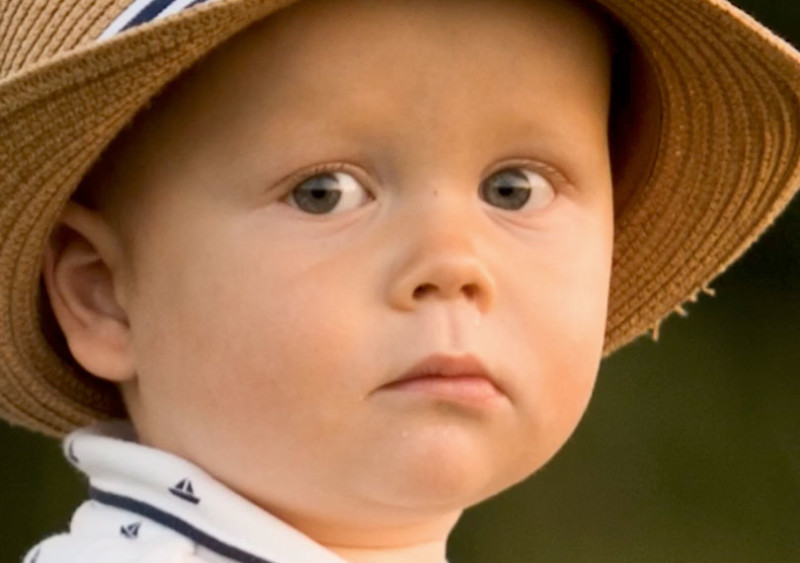
Using the Liquify tool in Photoshop, size the brush appropriately and move the drooping corners of the mouth back upwards.
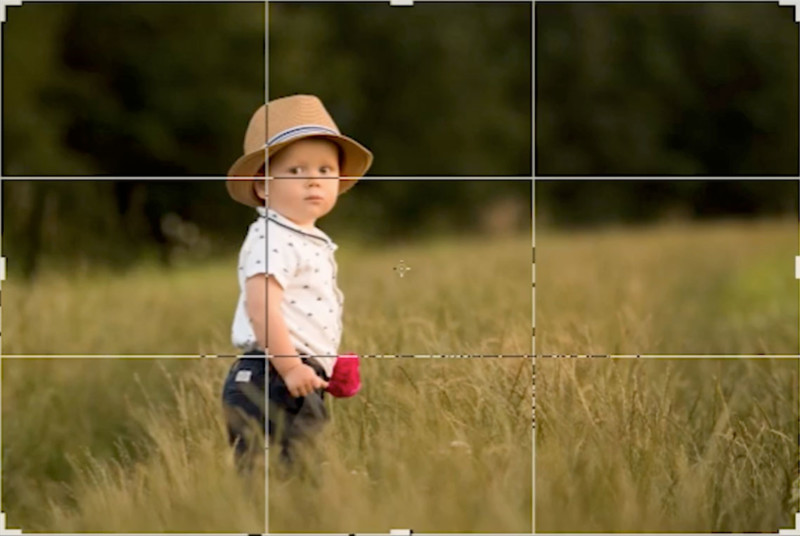
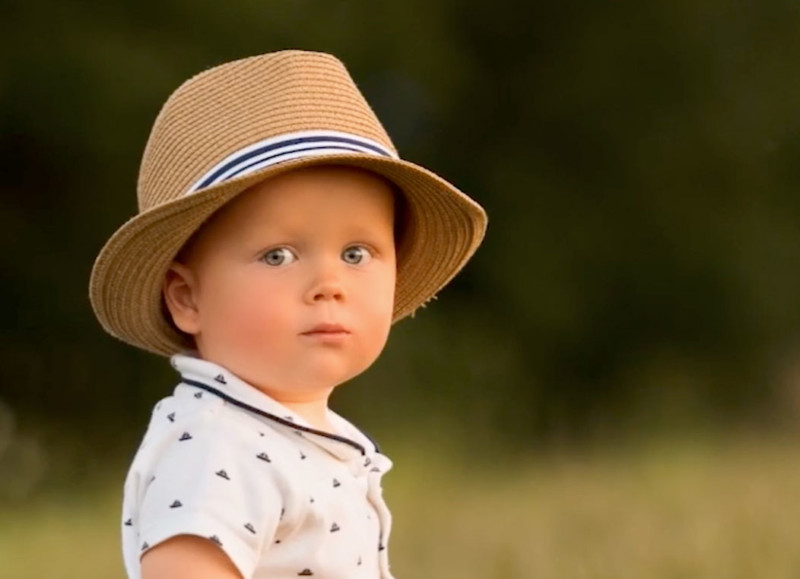
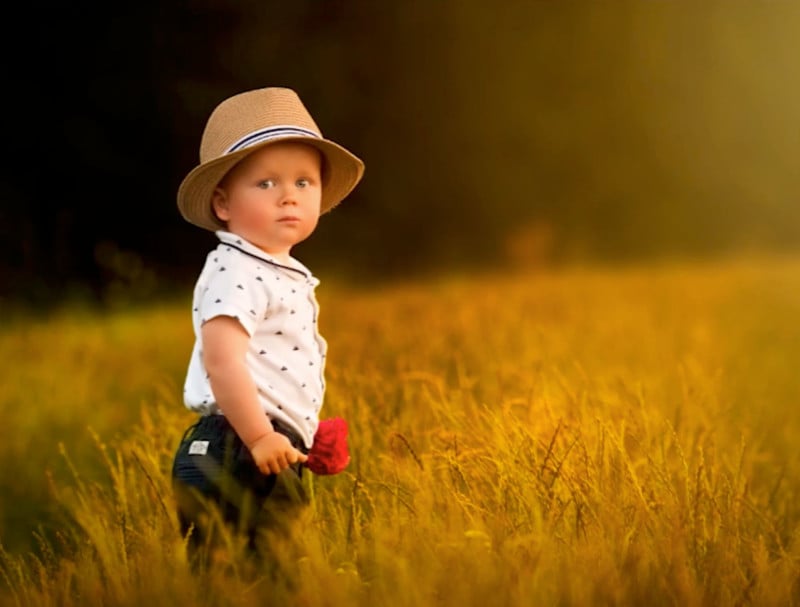
Once you’ve made the liquify adjustments, you can crop the image to the ideal composition. Using the rule of thirds, this photo is much more pleasing with the child moved to the left of the frame:
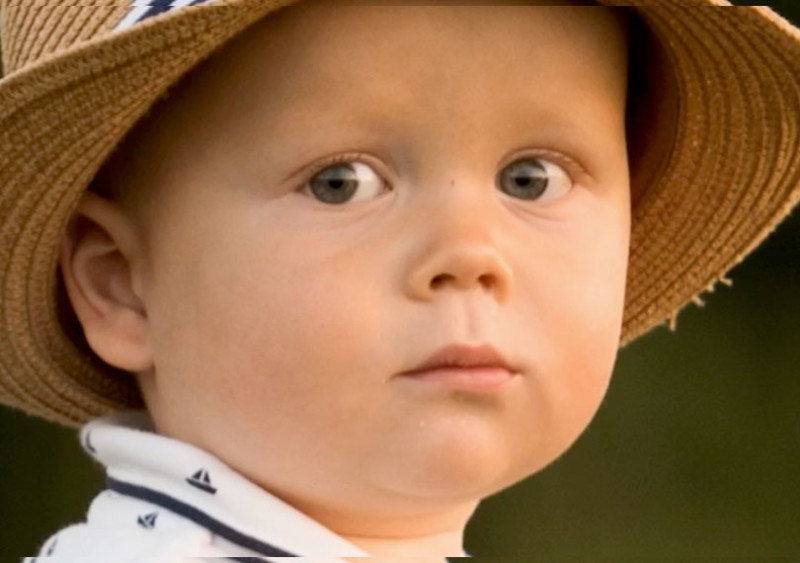
Other adjustments to the structure of the photo include removing any blemishes and selectively sharpening the image.
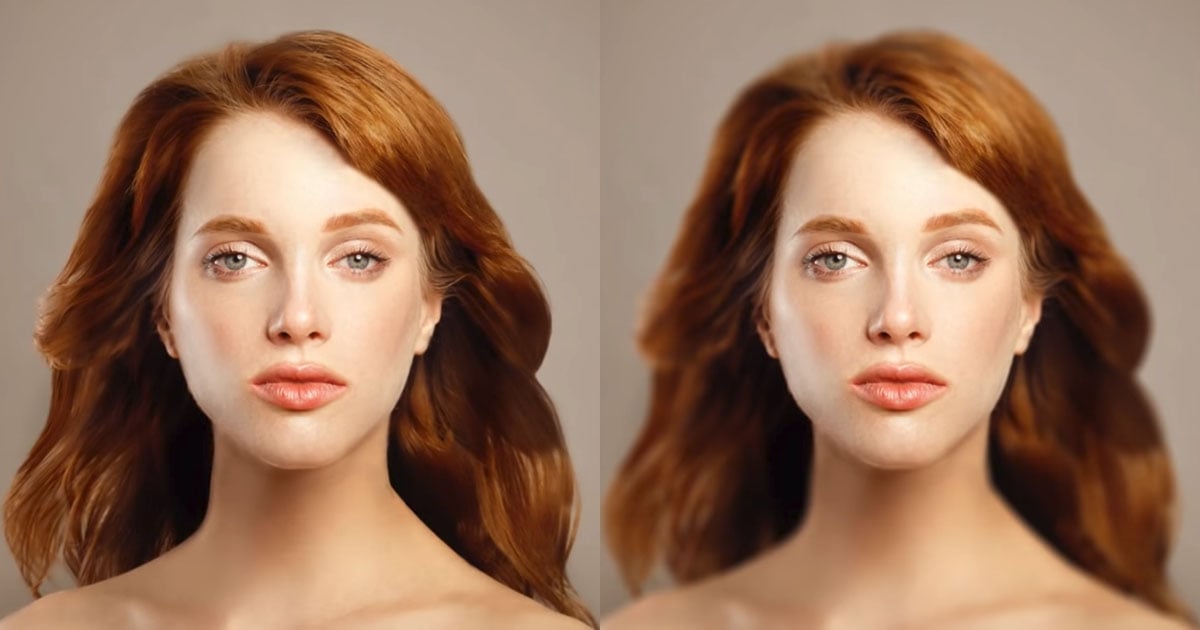
Retouching the Skin
Having removed the blemishes, now you need to look at the color tones of the skin. By enhancing the reds in the shadows, he looks just that little bit cuter.
Retouching Eyes, Hairs, and Mouth
You should only do this step if it’s actually required in the first place, but bringing out details in the hair, eyes, and mouth can give a photo more “punch.”
Once you’ve made your adjustment, zoom out and look over the image. If you think your changes look too strong, then you can reduce the opacity of your adjustment layer for the face details and reduce the effect.
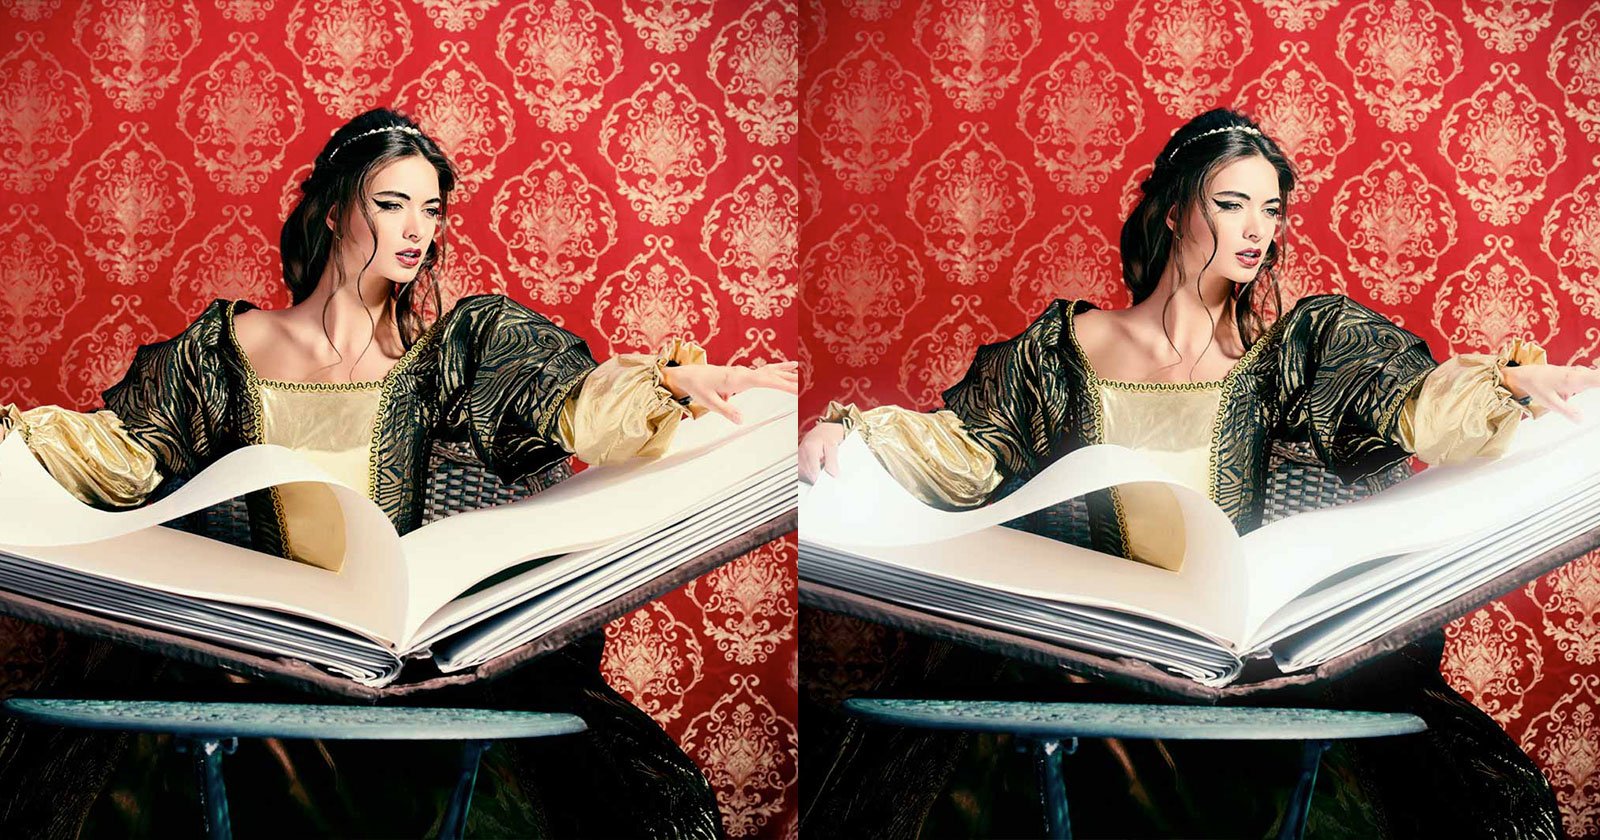
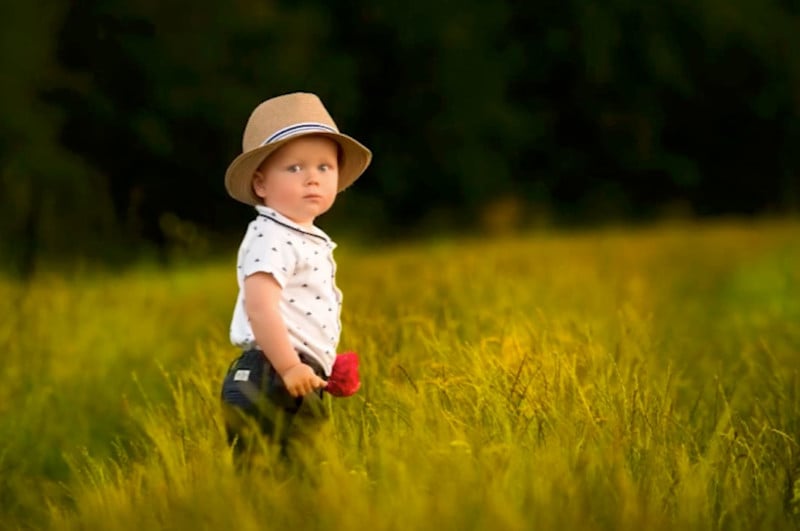
Adjust the Lighting
By using a Curves adjustment layer, you can darken the background and make the subject pop. You can create a mask to ensure you aren’t darkening the subject, but make sure you blend the mask slightly with the background.
Add Different Colors
Creating a solid color adjustment layer, you can increase the drama in the image drastically. Using a soft light blend mode and a green adjustment layer, the background immediately looks “dreamy.”
Masking the subject again so that the effects aren’t applied to the subject, the background can be developed on its own. Again, remember to blend the subject’s mask with the background to keep things looking natural.
Don’t forget to try out some other blend modes on your adjustment layer, though, to see what kind of changes they may offer.
Dodging and Burning
To add “more dimension” to the photo, you can use the dodging and burning tool to lighten and darken particularly areas of the photo.
In this case, the tools have been used to create more drastic shadows in the left of the child’s face and on his arm.
Adding External Effects
By using the gradient tool, you can finish off that ultimate dreamy look by introducing a sun flare into the side of the photo.
To see exactly how each step is done and how you can apply it properly, check out the full tutorial video above. You can also find more tutorials by PiXimperfect by subscribing to the YouTube channel.