A Beginner’s Guide to the Basic Studio Lighting Setup for Portraits
Want to get started with shooting portrait photos with studio lighting? Here’s a helpful 8-minute video by Adorama with photographer Mark Wallace that introduces the different types of studio lighting and the specific job they each perform.
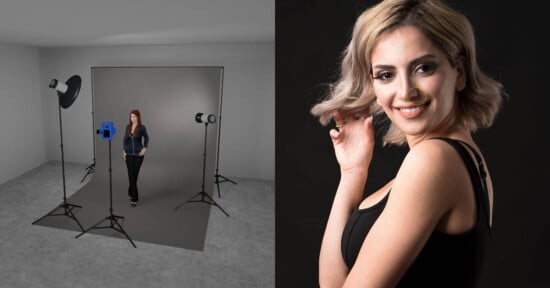
Key Light
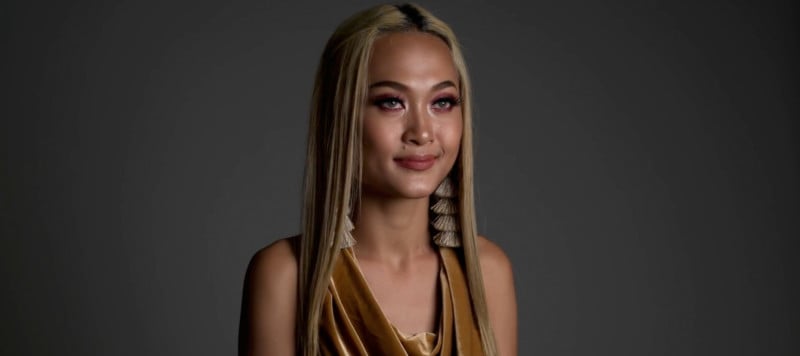
A key light is your main light. It’s “the cornerstone of your lighting setup,” and you’ll most often only be using one of them for your shoot. All of your metering efforts will begin with the key light, and subsequent lights are positioned and metered in relation to the key light.
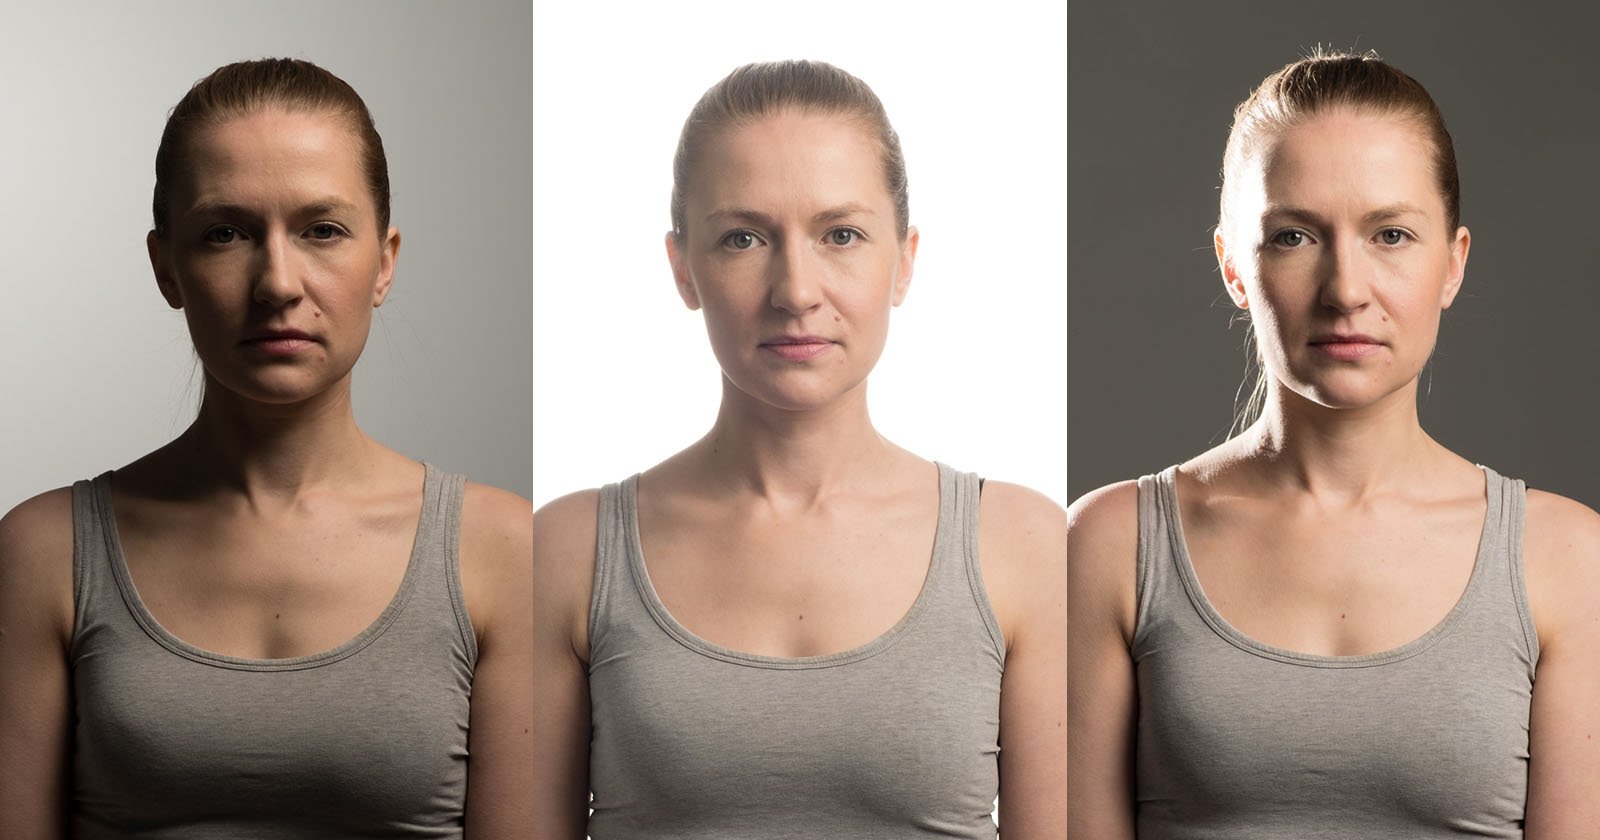
Fill Light
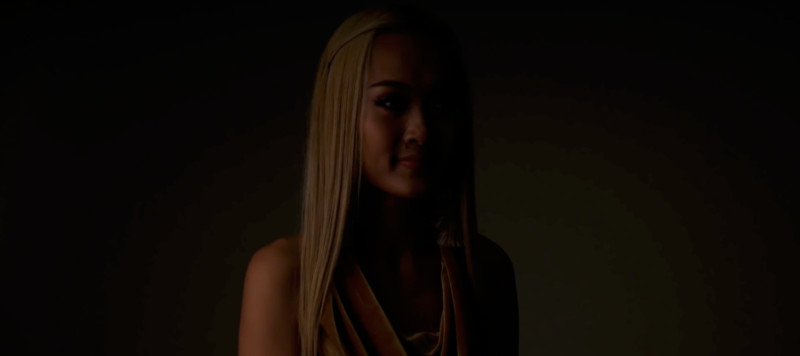
The fill light is used to fill in shadows on your subject. It’s mostly used to gently fill darker areas, however, rather than totally remove a shadow. This light is metered to an equal or lower level than the key light.
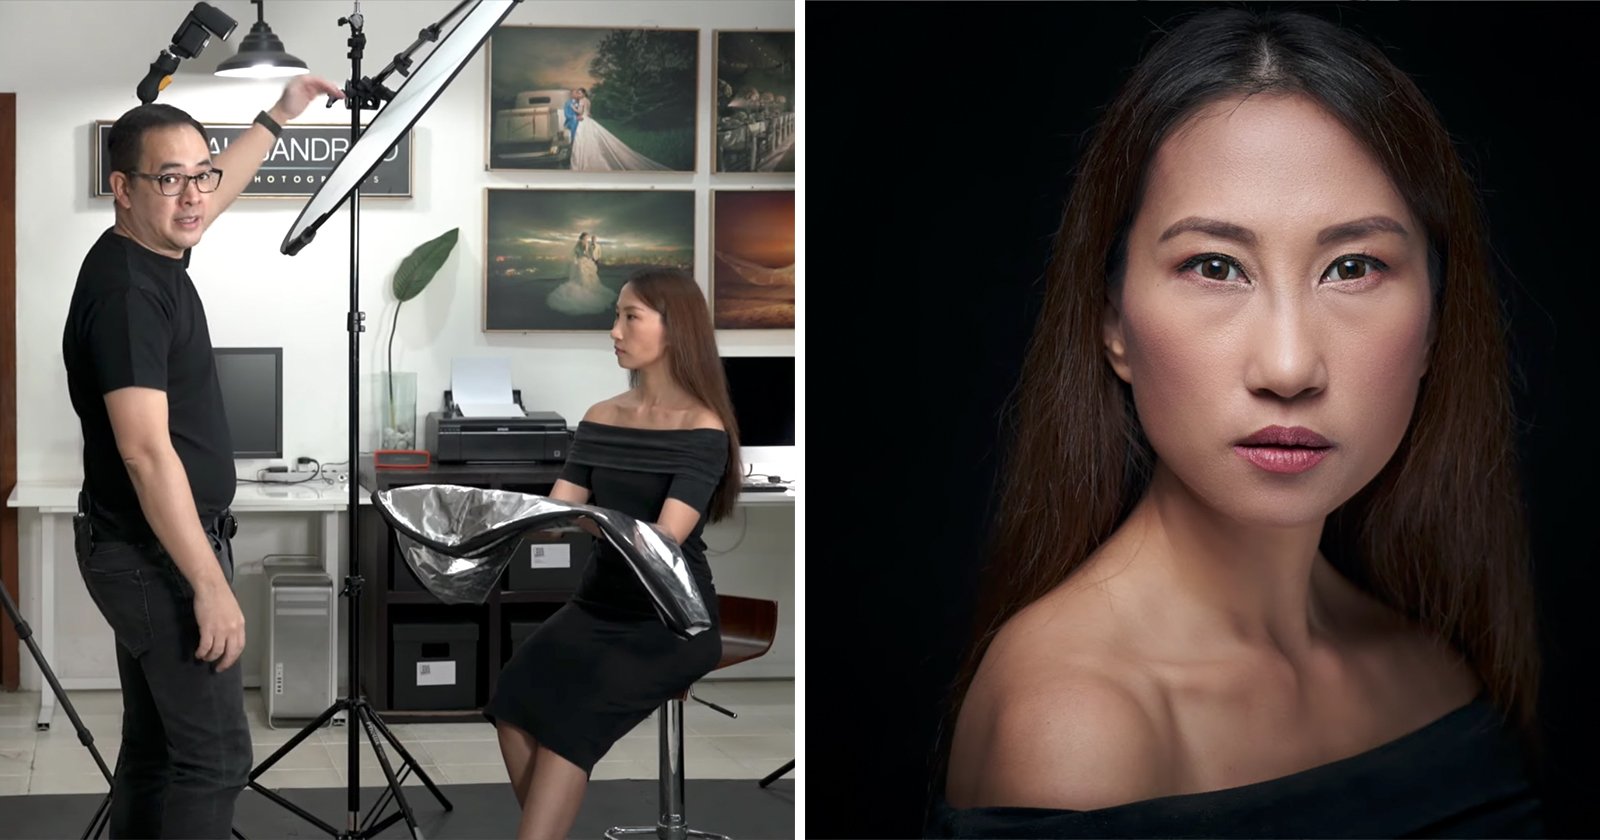
Hair Light
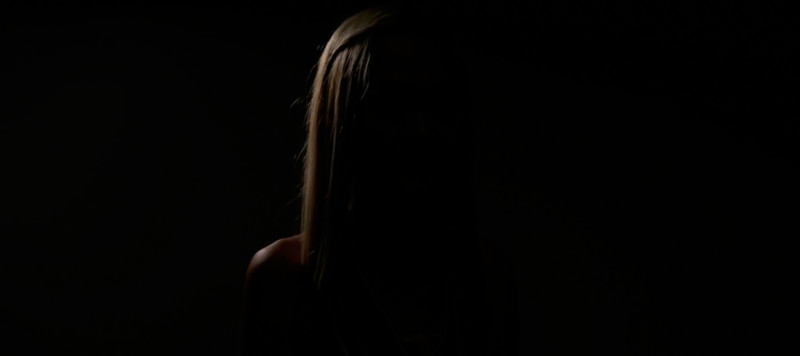
The hair light provides illumination to the hair of your subject, highlighting the finer details of the image. It’s also useful when you have a dark subject on a dark background, as highlights help to separate the subject from the background. Subsequently, you may hear this light referred to as a “separation light,” or even a “kicker light.”
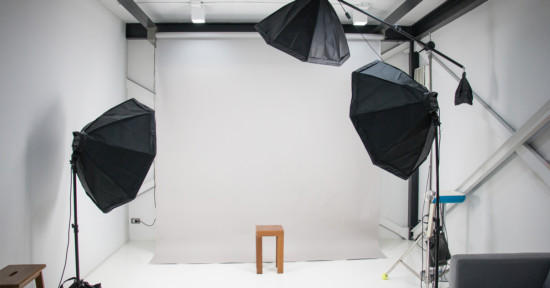
Background Light
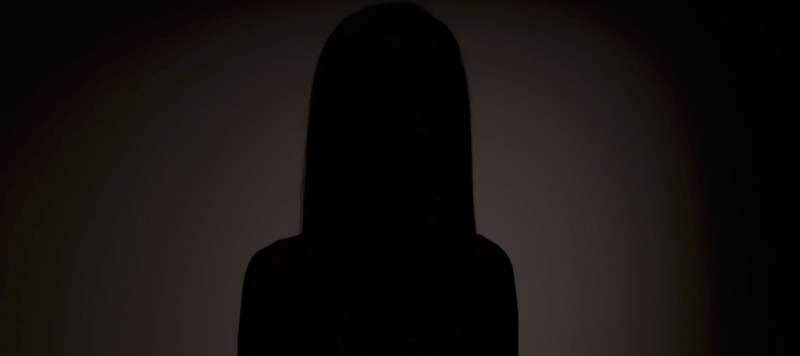
The background light adds light to the background, and you may well have several of these (especially if you have a large background in the shot). They are equal to or less powerful than the key light.
Check out the full tutorial video above to see each light in action and tips for how you would go about metering the lights in the first place. You can also find more of Wallace’s instructional videos by subscribing to the Adorama TV YouTube channel.