How to Give Portraits a Dreamy Glow in Photoshop
Hollywood photos and still frames often look fairly dreamy with a bit of a glow to the subject in the image. In this tutorial by the guys at Photoshop Cafe, you can learn a number of ways to do this to your own portraits.
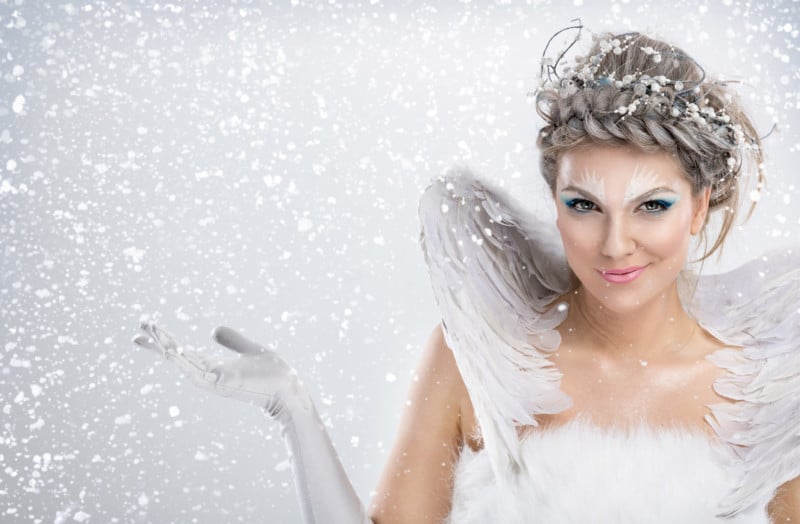
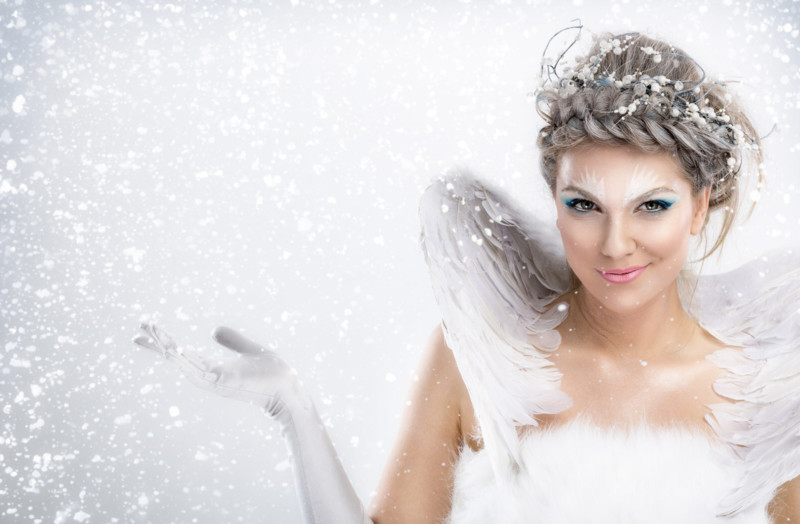
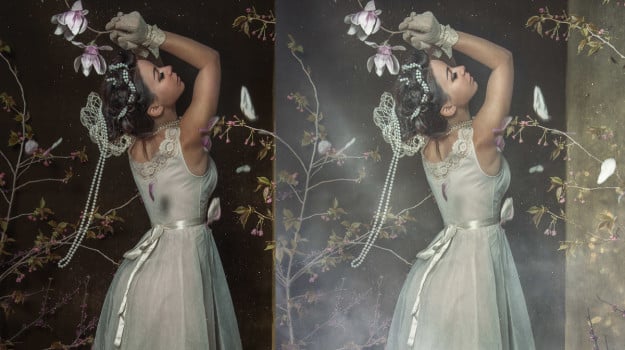
The first technique involves using the ‘Color Range’ tool to select a portion of the white areas of the dress in the target image, as seen below:

Hitting Control + J on the keyboard will copy your selection onto a new layer, and then applying a blend mode, such as Overlay or Screen Mode, will bring out the glow. Finally, applying Gausian blur to the photo will give it a soft, dreamy feel.
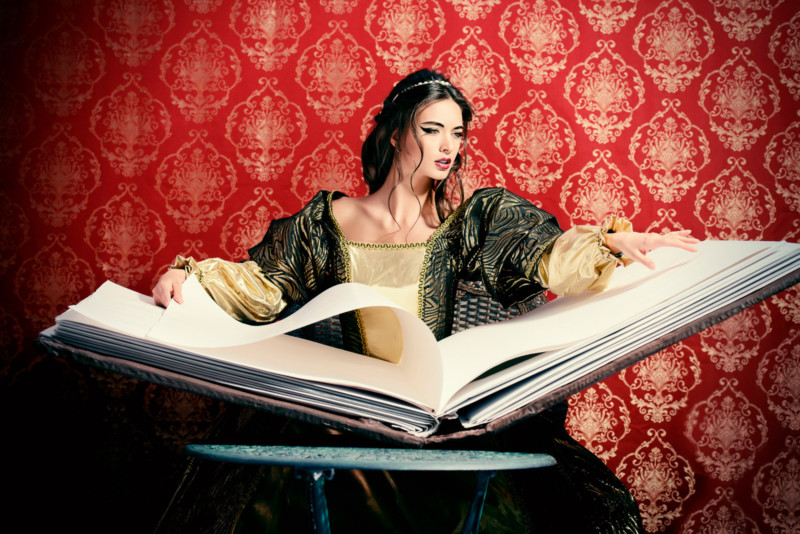
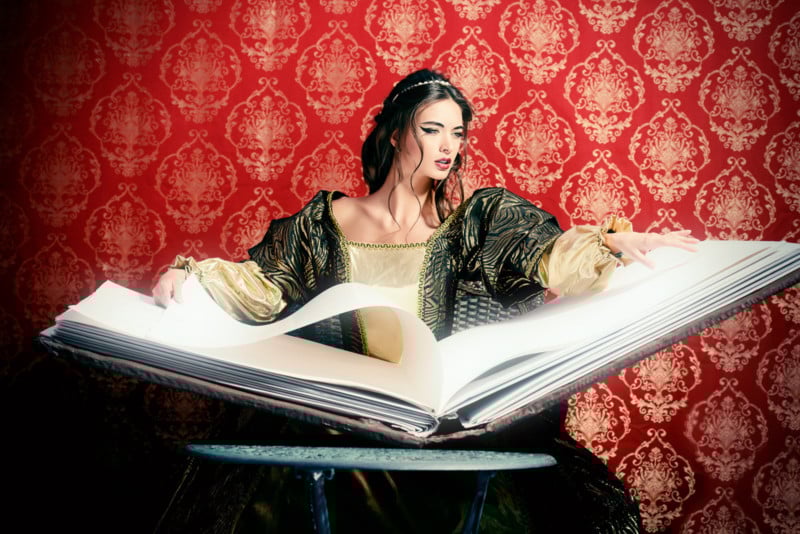
The second image edited in the video features a woman holding an impractically large book, but she still gets the Hollywood treatment.
Back to the Color Range setting, the highlights are selected to just the brightest areas of the book. Applying the Screen Mode again, the pages become bright. Gausian blur takes hold again, but this time by adding an ‘Outer Glow’ from the blending options, the dreamy look bleeds out into the background.
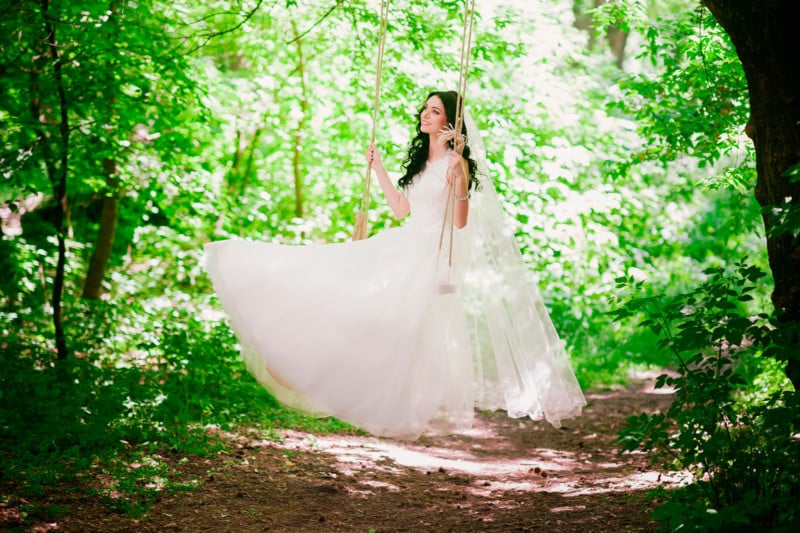
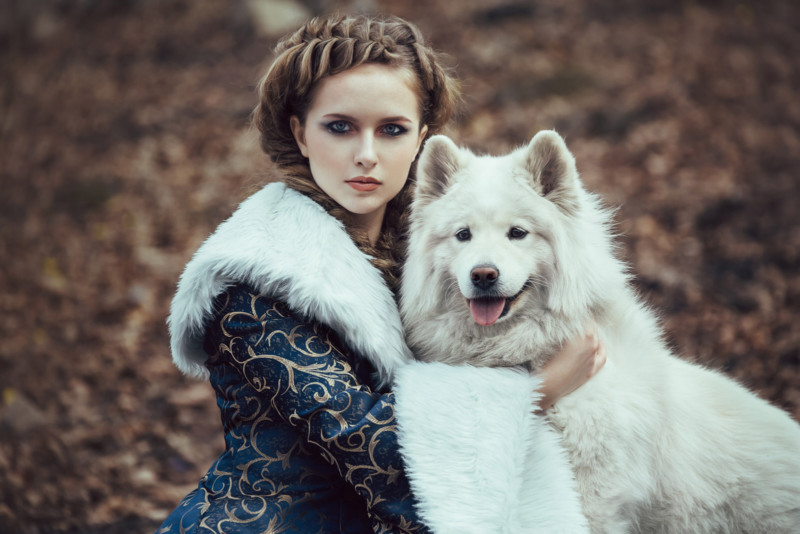
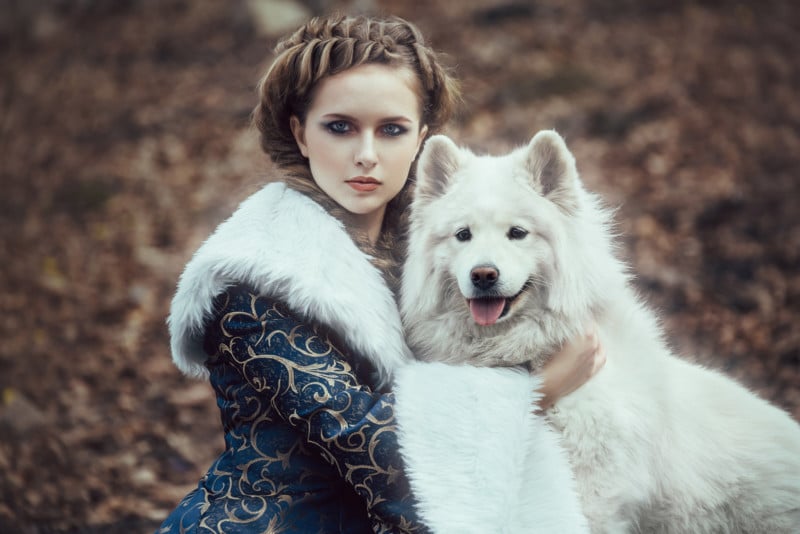
The third technique follows the same steps, taking the highlights from a woman and a large white dog.
By adding a large Gausian blur, and an outer glow, things start to look a little too overexposed and messy. But by playing with the advanced blend modes, the highlights are able to be saved with a quick slide to the left.
It’s not over yet – here’s something handy to remember. If you hit the ‘Alt’ key and pull the triangle on the slider, you’ll split the triangle and you can keep both the glow and the highlights of the subject in the same shot.