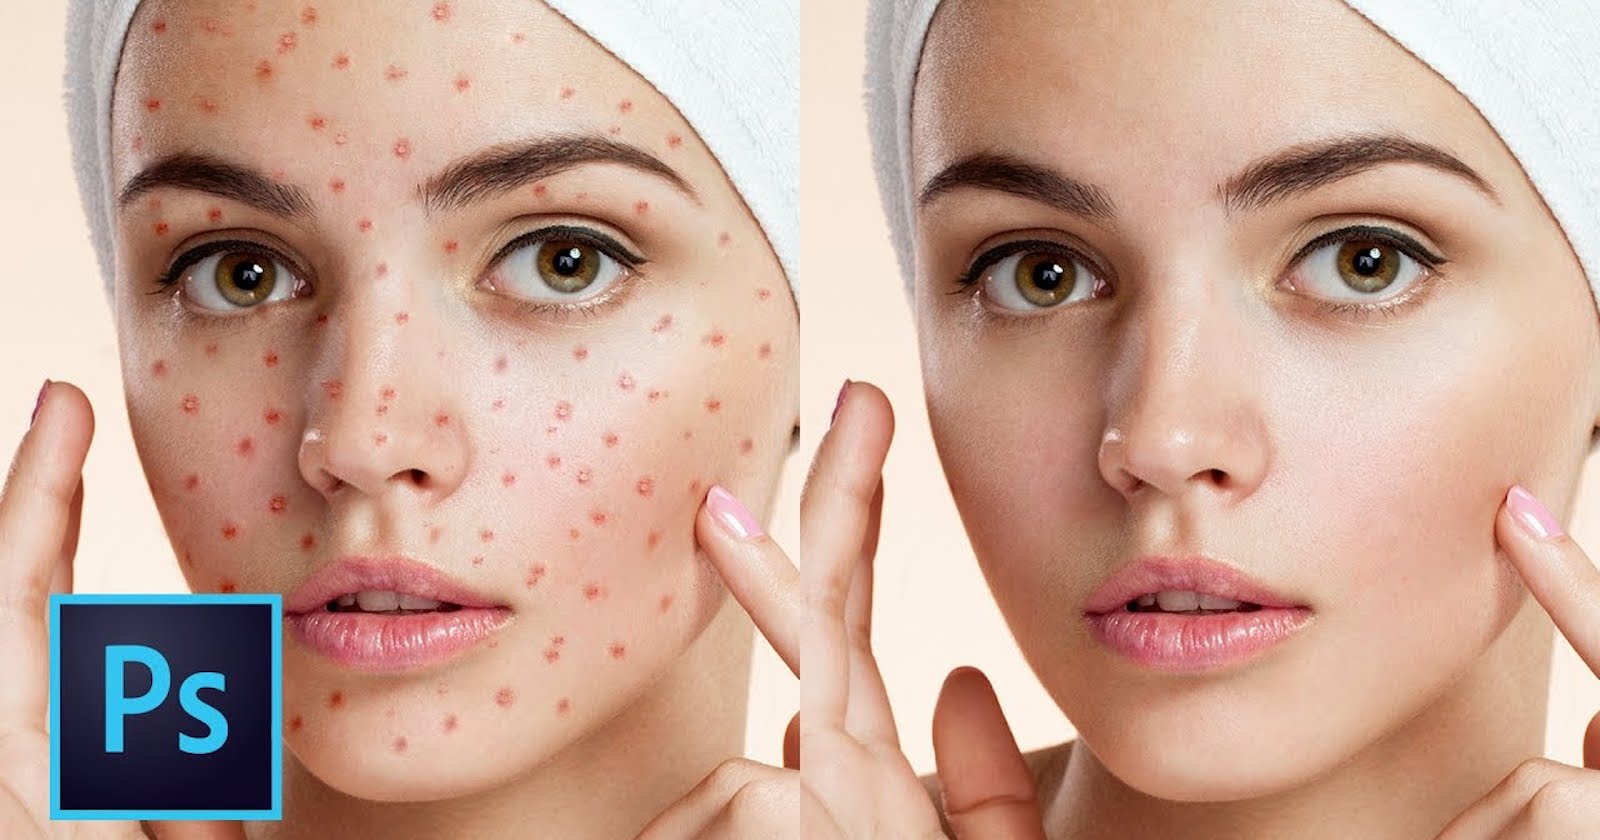
How to Heal Blemishes in Portraits with a B&W Adjustment Layer
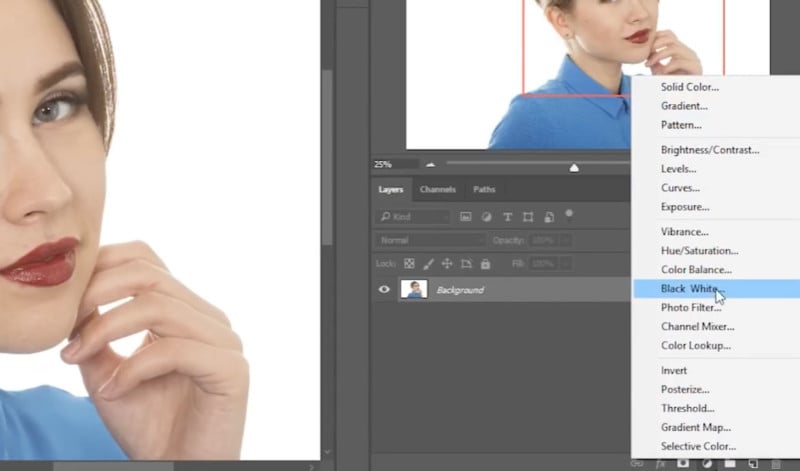
There are many tips and tricks in Photoshop that can make editing life easier if you know how to use them. Here’s a 13-minute tutorial by PiXimperfect that teaches how you can easily identify and remove blemishes in portraits using a black-and-white adjustment layer.
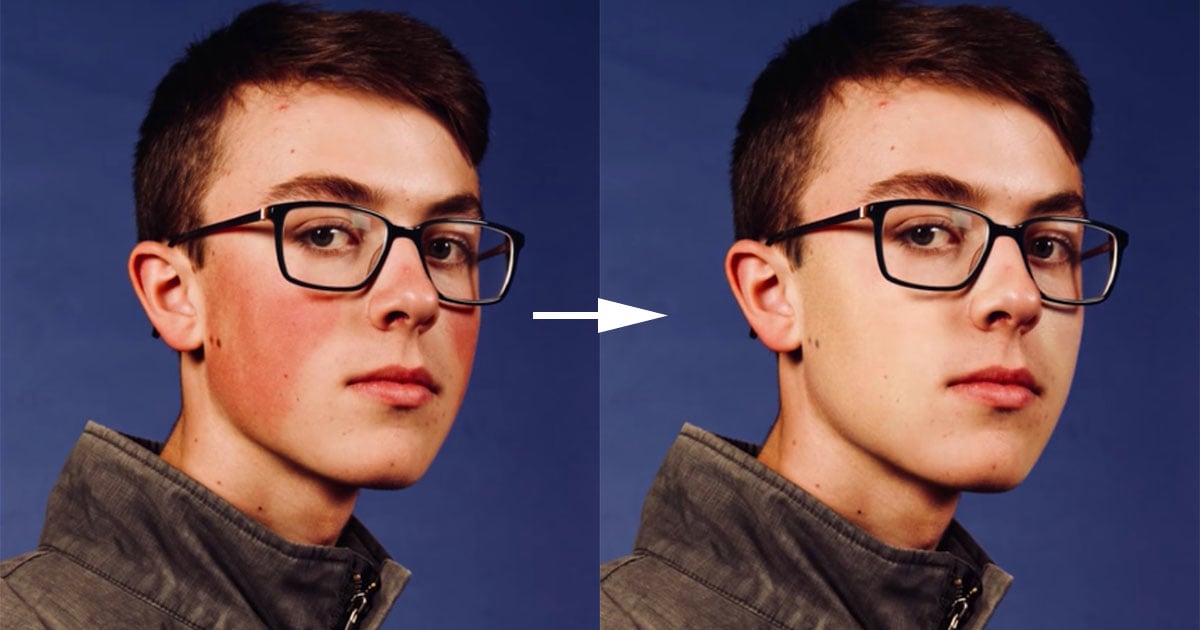
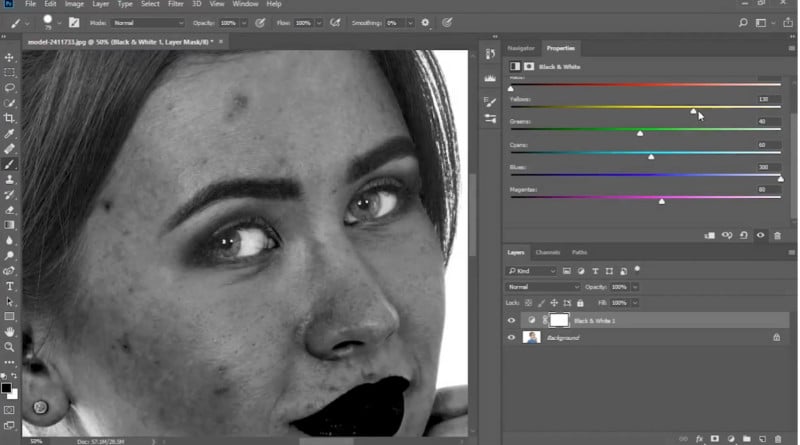
Now, pull down the red tones — you can pull it all the way down if you’re dealing with a light-skinned model.
The result can be a little frightening, but it shows you all of the hidden blemishes in the skin which you can’t see from the original image.
Now you can remove the blemishes easily. If you create a new layer below your adjustment layer, you can then use the healing brush to make your adjustments non-destructively. Make sure to set your healing brush to sample “Current & Below” so that you can heal blemishes from the original layer.

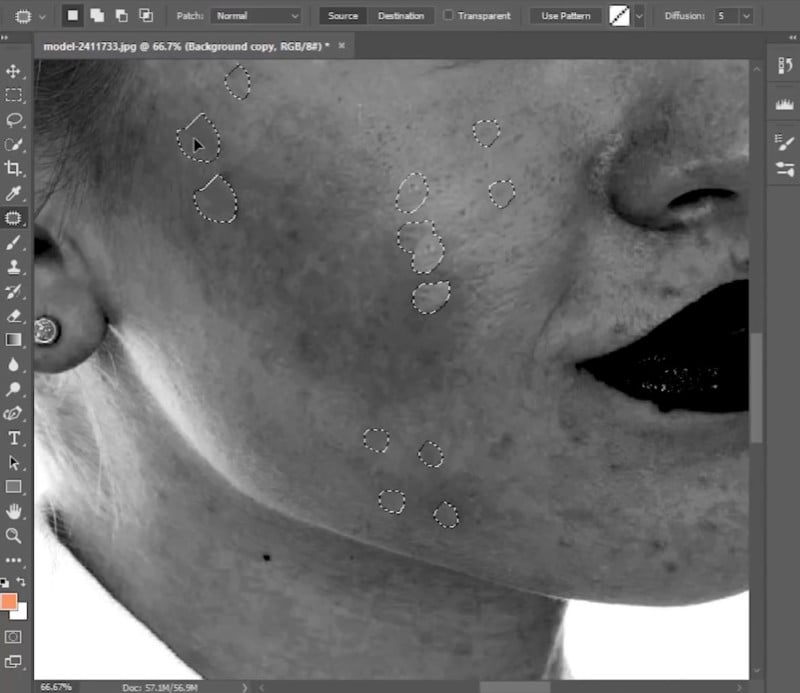
You can also use the Patch Tool to select multiple blemishes and then, in one smooth movement, you can click and move the selections to an area with no blemishes. Photoshop then uses these new target areas to heal the original blemishes all at once.
Made a mistake? Just use the Eraser Tool to paint away your retouching mistake. This is possible thanks to your extra layer in which you are making your retouching adjustments, as it is completely non-destructive.
Check out the full tutorial above for an in-depth walkthrough of these retouching techniques. You can also subscribe to PiXimperfect to follow along with the channel’s helpful video tutorials.