How to Remove Fungus from a Lens
There’s nothing quite so frustrating as discovering a lens you own has developed a bad growth of fungus on the internal elements. Lens fungus is commonly found in older lenses. It is indiscriminate of brand, build-quality, or price tag. If humidity stays in your lens for too long, the dreaded fungus may appear.
Today, I want to share with you the simple, non-damaging way to remove fungus from your lens. If you’re willing to put in a little bit of effort and maybe do something new, you can remove that nasty lens-ruiner and perhaps bring an old classic back to life.
Warning: This walkthrough involves disassembling a lens. If you’re not comfortable with this type of project, you may want to get your lens professionally repaired. Proceed at your own risk.
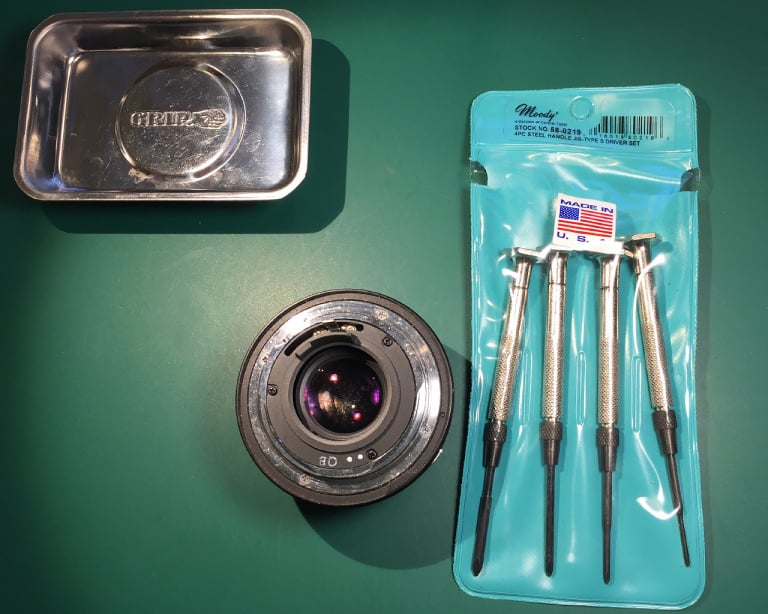
Here is a list of tools and materials you’ll need to get the job done:
- Lens Spanner: I bought mine here for $16.50. There is no replacement for this tool that won’t leave damage in its wake.
- JIS Screwdriver Set: For lenses made in Japan you’ll need a set of Japanese Industrial Standard (JIS) screwdrivers. They look like a Philips head/cross-tip screwdriver but they are slightly different. The tip’s pitch and depth are unique to JIS screw heads and attempting to use anything else to remove them could result in buggering it up. I bought a good American-made set from here for about $15.
- Desk Lamp: I use two different bendy arm lights: one is an LED spotlight that provides strong, directional lighting, and the other is a multiple LED lamp with a white diffuser to provide shadow-free lighting. IKEA is an excellent place for lamps like this.
- Parts Dish: I bought a $2 white plastic plate from a local home goods store.
- Soaking Dish: I think I paid about $3 for a little white ceramic custard dessert bowl.
- Tweezers: Any will do.
- Nitrile Gloves: These will help keep your fingers from getting dried out from the fungus-killing solution, and it helps keep your glass clean while handling the lens elements.
- Safety Glasses: Yeah I know, but you only get two eyes so you might as well protect them.
- Hydrogen Peroxide: The same stuff you get from the pharmacy aisle.
- Household Ammonia: I paid a few bucks at a home goods store for a gallon of this stuff. Try to find ammonia that doesn’t have any scent added. I’ve used scented and unscented and haven’t seen any difference in performance but it always makes me a little leery having an extra chemical in the mix when it’s being applied to sensitive lens coatings.
- Cotton Balls
- Microfiber Lens Cloth: This needs to be extremely clean. Don’t use one you’ve carried in your pocket or camera bag. Any dust or skin oil on the cloth will come off on the internal elements of your lens, leaving you immensely frustrated and unable to get a spotless finish. I keep my lens restoration cloths in airtight plastic bags when I’m not using them, and replace them often.
- Lens Poofer: I use a $10 Giotto Rocket Air Blaster that I bought from here.
- Cup of Coffee, caffeinated: Your choice of flavor.
- Music: I recommend Charlie Haden’s Tokyo Adagio album or Alan Broadbent’s Blue in Green.
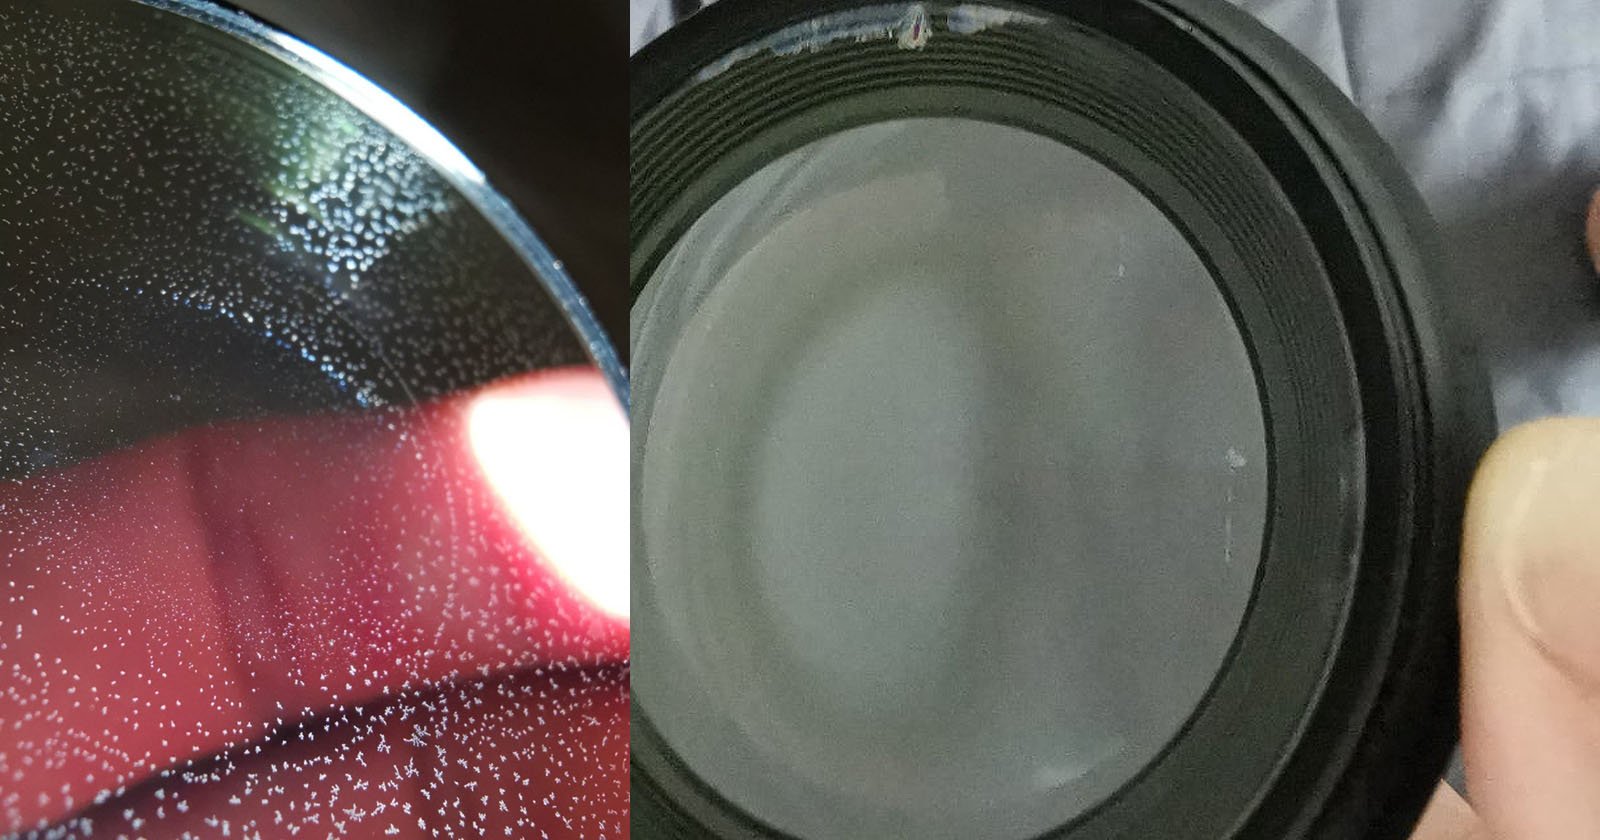
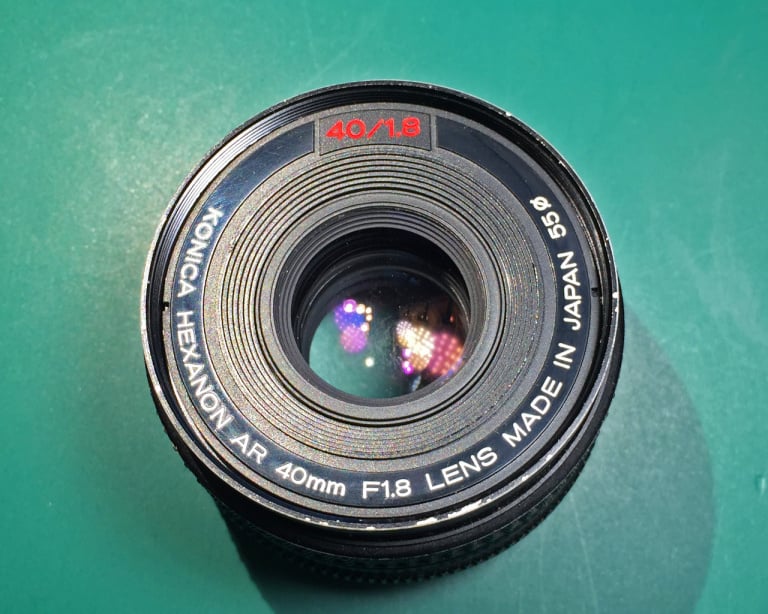
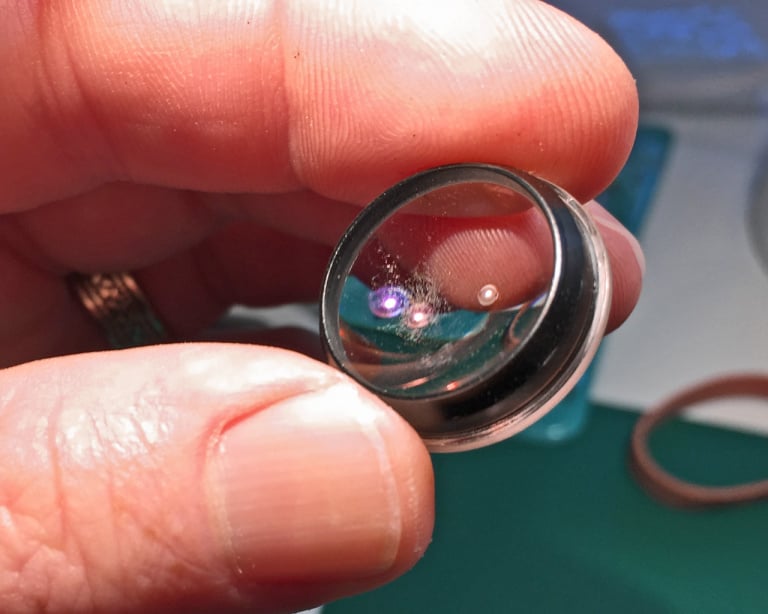
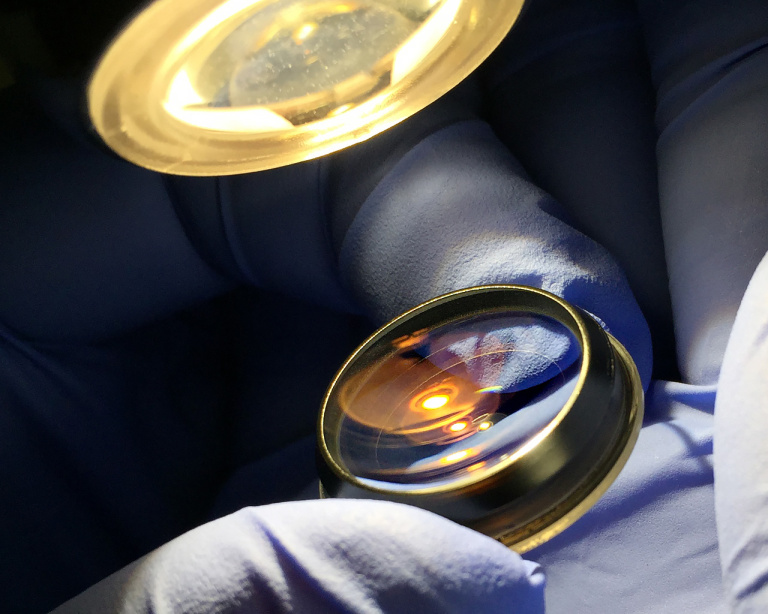
Alright, let’s get to it! For this post, I bought an old Konica Hexanon AR 40mm f/1.8 lens from my local camera shop. At first glance you think, “It’s not that bad”…
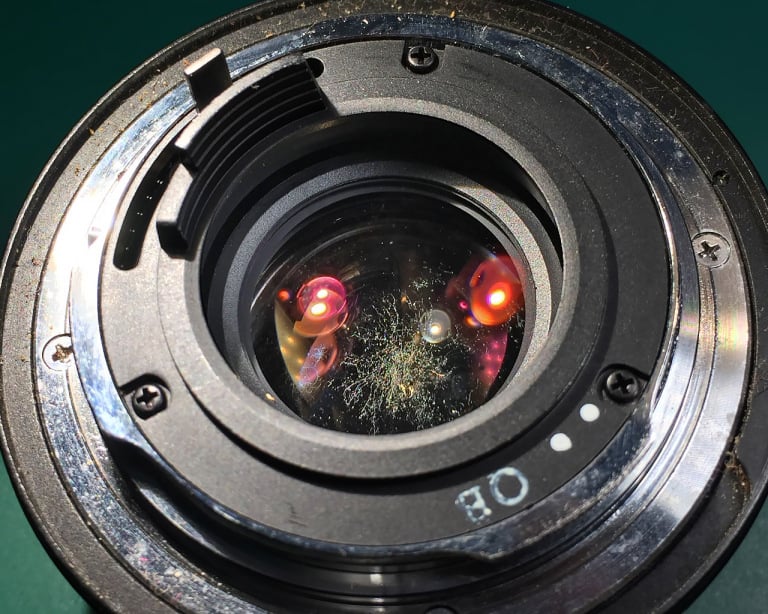
But shine some light on it and you find it had a particularly bad case of lens fungus in the rear element group. This is the worst place to have it because it absolutely will affect image quality. The fungus is not on the outside of the rear element — it’s between two elements inside the lens.
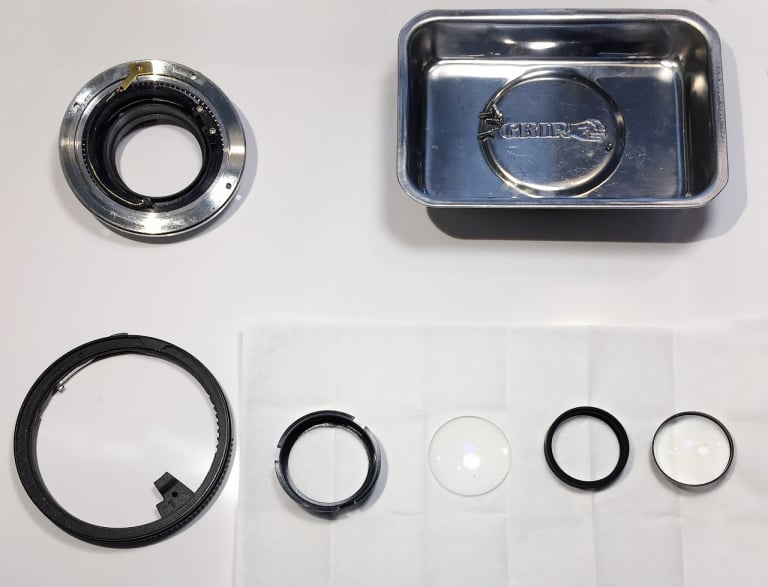
Time for teardown. It’s highly likely your lens will not be the same as mine but the process is going to be very similar, especially if your lens is old, manual focus, and Japanese. I highly recommend you use a camera to document each step that way you have references for later when reassembling your lens.
Using my JIS screwdriver, I removed the 4 screws holding down the chrome lens mount.
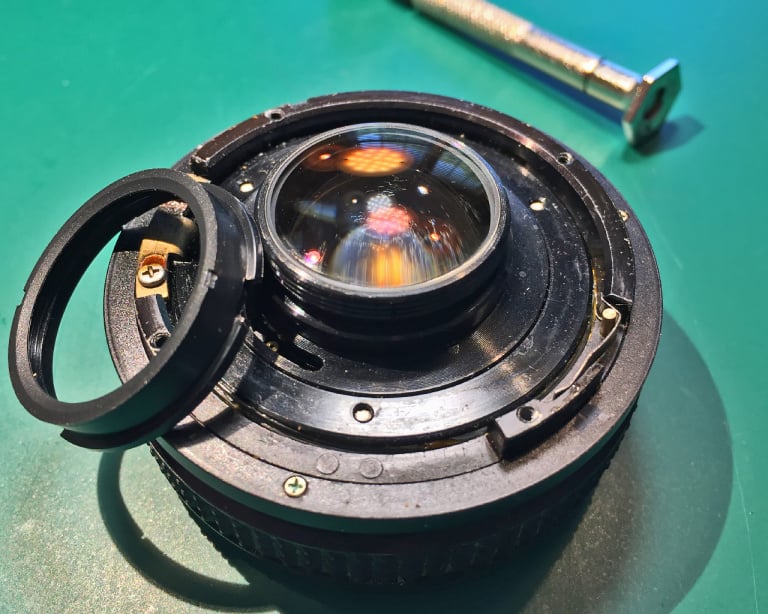
With the lens mount removed, the aperture ring is now free to come away from the lens body. To gain access to the rear lens element, I didn’t need to remove the aperture ring but I figured I might as well clean it up, too, while I’ve got all my tools out.
A big word of wisdom here: between the aperture ring and the lens body there is a tiny steel ball that has either a coil spring or leaf spring behind it that is just waiting to launch that ball across the room. You can tell where the aperture click-ball is located by looking for the series of notches cut into the ring. When you turn the aperture ring of a lens, the click you feel between each set point is coming from the interaction between the ball and those notches. I suggest cupping your hand over that side of the aperture ring as you lift it away from the lens body. In my case, there was enough grease and filth holding the ball in place that it remained safely in its hole.
With the aperture ring removed, I was able to clean up the back of the lens body. I recommend doing at least some preliminary cleaning as you go along. This will help keep bits o’ nasty out of other parts of the lens as you make progress dismantling things.
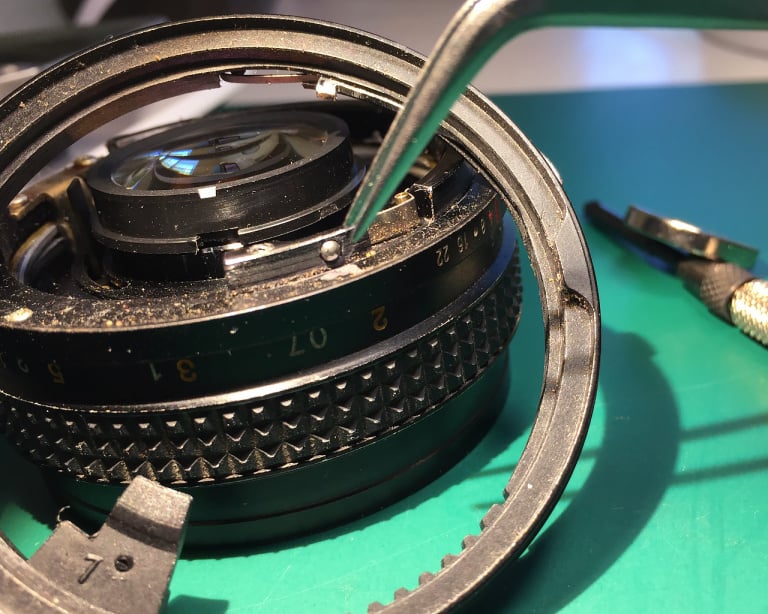
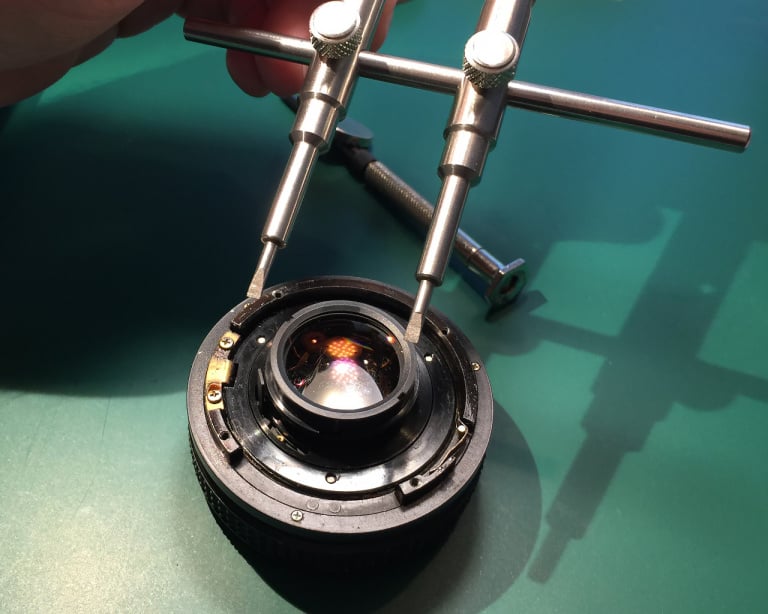
The lens spanner is a simple tool. It has two steel spreader bars upon which the two spanner rods may be distanced for correct width-alignment with the ring you plan to remove. The thumbscrews on the spanner rods provide a means to lock the tool at the required width. This particular lens spanner has both blade and needle/pin type ends. This lens has a pair of simple notches cut into the retaining ring. The blade-end of the lens spanner is used to remove this type of ring.
The retainer ring is now removed, freeing the rear element from the lens. There are several ways to remove the glass: tip the lens upside down in your hand first to see if it just drops out. Most of the time they will. If it doesn’t come free, you can try part-way reinstalling the retainer ring and use a blunt, non-metal object to gently rap the side of it – just enough to encourage some movement.
In the very worst case I’ve experienced, I had to flip the lens over, remove all of the front-side lens elements/groups, open the aperture blades fully and use a soft silicone spudger to press out the rear glass from inside the lens. I’ve only ever needed to do this once so don’t get discouraged. I just want to prepare you for that possibility by giving some pointers along the way.
In the case of this lens, the rear element simply fell out into my hand. This is a very thin piece of glass that would take very little to break it. I use a soft cloth or lens wipe to lay out all of the rings and glass in the order in which they’re removed. Pay close attention to the convex/concave shape of the glass so that you have no doubts as to how they will be orientated when you go to put it all back together.
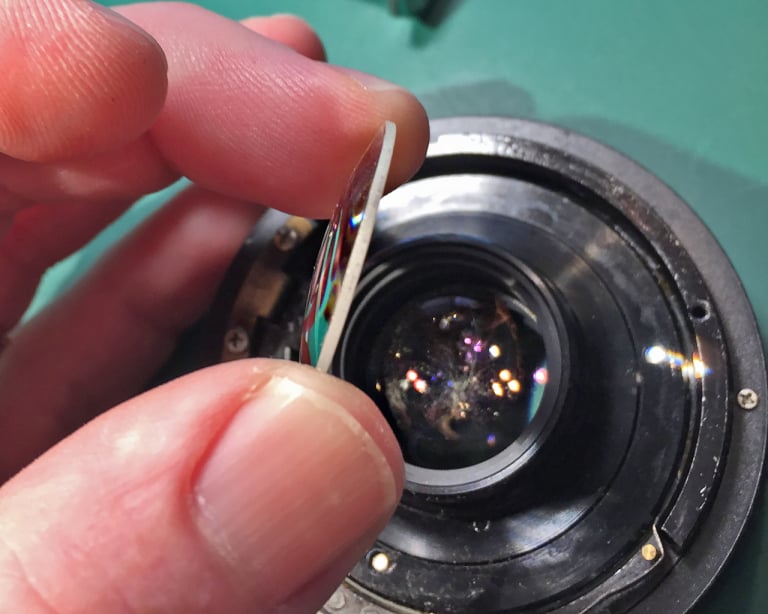
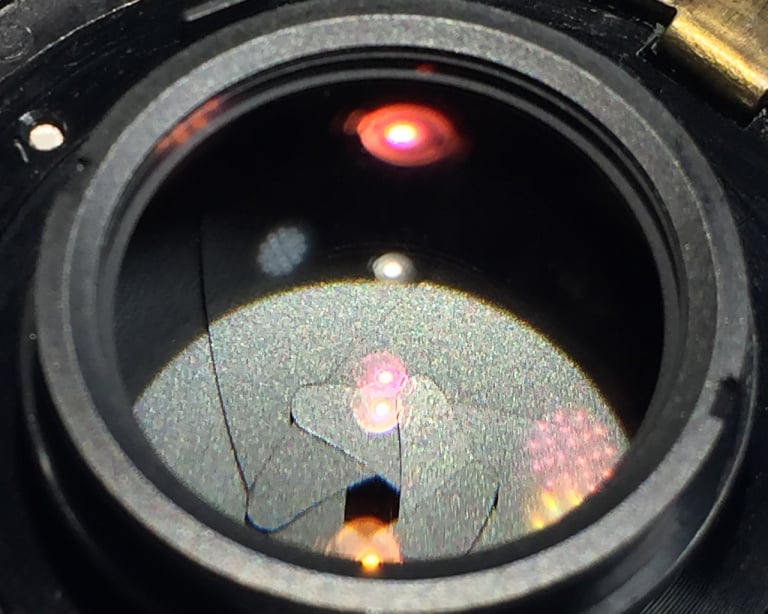
Have a close look at this photo. You can see that the glass that remains in the lens is the particular element with all of the fungus on it. The first piece of glass I pulled had some traces of it but nothing like the second. Let’s get that bad boy out of there.
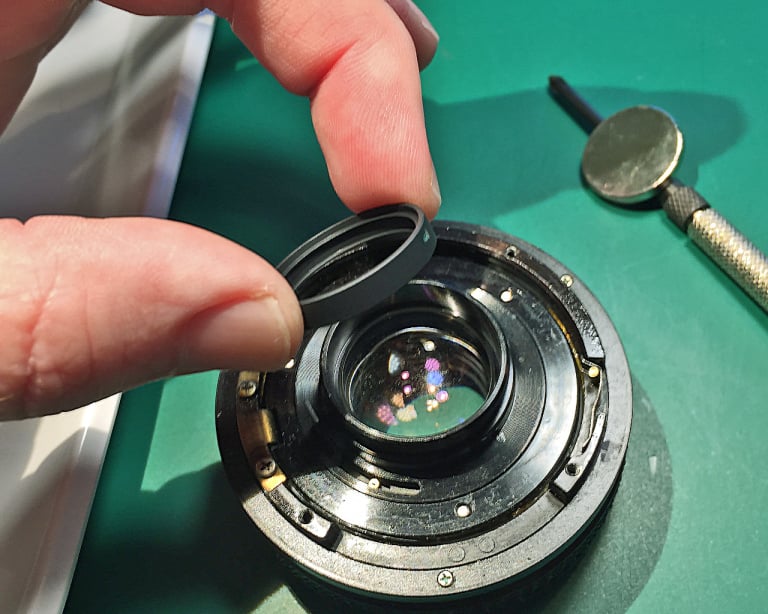
The construction of this lens group calls for a spacer ring between the rear most element and the inner element. To remove it, simply tip the lens into your hand. You may need to bump the front of the lens to get the element all the way out of its mounting. Be careful as sometimes the inner element will come along with it. In this case it did not. If you ever feel more than one thing fall into your hand, FREEZE.
Set the rest of the lens down and carefully assess what is what in your hand, and in what order and orientation they were in. Next, set down each piece onto your cloth, making sure not to allow any metal or other pieces of glass to touch the face the element(s). Inner elements can have some very soft coatings that will scratch very easily. A light coating scratch isn’t the end of the world but it’s best to avoid if you can prevent it.
Here we have the inner, rear element with all the fungus on it. It pretty much covers the entire concave surface of the glass. See the black that’s all around the edge of the glass? Sometimes that stuff flakes off or falls off when you’re soaking the element in solution. This blackout coating is there to reduce internal reflections. If it starts flaking or coming off during the restoration, I recommend removing as much as will come off and re-coat it. I’ve had good success with a black Sharpie.
The edge of the glass is unpolished so the Sharpie ink bonds really well to it. I’ll usually apply it 2-3 times to make sure I get a nice blackout finish. You can use a strong, directional light source to shine light through the middle of the lens while looking at the edges for any spots you might have missed. An advantage of the Sharpie is that it will not alter the diameter of the glass so you won’t have any trouble fitting the element back into place.
Let’s get to the good part: removing the fungus!
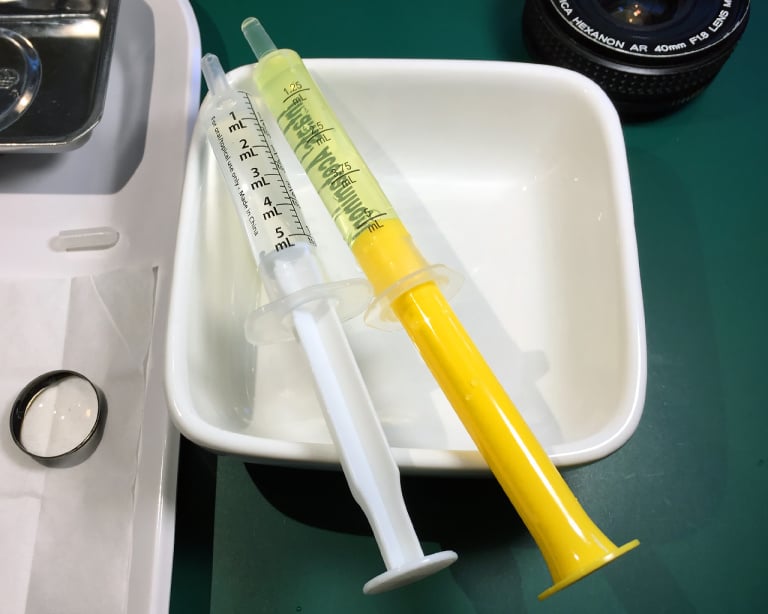
I have some medicine syringes that I use for measuring out the solution but it’s totally not necessary. Our solution consists of equal parts of hydrogen peroxide and ammonia. In the past I’ve used the lid from the ammonia bottle to measure out equal parts of each chemical. Wear gloves and glasses if you can, and make sure you work in a well ventilated area. The ammonia fumes are quite strong.
For each capful of one, pour another capful of the other and you can’t go wrong. For this small project, I only needed 5 milliliters of each for a combined volume of 10 mL. Stir the mixture well. Place a disposable lens wipe or something similar on the bottom of your solution dish. This will protect the elements from being scratched by the dish while they soak.
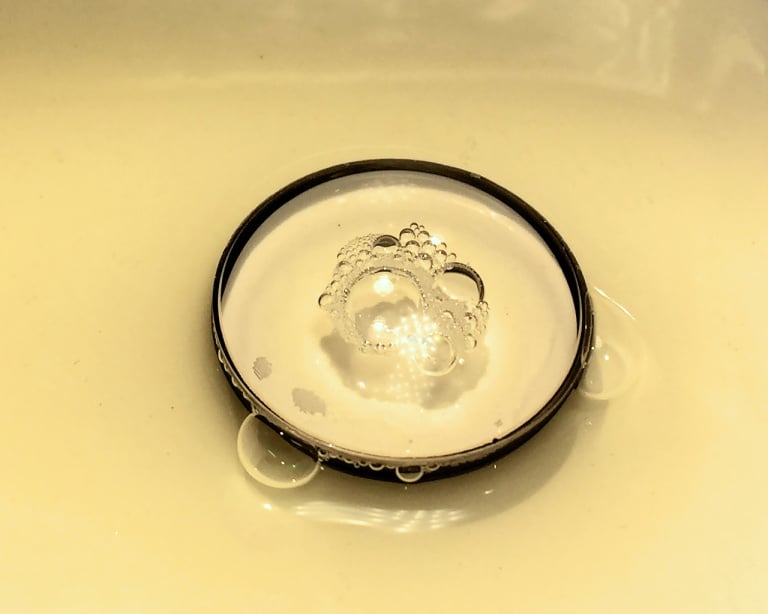
Gently place the element into your solution. Let it soak for at least 2 minutes. You may see some bubbles form as the solution eats away the fungus. After a few minutes of soaking, use a cotton ball to gently wipe away any remaining fungus. It shouldn’t take any real pressure to do this – we’re removing the fungus chemically, not mechanically.
If fungus remains on the element, just put it back in the solution for a longer soak. I’ve had some fungus that required as much as 20 minutes to remove it all (Leica Summaron 3.5cm, if I recall correctly).
After all the fungus is gone, take the element over to a sink where you can run water over it for a bit. Don’t rub at the lens, just let the water run directly onto it, on both sides. Once the solution has been rinsed off, use your lens poofer to blow away all the water droplets. With the water gone, use that sparkling clean microfiber cloth to lightly wipe the lens.
Now, inspect the lens under your lighting. Check it from both sides and with different angles of light to be sure that all the fungus is gone and you have no dust or smudges on the glass. If it looks good, set it aside on a clean soft microfiber cloth and cover it up to prevent any dust from settling onto it. Repeat the cleaning process on the remaining elements.
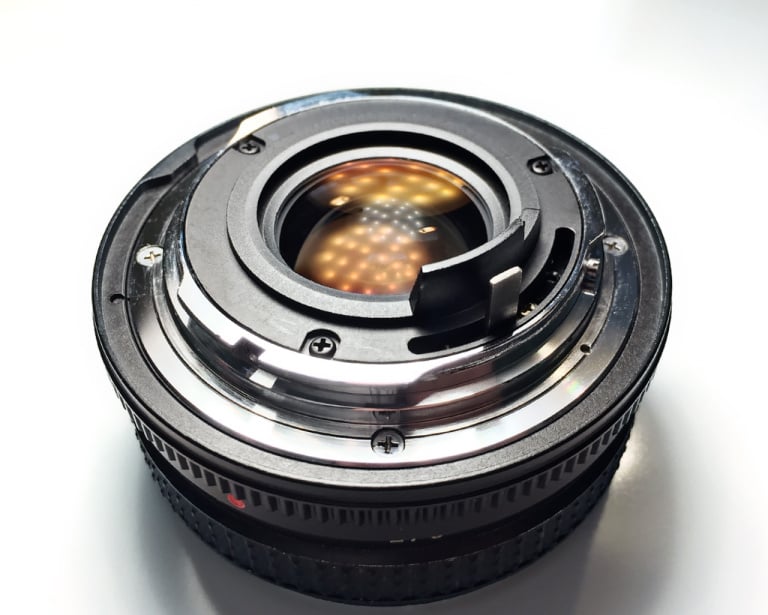
Working backwards now, I put it all back together. The front of the lens body was cleaned and blown out, and I inspected the aperture. It was in perfect condition. Next, I reinstalled the rear element group. Crystal clear, the way it should be.
Using a toothbrush with dish soap on it, I cleaned the devil out of that nasty aperture ring. A light coating of grease (#30 from Japan) was applied to the notches to help deliver a smooth, firm clicking action. Synthetic Moly works as well but you need to make sure it’s hi-temp grease otherwise you risk a hot summer’s day liquifying the grease causing it to drain into other parts of the lens.
I soaked the rear lens mount in isopropyl alcohol (91%) and gave it a good cleaning. Each lens is a little different in how they build into the lens the aperture interface. This Konica has the whole assembly buttoned up inside the lens mount assembly. Some lenses are not built this way and instead are a separate collection of parts that must be removed first in order to free the mount.
Either way, they’re fairly simple consisting of a metal tab ring that is held in tension with a long coil spring(s). If you ever have a lens that requires removing it in order to clear the lens mount, just work slow and take photos. It ain’t rocket science in there.
Finally, all back together and looking like new again. Total time to complete this cleaning was 2 hours, 1 minute. That includes the extra time spent taking photos for this post.
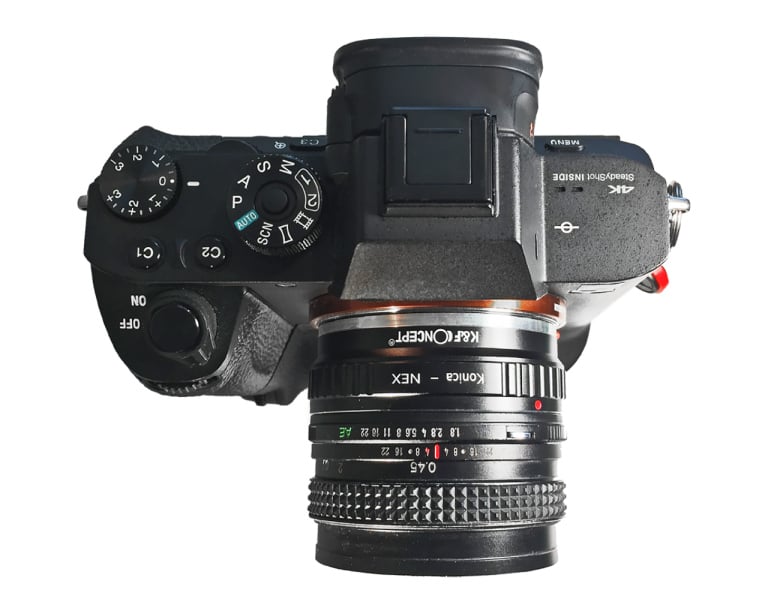
A final shot of the mighty Konica Hexanon AR 40mm f/1.8 mounted, via an adapter, to the Sony a7R II.
I hope you found this post encouraging and helpful.