I Built My Own Medium Format Film Scanner from a Shoe Box
Unless you have the dough to get a lab scanner, it is a painful process to scan your own film. Luckily one day all the photo labs dumped their Pakon F-135 to the market, and I remember you could get one for ~$250 a pop.
It was the best thing happened to those who want to scan their 35mm film at 5 min each roll, and the quality was excellent. For anything larger than 35mm, the best you can do is probably something like an EPSON v700/800 or a dedicated Nikon 9000ED.
The long nights spent scanning with them was not particularly fun. Newton rings? You gotta purchase special glass for that (they are not cheap). Scans not sharp enough? You have to carefully carefully adjust the height of the film holder/glass with tape/paper or whatever and pray the next scan would nail the focus, but the result is usually a slap on the face.
With dedicated scanners like the Nikon 9000ED, it is simpler… but you still have to wait 2-3 mins for a single frame scan, and that’s without the IR dust removal. Did I mention how much a Nikon 9000ED costs?
Now it’s time to forget all that pain and suffering, because you can scan a roll of 120 film in less than 2 minutes with a shoebox scanner. I have proof!
Sure it’s not as sleek as an iMac G4, but once you have it you will never go back to the old ways.
I spent about an hour making the whole rig. Found pretty much all the essentials around the house. Of course I already have a camera, a macro lens, a tripod, a flash, and a couple of flash triggers. I assume you should already have the above items after a year or two into photography…that is if you are truly into it. XD
Onto the important things:
- a shoe box
- some copy paper
- a piece of Plexiglass roughly the size of copy paper
- some tape
- a film holder (I kind of cheated and used one from a canon scanner, but you can buy one on ebay or DIY)
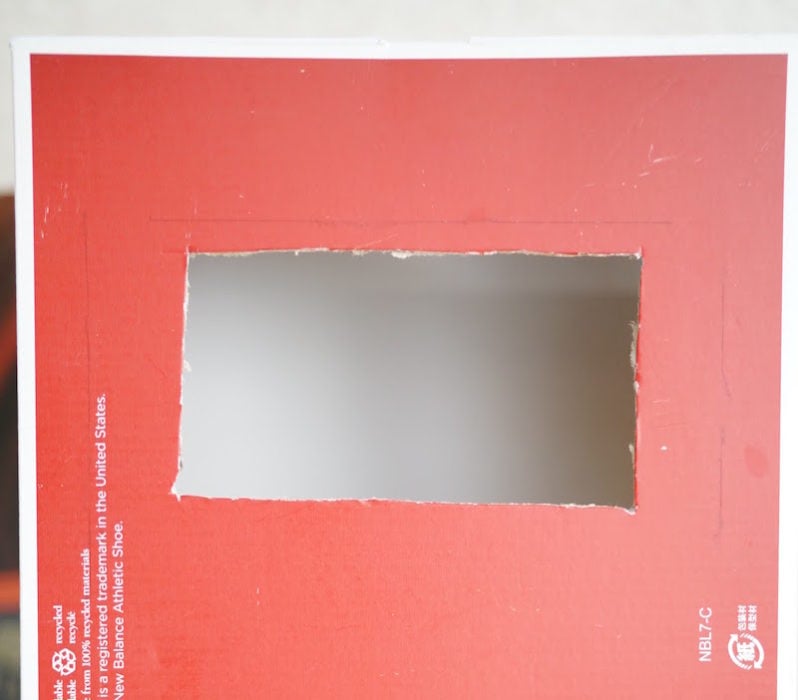
I first cut the lid off so it’s easier to work with. Then I put the film holder on the box to trace the size of the opening I needed. With a carpenter’s knife, I cut the opening slightly bigger than the mask of the film holder.
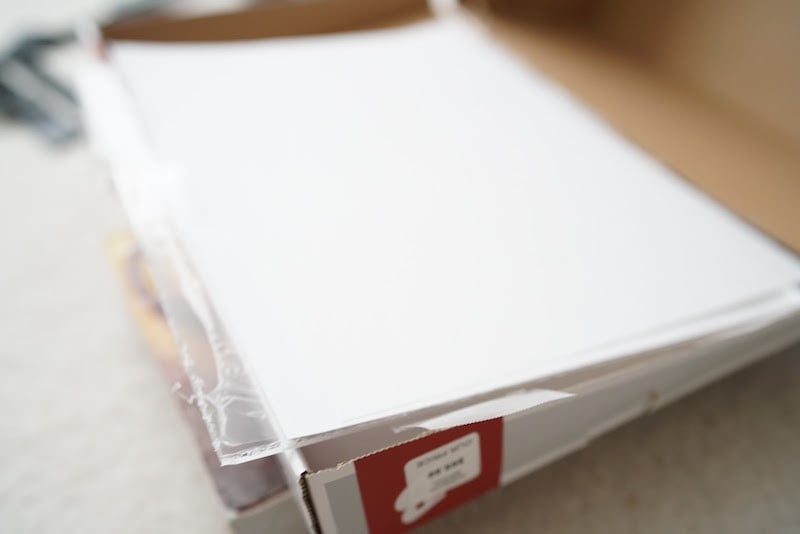
Next I taped 2 sheets of copy paper on the Plexiglass, and taped the Plexiglass onto the box. This acts as the light diffuser. The reason it is on the other side of the box far away from the film is because you want any texture of the paper or the Plexiglass to be out of focus and blurred out.
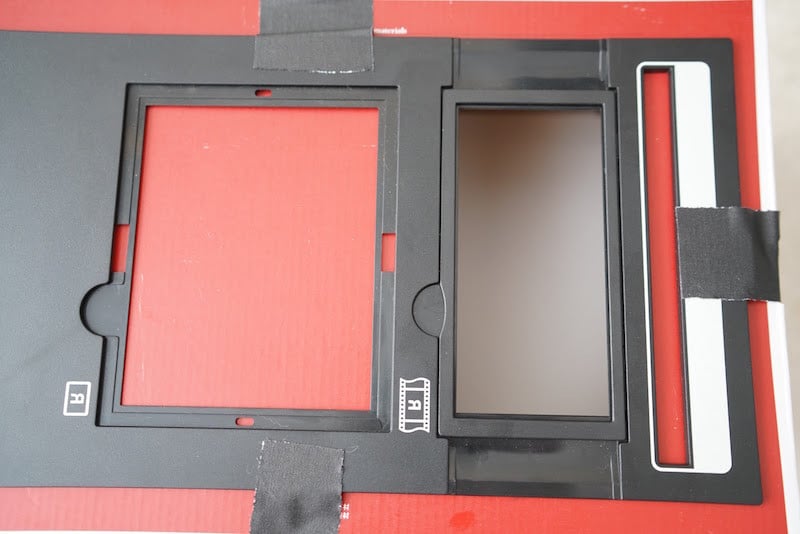
Then I tape more paper to the lid and tape the lid back to onto the box. My plan is to keep the lid at an angle to the Plexiglass, and point the flash at the lid. The light from the flash would bounce off the paper inside the lid and illuminate the Plexiglass evenly. Next, the film holder is also taped onto the box, and that’s pretty much it!
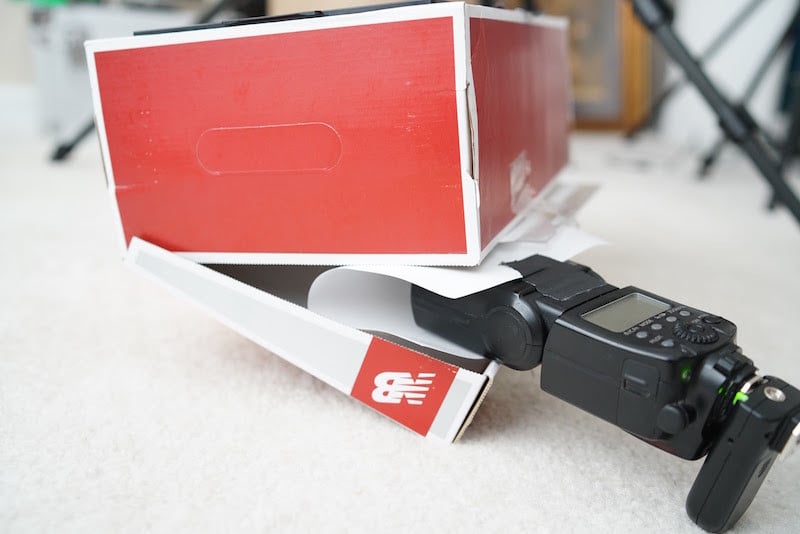

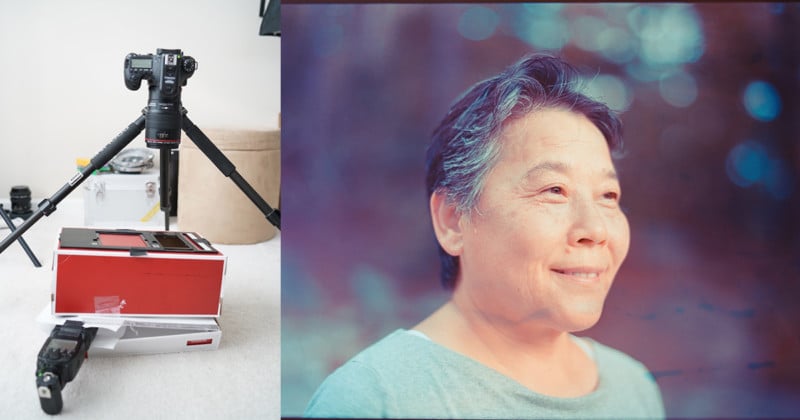
To scan, the box is supported by a rather thick book, and the flash is jammed between the lid and body of the box, pointing to the white paper on the lid. The flash unit has a remote trigger attached, as does the camera. I am using a pair of Yongnuo triggers from 5 years ago, so nothing fancy about them.
I did tape another piece of paper on the flash for an extra layer of diffusion, but if you’ve already got one of those plastic diffusers it would work just the same, maybe better. The camera is supported by a tripod, pointed vertically down. Once the film slides into the holder, I played with the tripod legs and the ball head to make sure the film plane is parallel with the sensor plane. Live view mode with exposure simulation disabled is used for this process.
I have the flash on full power and the camera set to f/5, 1/160 and ISO 125. f/5 leaves some room for focusing error, 1/160 is the highest for the flash sync speed yet minimizing ambient light, and a low ISO of 125 reduces noise for the final image. All these settings can be experimented with.
Color temperature is set to the warmest (2600K) to counter the amber base color of the negative film (as recommended in this earlier article by Paulo Ricca). However, I tried a series of values from 2600-10000K, the resulting images with the exact same preset applied are the same.
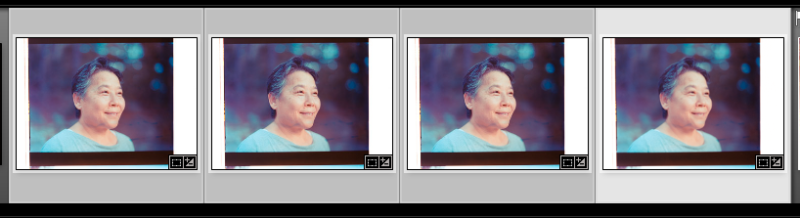
The scanning process is extremely fast, even faster than the Pakon. After you got the settings down, it is simply shoot-move-shoot, and takes less than 2 minutes to scan my test roll of 16 frames.
The post-processing is not any more difficult—I did everything in Lightroom.
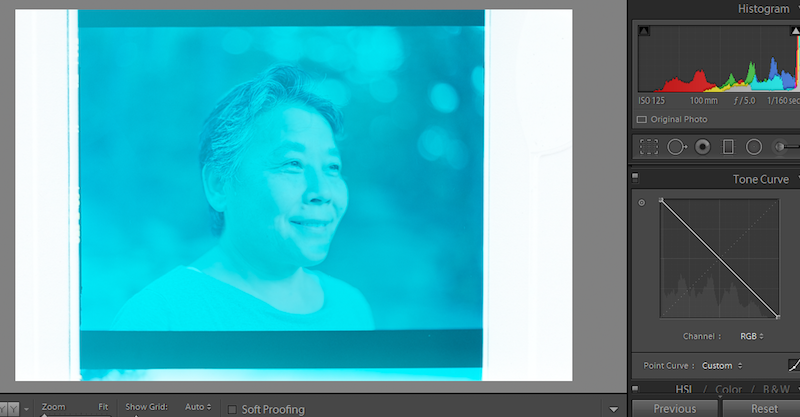
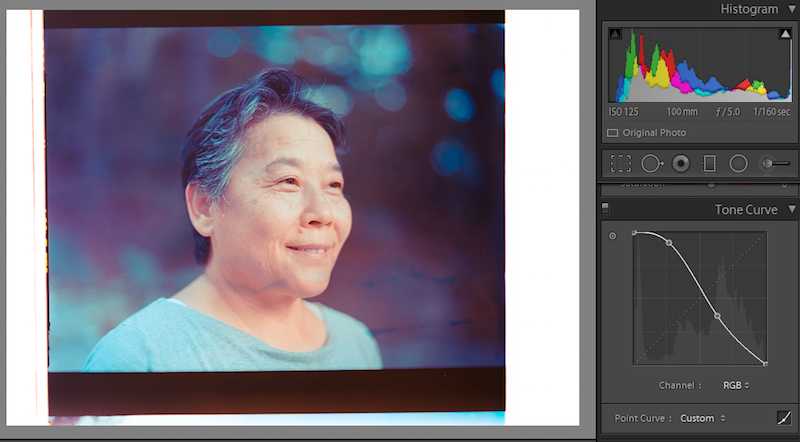
First I flip the tone curve, and you might get a muted bluish photo. Next I adjust the color balance slider until I see the rough overall color palette I want. From there I adjust the individual curves for each color very very slightly. It might take 7 or 8 minutes to get everything the way I want. Once the first image is ready, I can just sync the develop settings, and Voila! I am done.

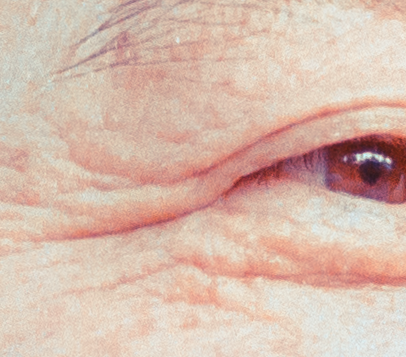
Speed is not the only benefit, it is amazing how much more detail one can get out of the negatives compared to scanning with a flatbed. I can see the film grain, which I don’t usually see unless I am using grain focuser in the darkroom.
I am also surprised how stable the setup is. I actually imagined I have to refocus after each frame, but no. Moving the film after each shot and pressing the shutter by hand didn’t introduce variance significant enough to be notices from frame to frame.
I’m fairly certain I’ll be scanning all my medium format stocks with the shoe box scanner from now on. Maybe I will even use it for large format film, since the 4×5 holder is already in place… Just have to cut the box.
So far I have been talking about the pros, but what about the cons? Well… I don’t really see any. Only two things come to mind.
(1) It doesn’t have the IR dust removal. But from experience, the IR dust removal is not that great on flatbed or dedicated film scanners. I don’t mind cloning out the minor dust particles, and sometimes having the dust particles on the image makes it more authentic. (2) It might take quite a bit of space… that’s definitely a con.
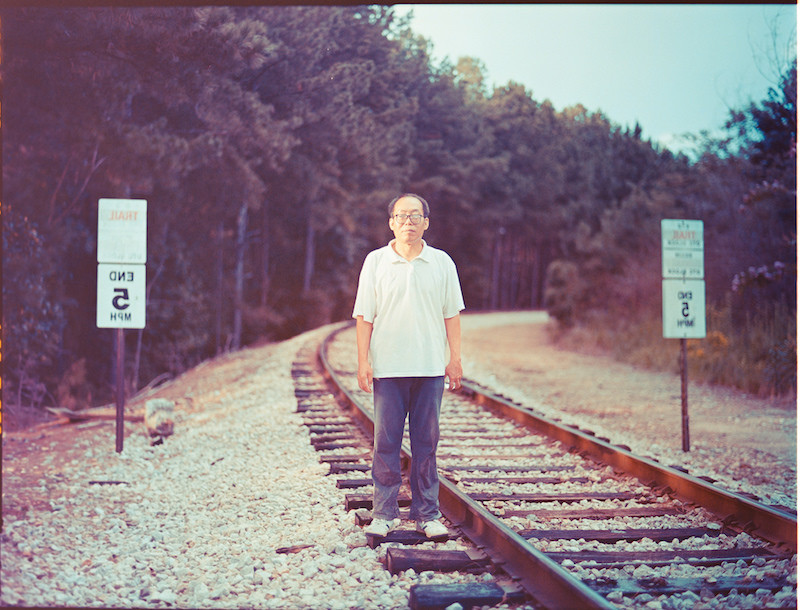
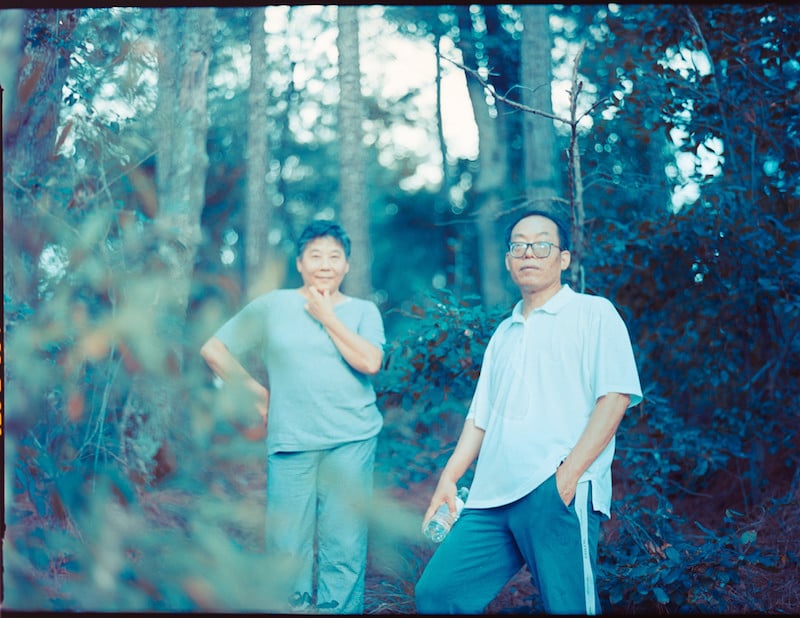
But the results are great! Here are some more processed sample scans (more on Flickr):


In the future, I might experiment with color gels to change the color temperature of light from the flash. It could be a good solution for the blue tint right after you flip the tone curve.
About the author: Kun Xu is a Atlanta, GA-based photographer and tinkerer. You can find more of his videos on YouTube and his photography on Flickr.