The 5 Best Film Scanners Under $200
Scanning film is probably the least attractive part of shooting film, but that doesn’t mean you should neglect this stage. Nowadays, we all want to share our analog images online, and the only way to do that is by digitizing our negatives one way or another.
If you want to get the most out of your negative, then you should choose your scanner carefully, as it’s probably THE most important link in the chain after capturing the image. But picking the right scanner can be tricky.
Scanners can be as cheap as a dinner for 2 or as expensive as a car, but today we’ll be looking at what are considered mid-range film scanners. We want to avoid the low-range (under $100) as they deliver poor quality scans that you’ll have to rescan at some point. We will also avoid the high-range simply because we can’t afford it (yet!).
The mid-range is ideal for sharing your images online, medium sized prints and archiving.
But before we compare the different models I’ve selected, let me explain what should be considered when looking for a scanner.
Format
It’s crucial to choose a scanner that will be able to hold your negatives. If you plan on scanning only 35mm, no problem; most scanner will be able to scan this film size. On the other hand, if you are or will be shooting Medium Format or Large Format at some point, you should note what formats your scanner is capable of handling.
The type of scanner will also influence the negatives you can scan with. For example, most flatbed scanner can handle 35mm or 120 negatives (Medium Format) and some can even scan 4×5 (Large Format). You’ll also be able to scan old pictures with it for example.
Beware that most dedicated film scanner are often limited to one format. The most common is of course 35mm, but some will accommodate 120 as well.
Resolution
If you are thinking about doing large prints, consider a scanner with an high resolution. This is measure in DPI (Dots Per Inch). Of course, the higher the better, but don’t let yourself be fooled by some manufacturers who claims extremely high DPI.
For this be effective, the sensors and optics should be both optimized to achieve this density of details. Unfortunately, most of these +7000 dpi scanners are just marketing nonsense. 3600 dpi is usually more than enough for us, and going beyond that will just make image size unnecessarily big without bringing in more details.
Color Depth
This one applies for color scans, of course, but also for B&W. Color depth measured in bits, and determines the capabilities of a scanner to capture the nuances of colors or grays on a negative.
Usually, we consider 24 bits sufficient to capture most of tonalities, but modern scanners can go up to 48 bits. Below 24 bits, the transition between colors won’t be as smooth as they are in reality. This could result in what’s called “banding” and color or gray shades could look like this.

Dmax
Not as well-known, but nonetheless important, Dmax determines the scanner’s capability to capture details in the darker areas of a negative. It’s important to consider this factor for images with high contrast. The higher the value is, the more details your scanner will pull from the shadows.
The value for highlights is measured in Dmin. In this case the smaller the value is, the more details you will get in bright parts of an image.
In other words: Dmax and Dmin represent the dynamic range a scanner is able to see. We measure the dynamic range by evaluating the difference between the Dmax and Dmin. The bigger the difference, the wider the dynamic range.
As you will see later, most manufacturers don’t provide the Dmax rating of their scanners. I’m not sure why this is, but I trust a manufacturer more if they’re not afraid to provide this info.
There are other factors you can consider, but these are the main ones and I want to avoid going too far in the technical jargon. If you are not afraid of technical terms and want to dig deeper and learn more about how scanners work, I can recommend this site.
Now that we have a global idea of what makes a good scanner, let’s look at a few models I’ve selected within the $200 price range.
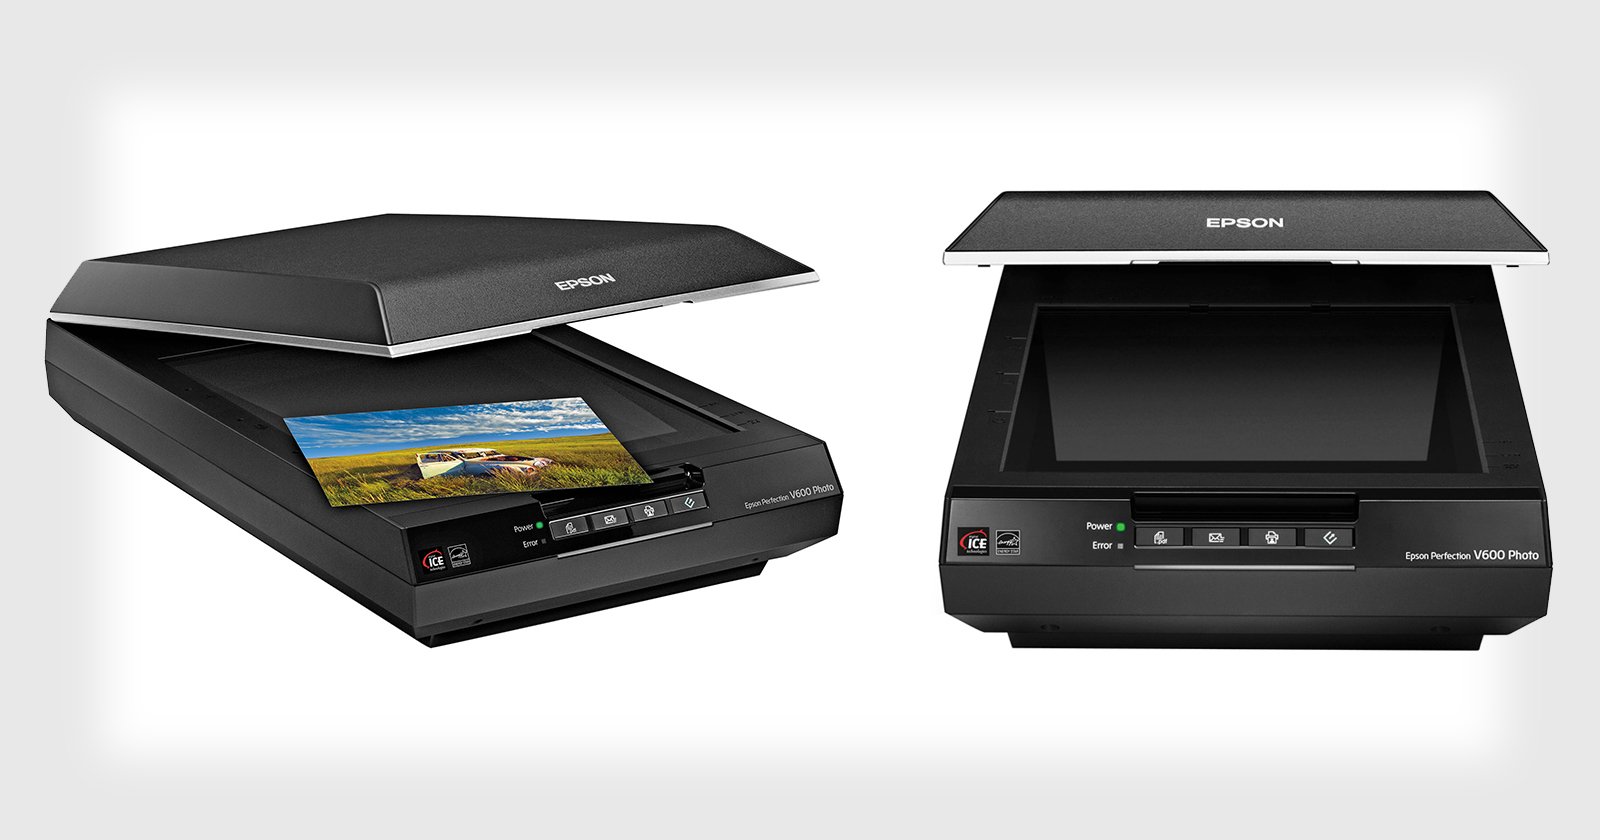
Epson V600 or V550
We’ll start with what I think is the most-used scanner among film photography enthusiasts (also the one I have). If you’ve already asked for recommendation about a scanner, chances are someone mentioned this one.
It takes its fame thanks to the flexibility it offers and an admirable quality in comparison to its price.
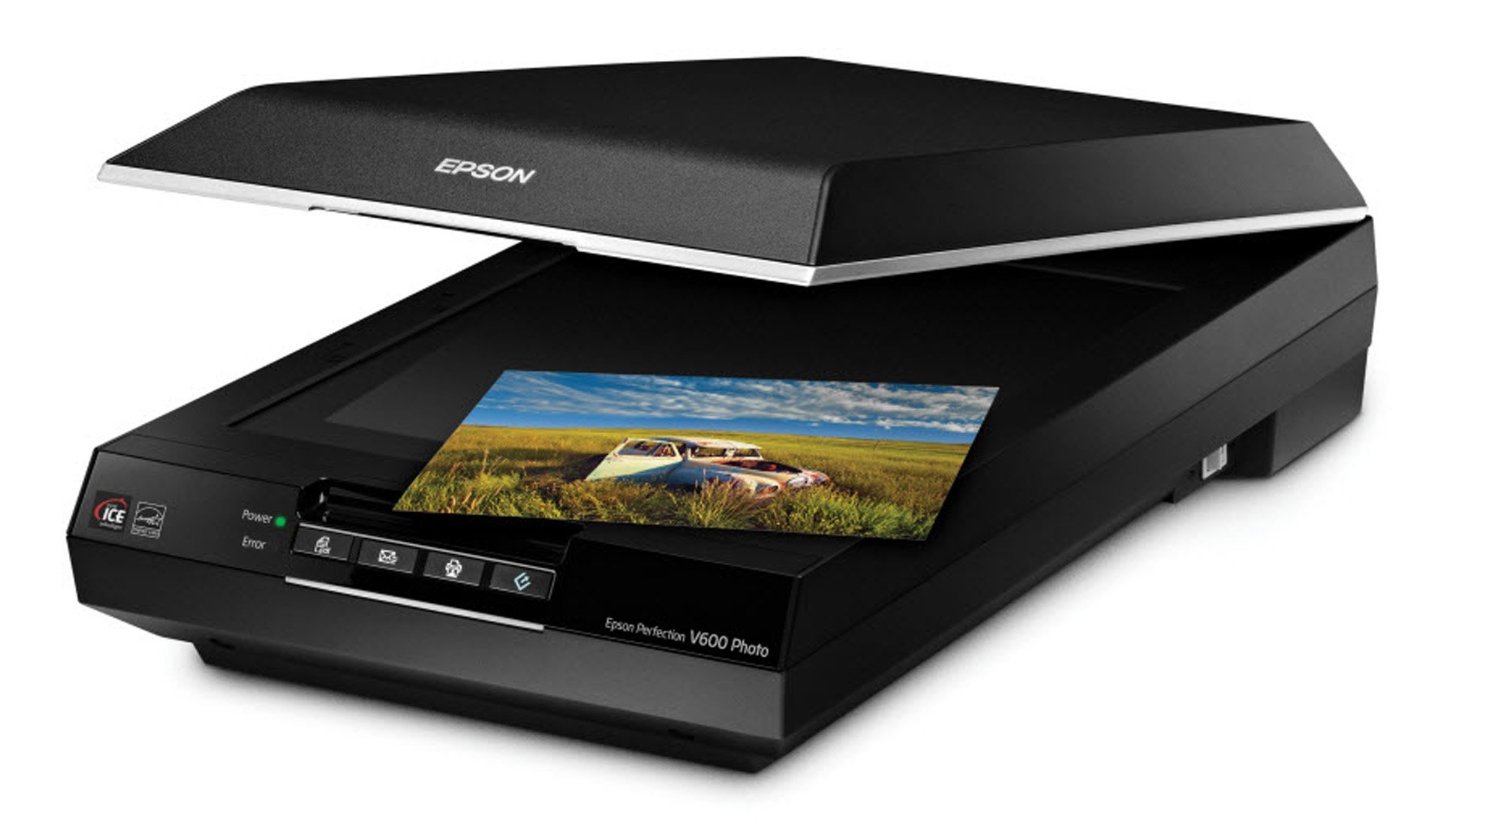
Film formats: 35mm and slides, medium format from 6 x 4.5cm up to 6 x 22cm
Resolution: 6400 dpi
Color Depth: 48-bits
Dmax: 3.4
Pros
- Very good image quality for this price range
- Compatible with multiple formats
- Digital ICE feature for dust and scratch removal (both films and prints)
- LED light source requiring no warm-up time and energy saving
- Scan prints up to 21.59 x 29.72 cm (8.5″ x 11.7″)
Cons
- Negatives holders look a bit flimsy.
- Epson Scan software looks outdated and is not user-friendly. Users tend to use VueScan instead.
- Slow to scan depending on the settings and features selected.
Conclusion
If you only shoot film occasionally, and need to scan a few prints and documents from time to time, then Epson’s V600 or V550 is the perfect scanner for you. For the more advance photographers that need faster scanning, it may not be the ideal.
Canon CanoScan 9000F MKII
Here is another one that you often hear about. It offers very similar specs to the Epson, which makes it Epson’s direct competitor in terms of quality and price.
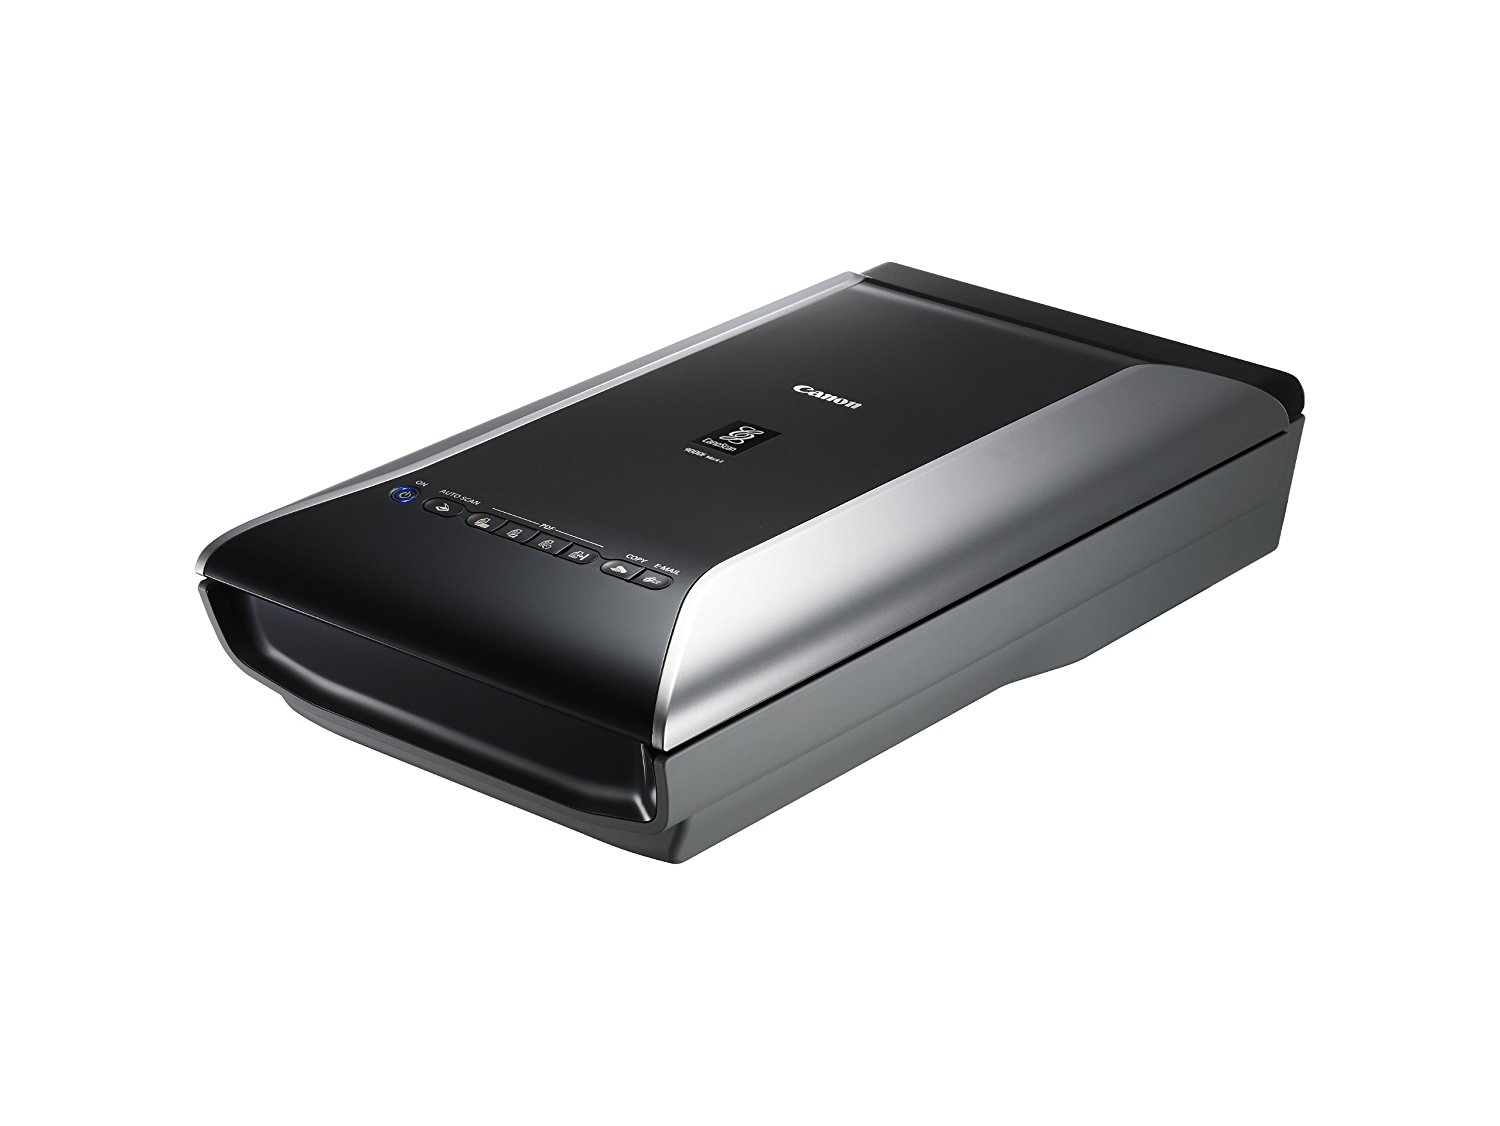
Film formats: 35mm and slides, medium format from 6 x 4.5cm up to 6 x 9cm
Resolution: 9600 dpi
Color Depth: 48-bits
Dmax: Unknown
Pros
- Good image quality, but can be improved by changing the holders or wet mounting.
- Compatible with multiple formats, but Epson seems to offer more holding options.
- FARE (Film Automatic Retouching and Enhancement) technology to remove dust and scratches.
- LED light source requiring no warm-up time and energy saving.
- Scan prints up to 21.59 x 29.72 cm (8.5″ x 11.7″).
Cons
- Negative holders don’t place the film in the optimal focus range.
- Software seems complicated and doesn’t offer enough controls. VueScan is again recommended.
- Resolution of 9600dpi is probably not realistic.
Conclusion
I would place this one slightly behind the Epson in terms of image quality and ease of use (because of the holders) but it remains a very decent flatbed scanner.
Wolverine Data SNAP20
Now we’re looking at a different kind of scanner. It’s more a dedicated film scanner, although it can still scan prints up to 12.7 x 17.78cm (5″ x 7″).
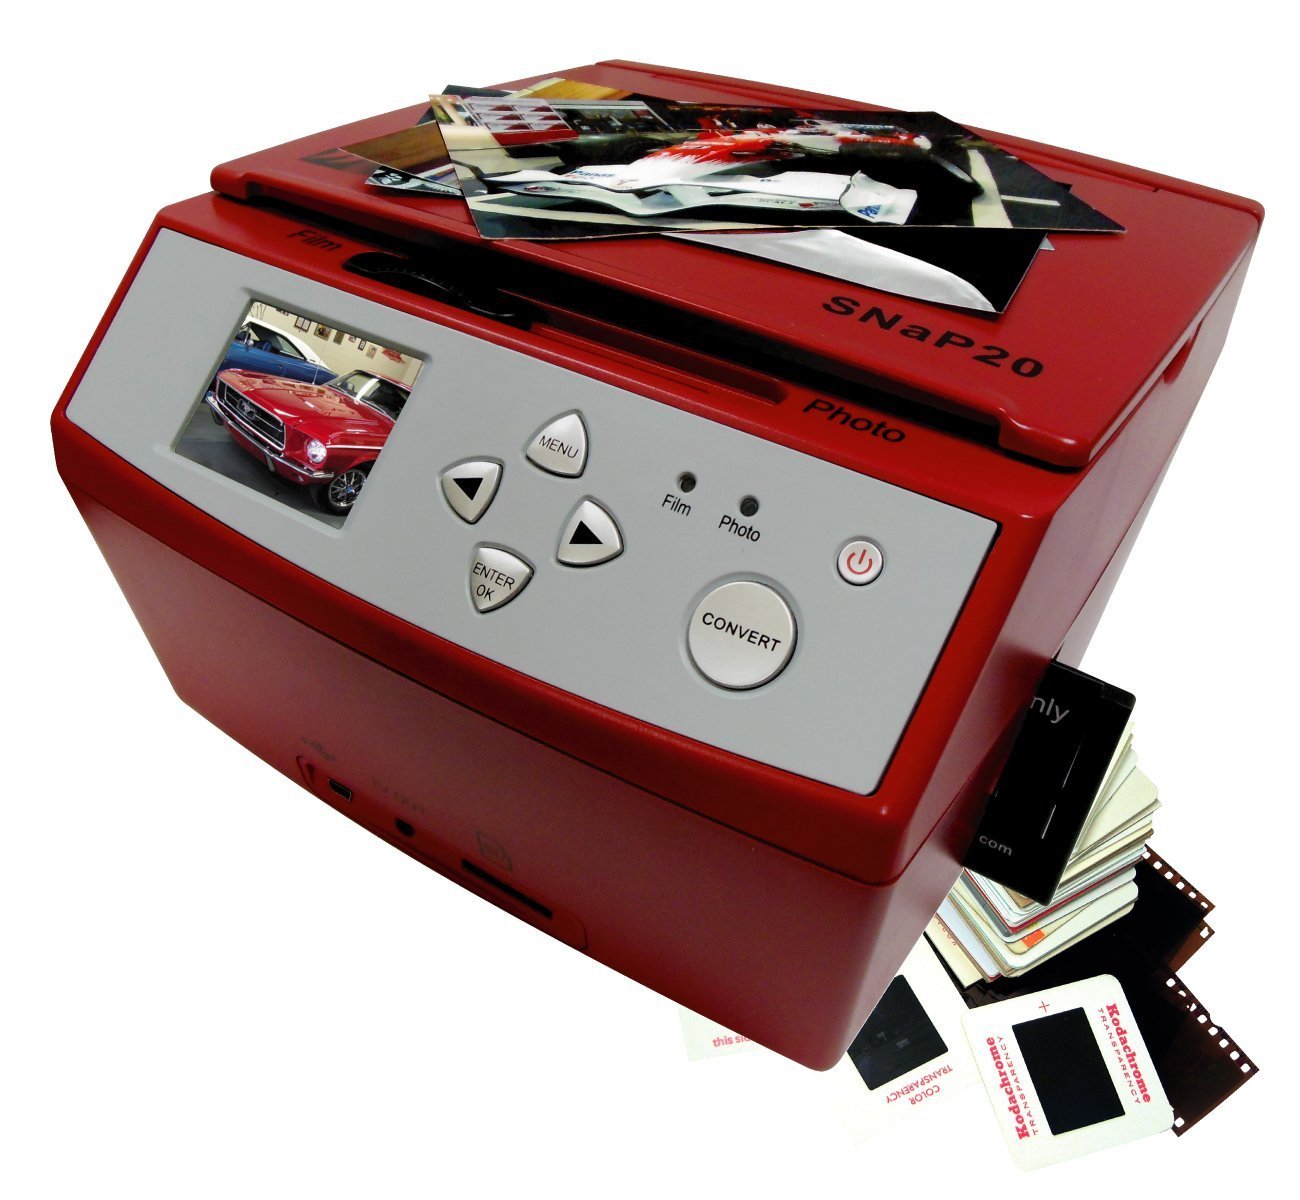
Film formats: 35mm and slides only
Resolution: 20 Megapixels (no dpi provided)
Color Depth: 36-bits
Dmax: Unknown
Pros
- Stand alone device that can be used without computer
- Very fast scanning
- Compact size
Cons
- Can only scan 35mm negative or small prints
- Not the best image quality
- Control over settings limited
Conclusion
It doesn’t shine by its flexibility or high quality, but it get the job done. If you scan only 35mm and/or have a lot of slide film to scan and don’t worry too much about image quality, then it may be the right scanner for you. Not recommended for serious photographers though.
Pacific Image PrimeFilm 7200
We’ve finally arrived at a real, dedicated film scanner. It works only with 35mm negatives or slide film—you won’t be scanning prints with this guy.
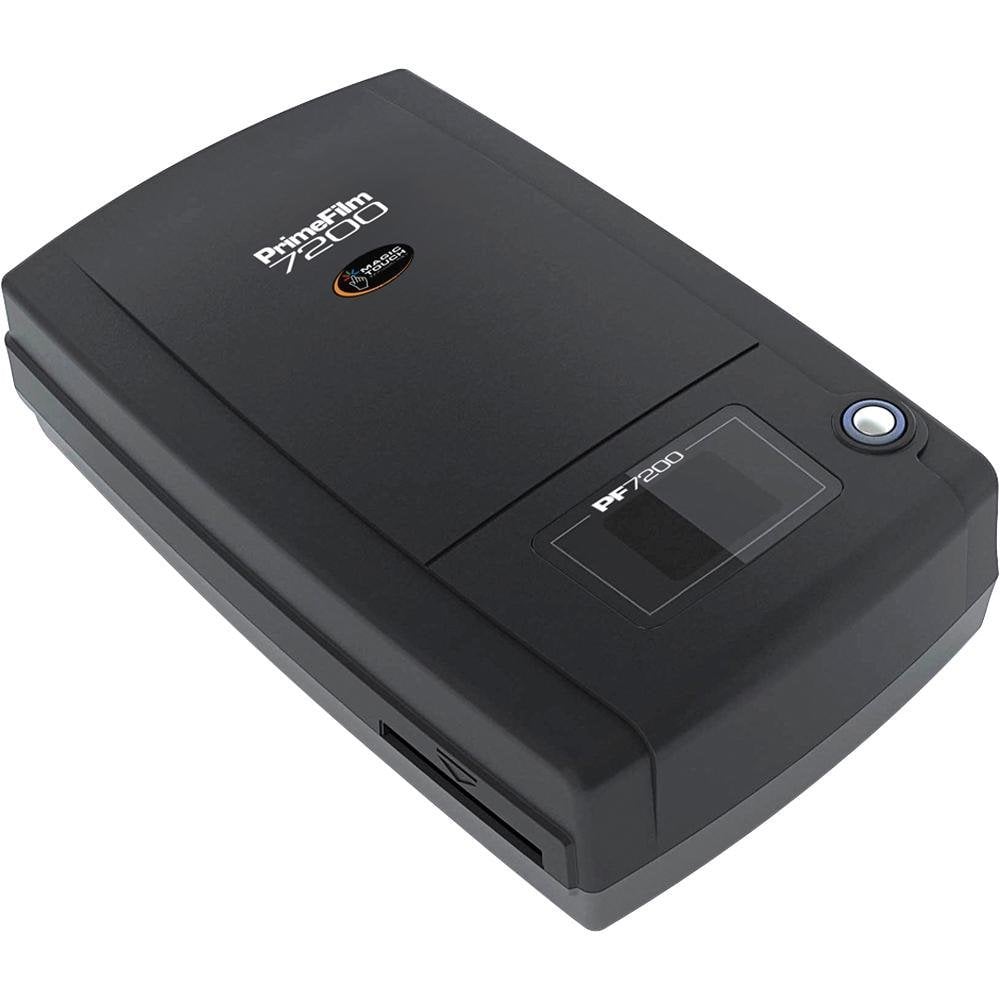
Film formats: 35mm and slides only
Resolution: 7200 dpi
Color Depth: 48-bits
Dmax: Unknown
Pros
- Decent image quality
- Compact size
Cons
- Slow to scan
- Hardware seems unreliable in some cases
- Dust & Scratch Removal doesn’t work as well as competitors
- Software is again not the best, and VueScan is recommended instead
Conclusion
Of course, you can’t expect the best quality in this price range, but if your main usage will be online publishing and small printing (up to 16 x 20″ shouldn’t be a problem) then it’s a good alternative to bigger flatbed scanners.
Plustek OpticFilm 7600i
I saved this one for the end, because it has been discontinued and replaced by a newer version (more expensive). We are slightly off-budget, but it can be found second hand within our price range. It is, again, a dedicated film scanner, but it offers a serious step-up in terms of quality.
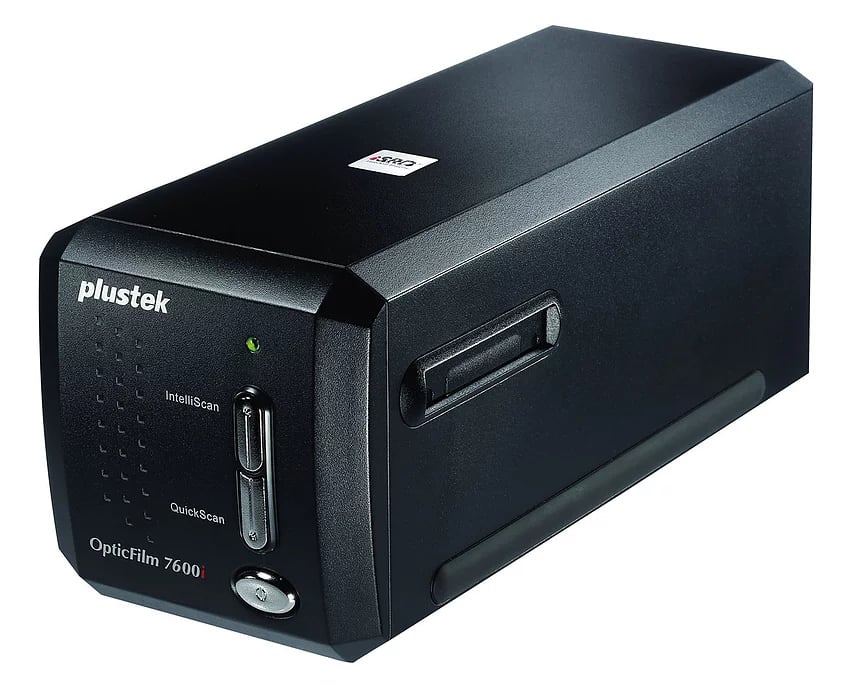
Film formats: 35mm and slides only
Resolution: 7200 dpi
Color Depth: 48 bits
Dmax: Unknown
Pros
- Multi-Exposure functions for higher image quality
- Multiple Sampling feature to reduce noise
- Shipped with Silverfast software
- ISRD (Infrared Smart Removal of Defect)
- Solid hardware
Cons
- Limited to 35mm
- More expensive that the average mid-range film scanner
Conclusion
If you shoot 35mm and are not planning to get into medium format soon, this is the scanner I would recommend. It offers the highest performance and feature set compared to other scanners in this price range.
I hope this short guide helps you find your dream scanner. Finally, before doing your first scans, I suggest having a look at this article where you can learn more about my scanning workflow and how to maximize the quality of your images.
About the author: Vincent Moschetti is an Ireland-based photographer who is in the middle of a year-long experiment where he’s shooting only film photography. You can find more of his work or follow along on this adventure by visiting his website or following him on Facebook and Instagram. This post was also published here.