Lighting a Product Photo by Light Painting with Your Phone in a Long Exposure Shot
Here’s a fun and very easy way to do professional product photography light painting using your iPhone, or any other phone or tablet for that matter. The bigger the screen the better the results, but a standard phone screen will absolutely do the job.
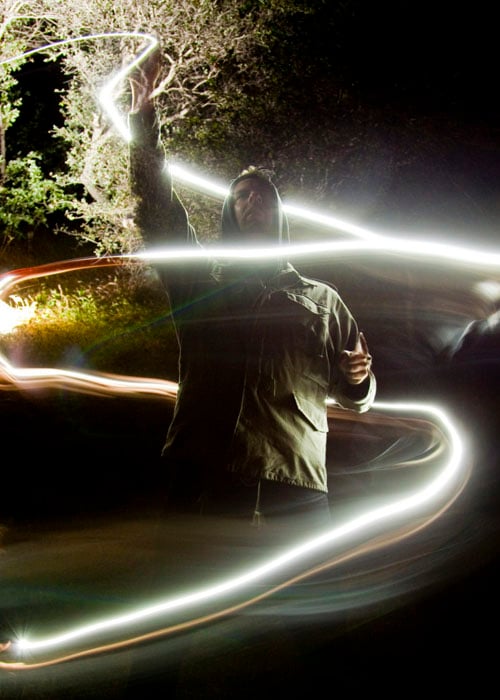
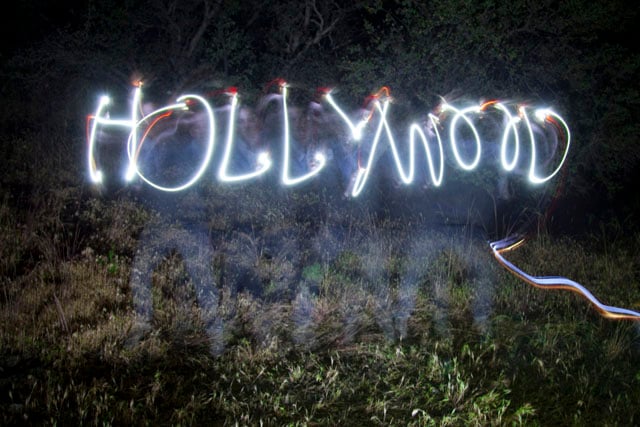
This tutorial uses the light painting technique. Rather than the typical light painting technique where the light is used as the subject to draw out words or simple pictures; this technique uses light painting to light, highlight, and backlight the your subject. This will give you studio quality professional product photos worthy of any usage.
Product Photography Light Painting
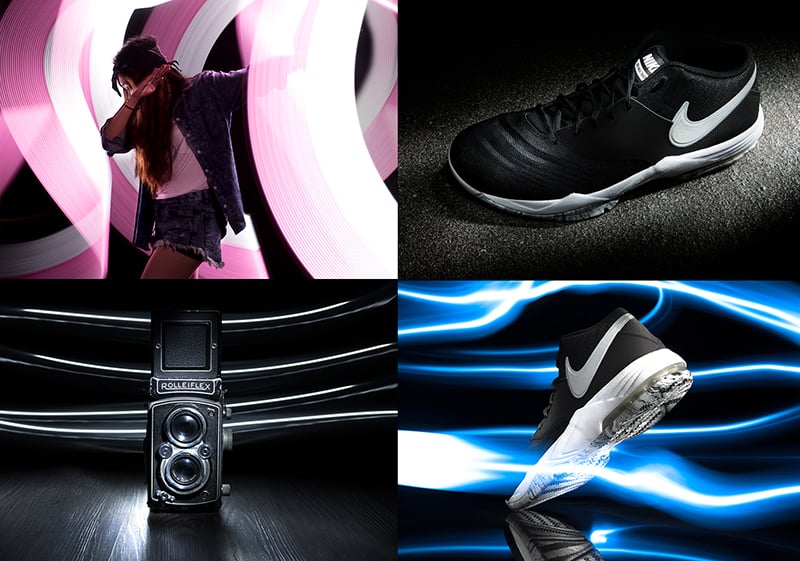
Start to finish this project took me just over an hour. Here are a few examples of the finished product with step by step instructions below.
What You’ll Need
- A phone or tablet
- A pitch black room
- A camera capable of long shutter speeds
- Remote trigger or camera with self timer
- A tripod
- A subject (product) and a way to mount it still and stable
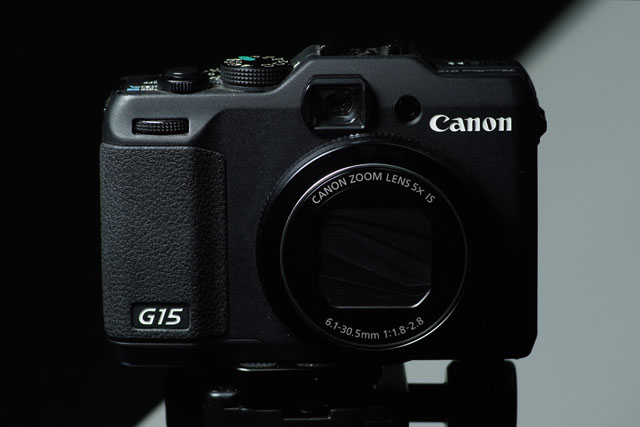
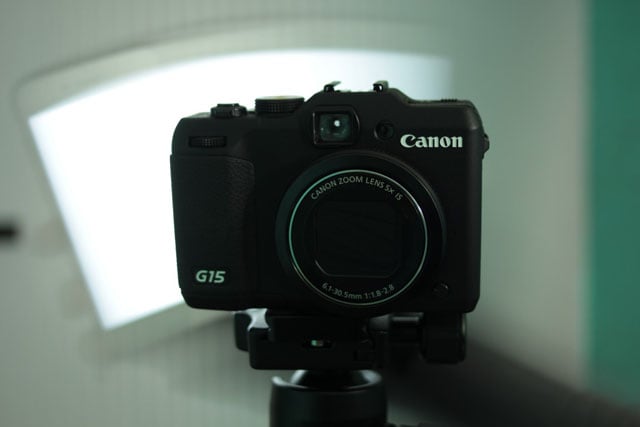
In this case my subject is a Canon G15 and the mount is an additional tripod.
Step 1: Phone Soft Box
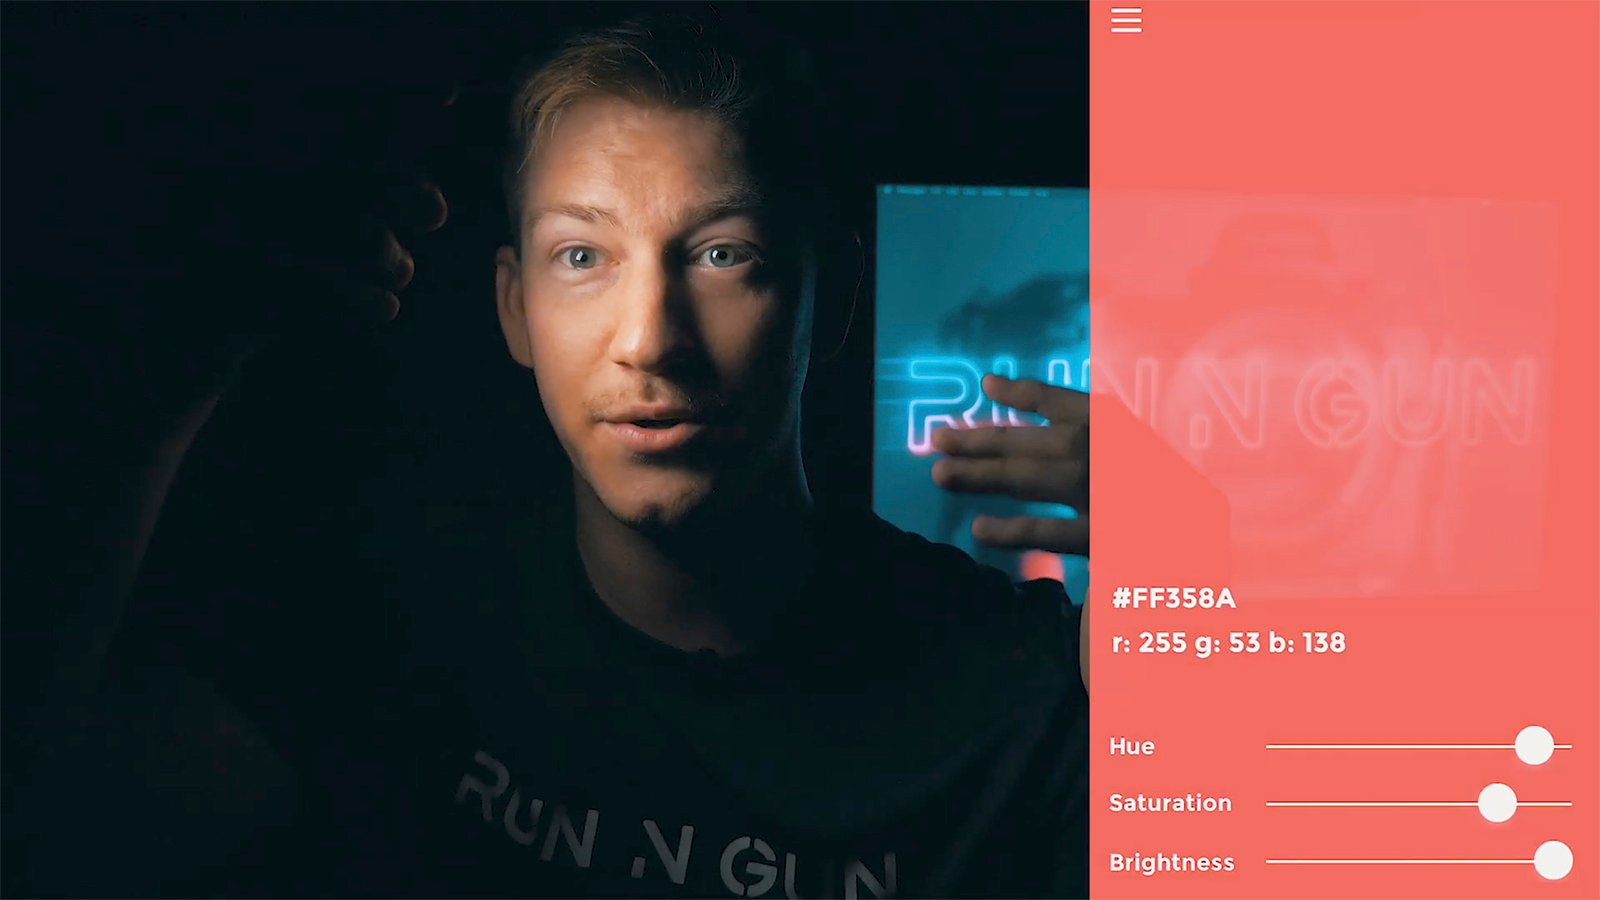
Go online and save or screenshot an image that is completely white in color. Even if you can’t fill the whole frame, save the image anyway. Go to your photos, zoom in on the image until it fully fills the screen and then screenshot it . Keep the full screen white image handy. This will act as a soft box to light your product. Here are the actual screenshots I used for taking these images.


Step 2: Frame Your Shot
Make sure the lights are on, compose your shot using your viewfinder or LCD. Lock your tripod into place when you like what you see. Get it correct now and don’t bump your tripod or move your object, you won’t be able to see while shooting, only after the exposure is complete.
Step 3: Go Manual
Even if this is your first time – set your camera to 100% manual mode. That’s the big “M” on the dial. For some newer cameras such as the Panasonic LX100 and Leica D-Lux, this will mean avoiding the letter A (automatic) on any of the dials.
ISO
Set your ISO to 100. This will give the most clear (noise-free) amount of detail possible for most cameras.
Aperture
If you know how to control your depth of field and you know what aperture is required for the look you want – use that. If you don’t know, set your Aperture to f/5.6 or f/8.
Shutter Speed
This is where you’re in control. Start at an 8 second shutter speed. This will likely read 8″ on your camera’s screen, not 0″8. Now it’s time to get started with your first picture. As you progress, extend your shutter speed length to allow yourself more time to light your subject. You may find 30 seconds works great. If you need 30 seconds to get the look you want, but it’s over exposed, try reducing the brightness on your phone’s screen.
Step 4: Lights Out
100% darkness is your best friend. Any light other than the one in your hand will reflect off your subject giving you less control over the final image. Get that picture cued up on your phone and hit the lights. Use your phone to see where your shutter button is or your release cable. Make sure to have the camera on a self timer if using the actual shutter button.
Step 5: Light Painting & Technique
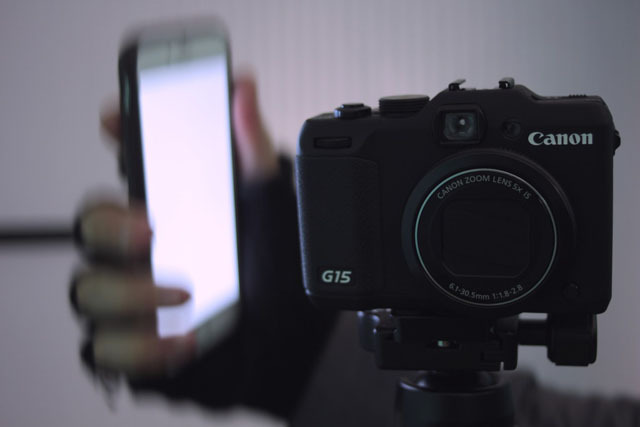
Hit the shutter button or release cable and start lighting! Use the all white image on your phone first, be sure to keep your hand (for now) out of the shot. Aim the phone up or down at the object and arc it all around, creating an even light to all visible areas of the object. The more you shine the light in one area the brighter it will be. Try some just on the top, or slowly swing the phone around from the back and stop just as the light catches the edge of the subject.

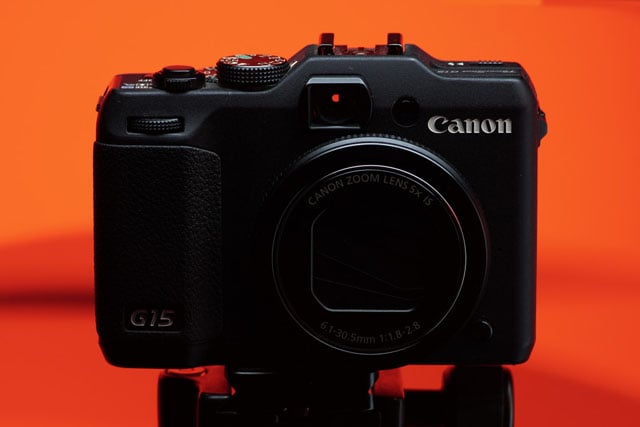
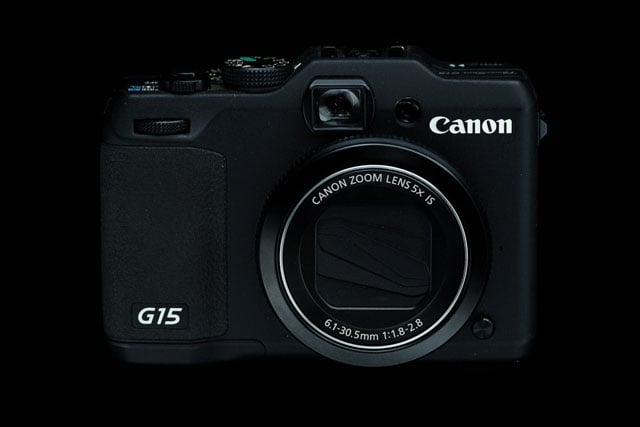
Holding cell phone soft box still just above the camera and out of frame produces the following result:
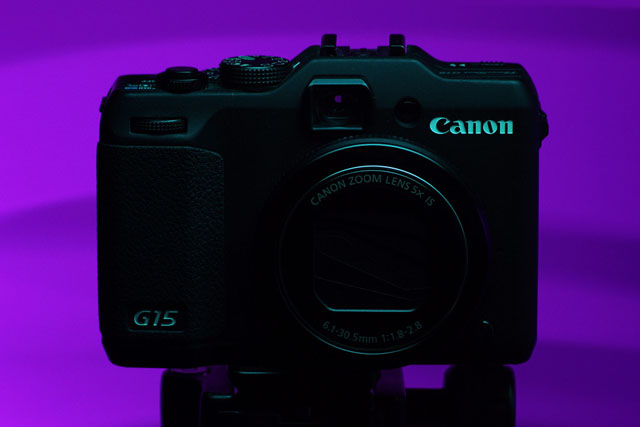
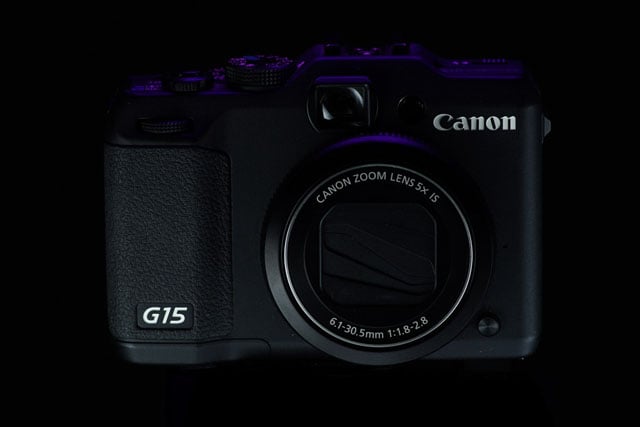
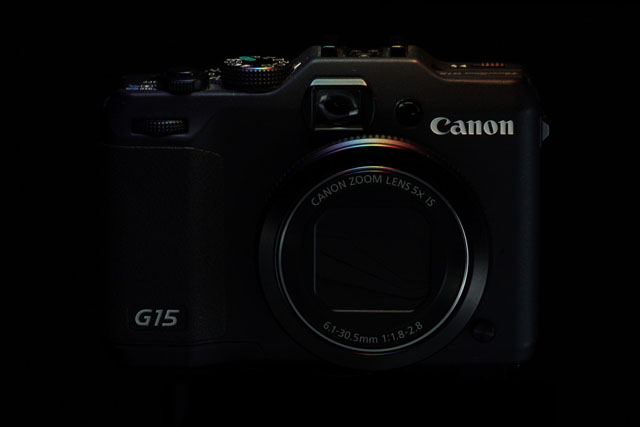
Creeping the white light slowly forward on both sides of the camera just – after hovering the purple light from above, produced the following result:
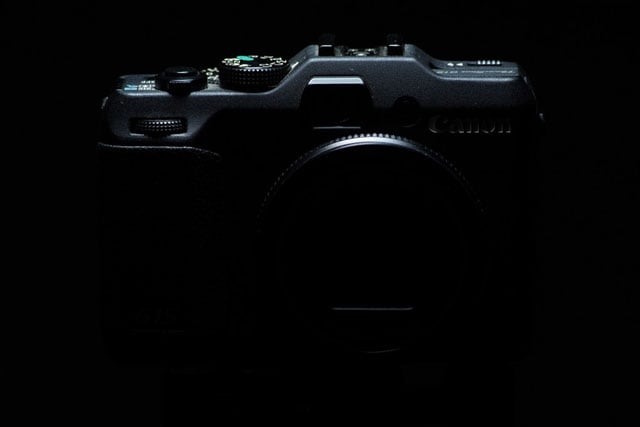
Now try swiping the phone in frame behind the subject for an amazing backlight. You may have to do this 2 or 3 times to cover the whole background. Or you can try one side of the background for a 50/50 effect.
Get Creative
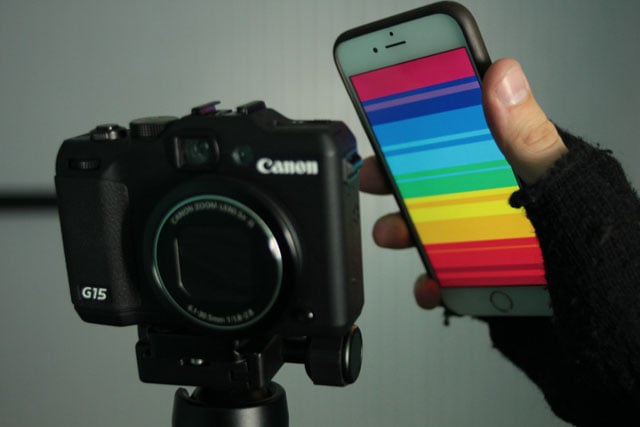
Once you’ve found a nice shutter speed and have gotten used to the effects your light waving produces, try expanding to multiple colors in one exposure. Once you light an area with one color, quickly remove the phone out of view, swipe to the next color in your photos, and begin light paining with the new color.
It will take a few tries to switch between the colored background pictures on your phone proficiently. Take a look at this prism effect that can be achieved using a rainbow pattern held static over the top of the camera.
About the author: Jordan Lockhart is a photographer based in Manhattan and the man behind CameraPlex, a website with camera news, tips, and articles. This article originally appeared here.